For some reason that we shall never understand, it took me until recently to grate the zest of a lemon, lime, or orange into recipes that called for this delicious addition.
Actually, I can attempt to offer some reasons – such as:
- I don’t like recipes that take too many steps.
- I only had a big stand up grater for a while, which actually did make zesting quite tedious.
- That’s it. There are no other reasons.
Then I got a hand-held zester. Suddenly the job of rubbing a lemon rind across a grater to utilize that natural and delicious flavor was easy and quick. I think it goes without saying that my Low Sugar Cookies taste much more amazing when I take the few extra seconds to zest. Here, you need those recipes:
- Low Sugar Lemon Melt-Away Cookies
- Low Sugar Orange Melt-Away Cookies
- Low Sugar Lime Melt-Away Cookies

If you haven’t been a zester for all the reasons mentioned above, I’m happy to share that this little gadget can be a game changer in your kitchen.
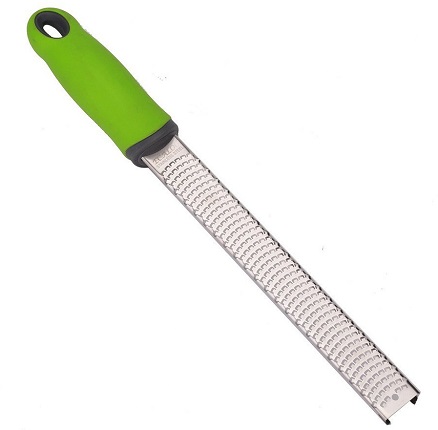
This, my friends, is a ECALOO Classic Stainless Steel Zester/Grater. I like the nice non-slip handle, but mostly I like the versatility in that you can use it to grate or zest cheese, lemon, citrus, ginger, garlic, onions, nutmeg, cinnamon, chocolate and much more (even veggies). That it’s stainless steel means it’s safe for our food and easy to clean.
Today, they are giving one away to five different winners. Sign up below!
In addition, they are offering a 35% discount to everyone! Use the code H7WAL8BT to receive your discount from now to 7/30/2016.
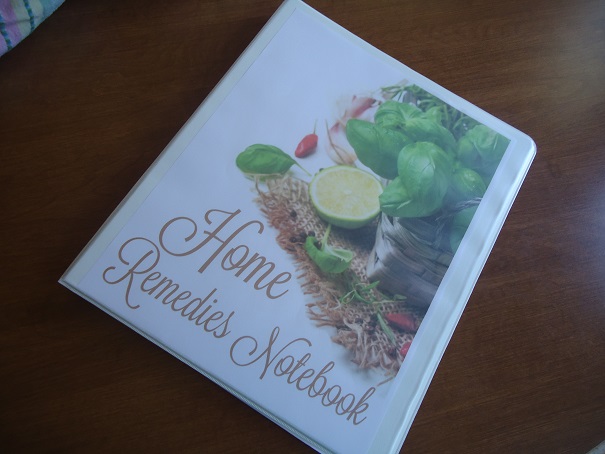
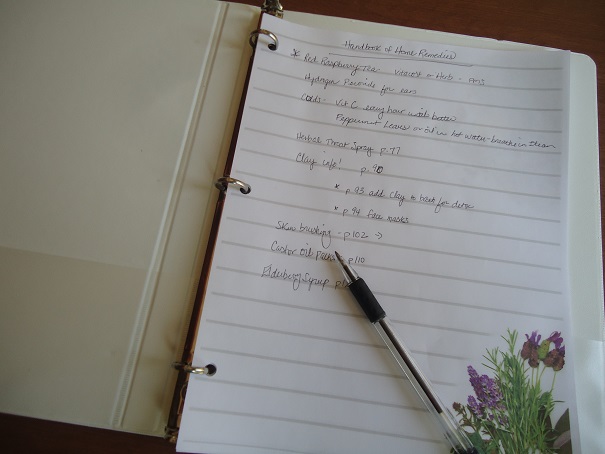
As I’m learning more about making home remedies and trying new recipes, I’m finding that this zester/grater is fantastic for fresh ginger to use in the recipes. Ginger is a staple in home remedies, so I love that this gadget makes grating it so easy!
Here’s your chance to win one! Sign up here, then watch for an email on Wednesday, June 29 sharing the five winners.