You might remember when I posted this recipe three years ago. Now that it is strawberry season again and I am a tiny bit strawberry focused (or sure, we can call it obsessed if you prefer) – I decided to re-post this for you now.
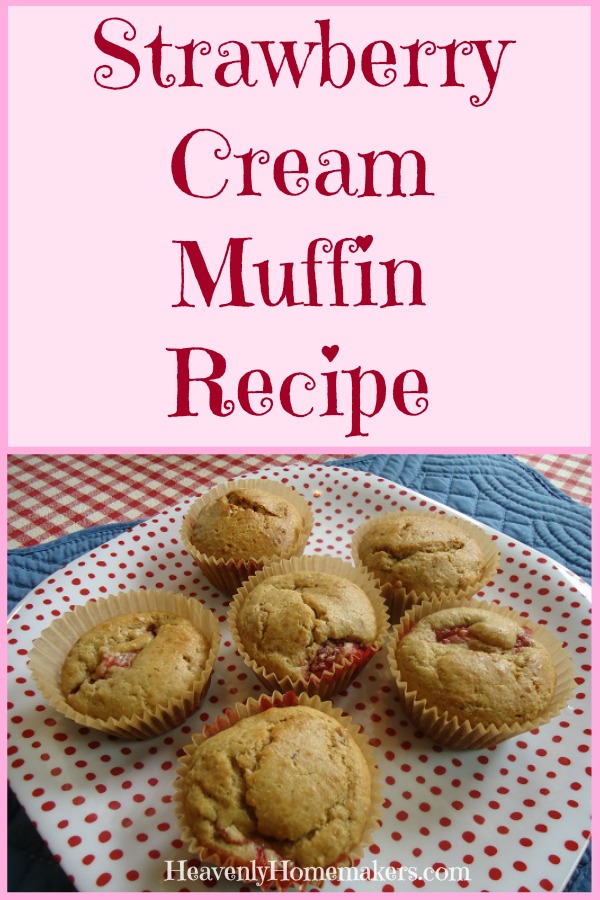
This Strawberry Cream Muffin is so delicious, you’ll feel like you’re eating dessert for breakfast or snack. Take note that the sour cream in these muffins makes all the difference in how moist and delicious these are. Can you use milk or coconut milk (to make them dairy free) instead? Yes. But they will likely turn out just a little bit dry. Just eat them fresh out of the oven and you’re golden.
Strawberry Cream Muffins
- 1¾ cups whole wheat flour (I prefer freshly ground soft white wheat in these)
- ½ cup sucanat or brown sugar
- 1 teaspoon baking powder
- ½ teaspoon sea salt
- ⅓ cup coconut oil or butter, melted
- 1 egg
- 1 cup sour cream
- 1 cup chopped fresh or frozen strawberries
- Stir together flour, sucanat, baking powder, and salt.
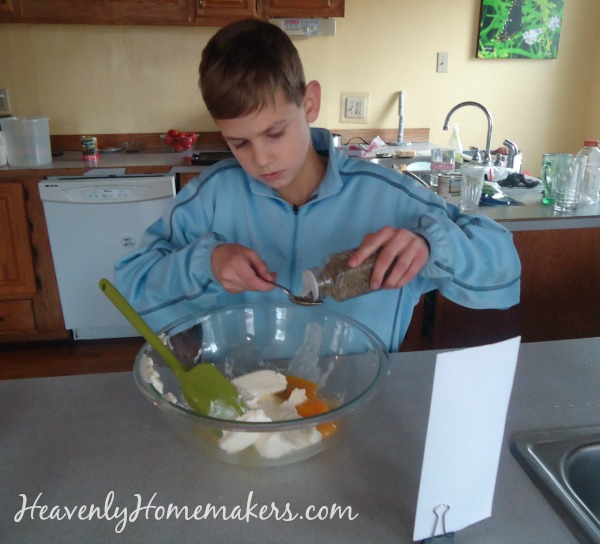
- Add oil, egg, and sour cream, mixing well.
- Fold in strawberries.
- Scoop batter into 12 well greased or paper-lined muffin cups.
- Bake in a 375° oven for 18-20 minutes or until lightly browned.
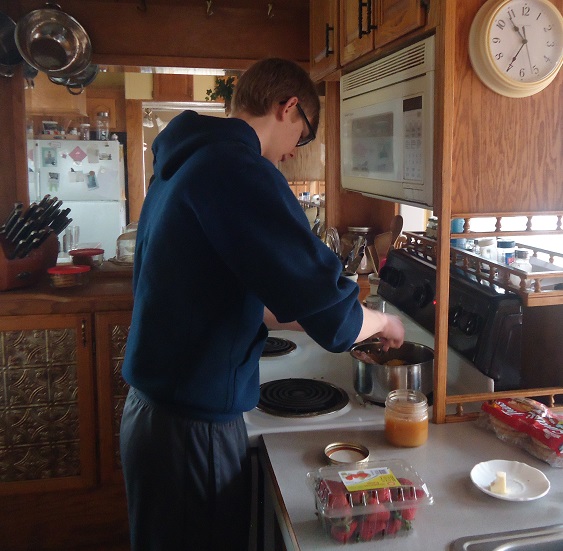
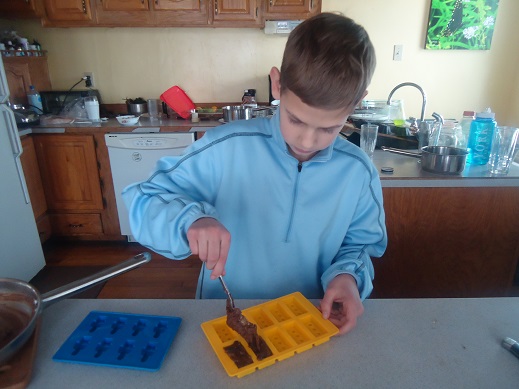
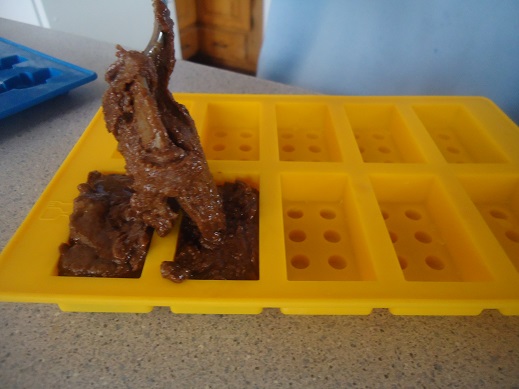
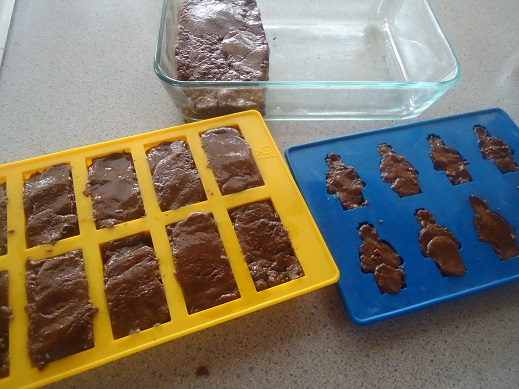
Now my best tip of all: Mix up the batter and freeze it to make your muffin baking/dish washing life easier! Then all you have to do is grab your frozen muffin batter cups out of the freezer, put them into muffin cups the night before you want to bake the muffins, then stumble into the kitchen in the morning and put them into the oven!
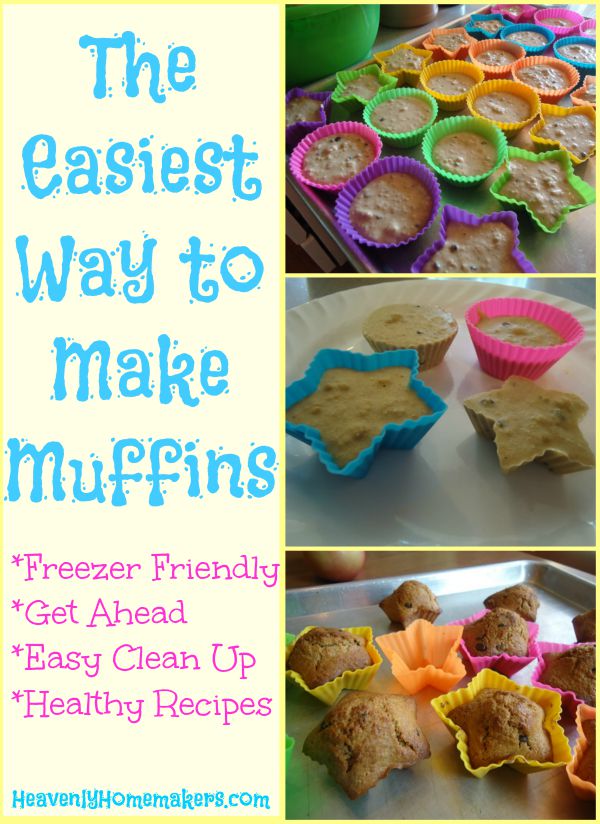
I’m loving these Silicone Muffin Cups, by the way. I’ve been using them for a few months now and they make freezing muffin batter so easy! Plus I love that I’m saving money on paper liners. Read more details about this simple time and money saving process here.
Have you tried freezing muffin batter? How about silicone cups? Can’t wait to hear how you like the Strawberry Cream Muffins!
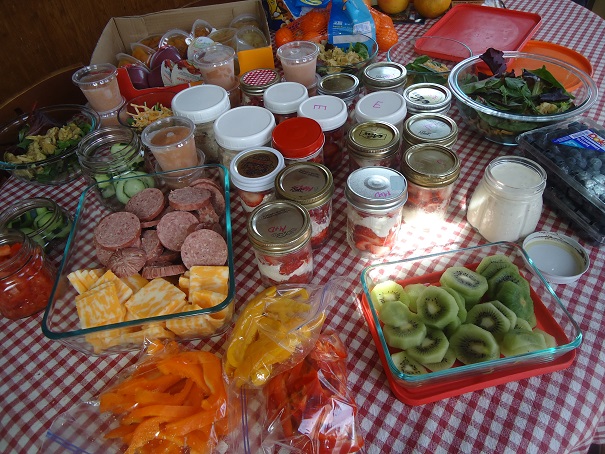
P.S. We have not one but two weddings we are heavily involved in this weekend! Starting yesterday, we have been/are running from party to shower to rehearsal to set up to other rehearsal to wedding to getting hair fixed to wedding. If you didn’t follow all of that, don’t worry. I have it all scheduled down the the minute on my calendar. All that to say, you have no idea how happy I was when I found some frozen muffin batter cups in my freezer on Wednesday. I tossed them at my kids to make for their breakfast Saturday. Perfect!