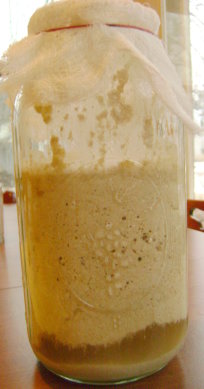
After seven days of feeding your sourdough starter with water and flour…it is fermented and ready to make into bread!
Now, keep in mind that this method of making bread is an old fashioned method. It isn’t quick. (Neither is it difficult.) From start to finish, the bread takes anywhere from 8 to 24 hours. Most of those hours are spend just waiting for the dough to rise.
I happen to like the pace of this bread making. Slow and easy wins the race. AND, the nutritional benefits?! Because the bread is fermented, all of the difficult-to-digest phytates from the grain are broken down making this bread GREAT for your digestion! This is the best, most healthy bread you can make.
Okay, so are you ready?

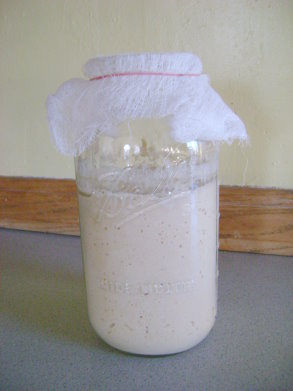
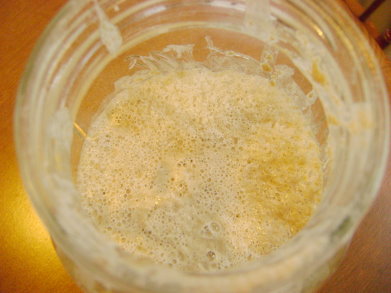
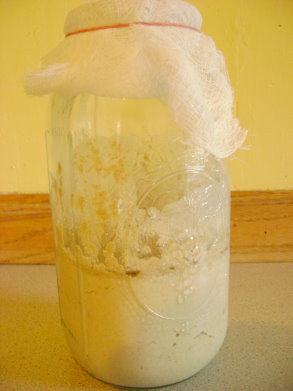
Here is what my starter looked like on the eighth morning.
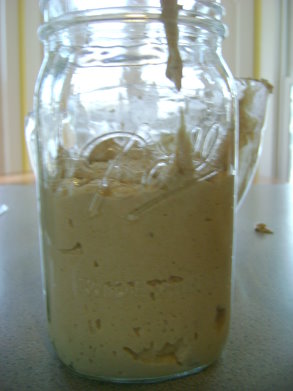
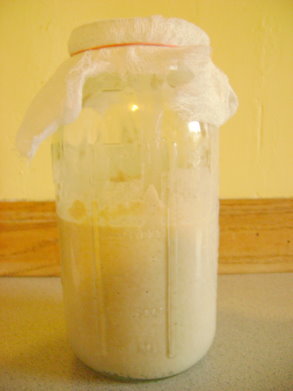
Put about one to two cups of starter into a quart jar, seal it with a lid and put it into your refrigerator for future use.
Here’s what you’ll need to make your bread:
2-3 cups sourdough starter
2 teaspoons sea salt
1 1/2 cups cold water
4-8 cups whole wheat, rye, or spelt flour (if your flour is freshly ground, make sure it has had a chance to cool)
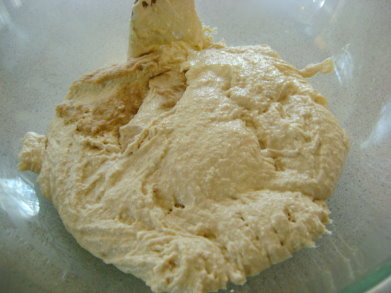
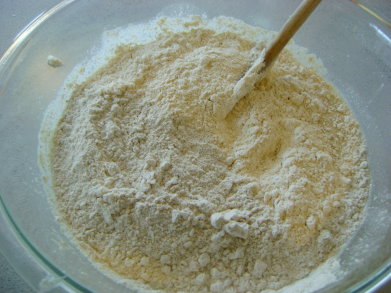
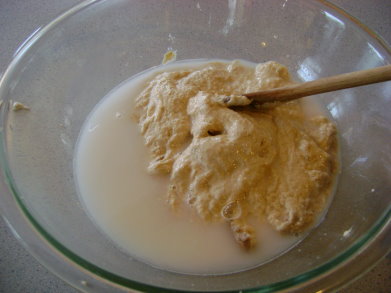
Pour the remaining starter into a large clean glass bowl. (I had about 3 cups of starter in my bowl to start with.)
Add 2 teaspoons of sea salt to the starter.

Pour in 1 1/2 cups of cold water and stir until the salt it disolved.

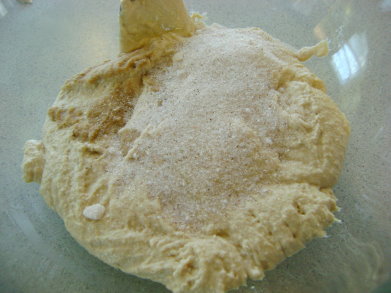
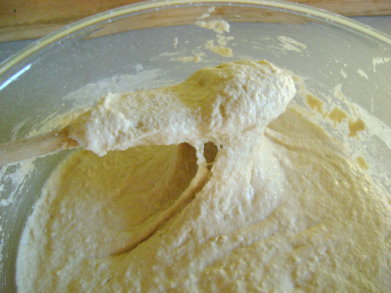
Slowly stir in flour, two cups at a time. For this batch, I only used about five cups. This is because my starter was not very liquidy to begin with. Remember, the more soupy your starter, the more sour your bread. I was trying to create a starter that was a little on the thicker side.
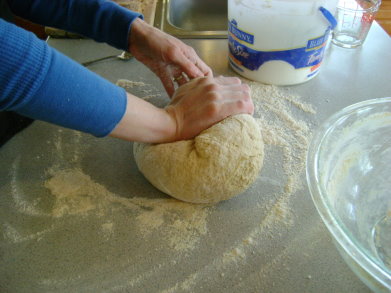
Work in the flour on a clean surface until your dough is knead-able. Knead your dough for 8-10 minutes (or until you think you might pass out). Hey, how do you think we breadmakers get these amazingly buff arm muscles anyway? :)
(You can also knead your dough in a machine if you’d rather!)
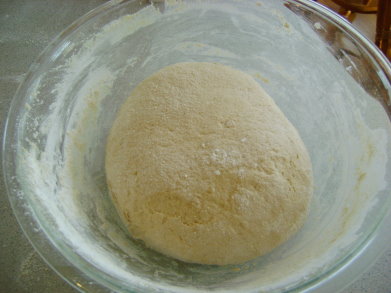
Place your well kneaded dough back into your bowl.

Cover your bowl with a clean cloth and set it on your counter. Now, the natural yeast in your sourdough will go to work to make the dough rise…and all the healthy bacteria in the dough will work to break down the phytates and release the nutrients!
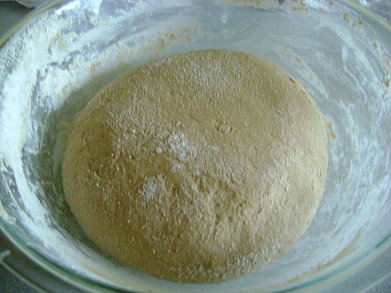
I put my dough in the bowl ready to start rising at 9:00 a.m. By 3 p.m. it had risen to about double. So this time, it took six hours for my dough to rise. In the summer you may find that it takes less time.
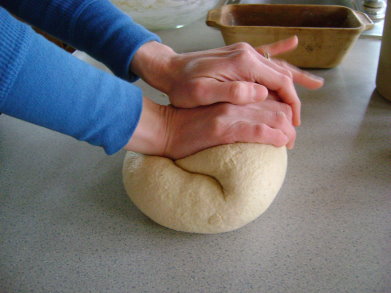
Knead your dough for a good solid five minutes. (Yay, another upper body workout.)
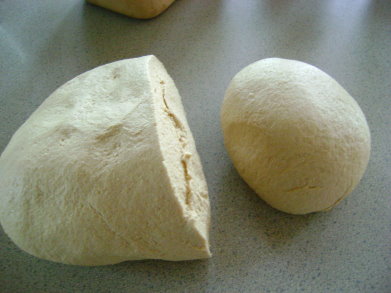
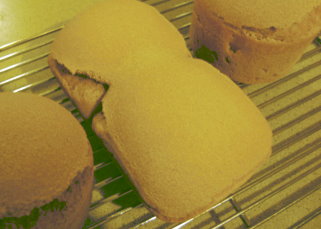
Divide your dough into three sections, using a knife to slice. (Yes, I realize this picture only shows you two sections. The picture is to show you the slice. Focus on the slice.)
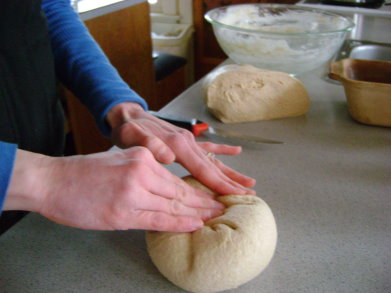
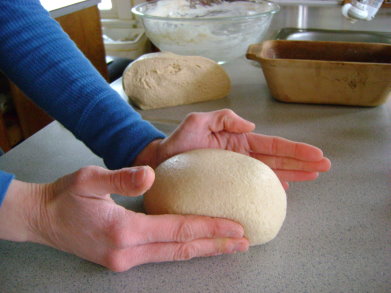
Shape your dough into balls.
Good job Asa , taking time away from your math assignment to come take pictures of your mother’s hands with the dough. Oh wait, I think I was blinking in that one.
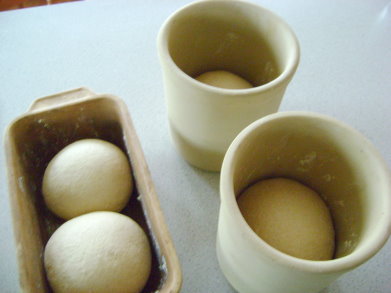
I prefer to use my round loaf pans from Pampered Chef. When I use my regular loaf pans, you’ll notice that instead of making one long loaf to fit the pan, I shape two balls and set them side by side into the pan. The sourdough rises much better this way. When you are deciding on the size of dough for your pan, think small. If you have too much dough in your pan, the bread not rise well and it will be very heavy.
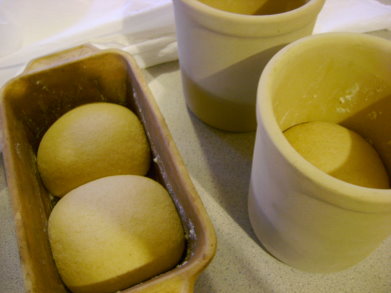
Because the sourdough has been sitting and working all day, the natural yeast in it has been activated so that the bread rising in the pans will not take as long as the initial rising of the dough. In about three hours, my bread was ready to go into the oven.
Bake your bread in a 350 degree oven for one hour or until the bread sounds hollow when you thump it.

I always have a hard time getting a “pretty” loaf of bread. The older the starter gets, the easier it will be to work with and the tastier it will be. We thought these loaves tasted great even if they were a little funny looking. The sourness was just right! In fact, it hardly tasted sour at all! (Also, I’m having trouble with the flash on my camera. I tried to fix the coloring on this very yellow original picture and this is the best I got since it is evening. I’ll keep making sourdough and keep taking pictures…hopefully I’ll be able to show you a better one soon!)
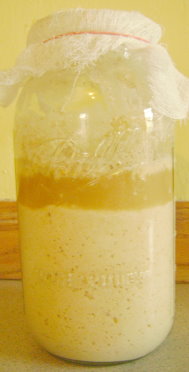
Now, the next time you want to make a batch of sourdough bread…get your starter out of the fridge in the evening. Pour it into a clean glass jar or bowl. Feed it by adding 1 cup of flour and some cold water. (You need to keep your starter fed about once a week whether you bake bread that often or not.) Place cheesecloth on top and let it sit in a warm place all night.
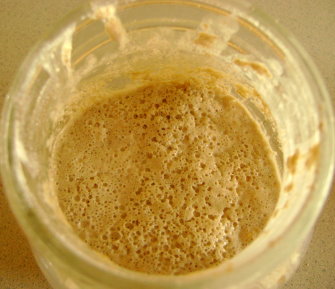
In the morning, if there are bubbles in the sourdough, indicating that the yeast has been activated, begin the above process of making a batch of bread…being sure to leave a few cups of starter in the jar for future use!
Want to figure out sourdough pancakes with me too? I’m working on it!
————————————————-


