Let us not miss the irony of the timing of this post. As you know, I currently have no oven. As great as this Stir-and-Pour Chocolate Swirl Bread recipe is, I cannot bake any right now. I made this last week before my oven died and I’m just now getting around to posting about it.
You though. You probably all have ovens. On behalf of my oven-less self, won’t you please bake this bread for your family? It would make me so happy. (My request is not completely selfish. It should also make you happy. Because chocolate. And homemade bread.)
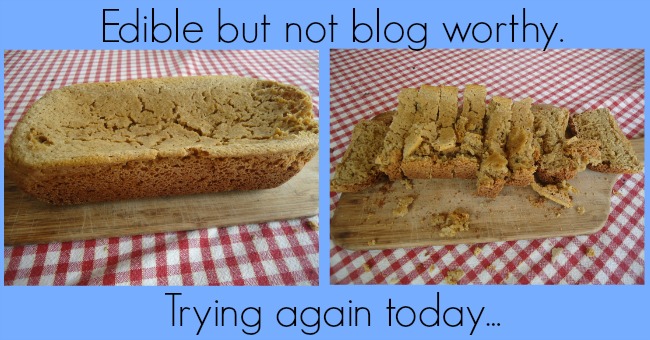
Side note: I made some measurement adjustments and tried the regular Stir-and-Pour Bread recipe in my crock pot yesterday. I figured if it works to bake quick bread in a crock pot, I could try making a yeast bread. It turned out….not great. I’m determined though. I’m gonna keep tweaking and try again. In the meantime, feel free to make fun of this way too crusty on the outside, weirdly chewy in the middle attempt at crock pot bread…
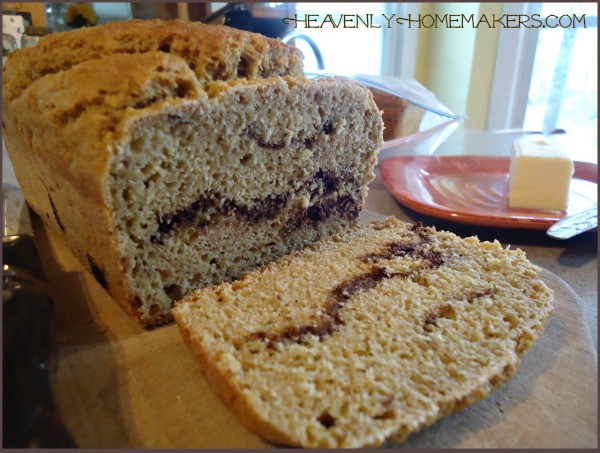
But moving on to share how to bake this Stir-and-Pour Chocolate Swirl Bread in an actual oven. This is made in a similar way to the Stir-and-Pour Cinnamon Swirl Bread. Seeing as we don’t have to knead this bread (hallelujah!) it’s a bit hard to actually roll this out and make lovely swirls. I simply layered this bread. I put one-third of the dough into the pan, then spread on 1/2 of the chocolate layer. Then I spread in another third of the bread dough, and spread on the remaining half of the chocolate. Finish by spreading on the last of the bread dough. Bake. Slice. Eat. Appreciate the fact that you have an oven. Amen.
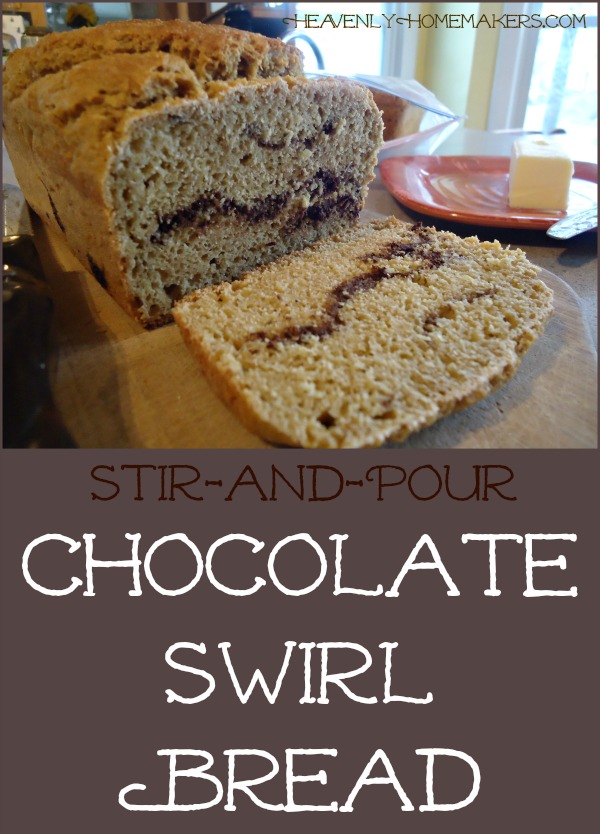
Stir-and-Pour Chocolate Swirl Bread
- 4 cups whole wheat flour (I use freshly ground hard white wheat)
- 2 teaspoons active rise yeast
- 2 Tablespoons sucanat or sugar or honey
- 1 teaspoon sea salt
- 2 cups warm water
- 3 Tablespoons honey
- 2 Tablespoons unsweetened cocoa powder
- 2 Tablespoons milk or water
- Stir together flour, yeast, sucanat, salt, and water.
- Cover and allow it to sit for 30 minutes.
- In a small saucepan, cook and stir together the honey, cocoa, and water until smooth.
- Remove from heat.
- Pour ? of the mixture into a well-buttered loaf pan.
- Spread ½ of the chocolate mixture over the dough.
- Spread another ? of the dough over the chocolate layer.
- Sprinkle remaining ½ of the chocolate mixture over the dough.
- Spread remaining dough over the top.
- Bake in a 350° for 50-60 minutes or until evenly browned.
- Allow it to sit in the pan for 15 minutes.
- Remove the loaf to let it cool completely before slicing.
Other Stir-and-Pour Bread variations include:
- Stir-and-Pour Sandwich Bread recipe.
- Stir-and-Pour Rolls
- Stir-and-Pour Pizza Crust
- Stir-and-Pour Cinnamon Swirl Bread
Raise your hand if you love this Stir-and-Pour Bread and all the greatness it offers!!

Okay, so the other day I made stir and pour sausage bread. I totally thought of you, but wrestled internally with telling you about it whilst you are oven-less! After this post, I have decide that you are mom enough to handle it, so here’s the next thing you should try layering in this recipe: about a quarter pound of sausage crumbles (cooked) and some (a cup?) shredded cheese (sharp cheddar tastes great but others would work.) I just made a half of the bread recipe to fill one loaf pan. I’m positive you will love it :)
Are you even kidding me? That sounds amazing!!!!! As soon as I am an oven mom again, I am making this!!!!
I haven’t tried bread, but I make muffins and cookies in my waffle iron. In fact, I just mixed some sugar cookies together and made them for the kids to have after nap. Maybe that will help your baking urge until the new oven is installed!
Wow, genius! I am sooo trying this!
I tried the original stir and pro bread but my loaf came out squatty, super dense and still kind of wet. Had no lift to it at all. What am I missing?
Very strange, I’m not sure what would have happened! Did it rise well during the 30-minute rise time after you stir it together?
I did let it rise, but all I had on hand was bread flour. Would that have made the difference?
Yes, I would imagine that would have made a difference since it wasn’t just straight flour. I’m not sure what else is included in “bread flour” though!
I was oven-less, a year or so ago, for about 2 months. Thankfully I had a new, in the box toaster oven in my basement that I just never made room for in my kitchen. I cleared the countertop and used the toaster oven for everything oven related, including a small Easter ham! It worked great, and I was SO thankful for an oven alternative!
I’m also thankful for YouTube, where my husband and I learned what was wrong with our oven, which part to order, and where to order it from, and finally, how to replace the part in our oven. Worked like a charm, and probably saved us a few hundred bucks, if we had called in a professional.