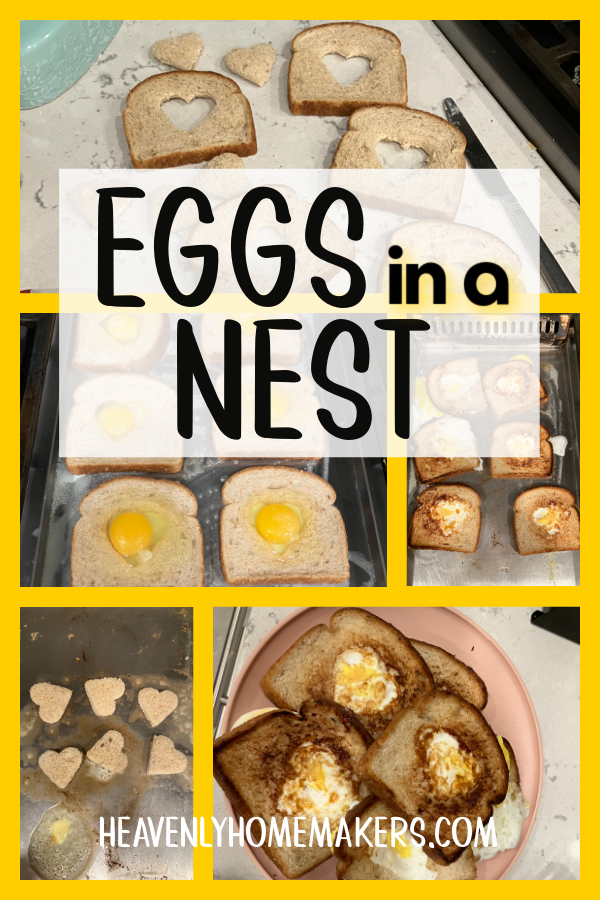
You probably already know this little trick. But if not, here’s how to make eggs in a nest!
I go in phases of making these, mostly because I forget about them. So I figured I would post about this idea here as a reminder to all of us that this is a great and easy breakfast, lunch, snack, or supper!
Eggs in a Nest are fun because you can use a cute cookie cutter to remove the center of the bread. I’m told by experts (my children) that a cute center makes these taste even better. And here I thought it was the melted, browned butter that took them up a notch.
How to Make Eggs in a Nest
This isn’t as much of a recipe as a little tutorial on “how I make this food.” Ingredients needed?
- Bread
- Eggs
- Butter
- Sea Salt
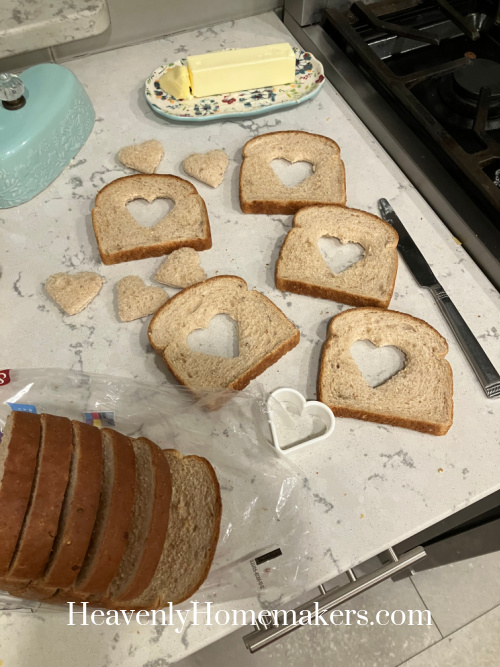
Step One: Cut out the center of a slice of bread with a small cookie cutter.
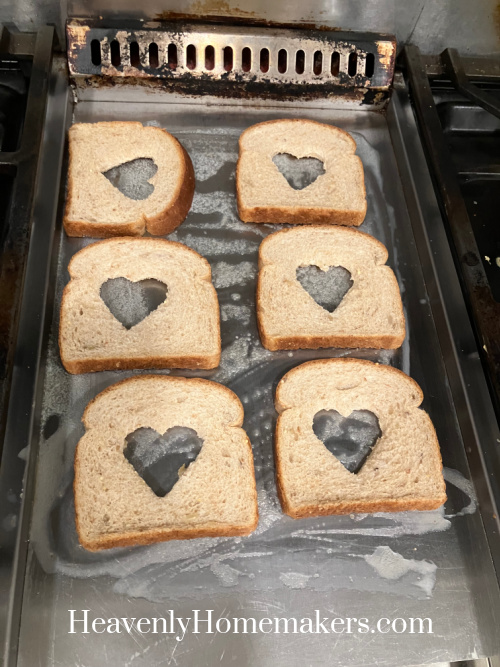
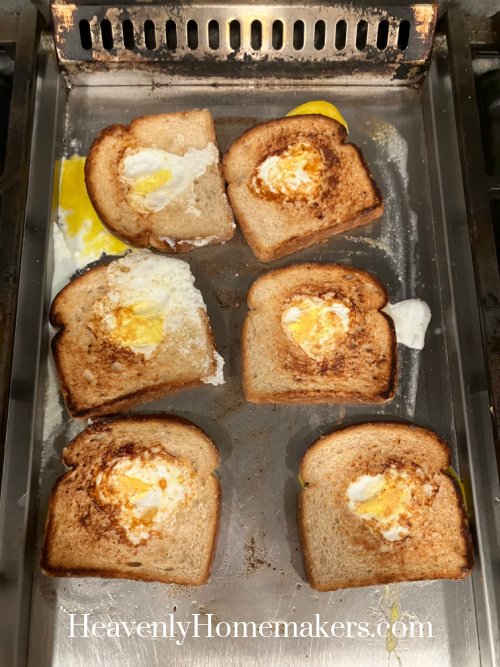
Step Two: Melt butter in a skillet or on a griddle. Put prepared bread onto the melted butter.
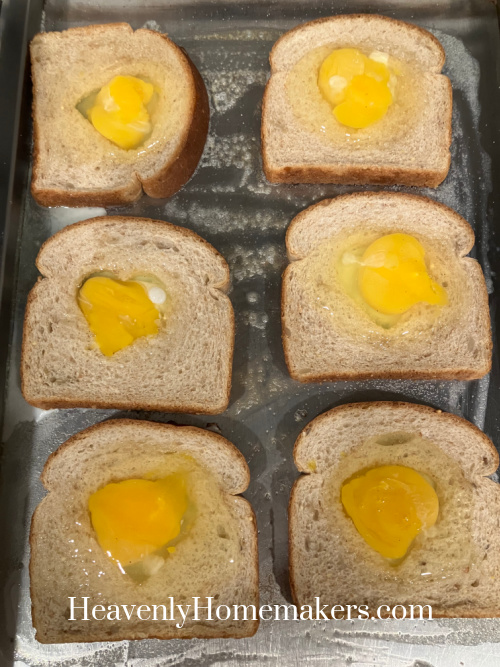
Step Three: Crack an egg into each hole.

Step Four: Sprinkle salt over each egg. Poke the yolk if you don’t like your eggs runny.
Step Five: Allow the eggs to cook for 2-3 minutes, then flip the bread/egg to cook the second side to finish cooking.
And that’s it! One of my tiny, very picky girls likes these so much she will eat three of them for breakfast!
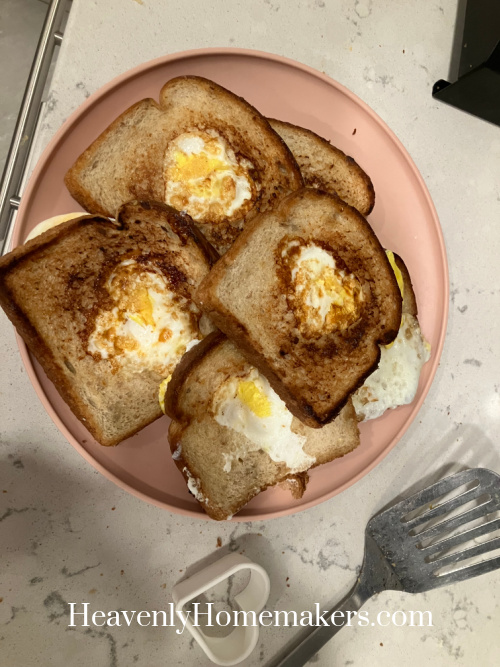
Some of my other tiny picky children skip the Eggs in a Nest and go right for the center pieces. After I cook the above mentioned breakfast, I use the inside cut outs to make buttered toast on my griddle. These get gobbled up so fast that I’ve learned to cut an entire loaf of bread into small shapes and toast them on the griddle for our kids to enjoy.

Do you make Eggs in a Nest? Do you call them something different?