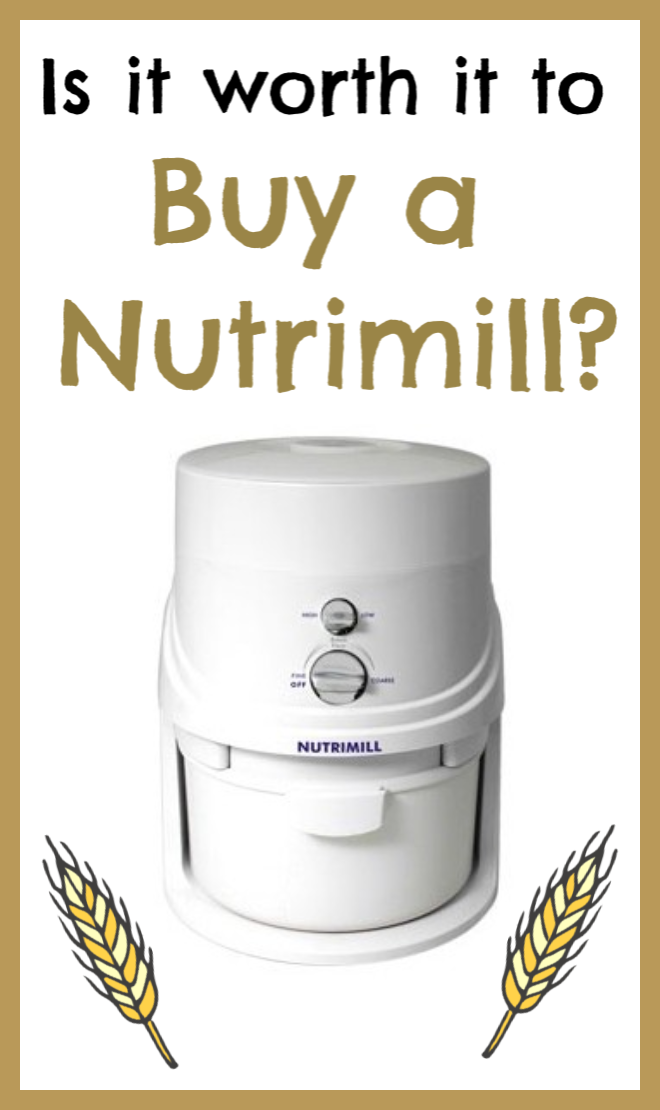
After sharing my thoughts about buying a Nutrimill and grinding fresh flour for homemade bread, I thought it would be fun to make a list of the easiest whole wheat bread recipes I love and recommend.
We’ll start from the “hardest” recipe to the easiest – but I put that in quotes because once you get the hang of making bread, it definitely isn’t difficult in the least. Still, you’ll see that the final recipe I share requires no kneading and is so easy that a three-year-old can make it. There’s video to prove it! So I suppose these recipes will go in order of more detailed to practically effortless. And with every recipe, the end result is amazing homemade bread!
Easiest Whole Wheat Bread Recipes
I first shared this recipe back when my 4th son was little enough to sit on the countertop. He’s taller than me now and has to shave once a week, so that tells you how far our family and this site has come.
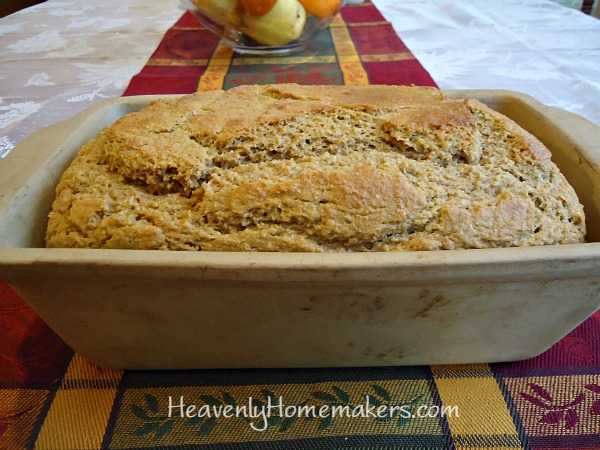
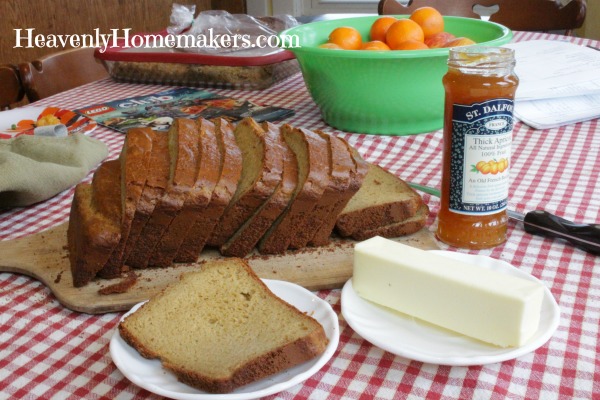
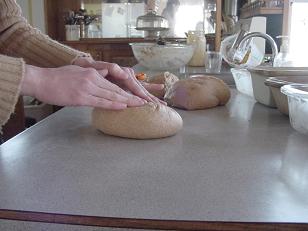
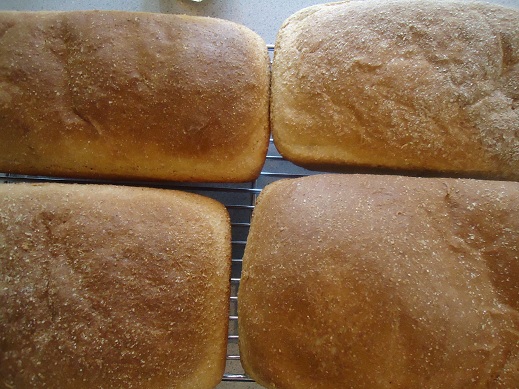
Either way, this Honey Whole Wheat Bread recipe is wonderfully delicious, calls for only 6 simple ingredients, and is delightful when made with freshly ground hard white wheat. I highly recommend that you click over to read the recipe and the details as you will find:
- A step-by-step guide for making homemade bread
- A video showing how to knead bread dough
- A video showing how to shape a nice loaf of bread
Get our Honey Whole Wheat Bread recipe here!
2. Monkey Bread
If you want to use the above mentioned Honey Whole Wheat Bread recipe to make cinnamon-sugar rolled Monkey Bread, you should click over to get all the details! Our older four boys were all so small then, helping me and making messes.

Get our Monkey Bread recipe here.
Want to know how much fun it is to make Pita Bread? You should try this easy recipe! Again, this one calls for just 6 basic ingredients, and it is deliciously fun to watch them puff up in the oven!
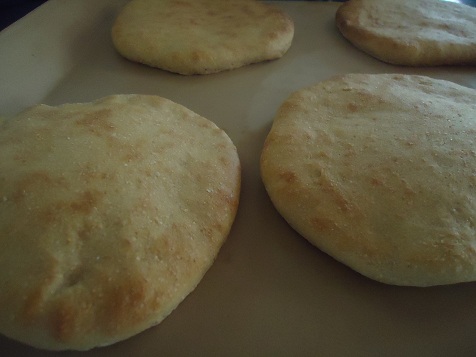
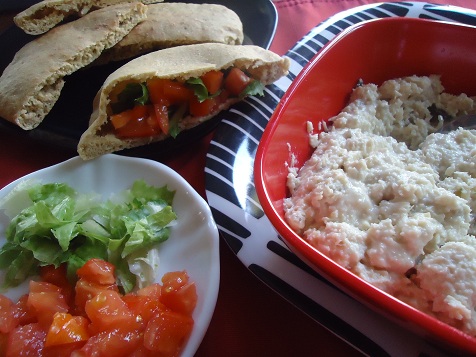
Get our Easy Whole Wheat Pita Bread recipe here.
4. Easy Overnight No-Knead Yeast Bread
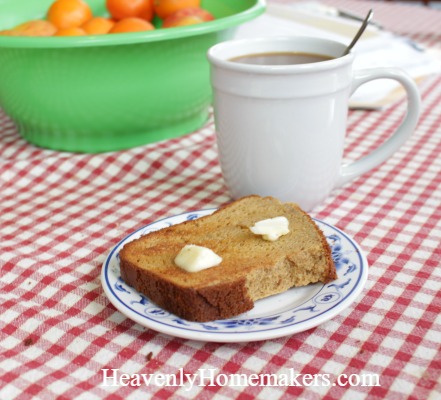
This is a super fun way to enjoy homemade bread for breakfast without much effort! Mix it up the night before, bake it in the morning. It’s fantastic!
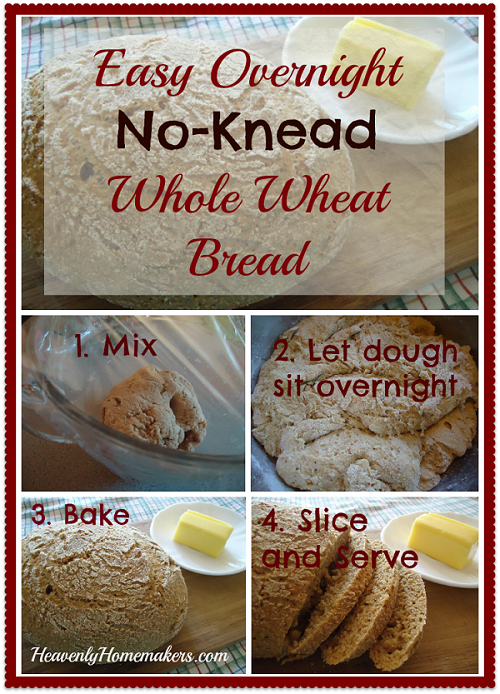
Get our Overnight No-Knead Whole Wheat Bread recipe here.
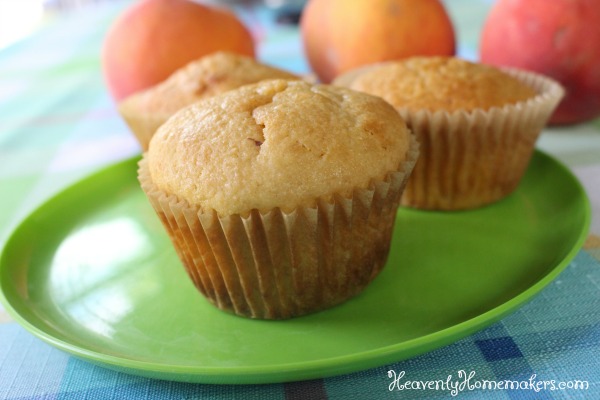
5. One-Hour Whole Wheat Yeast Rolls
You’re beginning to think I’m lazy, huh? Hey, when we can make homemade bread and rolls without having to break a sweat, who am I to argue? And when we can have homemade rolls in one entire hour without much work? Everyone wins.
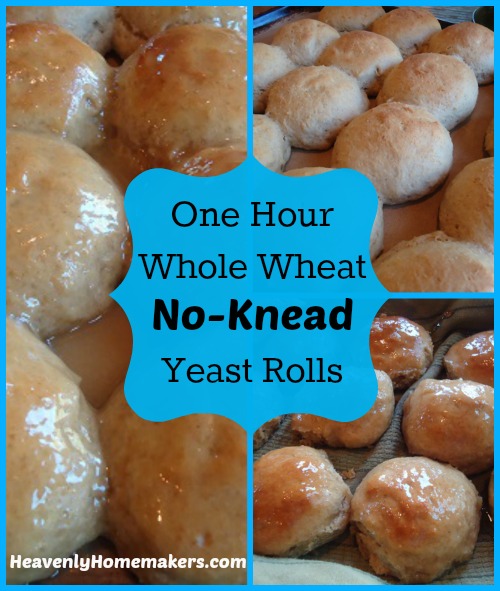
Get our One Hour Whole Wheat No-Knead recipe here.
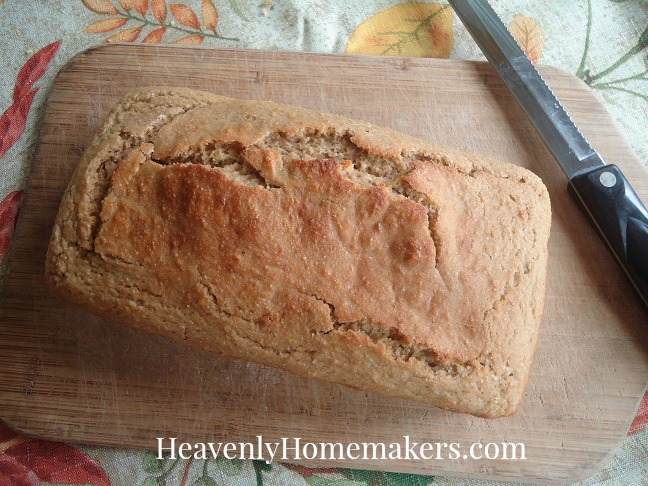
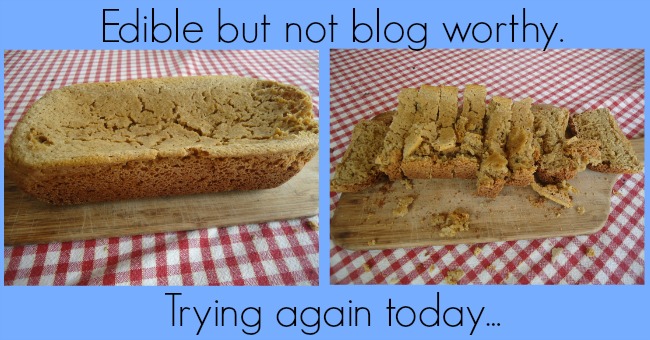
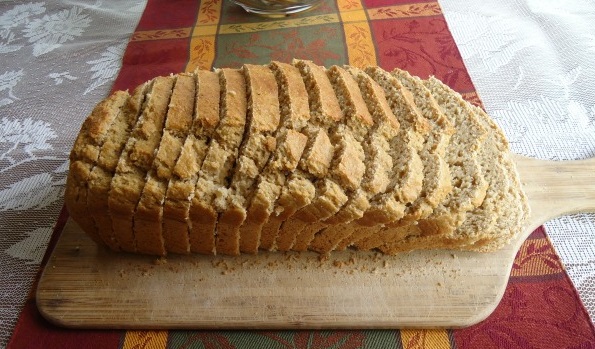
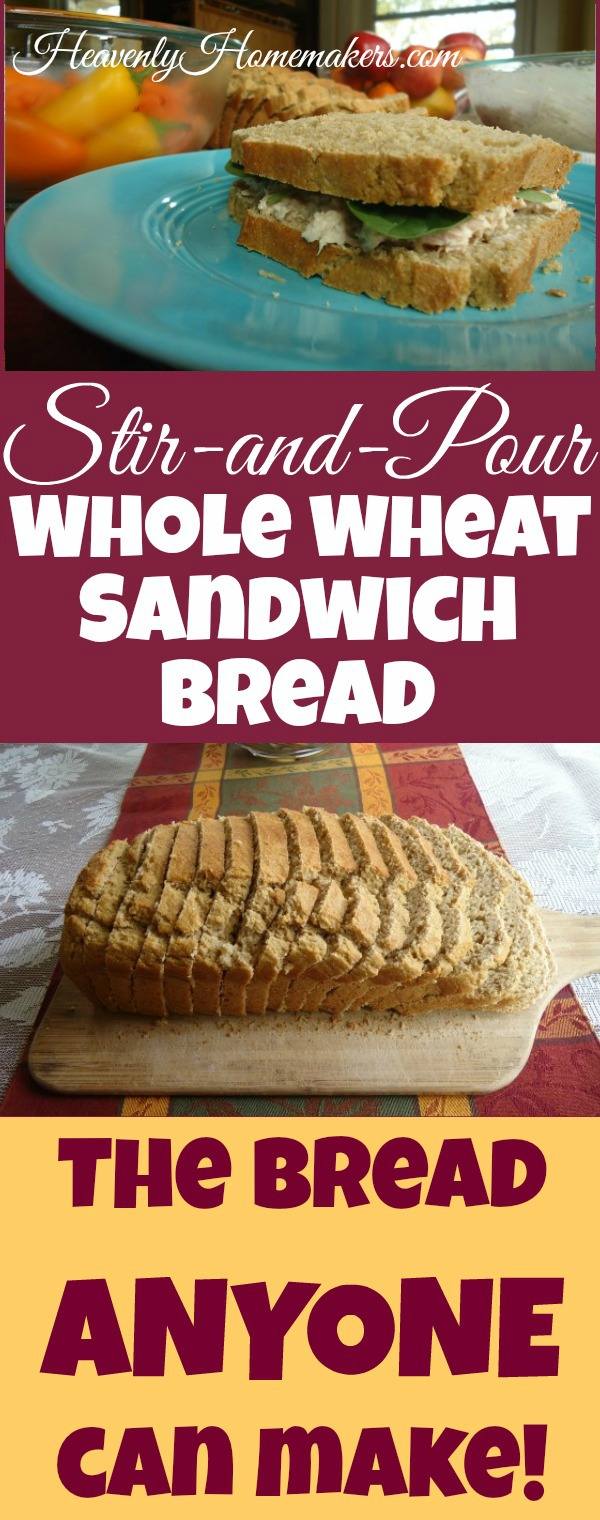
6. Stir-and-Pour Whole Wheat Bread
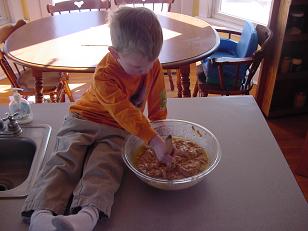
This is the one I was telling you about earlier – it’s so easy a 3-year old can make it!
I’ve started making this recipe almost exclusively now simply because I don’t have to do any work to have homemade bread for my family! Mix the ingredients, pour it into a baking pan, bake it, and have homemade bread. What could be better or easier?
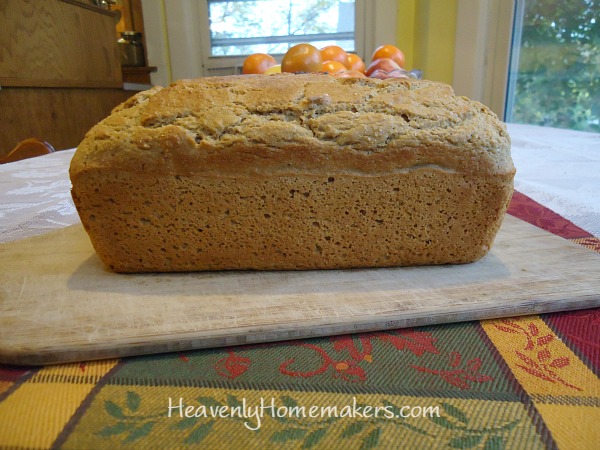
Get our Stir-and-Pour Whole Wheat Bread recipe here.
More fun Stir-and-Pour bread variations:
- Stir-and-Pour Rolls
- Stir-and-Pour Pizza Crust
- Stir-and-Pour Cinnamon Swirl Bread
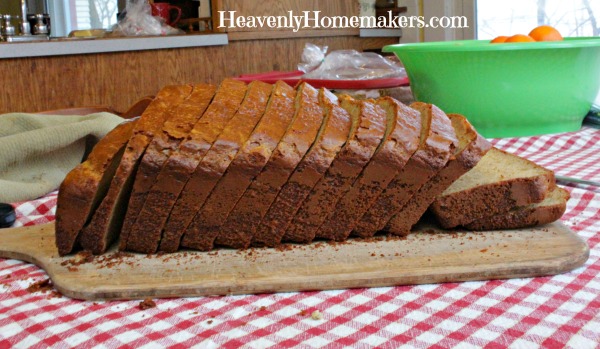
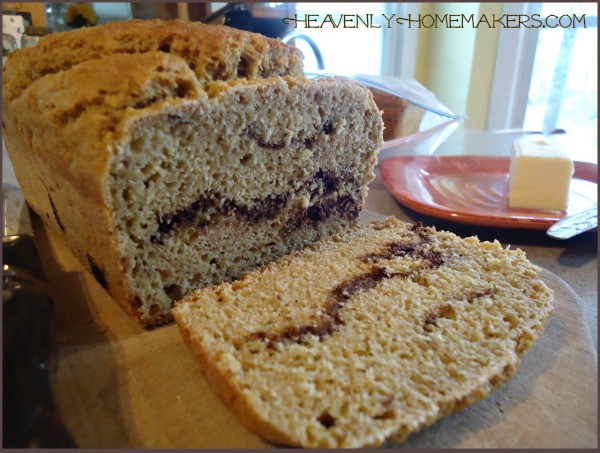
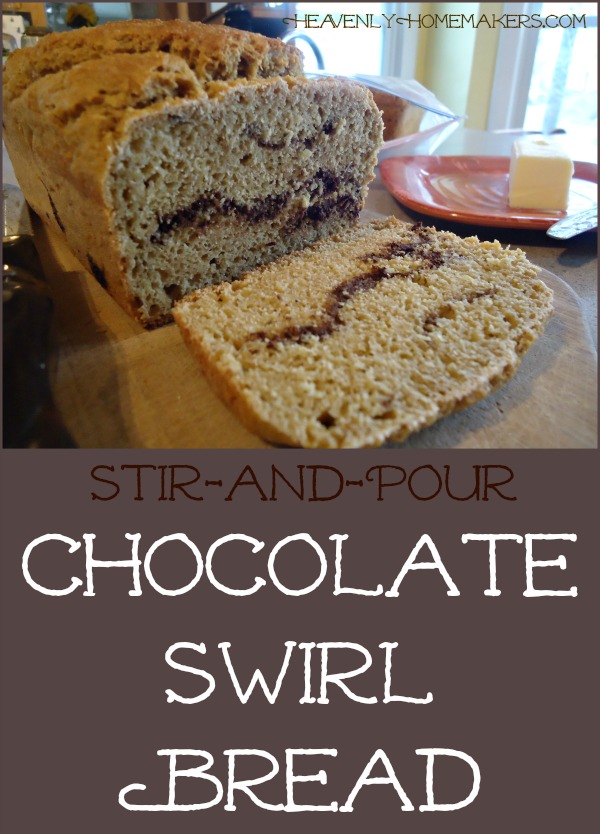
- Stir-and-Pour Chocolate Swirl Bread
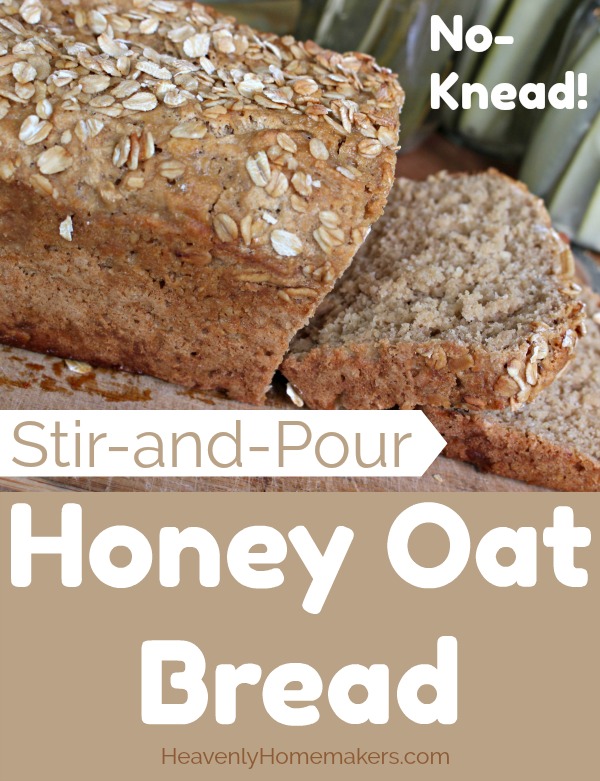
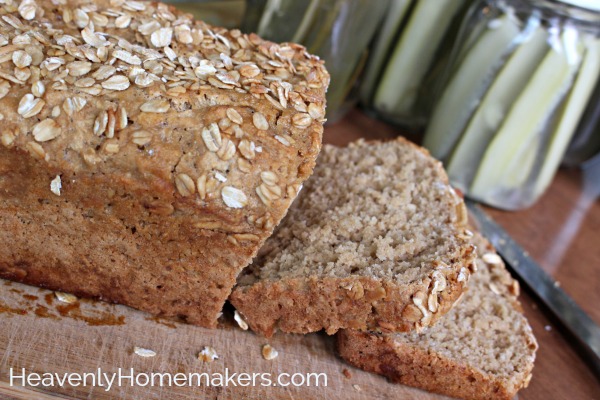
- Stir-and-Pour Honey Oat Bread
As fall approaches, I’m getting pretty excited to start baking again. My family probably won’t mind. ;)
What are your favorite easy bread recipes?