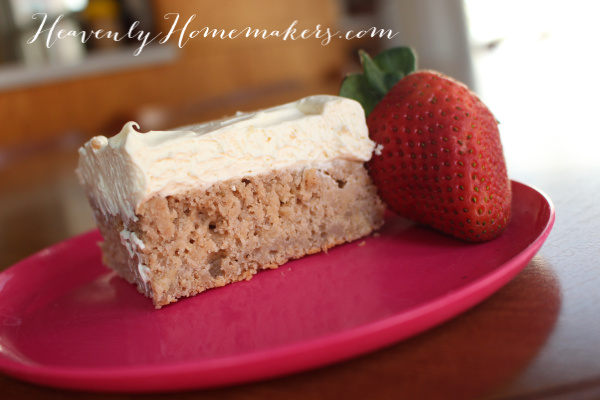
There are so many wonderful reasons to love the month of May. The school year ends (for most), the frigid weather finally becomes pleasant (in Nebraska), and strawberries are everywhere (in bowls, in plates, in my hand…). I will now introduce you to my most recent recipe experiment involving strawberries: Easy Low Sugar Strawberry Cream Cheese Cake.
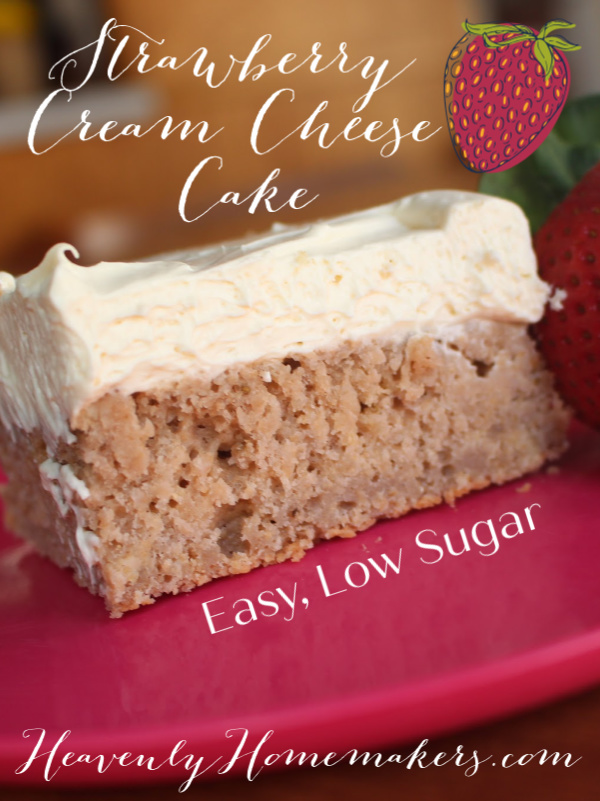
This cake is moist. It’s flavorful. It’s low in sugar. It’s whole grain. It offers the wonderful taste of early summer joy. And friends, it is topped with Cream Cheese Frosting. I declare that to be the MVP of this cake – along with the strawberries, of course!
Cutting Back on Sugar
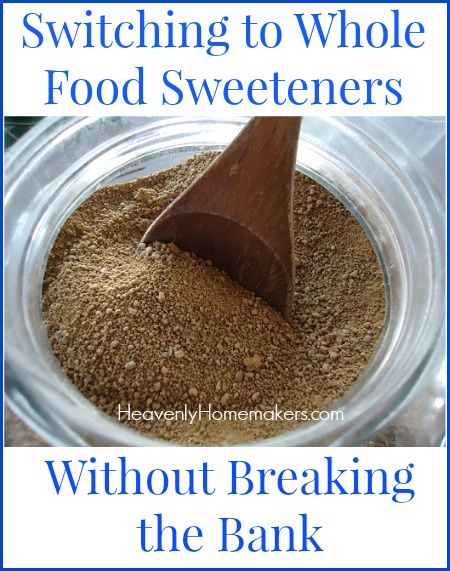
If you’ve been around here long, you know that I’ve taken the liberty of cutting down the sugar in many recipes, making sure they still taste amazing. I believe a lower sugar ratio is something we can get our taste buds used to! I recommend cutting back on sugar gradually, starting with homemade desserts and muffins.
Hoping to cut back on sugar? Read some simple ideas here to help make that happen!
And now, I reward your cutting-back-on-sugar efforts by giving you this recipe:
Easy Low Sugar Strawberry Cream Cheese Cake
- 2½ cups whole wheat pastry flour
- ½ cup sucanat or sugar
- 2 teaspoons baking powder
- 1½ cups fresh or frozen strawberries
- ½ cup milk
- ½ cup sour cream
- ½ cup melted butter
- 2 eggs
- 1 teaspoon vanilla extract
- Combine dry ingredients in a bowl.
- Puree strawberries until smooth.
- Add pureed strawberries, milk, sour cream, melted butter, eggs, and vanilla.
- Mix with beaters until smooth.
- Pour into a buttered 9x13 cake pan.
- Bake in a 350° oven for 25-30 minutes or until a toothpick inserted in the middle comes out clean.
- Allow cake to cool.
- Frost with Cream Cheese Frosting (recipe options below)
Want to keep the frosting low in sugar too?
Here are my favorite Low Sugar Cream Cheese Frosting recipes!
Stevia-Sweetened Cream Cheese Frosting
2 cups heavy whipping cream
2 Tablespoons softened butter
8 ounces softened cream cheese
1 teaspoon vanilla extract
Liquid stevia to taste (I use about 20 drops)
In a large bowl, whip cream until soft peaks form. Add softened butter, cream cheese, vanilla, and stevia – whipping until well combined and smooth. Spread over cooled cake. Store in refrigerator.
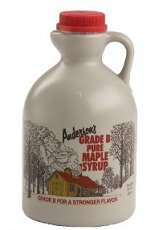
If you prefer, here’s a slightly sweeter but still not too sugary frosting option:
Maple Cream Cheese Frosting
8 ounces softened cream cheese
¼ cup softened butter
3-4 Tablespoons real maple syrup
1 teaspoon vanilla extract
With a hand mixer (or in your blender), whip together all ingredients until smooth. Spread over cooled cake.
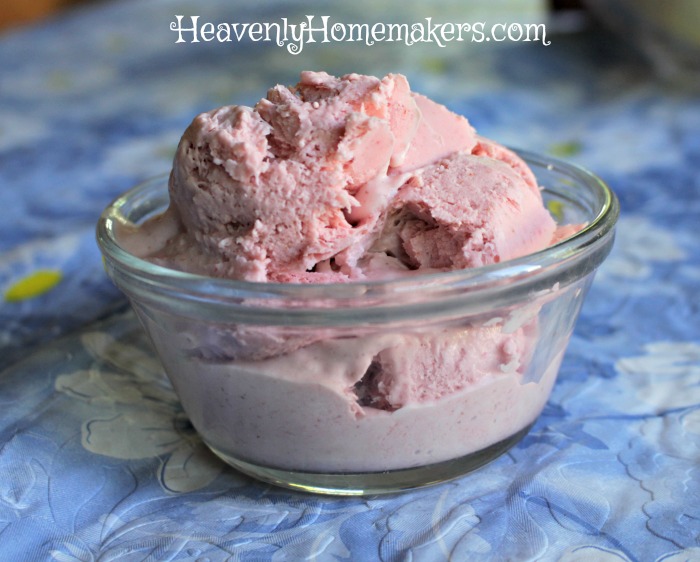
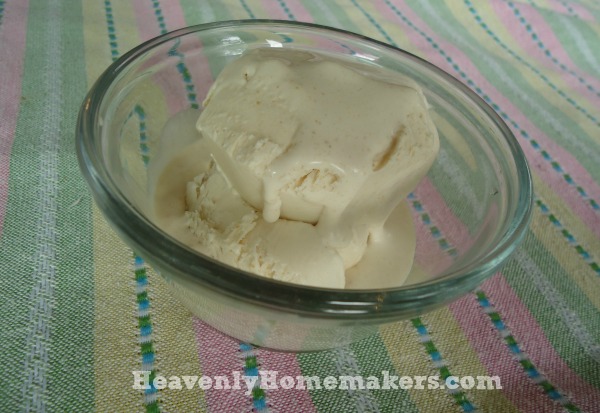
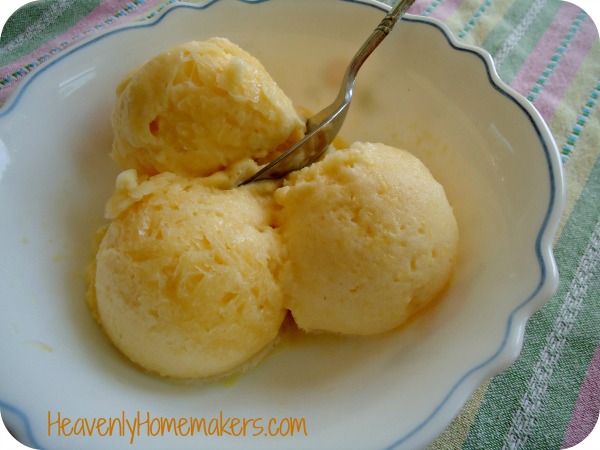
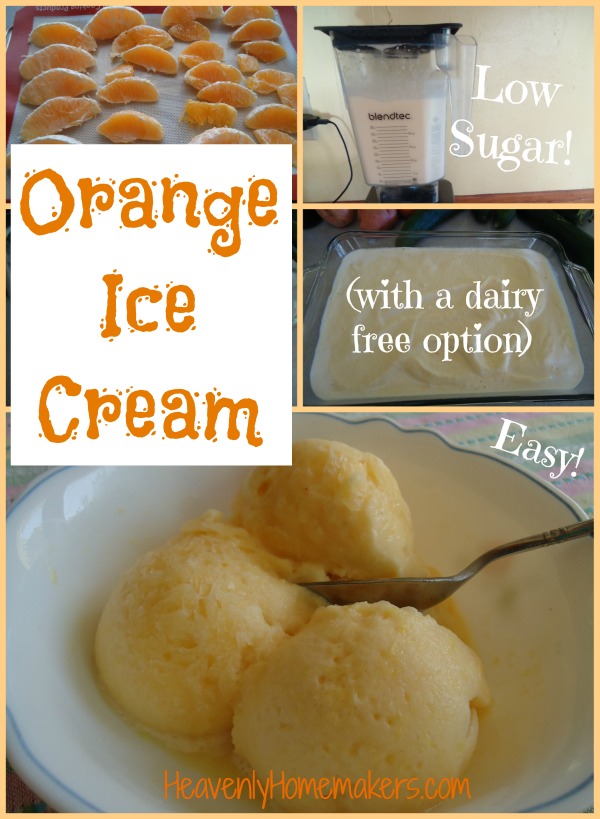
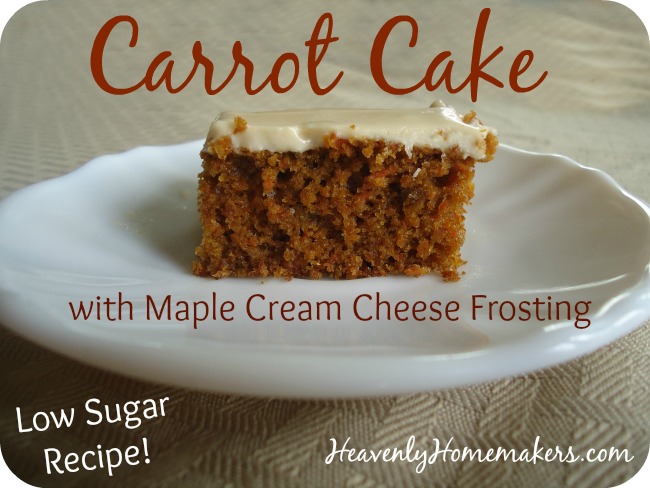
Looking for more Low Sugar Recipes?
Here are just a few of our favorites!
- Easy {Low} Sugar Cookies
- Low Sugar Lemon Melt-Away Cookies
- Low Sugar Almond Melt-Away Cookies
- Low Sugar Orange Melt-Away Cookies
- Low Sugar Lime Melt-Away Cookies
- Low Sugar Strawberry Cheesecake Parfaits
- Low Sugar Chocolate Fudge Cookies
- Low Sugar Chocolate Cheesecake Parfaits
- Low Sugar Pumpkin Cheesecake Cups
- Low Sugar Sunshine Cake
- Low Sugar Super Moist Chocolate Cake
- Coconut Fudge Bars
- Low Sugar Lemon Loaf
- Low Sugar Oatmeal Cookies
- Low Sugar Peanut Butter Cake with Peanut Butter Frosting