This Almond Melt-Away Cookies recipe is a direct result of me sharing my Low Sugar Lemon Melt-Away Cookies and several of you saying, “Sounds good! I think almond extract would be a great idea to try in these cookies too!”

Thanksgiving and Christmas happened in the meantime – so three months later, it took me five minutes to try your idea. No sense rushing into anything.
I was also waiting to see how my attempt at Homemade Almond Extract would turn out. What a bummer. Making Homemade Vanilla Extract is a total no-brainer so I was hoping almond extract would be the same. I soaked the nuts in vodka as recommended by several sites, then I even simmered off some of the alcohol – but it didn’t turn out extract like I’m used to using. Then I looked at the ingredients on my purchased extract and there is “almond oil” included. Is that what gives my purchased extract the yummy smell and flavor? If any of you have successfully made Almond Extract, will you please share all your secrets?!
In the meantime, taking my basic Easy {Low} Sugar Cookie recipe and adding different flavors has been super simple and yummy. Here’s a quick link list for you:
- Easy {Low} Sugar Cookies
- Low Sugar Lemon Melt-Away Cookies
- Low Sugar Orange Melt-Away Cookies
- Low Sugar Lime Melt-Away Cookies
- And now these…
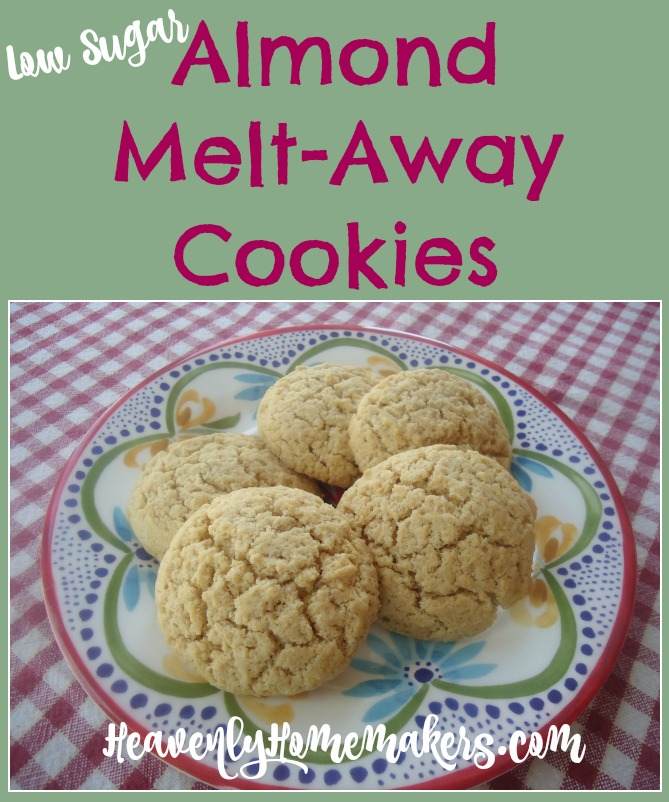
Low Sugar Almond Melt-Away Cookies
- 1 cup melted butter
- ½ cup sucanat or raw sugar
- 2 eggs
- 1 teaspoon vanilla extract
- 2 teaspoons almond extract
- 1 teaspoon baking powder
- 3 cups of whole wheat pastry flour (give or take)
- Stir together melted butter and sugar.
- Add eggs, extracts, and baking powder.
- Stir in flour until a solid ball of dough forms.
- Drop teaspoon-sized balls of dough onto a cookie sheet, about an inch apart.
- Bake in a 350° oven for 10-12 minutes or until cookies are lightly browned.
I learned on accident that you can forget the eggs in these cookie recipes and while they are a bit more crumbly, they are still great! Just a little bonus for those of you who have to avoid eggs.
I love it when I can cut the sugar so drastically in a recipe and my kids can’t tell a difference. These are perfectly sweetened and the almond extract makes them taste fancy with no additional effort!
I should also mention that these lightly sweetened cookies taste amazing with a steamy cup of coffee or a cold glass of milk. Ah, life’s simple pleasures. :)


 Low Sugar Christmas Cookies