Let me guess. You assume I’m going to say something about margarine. Maybe high fructose corn syrup. Crisco, perhaps?
Aww, you know me well. You know I yell about avoiding those harmful ingredients. But that’s not actually what I want to talk about today.

Today I’m not going to give you a list of do’s and don’ts about eating. Today’s advice is much simpler. It’s this:
If you want to consistently eat healthy meals and snacks, stay away from complicated recipes.
I can’t emphasize this enough. Every once in a while I meet someone who truly thrives on challenging recipes with multiple steps. But mostly I find that complicated recipes make people frustrated and overwhelmed, then they quickly give up on healthy eating and fall back into patterns of eating out and grabbing cheap, empty, convenience food.
I don’t even blame them. When I see a recipe with a long list of ingredients and a bunch of detailed instructions, my brain explodes. This, from someone who loves to cook.
Here’s a little example of what I’m talking about: Do not tell me to separate my egg whites from their yolks, whip them until they are frothy, then gently fold them into my waffle batter. No. I will not. The people need their waffles! There is life waiting for us just on the other side of breakfast and taking time to froth my egg whites is something I only do at Thanksgiving when there is meringue for a cream pie involved. Instead, I always quickly whisk my waffle ingredients together all at once – whites and yolks and all – and would you believe it? The mixture still turns out amazing waffles.

If the kitchen is intimidating to you, if you have a busy schedule, and if you want to eat consistently healthy, day after day…
Relax and make your meals as simple as possible.
If I hadn’t figured out how to make healthy meals simple, I would have given up long ago. There really is too much to do outside the kitchen. Through the years, I’ve pared down and reshaped my cooking style so that most often our healthy meal is on the table within just 15-20 minutes. But it’s amazing how much variety we get and how nourishing our meals are.
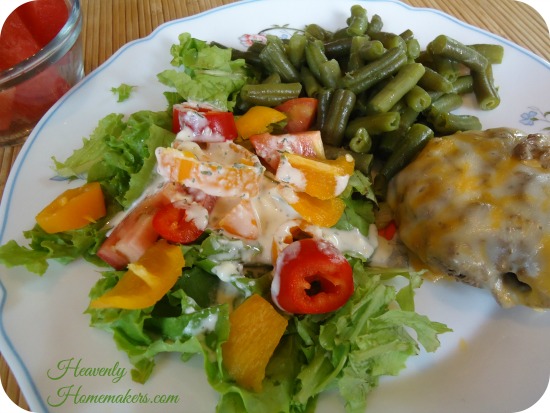
I credit this to the fact that I’ve restructured most of our meals to look like this:
- Simple main dish (often made ahead of time; sometimes quickly thrown into the crock pot earlier in the day)
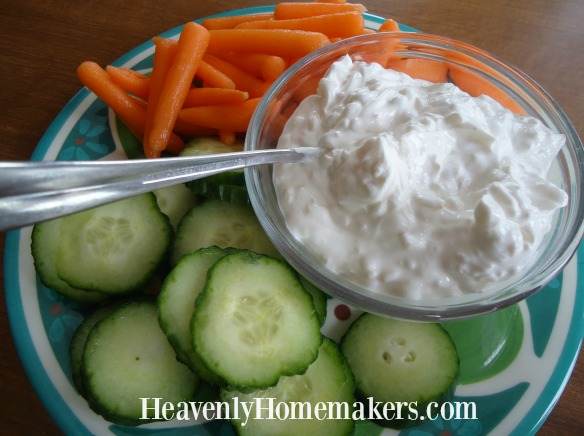
- Tossed salad, straight from the container
- A steamed veggie, which at most, took five minutes of prep work
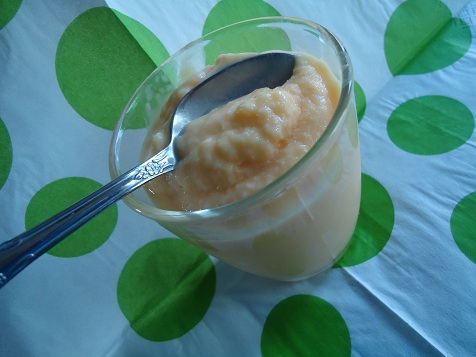
- Fresh fruit, washed and if necessary, sliced
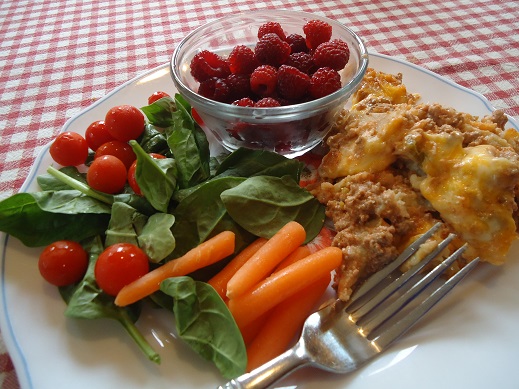
See how pretty? See how simple? Not to mention all I’ve done is set out the food (still in their pans) and salad fixin’s and everyone fills their own plate. We work together to cook it, we work together to clean it up.
This is what Simple Meals are made of. They are delicious and stress-free. They are balanced. They aren’t messy. They do not require you to froth your egg whites.
If you’re into healthy eating and want to do this consistently, stick with me here. I’m constantly working to simplify my recipes and menus to save all of us time (and money, which is a lovely bonus). Find all of the hundreds of recipes I’ve shared so far here. And…
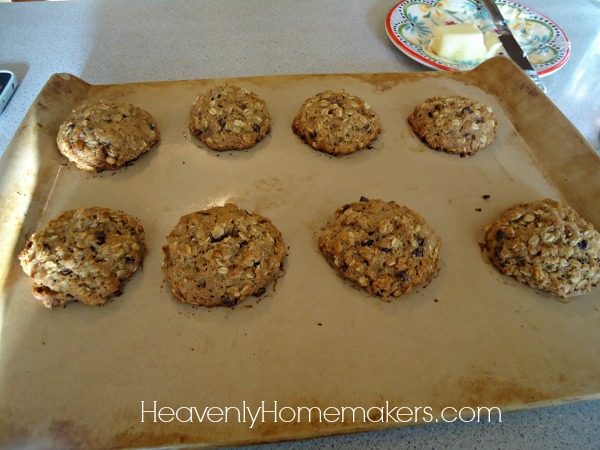
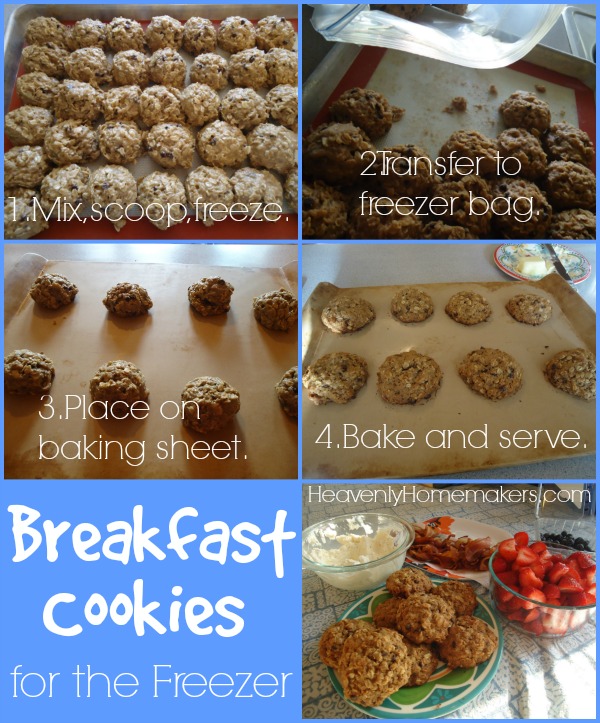
Introducing Simple Meals!
Get all the details about Simple Meals here. You’ll be amazed at how these meal plans with simplify your kitchen life, help you be efficient, and take away stress over what to feed your family each night.
Each week your Simple Meals Planning Packet contains recipes and a grocery list for these categories of Simple Meals:
- No-Thaw Night Forgot to thaw meat? No problem, this is the meal you can fall back on!
- No-Trouble Night Limited on time? This one will come together quickly!
- Crock Pot Night Start this one earlier in the day, then sit down and eat, simple as that!
- Made-Ahead Night This recipe was simple to make ahead of time, so all you have to do is heat and eat!
- Build-It-Yourself Night This weekly suggestion will give you a fun idea of how you can put together a quick “buffet” for each person to build a plate or bowl to their liking!
- Savor-It Night This recipe is for the night you have a little extra time to cook, but don’t worry. The recipe is still as simple as can be!
The seventh night you can plan your family’s favorite, leftovers, or a night off from cooking.
Want to see a sample Simple Meal Plan to be amazed at all it includes each week? Grab a fully week’s sample here!
Breathe New Life into Your Meals!

Since we launched Simple Meals last October, we’ve loved hearing your feedback about how it’s been helping your families breathe easier.
Allison “I can’t thank you enough for your meal plans! They have literally breathed new life into our meal time!”
Anne “What a brilliant idea. We are so impressed!”
Kim “We love getting your Simple Meals plan every week!”
Knowing that Simple Meals truly is helping people win back family time, spend less time planning and cooking, all while still putting great real food meals on the table is so very encouraging to us!
Family time comes first, and I’m excited to make it even easier for all of us to make this a reality!