I don’t even know where to start.
I suppose the best would be to share how thankful I am for how all of this came together. The idea came from prayer, and the most exciting part of the project is knowing how many, many families are going to be blessed by this (in great part, because of you – keep reading!).

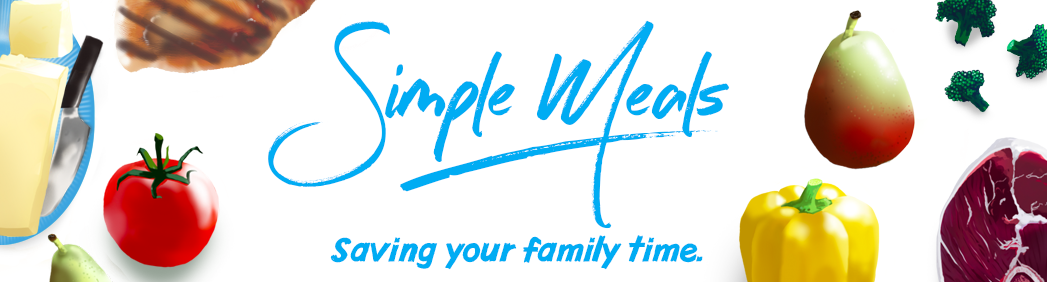
Are you wondering what Simple Meals is?
I can finally tell you.
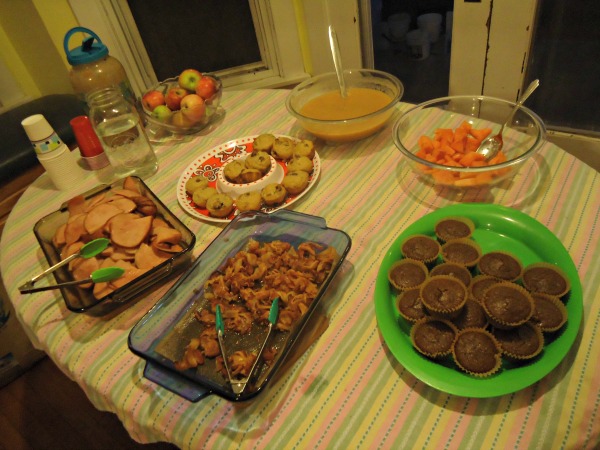
Simple Meals is a program we’ve set up for every family who wants:
- To consistently enjoy simple, family-friendly, real food meals that taste great but don’t take much time to prepare
- More relaxed evenings
- Less daily stress
- Less time in the kitchen
- More time to enjoy one another
What exactly is this Simple Meals project we’ve put together that meets all these needs (and more)? Well. It’s really going to WOW you.
Just wait till you see everything you get for less than $1.00 per week! On top of that, we’re going to give you a lovely pile of bonuses. And even more amazing? We’re going to tell you how you will earn $10 cash for every single person (with no limit!) you refer who joins the Simple Meals program!

—>All of the information about Simple Meals can be found here. <—
You’ll want to click over and get all the info about how this works, what all it includes, and how you can earn money by sharing it.
Mostly we’re excited because of how this is going to save your family time. But the additional benefits are huge! All the details are here.
Simple Meals is a great big service for a tiny little price. Join the Simple Meals family! You’re going to love it!
Tell me all about Simple Meals!
P.S. Nothing about the Heavenly Homemakers site changes. Access to the site is still absolutely free. All of our recipes are shared freely. More Simple Recipes are in the works. I’ll continue to share posts and encouragement and recipes as I’ve always done. Simple Meals is above and beyond, and I know I just said this, but truly, you are going to love this!


![gratituesday[2]](https://www.heavenlyhomemakers.com/wp-content/uploads/2014/01/gratituesday2.png)


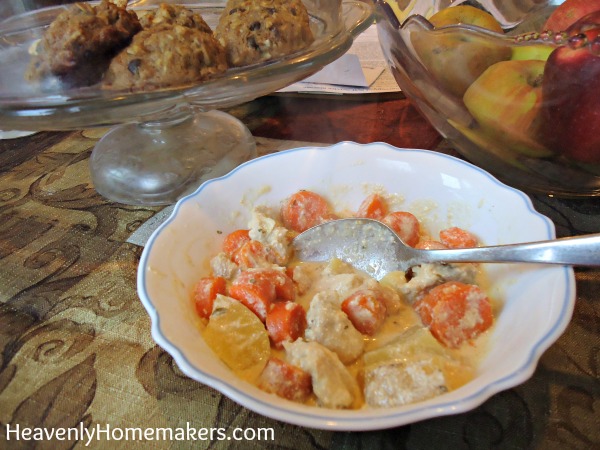
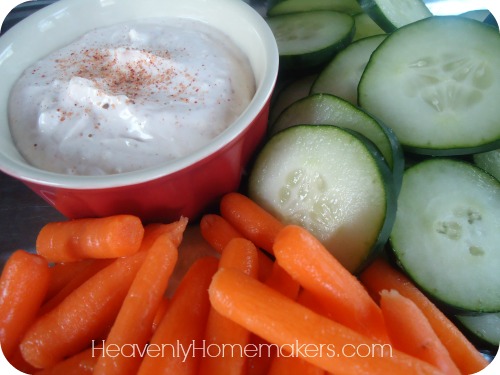
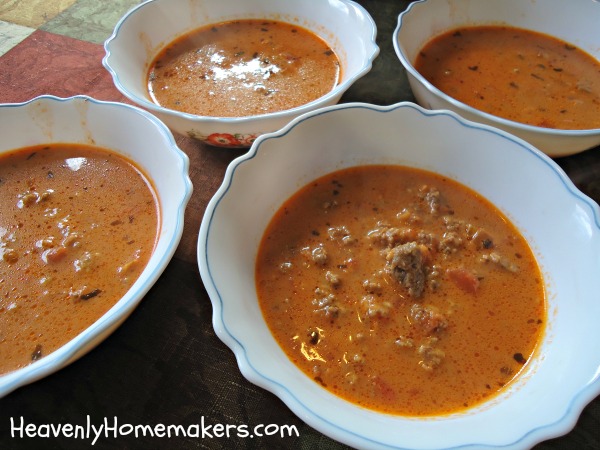
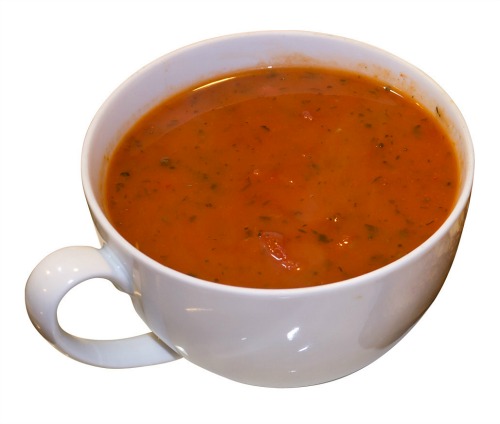 This soup! I don’t think I’ve ever made one that takes less effort or energy. I didn’t even thaw the chicken ahead of time. I had all four ingredients already in my home because I almost always have: