We thought you might like a simple snack that is a little bit sweet, a little bit salty, and obviously, a little bit nutty. Everyone likes to be a little bit nutty sometimes. So how about some Sweet and Salty Almonds or Pecans?
When I first decided to experiment with this recipe, I planned to surprise Matt with Sweet and Salty Almonds after he’d put in a hard day’s work. So I searched the pantry. No almonds. I searched my freezer. No almonds. I searched my other freezer. No almonds. I searched my other freezer. (I have a lot of freezers.) No almonds.
What I did find was package after package after package of pecans. Apparently my desire to stock up for our Pecan Pie needs way back at Christmas time took over my brain and prevented me from ever adding almonds to a shopping list. After all, there’s no such thing as Almond Pie. At least I don’t think there is.
Anyway, Matt never knew about the Sweet and Salty Almonds because on the day of this nutty experiment, I presented him with Sweet and Salty Pecans and all was well.

Aside from the time it took for me to search through all my freezers behind all the leg of lamb, cube steak, and bags of peaches from last summer’s harvest in a futile effort to find almonds that didn’t exist, making these Sweet and Salty Pecans was super fast and easy.
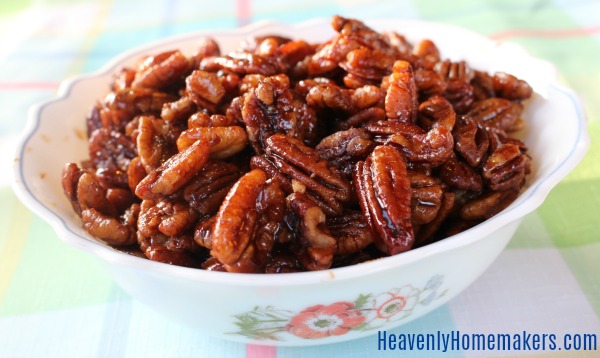
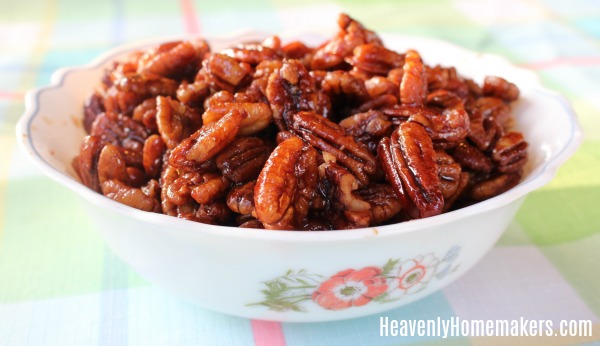
So grab either almonds or pecans (or both if you’re feeling extra nutty). Make a batch or three of these Sweet and Salty Nuts. They make a great snack to enjoy when you need a pick-me-up!

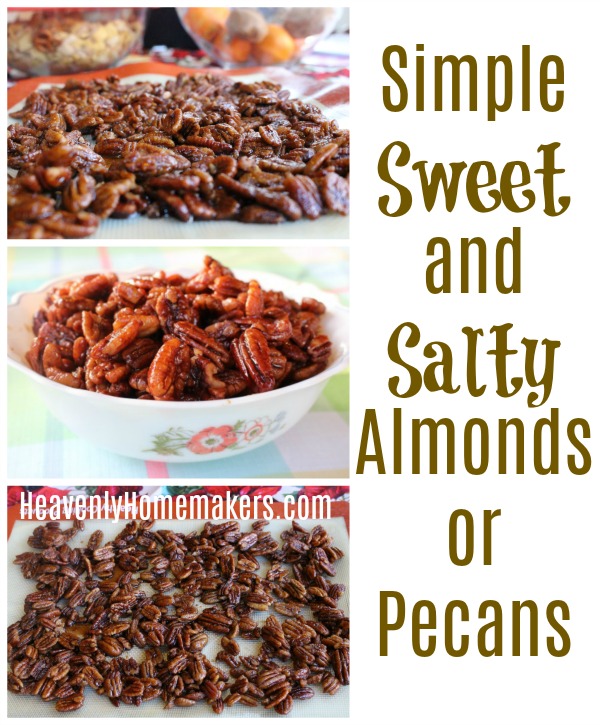
Sweet and Salty Almonds or Pecans
- 1 cup whole almonds or pecans
- ¼ cup water
- 3 Tablespoons brown sugar, maple syrup, or sucanat
- 1 teaspoon ground cinnamon
- Pinch of sea salt
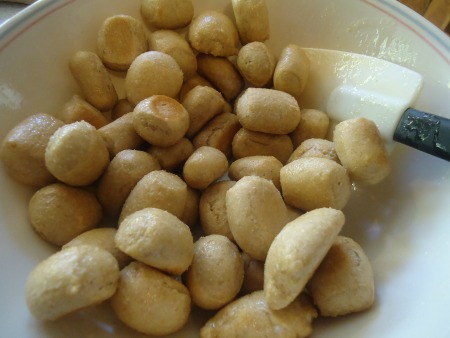
- Stir water, sugar, cinnamon, and salt together in a medium sauce pan.
- Bring to a boil.
- Pour the almonds or pecans into the boiling liquid, stirring for about one minute until the nuts are coated with the syrupy mixture.
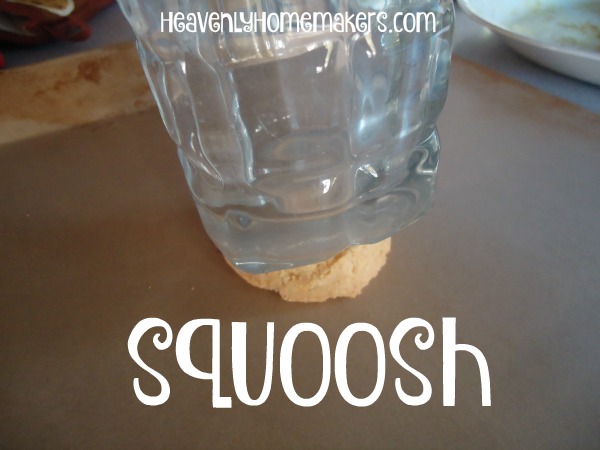
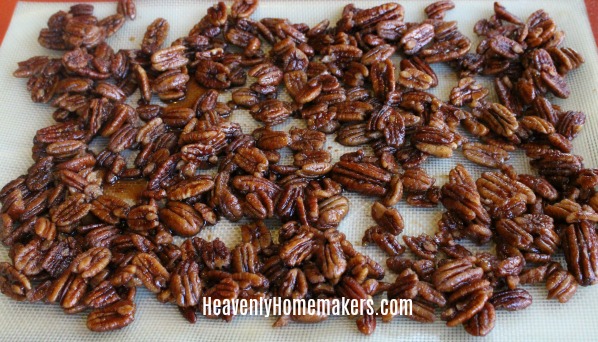
- Spread prepared nuts onto a parchment paper-lined cookie sheet.
- Cool and serve or bag them up to give as treats!
Looking for more Simple Snack Recipes?
We’re sharing new recipes all month! So far here’s what we’ve come up with:
- No Bake Cookie Cups (5 minute prep!)
- Cream Cheese Salsa Dip (2 ingredients!)
- Pineapple Coconut Quick Bread (blends together fast!)
- Parmesan Crisps (so easy you won’t believe it!)
Can’t wait to share more!