Here’s our Big Family Food and Fun: March 1-7, 2026 post!
We enjoy a Sabbath rest from Saturday evening through Sunday evening – so I turn off my computer on Saturday afternoons and miss posting some of these pictures. I’ll catch up on our last Saturday activities before launching into our new week!
February 28
We’d gone to a Husker Women’s Basketball game Saturday afternoon, and came home hungry. We warmed up leftovers for dinner plus I sliced some oranges for everyone.
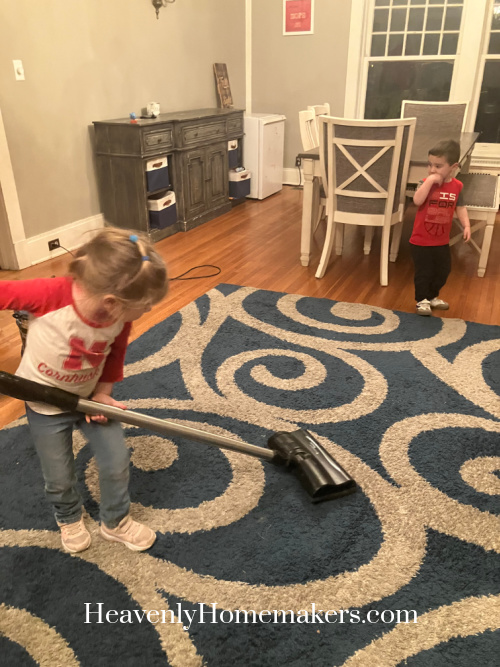
We did some cleaning to get ready for a new week. Daddy had to take apart the vacuum to clean out all the long hairs that had wrapped around it. How about that? We have a LOT of long hair in our house now. :)
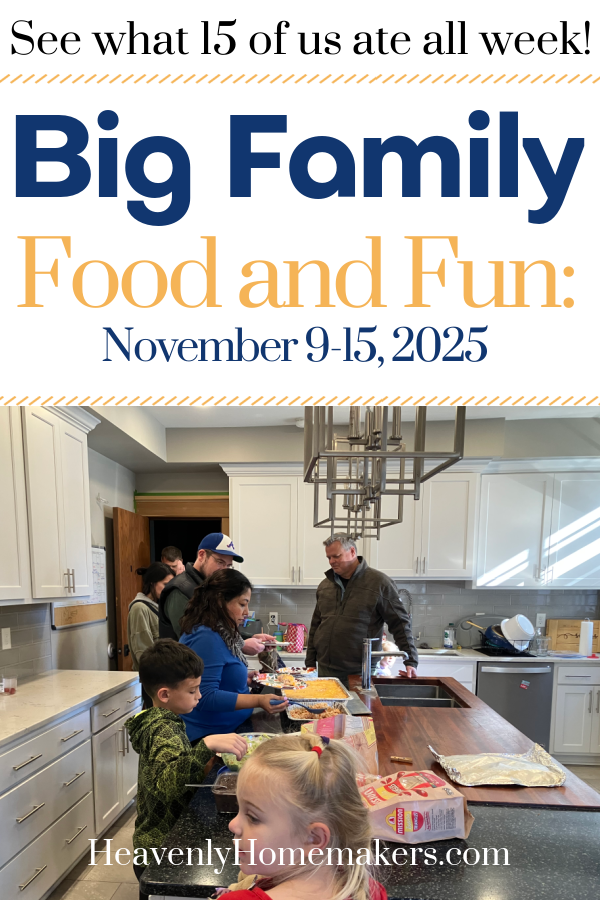
Big Family Food and Fun: March 1-7, 2026
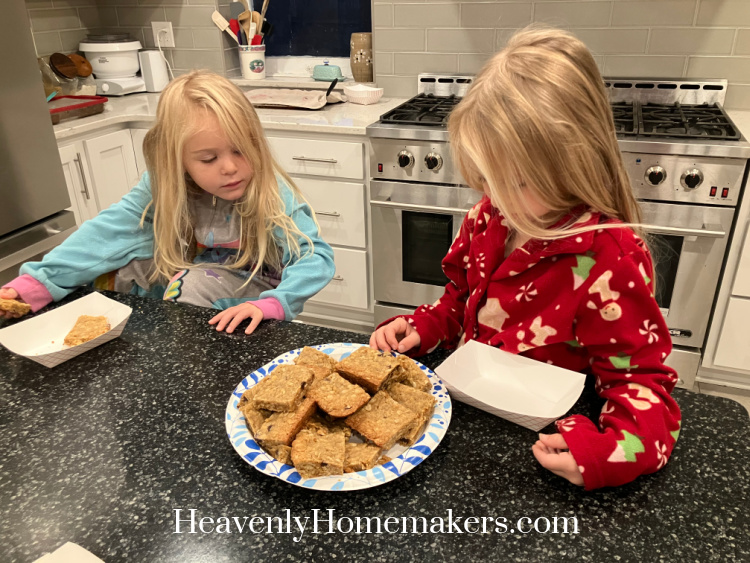
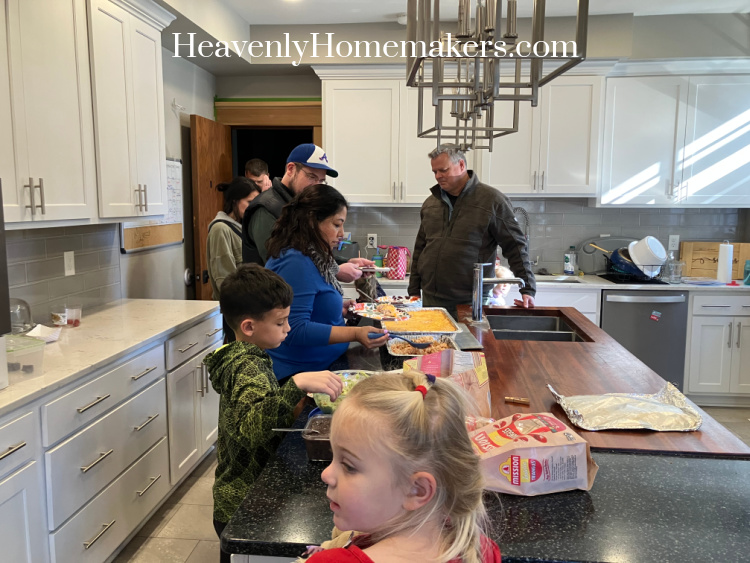
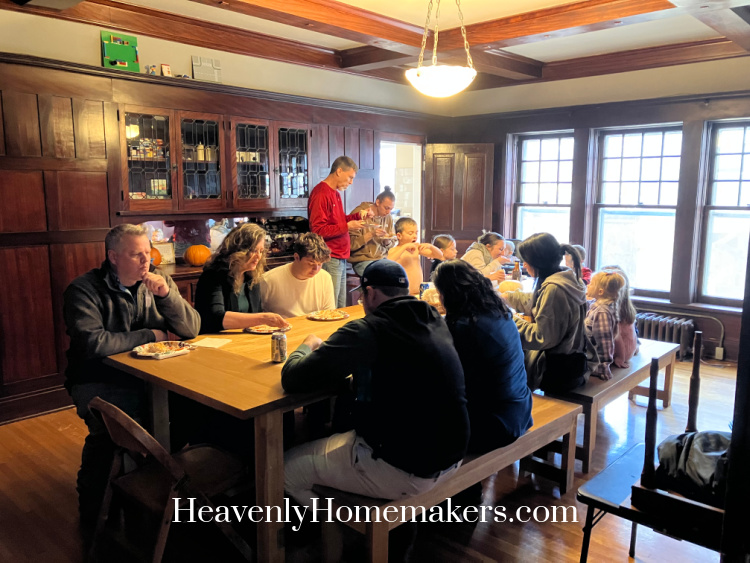
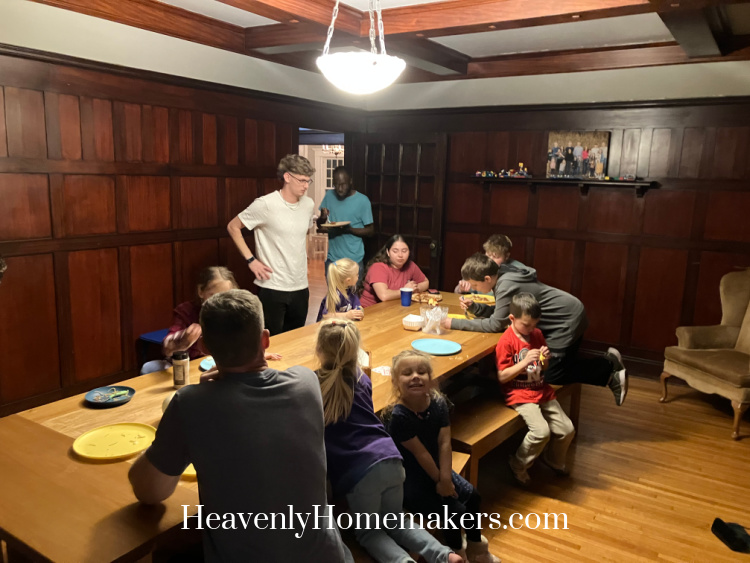
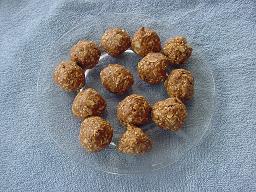
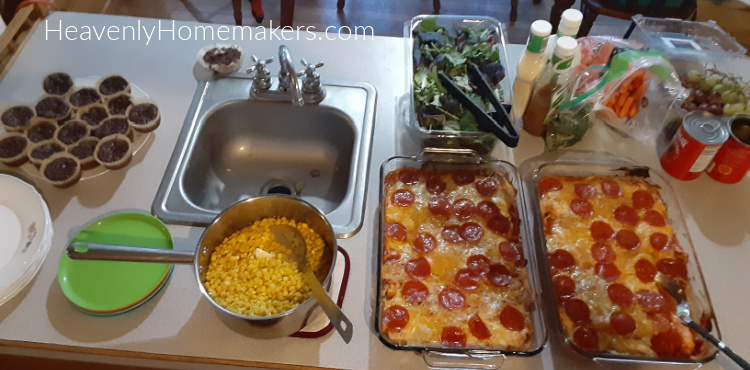
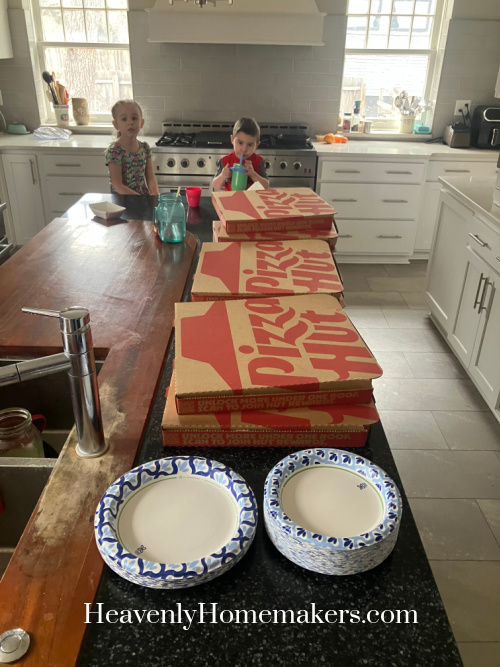
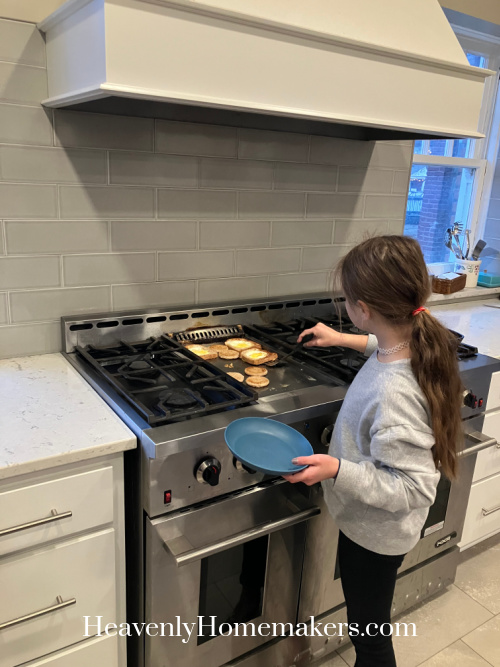
We ate a plate full of Breakfast Cookie Bars as we got ready for church on Sunday morning. I had been feeling pretty worn out from several weeks of sickness traveling through the house plus all the new therapies we’d started. But we didn’t want to cancel Sunday Lunch because it’s such a fulfilling time for us. So we decided to take advantage of a pizza deal we found online. Families who joined us pitched in on the cost and we had a super chill, restful Sunday Lunch.
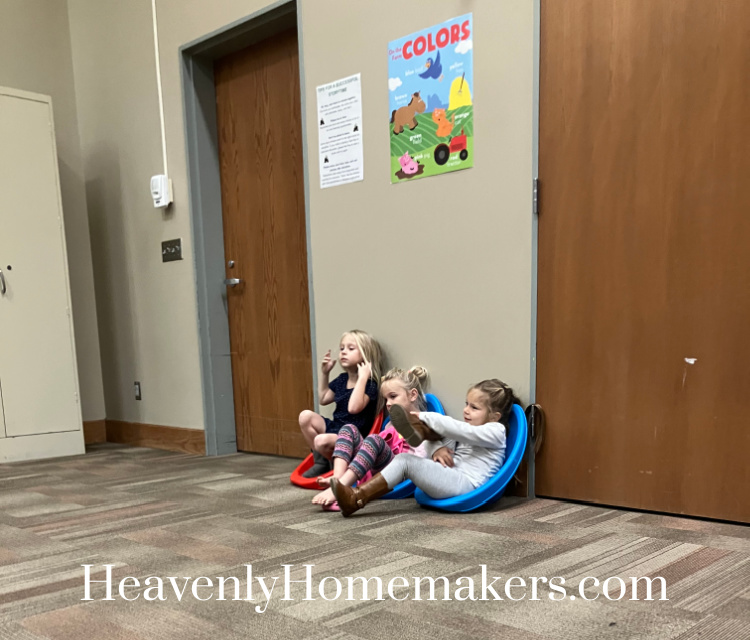
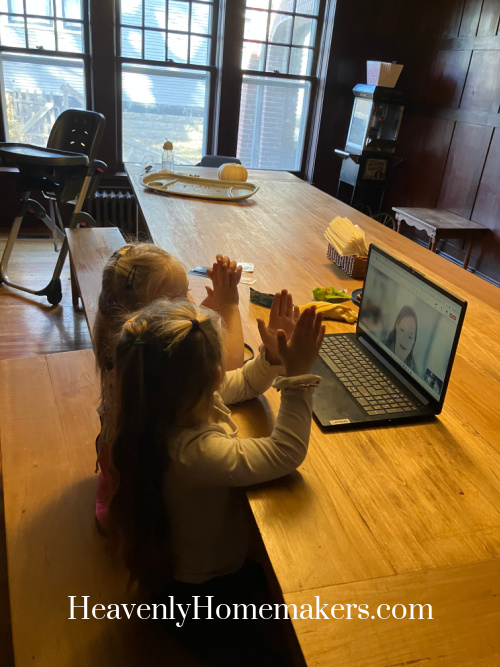
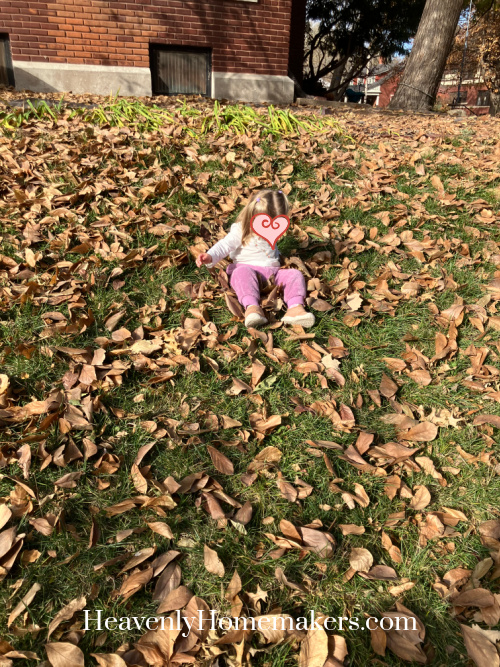
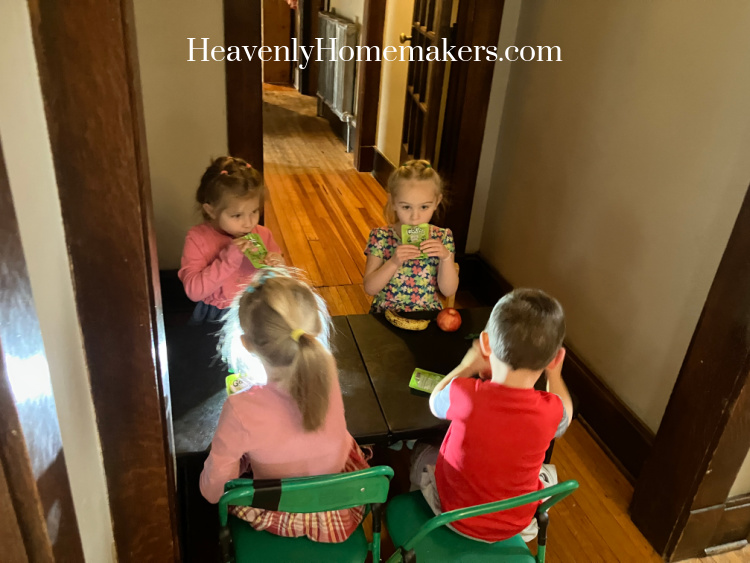
The girls set up a small table with a picnic in the hallway that afternoon. This is both very sweet and also slightly rebellious because they aren’t allowed to eat outside the dining room or kitchen. ;)
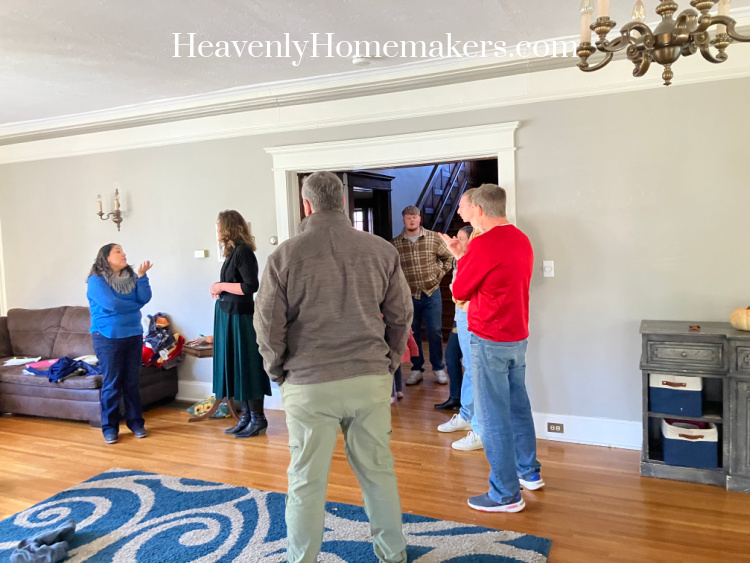
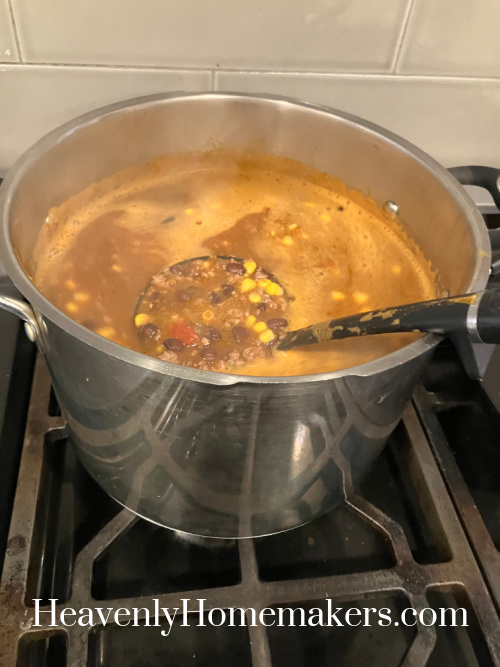
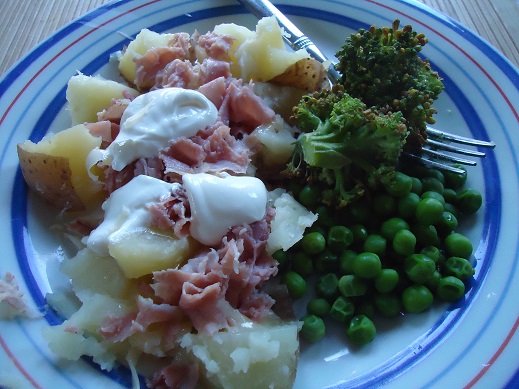
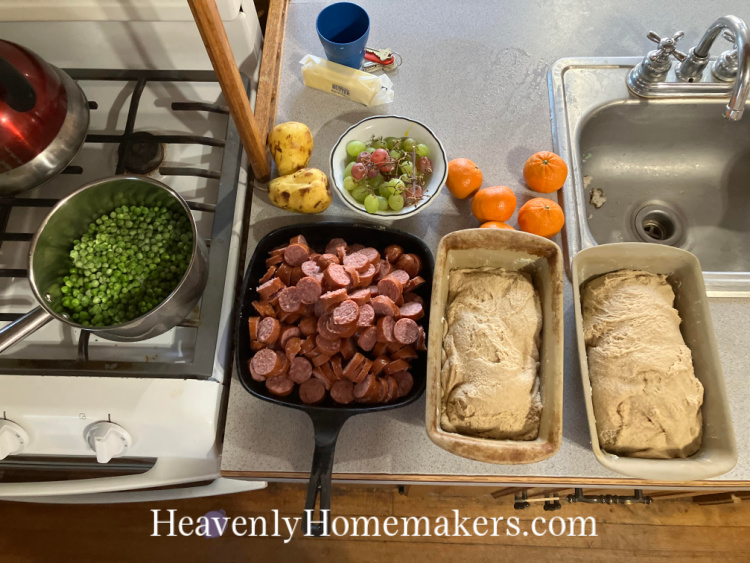
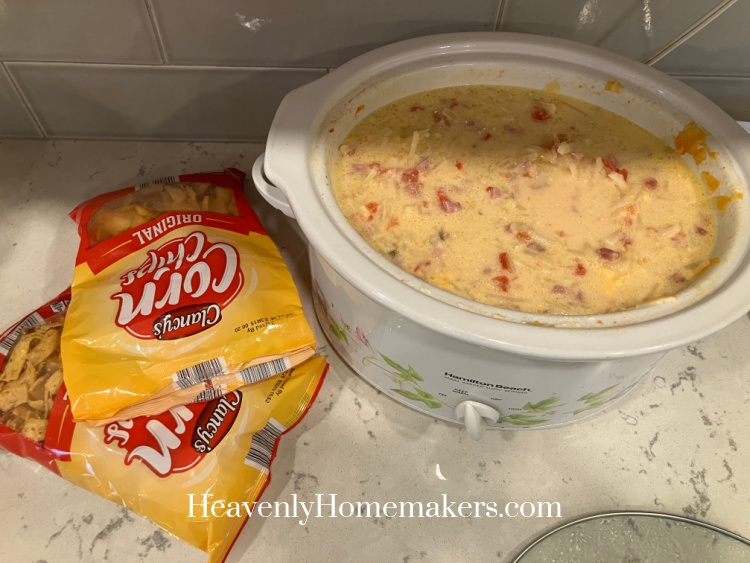
Matt and I enjoyed Community Group time that afternoon. For dinner, we ate our way through a crock pot full of Ham and Potato Soup that I’d made that morning. It was so nice to be able to feed all of us that evening without doing any work! This soup is so easy!
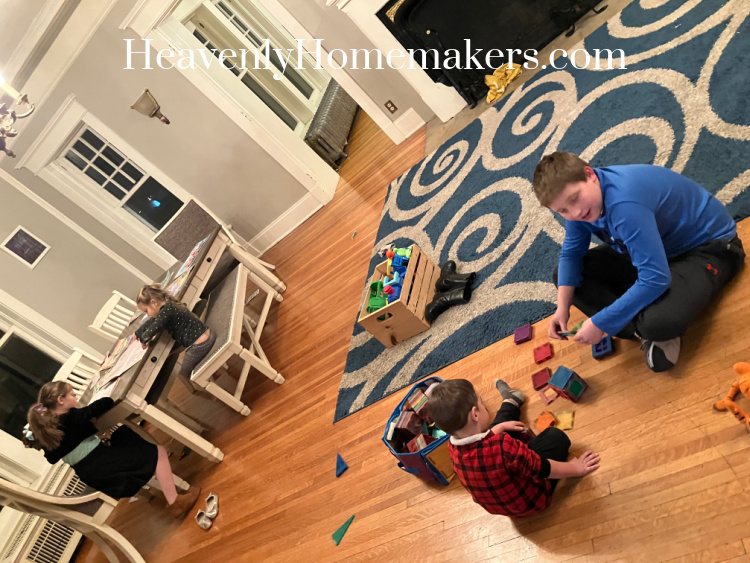
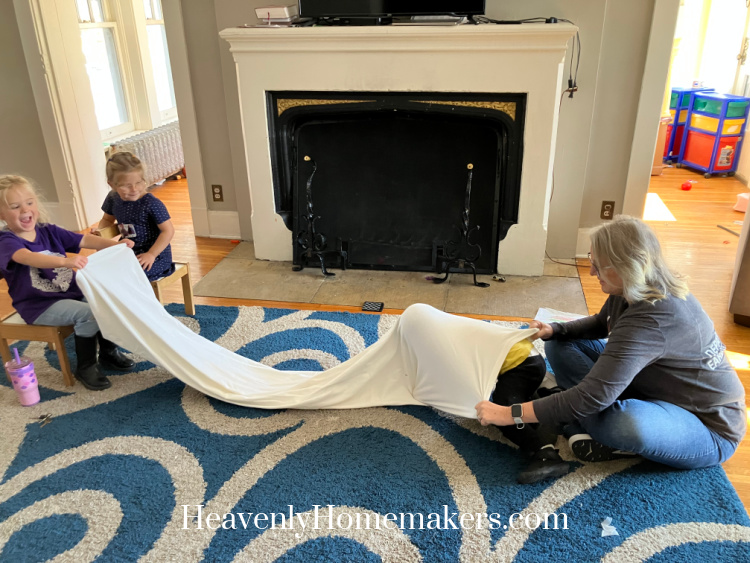
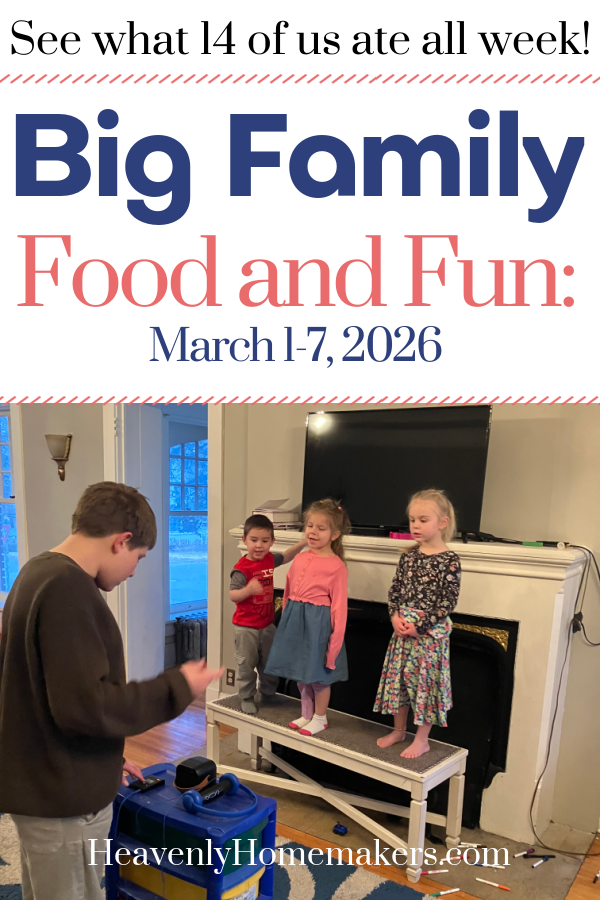
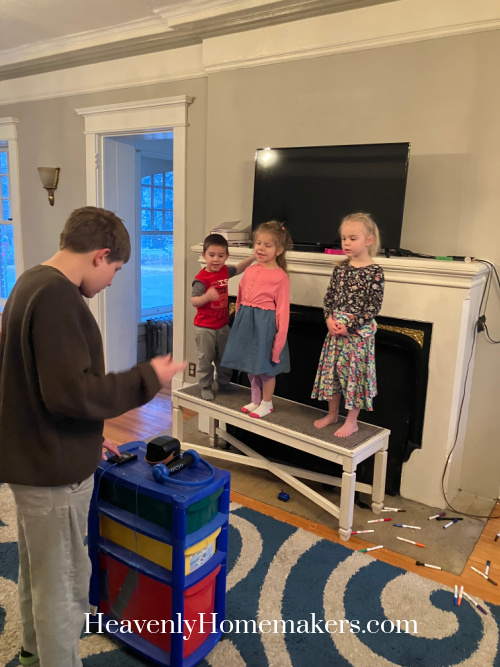
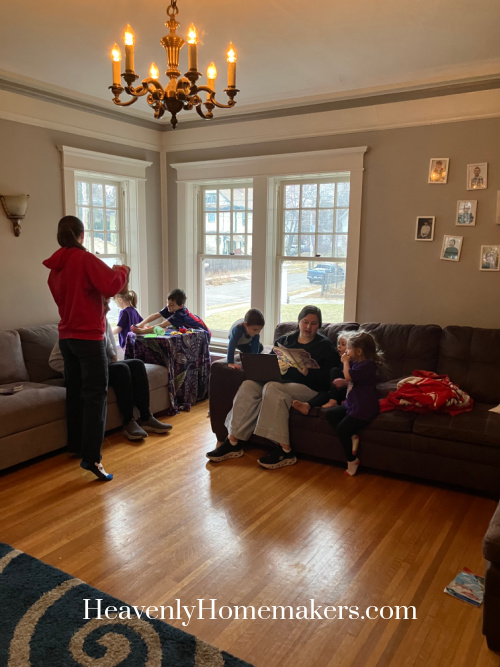
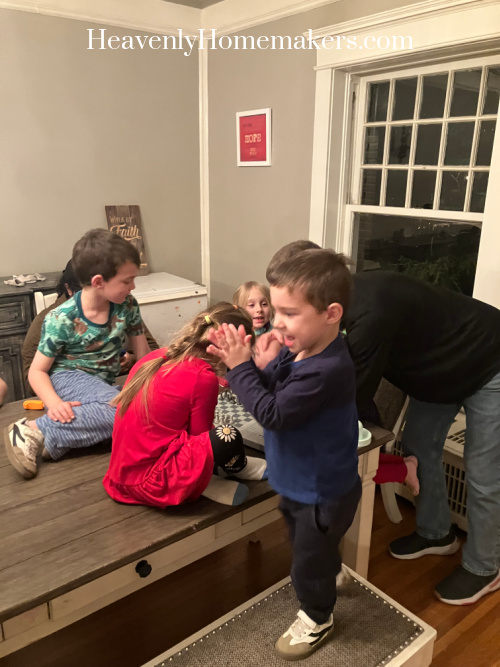
The kids set up a stage in the living room and rehearsed a play and with some music. Here’s Brayden directing Jesus Loves Me while the three littlest kids magically cooperated. It was VERY SWEET.
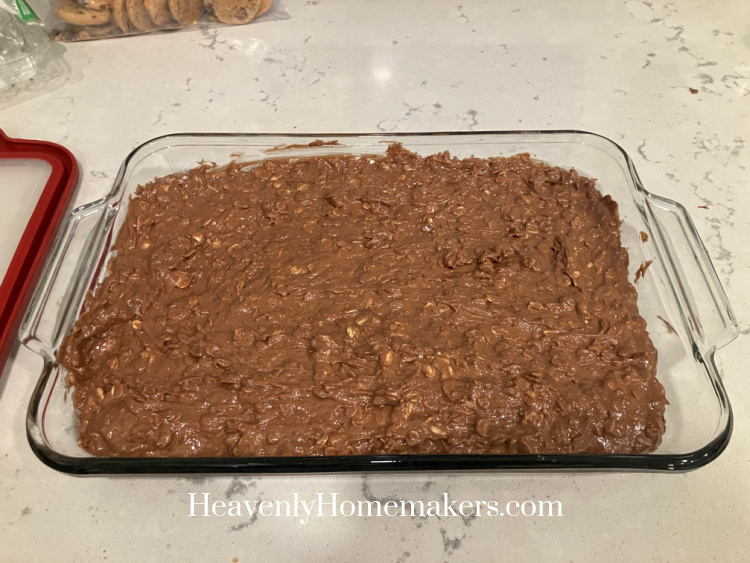
As the kids played, I made a big batch of Chewy Granola Bars for the upcoming week.
On Monday morning, we finished last week’s Easy Chocolate Protein Mousse leftovers with our Eggs in a Nest breakfast.
Emma came that morning to help out, plus we had ABA therapists join the crew – all at 8:00. That’s a pretty crazy time of our day as we get school kids ready and out the door and other kids ready for therapies. I always feel a bit frazzled as we transition here, but everyone is so gracious. Who cares if I’m still in my pajamas when people show up to our house because there hasn’t been a moment yet to head upstairs to get myself ready for the day? Oy.
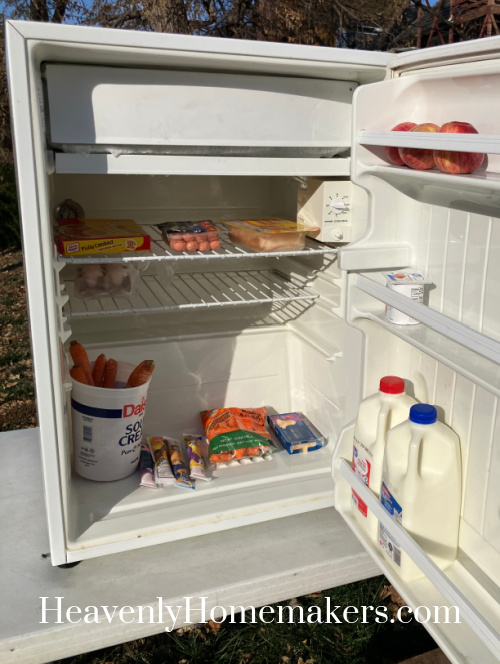
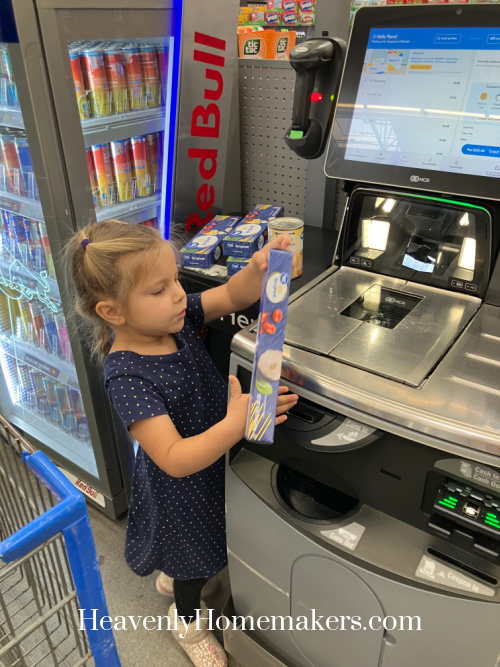
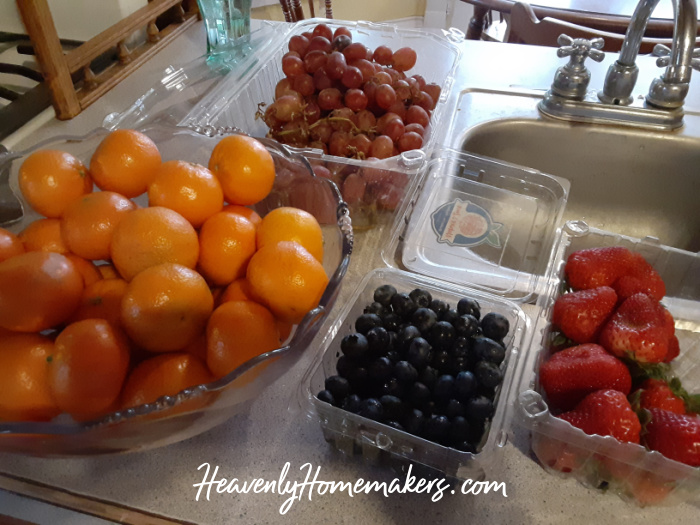
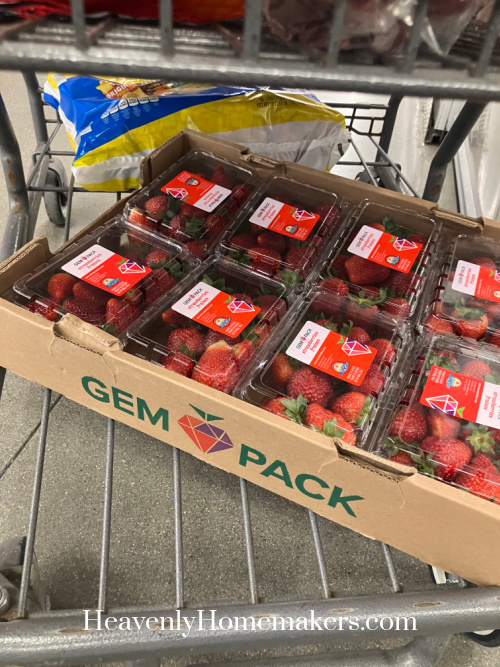
With four kids headed to school and the other three settled in with therapy and Emma, I (dressed myself, aren’t you proud? and) headed out for the day. My first stop was Aldi, and I got lots of tasty fruits and meats was on sale!

Eight pounds of strawberries? Yep, when they are that good and that good of a price!
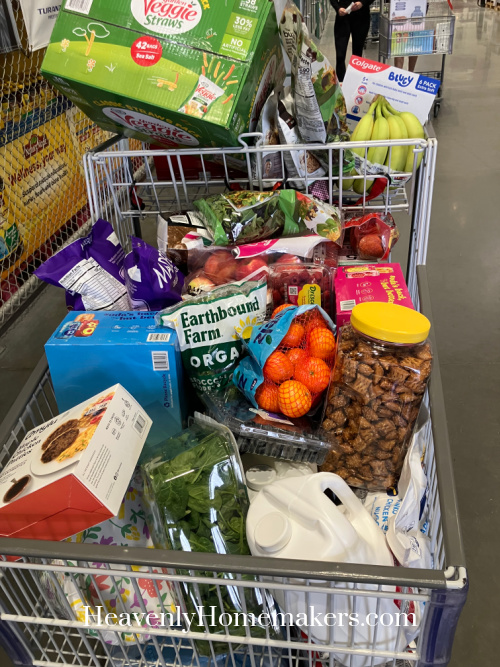
After that, I spent a lovely couple of hours at Panera sipping coffee and writing. Then I went to Costco before heading home. My goal was to get some special foods for our Spring Break outings next week! Plus I also needed the basics: greens, milk, bananas, broccoli, sausage, and more fruit. :)
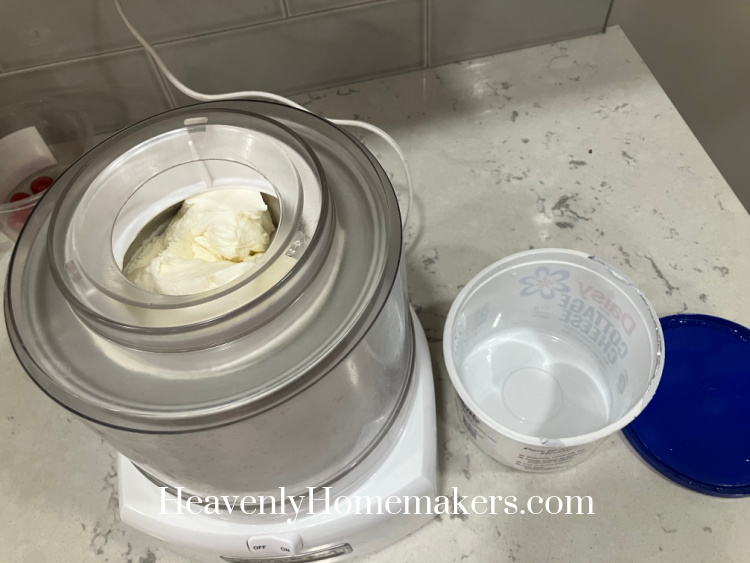
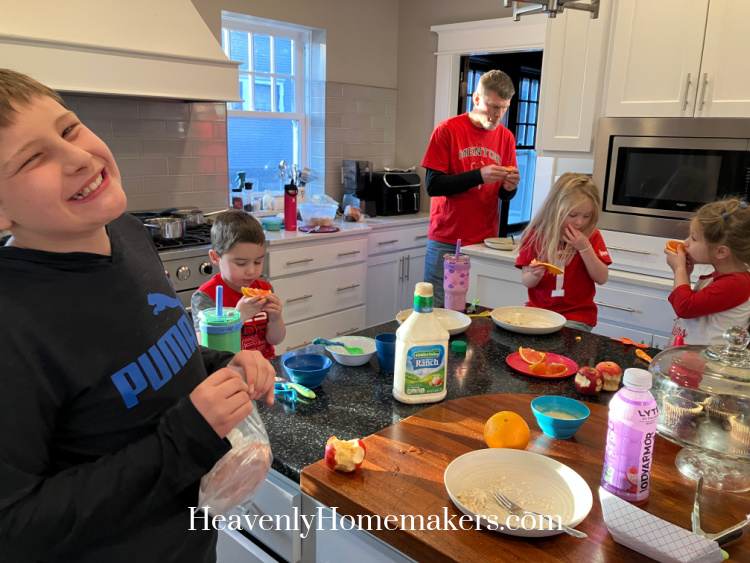
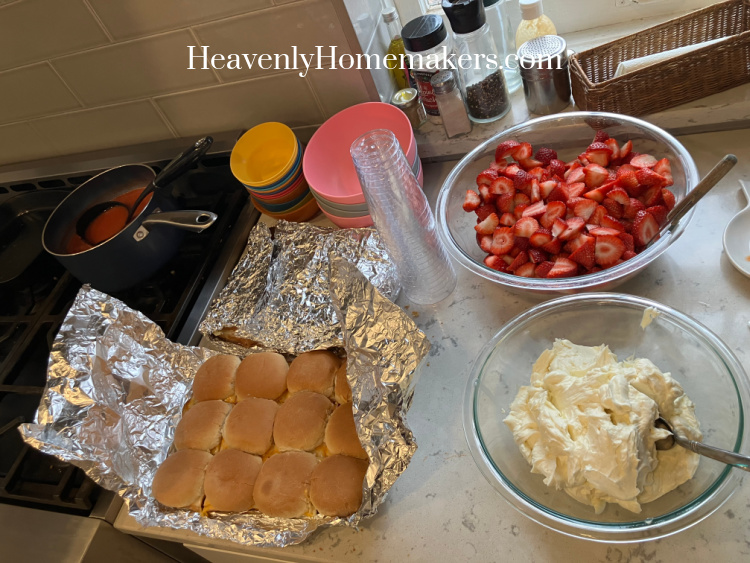
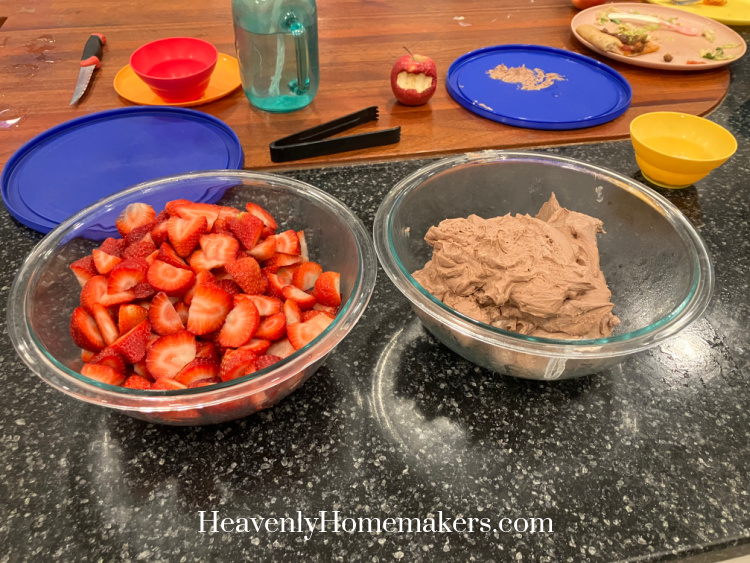
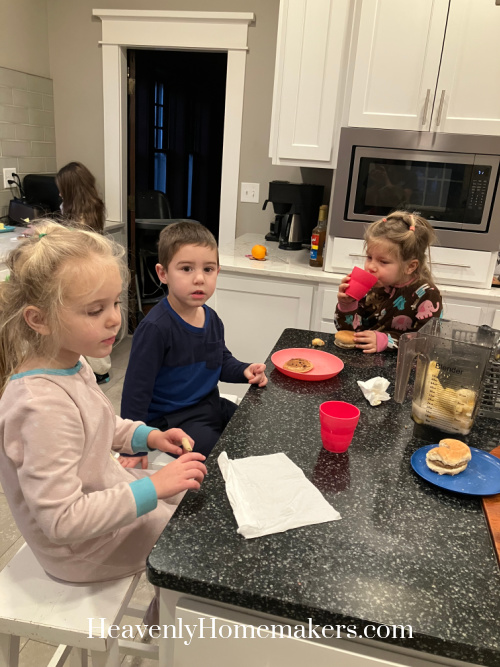
Knowing I’d be gone for several hours that day, I had thawed two packages of Ham and Cheese Sliders to bake for dinner. I warmed up Tomato Soup to go with them. And of course, we had to eat those strawberries I’d bought! I cut up 4-pounds of them plus made a double batch of Cheesecake Parfait. Everyone was excited about this and it all got eaten before bedtime. :)
Our Tuesday morning was extremely full with our regular ABA therapies starting at 8, plus attachment therapy we’re doing now for two of our kids starting at 9. At the same time, I had two IEP meetings to go to at the kids’ school and a 504 meeting to work toward. Malachi helped Matt juggle everything at home while I took care of all the school meetings.
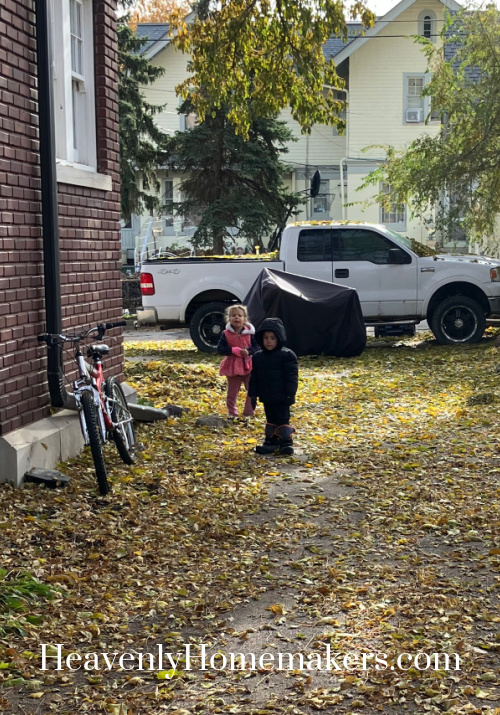
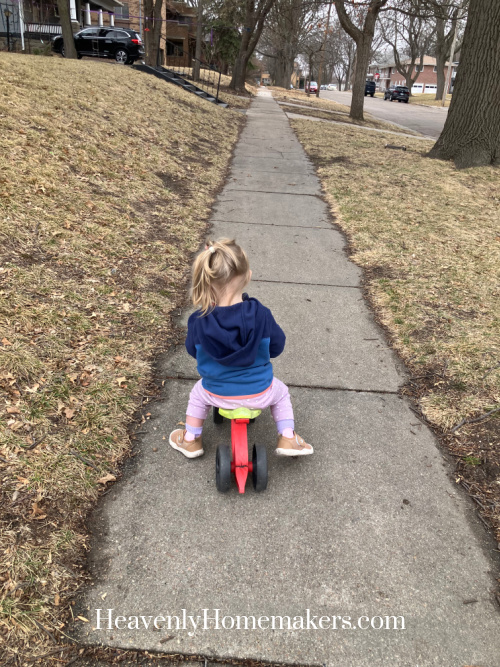
Back at home finally at 11:15, we got the girls ready for the school bus at noon. Hopelyn was here for the day and she and Auggie enjoyed playing outside after the hubbub of the morning calmed down.
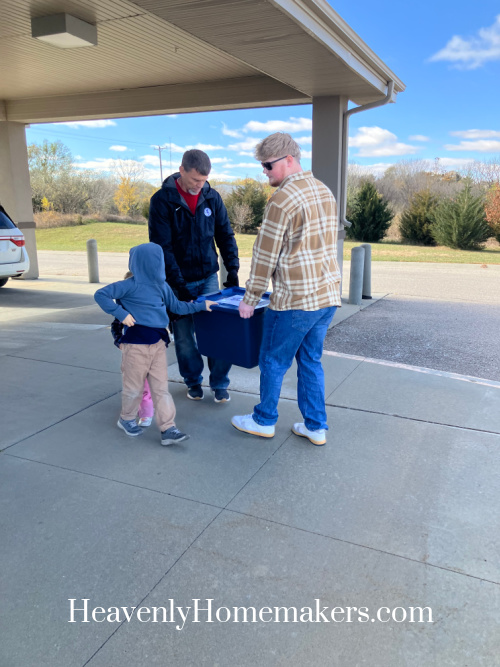
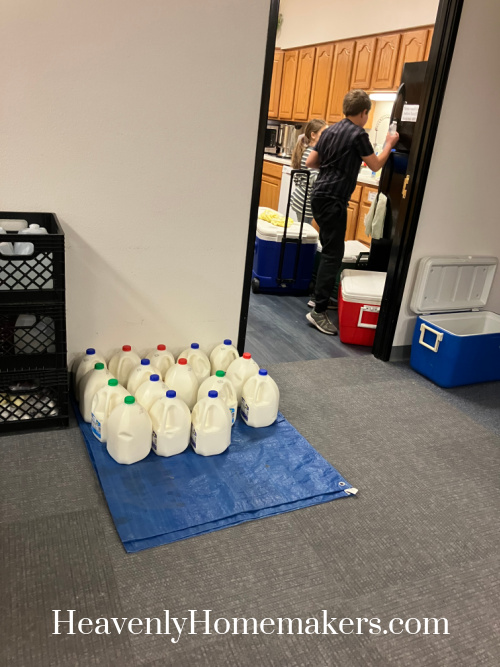
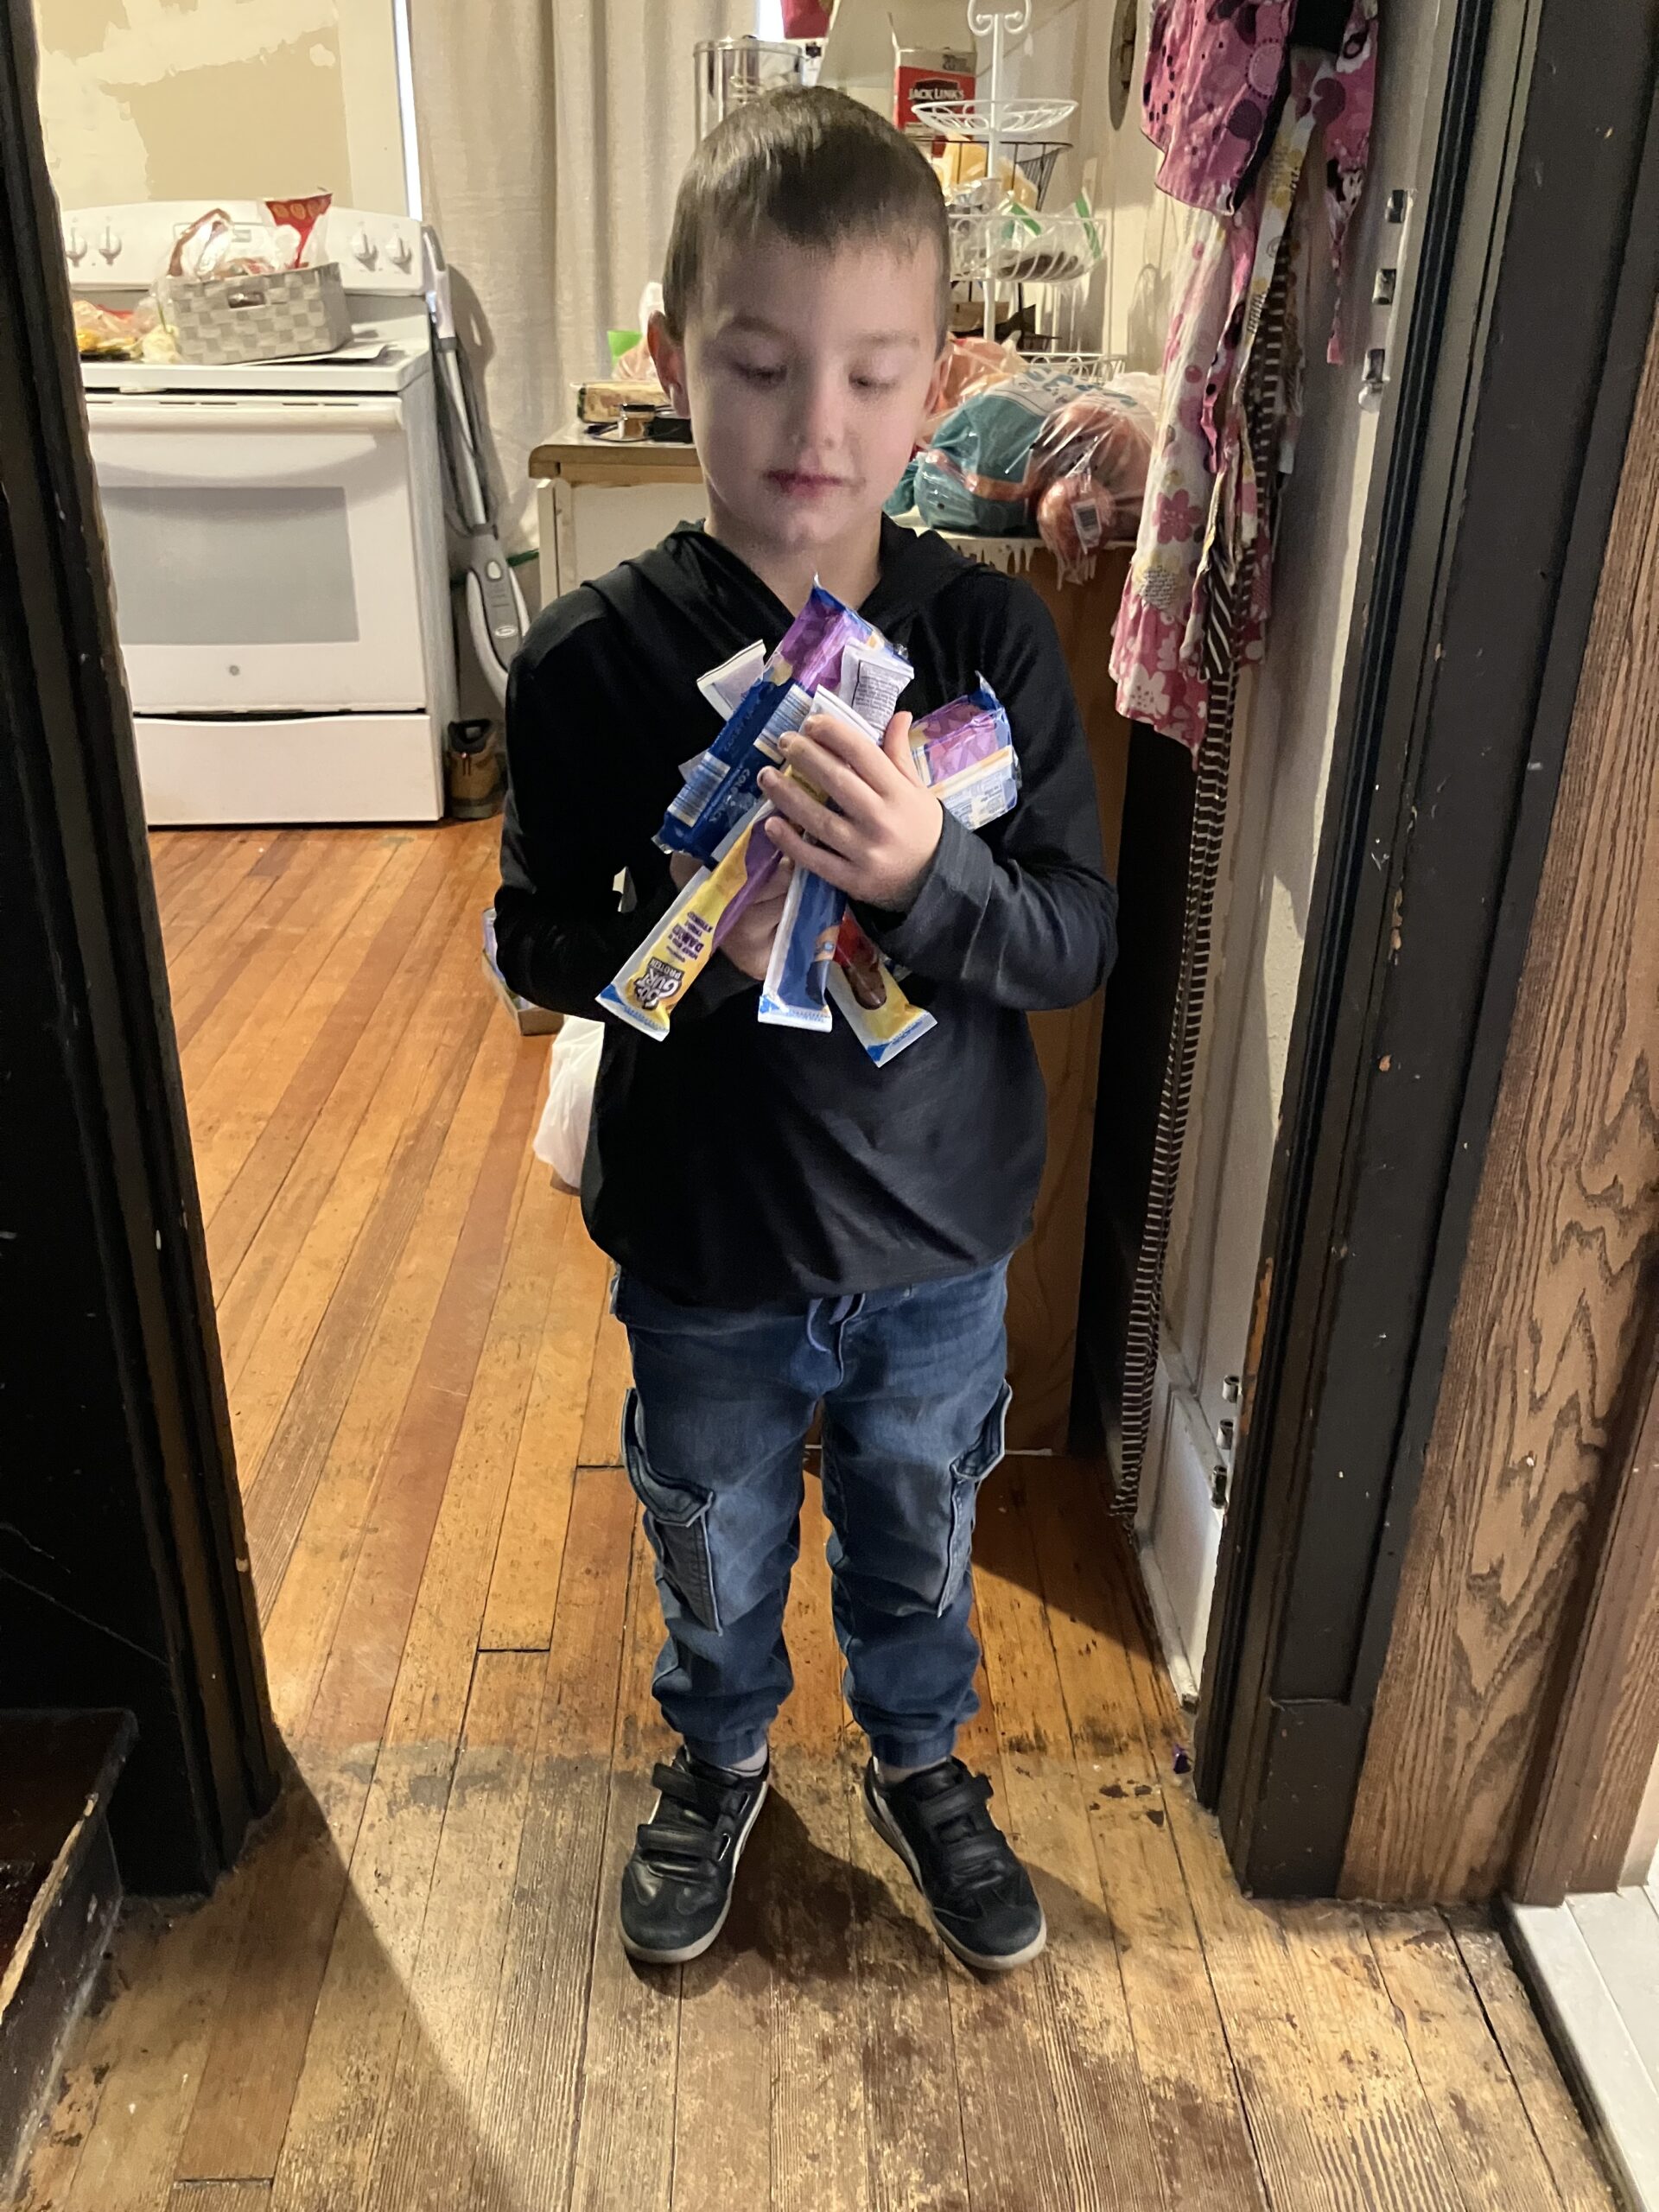
I took Brayden and Kiya to our weekly Food Distribution.
We had a fridge full of food, so dinner that night was Leftovers. But I did cut up another big bowl of strawberries, this time for Chocolate Cheesecake Parfaits!
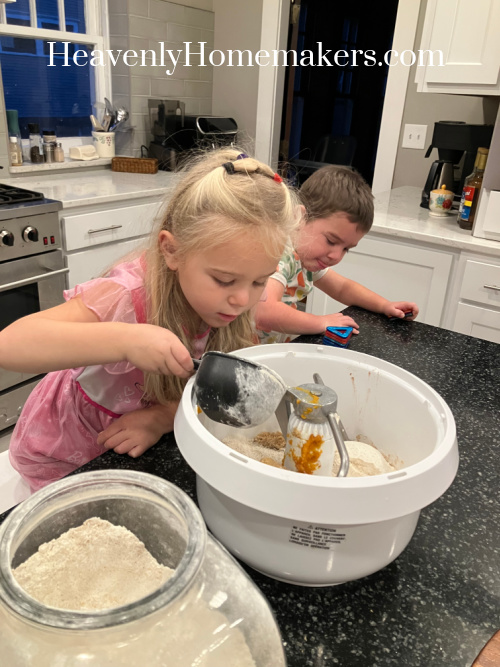
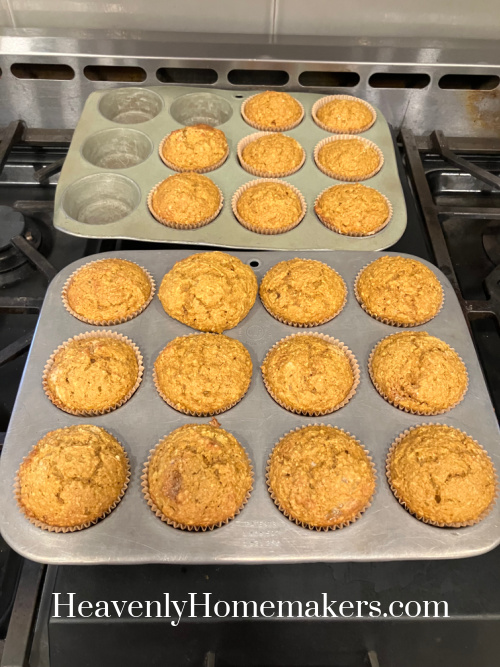
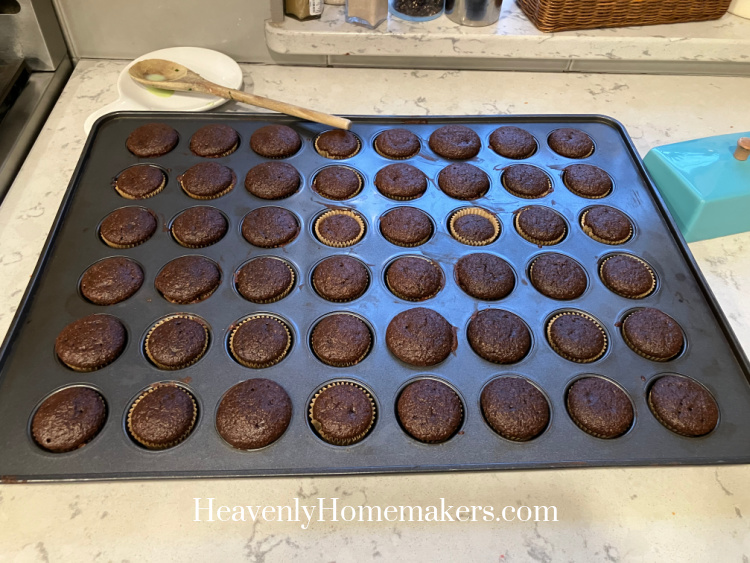
Bright and early on Wednesday morning, Acacia, Josie, and Auggie helped me make Flourless Chocolate Banana Muffins.
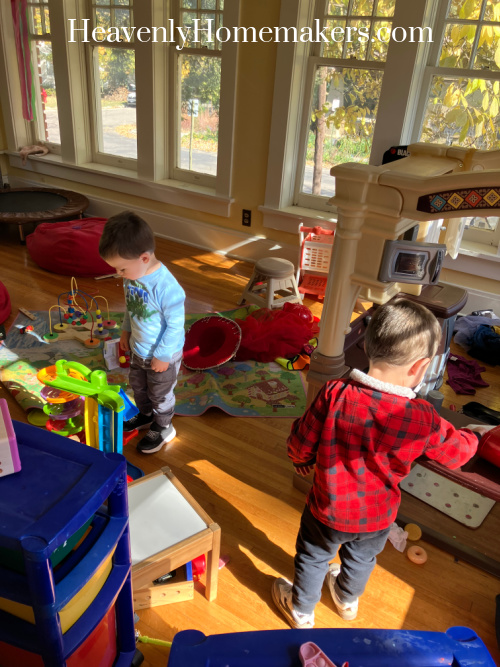
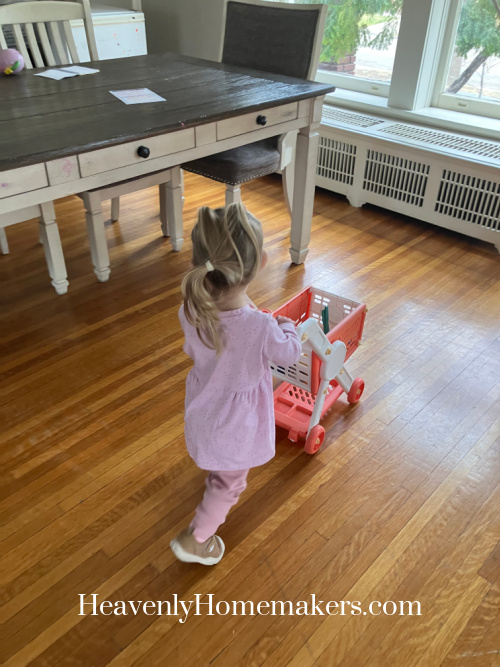
Arrow came to hang out that morning. We found puzzles and made farm animal sounds. Auggie kept insisting that the horse was a giraffe, and while we could see how he would come to this conclusion, Arrow kept telling him that it was, in fact, a “hos.” Hearing their conversations is beyond sweet.
![]()
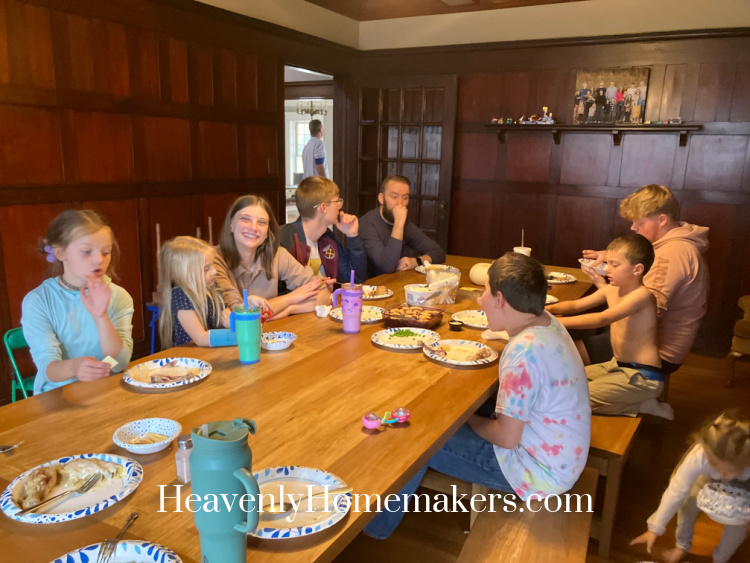
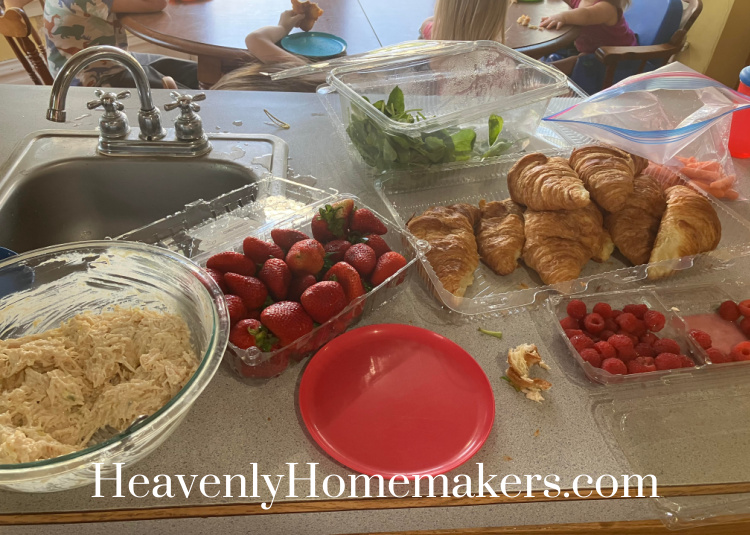
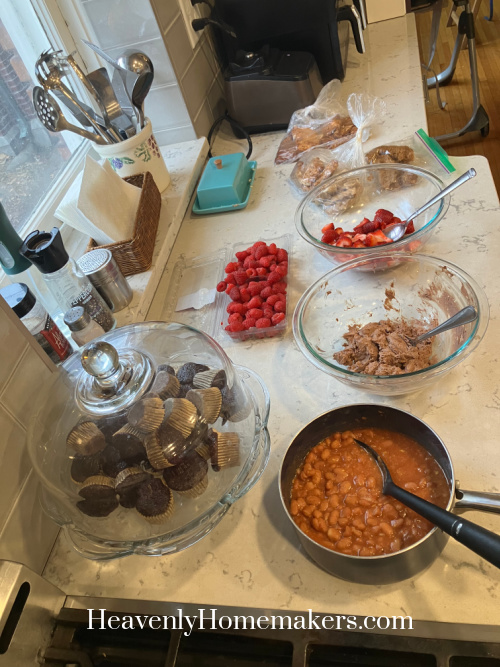
We’d brought home several bags of prepped chicken from Tuesday’s Food Distribution that we needed to use up. So we warmed it for dinner that night, finished off the Chocolate Cheesecake Parfaits plus had Raspberries and Baked Beans.
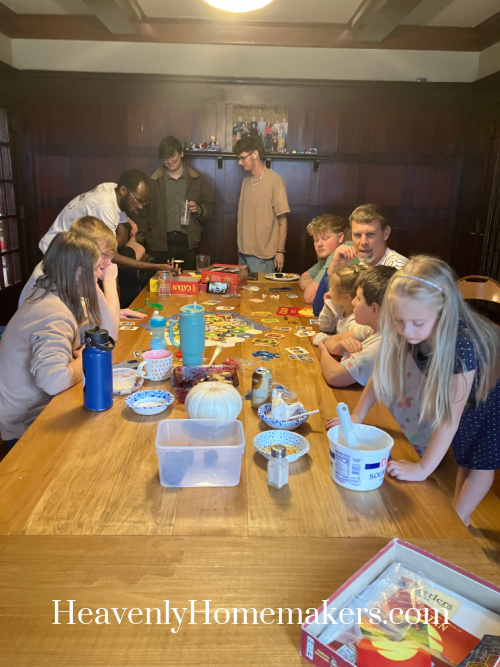
Suddenly all of the kids are very into the game of Chess. Acacia begged for a game before bed and all the kids gathered ’round.
Hopelyn came over on Thursday morning. She spent a lot of the day shopping…
Auggie had a visit from a special education teacher from Early Development Network. He has made so much progress and it was so great to have so many positive things to report.

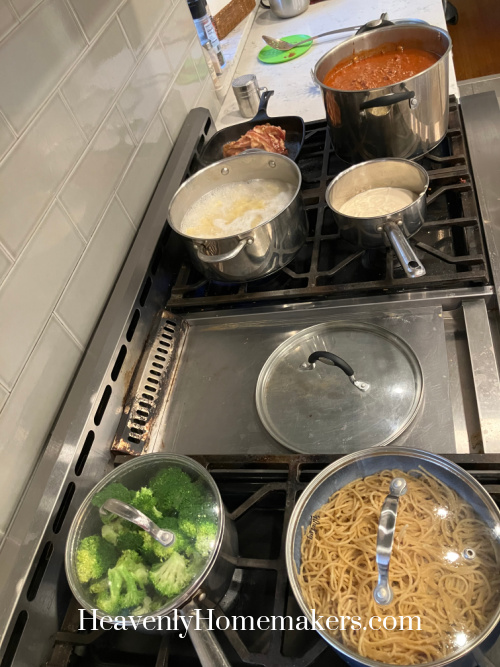
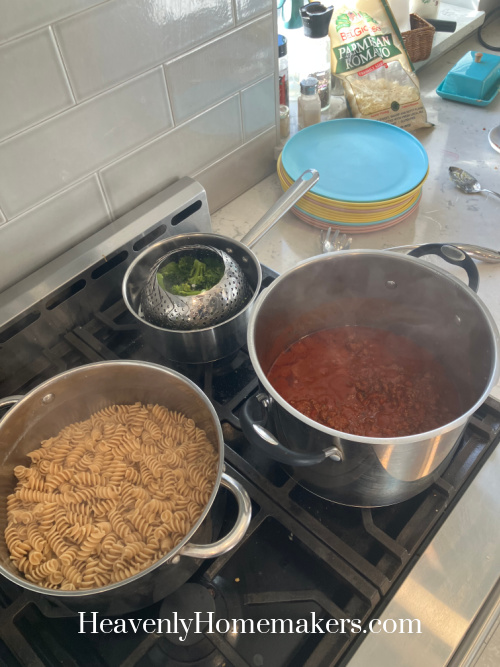
For dinner that night, I made Spaghetti with Broccoli. It was a simple meal because Matt and I were trying to sneak off for our weekly date. Several kids had major meltdowns before we left so it was difficult to get out the door. Malachi took over with the final fighting kiddo and we left, hoping for the best. (Everyone did fairly well while we were gone. Elias reported that truly everyone was pretty calm while we were gone, yet as soon as we walked back into the house, the screaming started up again. Ugh.)
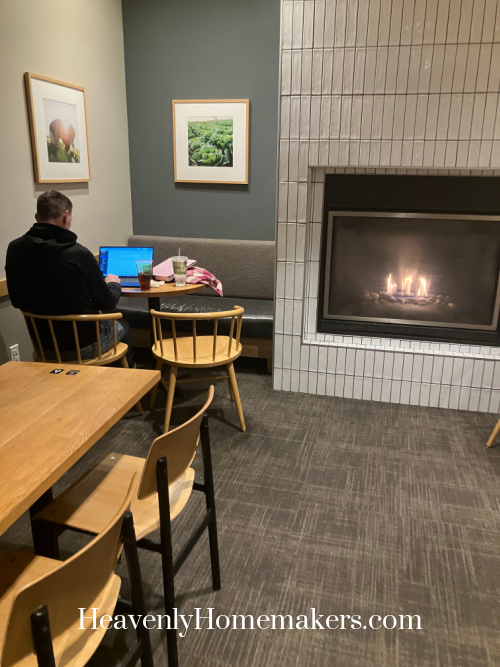
Either way, we had some needed down time at Panera while we were gone. Silly as it was, we took Matt’s laptop so we could work on our taxes. This isn’t the most fun way to use our time alone, but this had to be done and there hasn’t been another moment to do it. So taxes by the fire sipping drinks…this was our date. :)
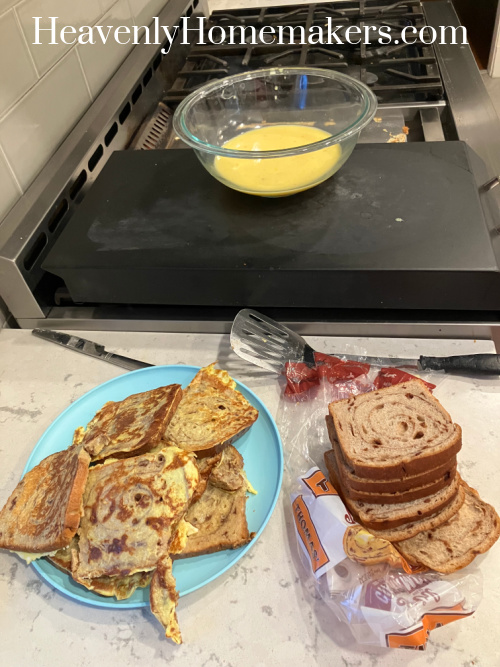
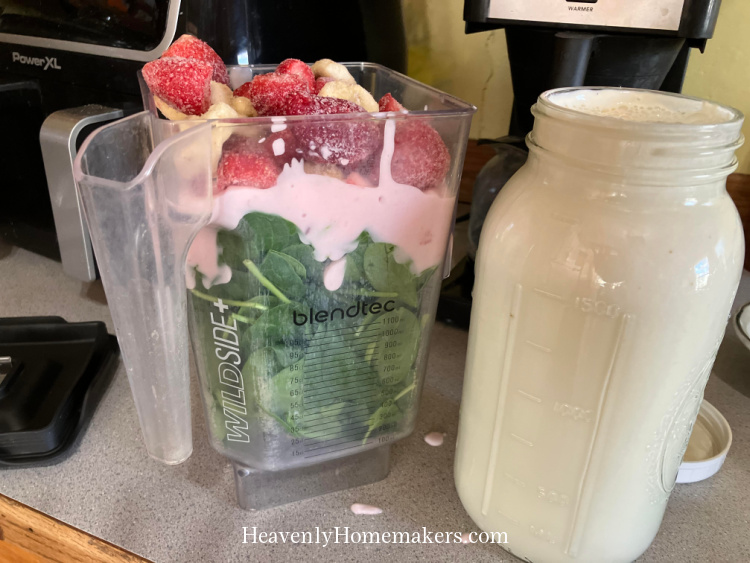
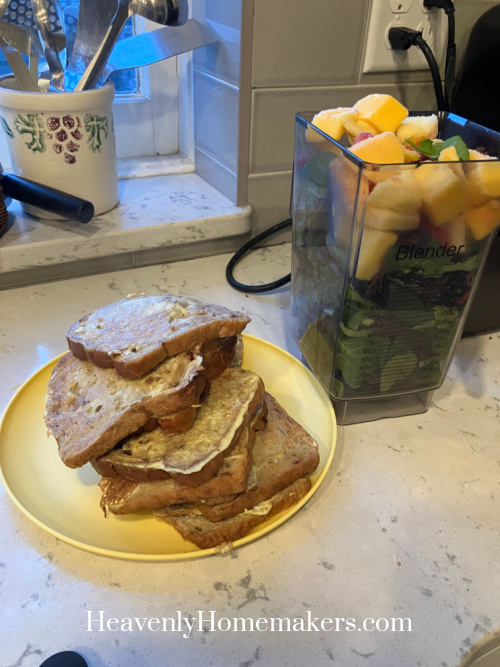
Friday morning, I made French Toast for the kids to grab and eat for breakfast. (No syrup needed because I used Cinnamon Bread, making this a grab and eat food!) I was in the middle of making these Smoothies that morning also.
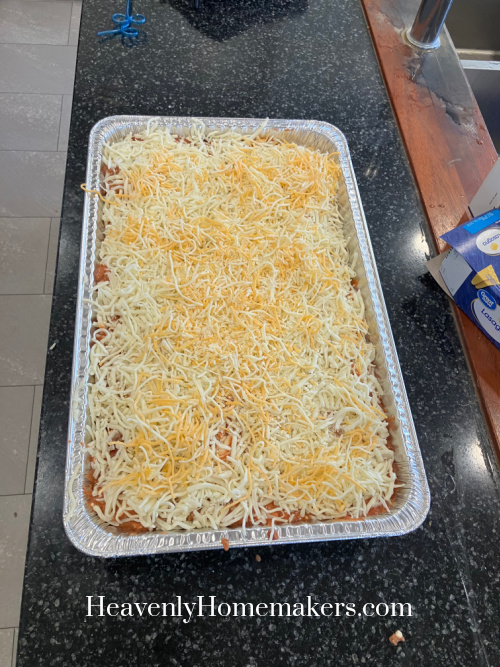
During breakfast, I put together a huge Lasagna to freeze for an upcoming youth group event.
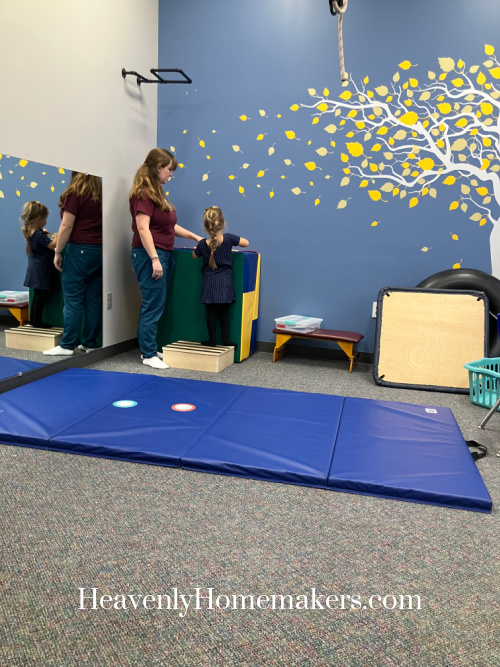
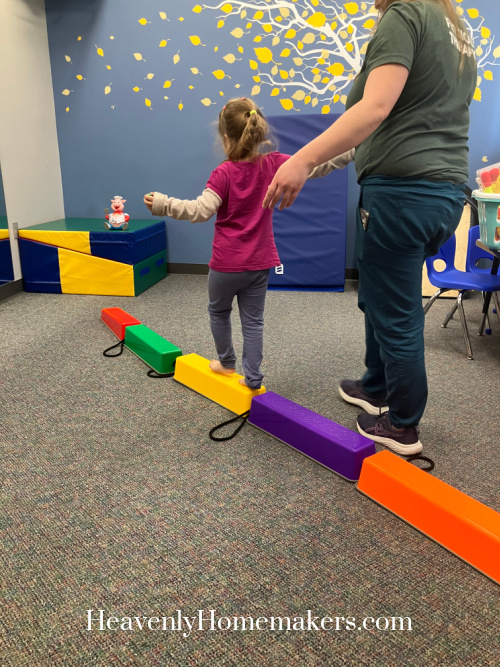
Acacia had an hour of Physical Therapy and an hour of Speech Therapy that morning. She’s meeting some of her goals which is very exciting!
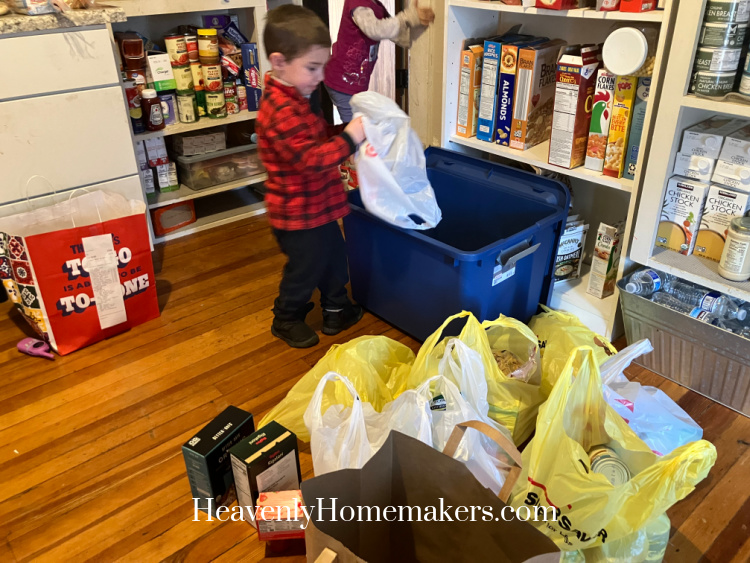
Late morning, our friends, Paula and Randy, dropped off a huge load of pantry items for our Little Free Pantry. Auggie had a very good time helping me put everything away.
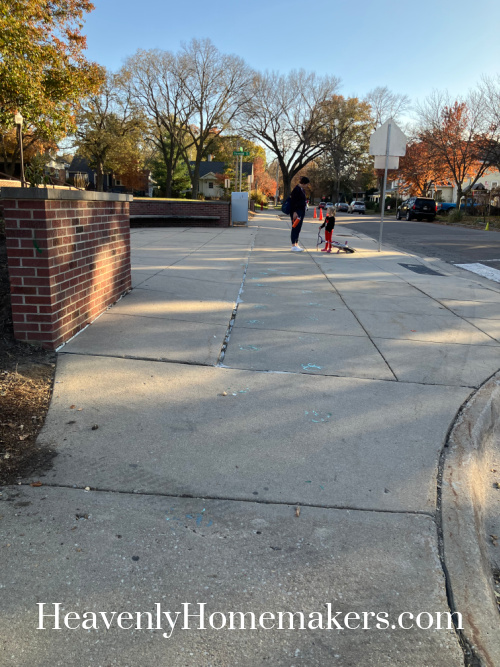
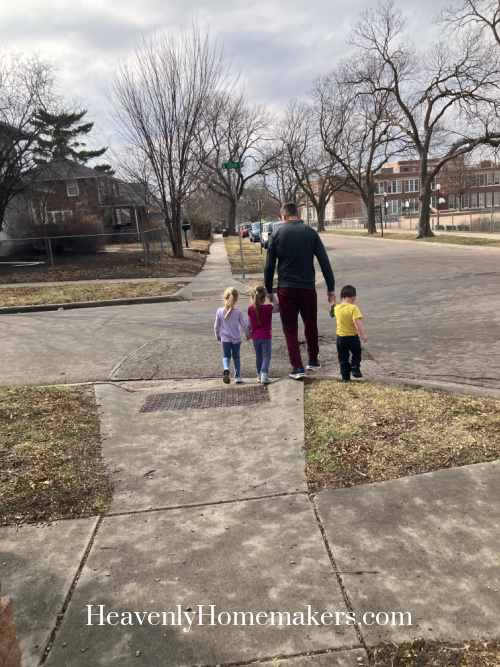
The little girls didn’t have preschool that afternoon, so they got to go with us to an assembly at the elementary school.
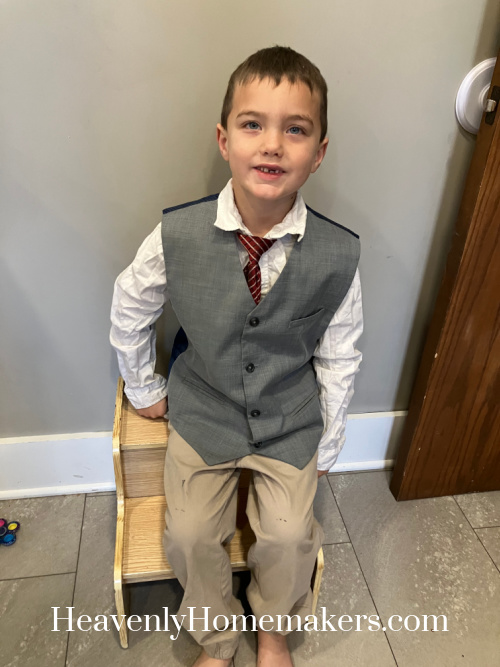
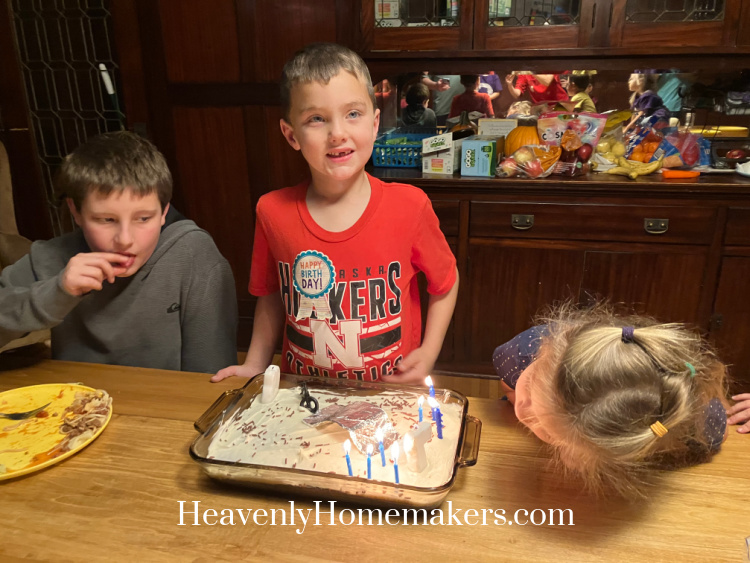
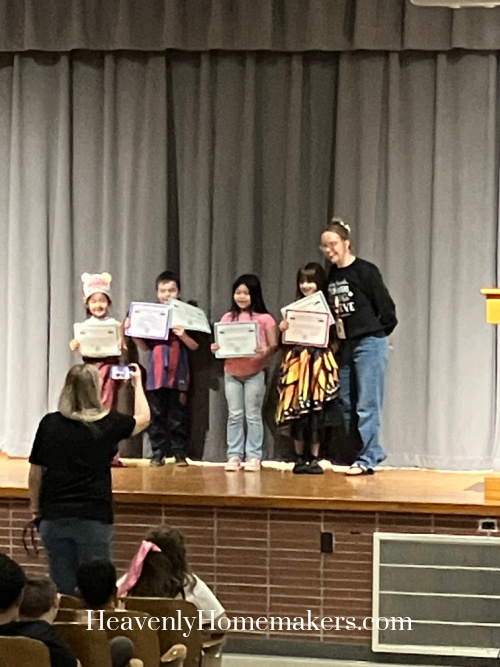
Keith was honored to receive the Responsible Award AND an award from the Music/PE/Art teachers. He was so proud – and so were we!
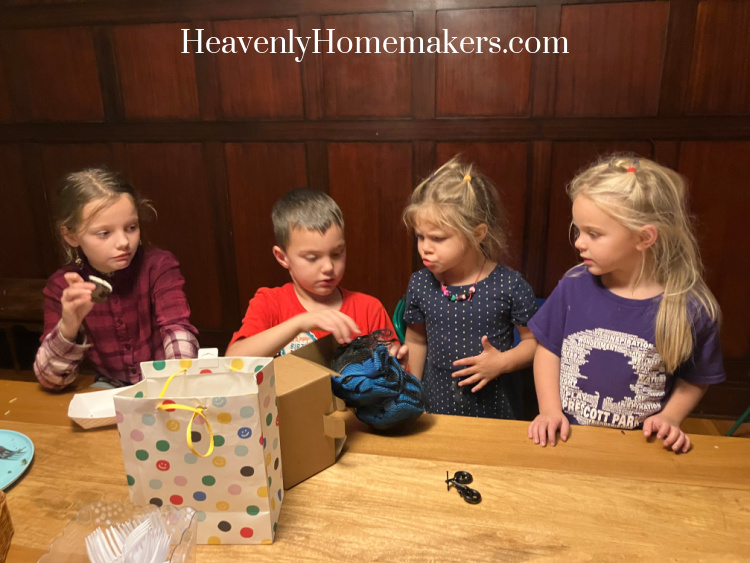
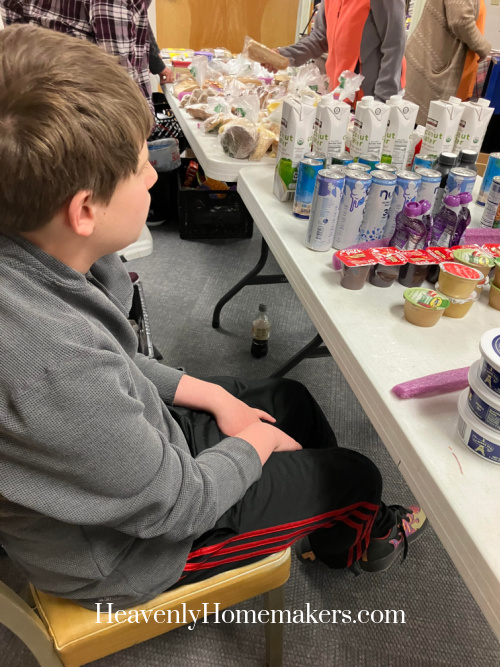
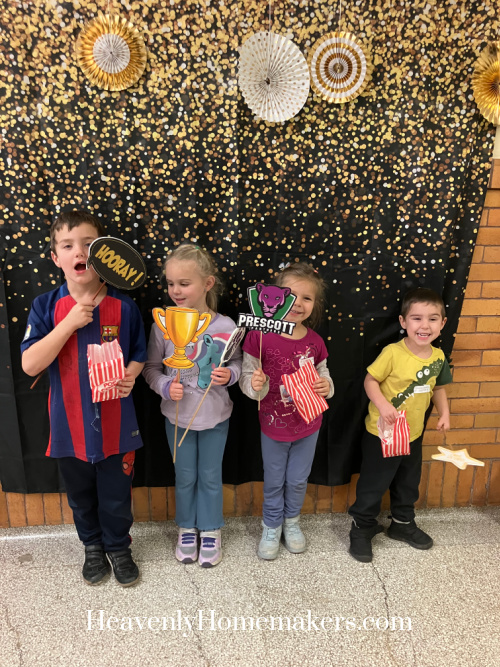
After the assembly, we got to have popcorn and take pictures in the hallway!
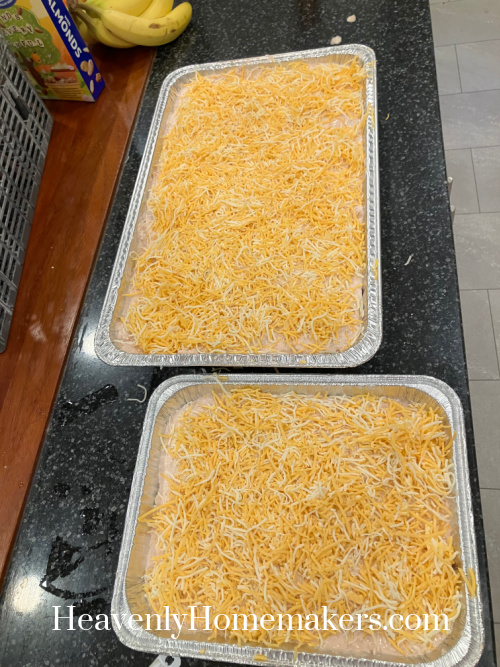
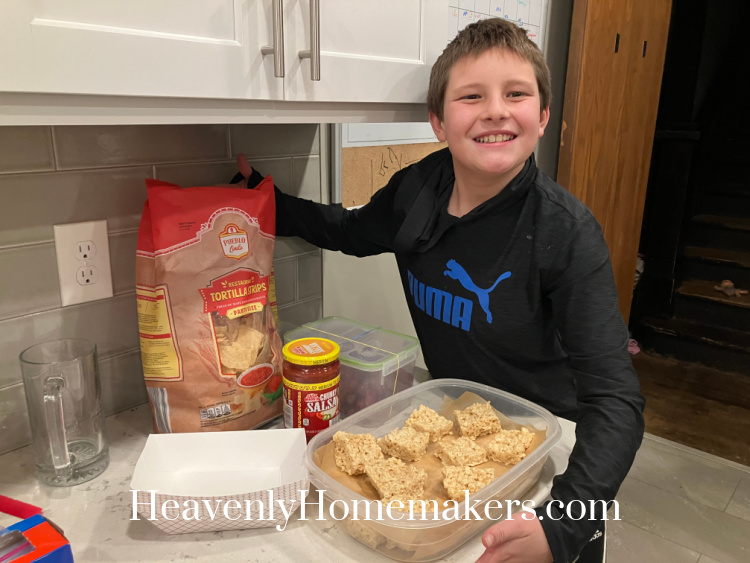
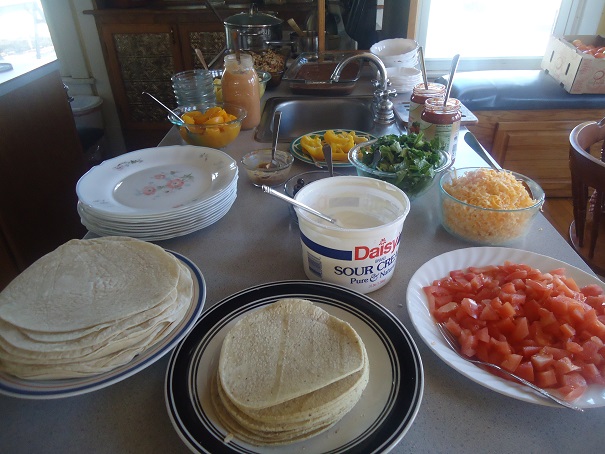
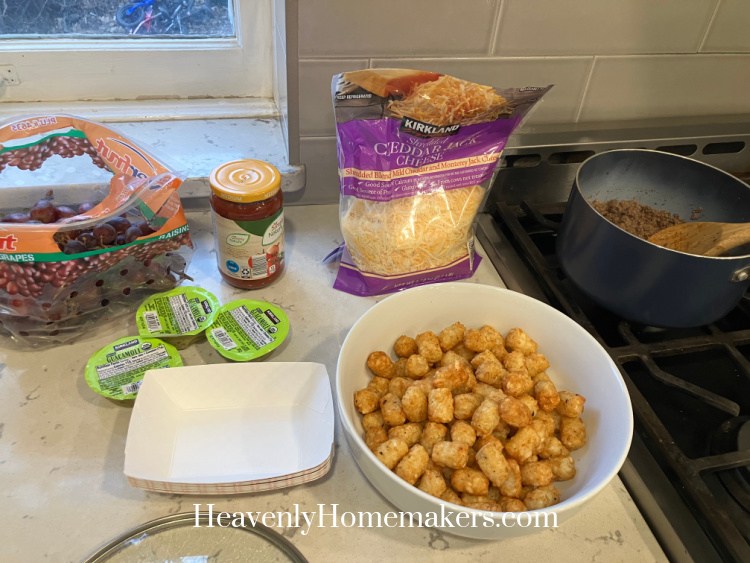
I made a very simple dinner that night of “Nacho Tots” with taco meat, cheese, salsa, and guac to put over tator tots.
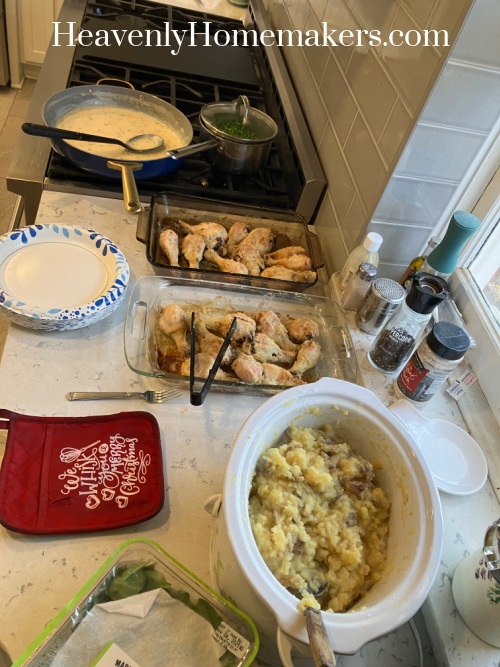
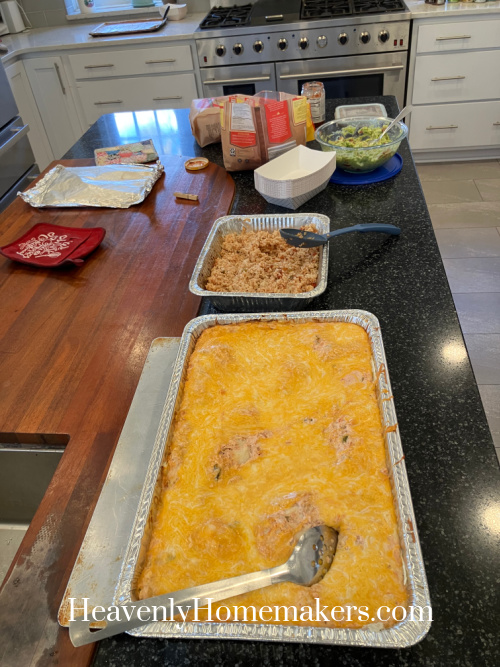
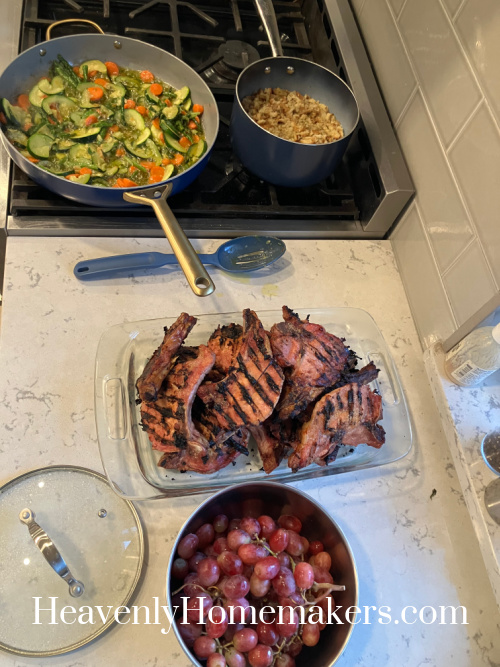
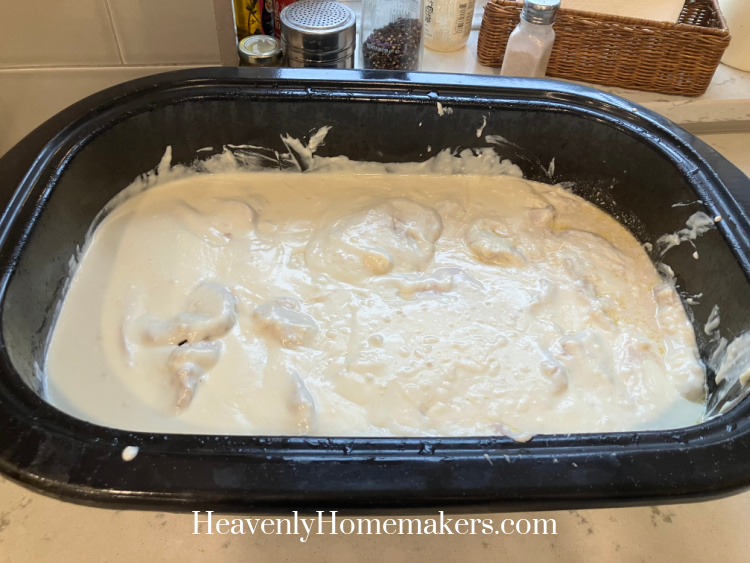
That night, I made a huge roaster full of Smothered Pork Chops for our upcoming Sunday Lunch. I’m in the middle of writing this recipe to share with all of you soon!
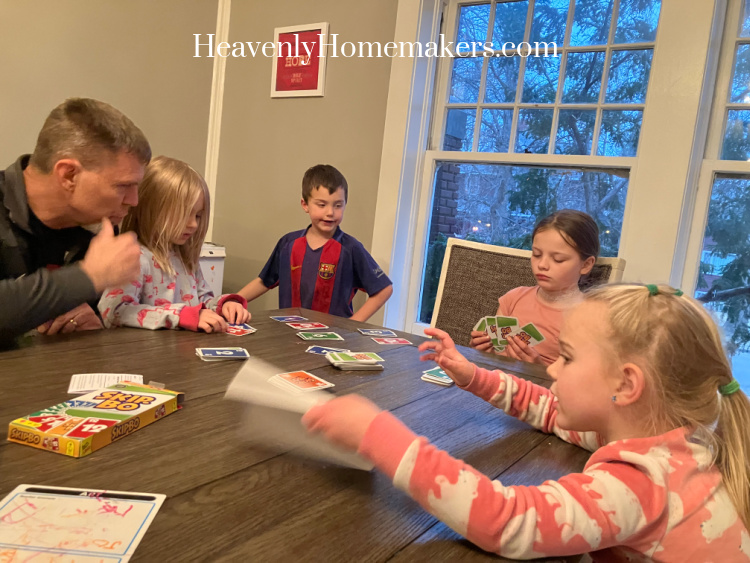
We taught the kids to play Skipbo that night. I used to play this with our older boys a lot so playing this brought back great memories!
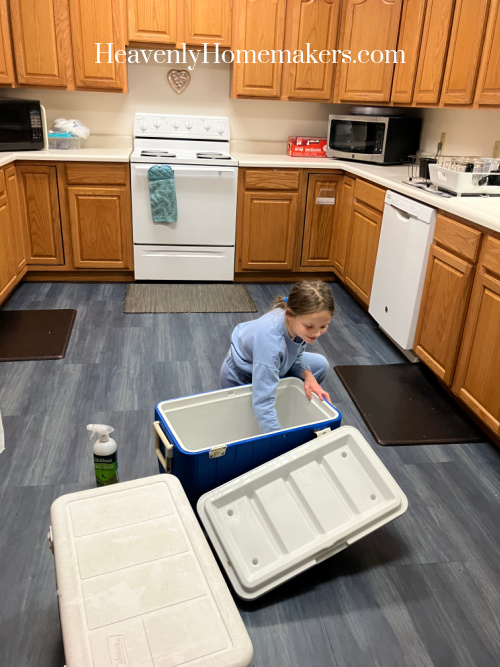
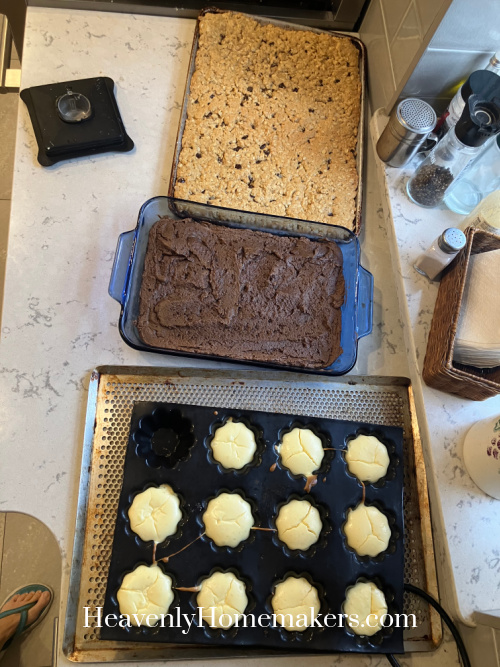
On Saturday mornings, we let the kids watch a couple of shows when they get up. So this allows me to get a little bit of kitchen work done in preparation for our weekend and upcoming week. This Saturday, I made a double recipe of Flourless Brownie Muffins, a batch of Crustless Cheesecake, and a double recipe of Breakfast Cookie Bars.
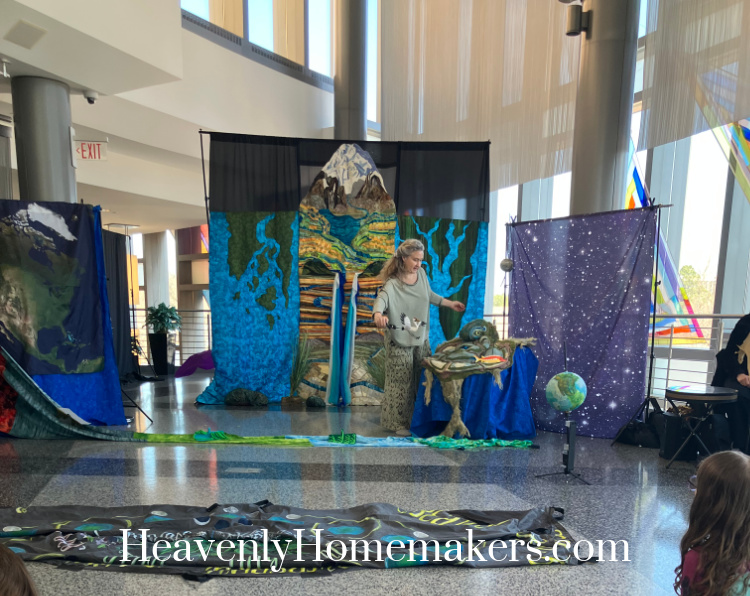
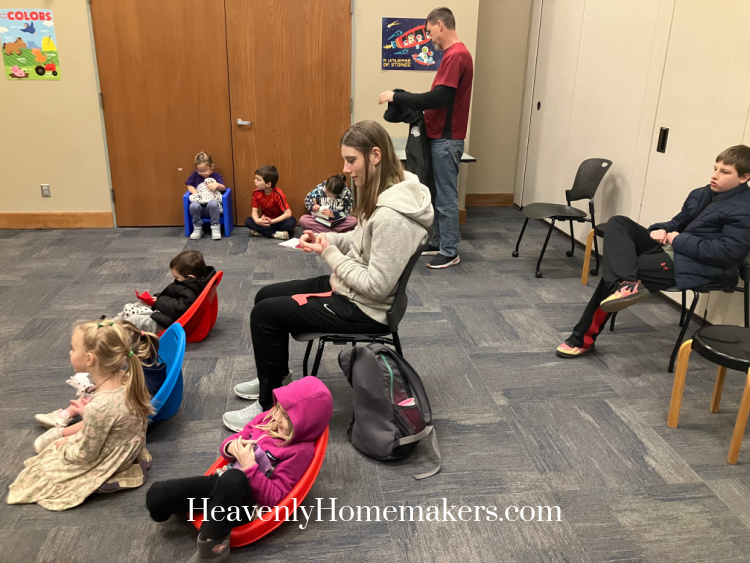
We got ready after that and headed to the library for Sensory Storytime. Kelsey and Hopelyn met us there!
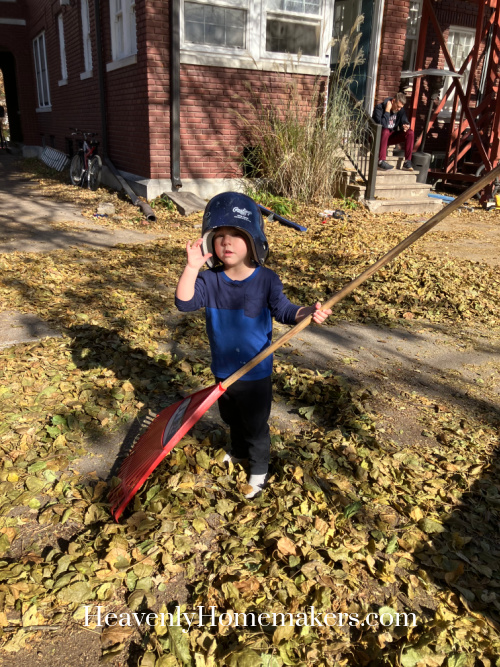
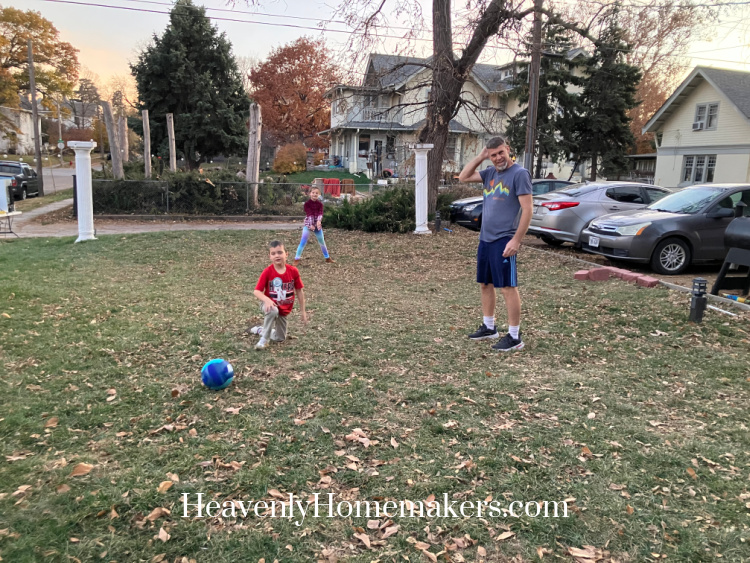
After that, we took the kids to a free event at the International Quilt Museum. Some of the kids handled this fine and some of them didn’t, which is par for the course. We went home and ate leftovers for lunch, did some cleaning, played outside, and gave haircuts to the boys. And that was our week!