Eggs and smoothies. Smoothies and eggs. Cereal. Cereal. Cereal. Snore. Need a change of pace? Want some fresh ideas? We’ve got a free printable for you that includes 31 Days of Real Food Breakfast Ideas!
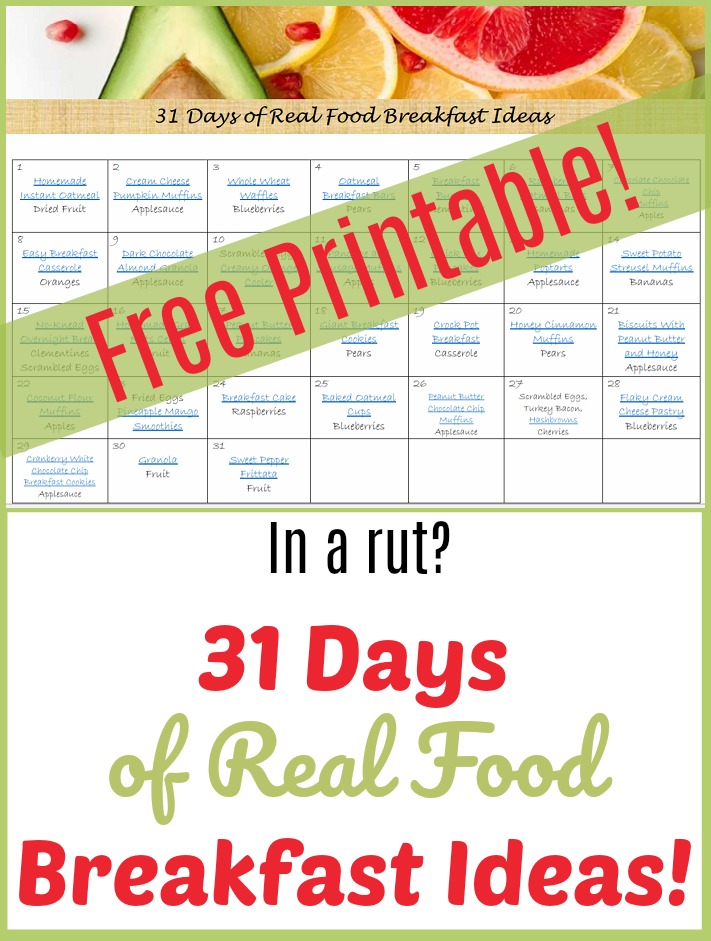
All 31 ideas are recipe linked. Every recipe is made from real food: Whole grain, healthy fats, wholesome sweeteners. It’s all simple, it’s all delicious, and it will inspire you with fresh ideas for ways to feed your family each morning.
Unless you enjoy eating breakfast at night for dinner. (For some reason, waffles taste better at night. We don’t understand it. We just go with it!)
Mix it up. Substitute your favorite fruits – whatever is in season! Be sure to add protein to each meal if needed. There’s no right or wrong way to use this free printable full of ideas. We just hope you use it!
—> Want some simple real food dinner ideas too? Check out this huge list! <—-
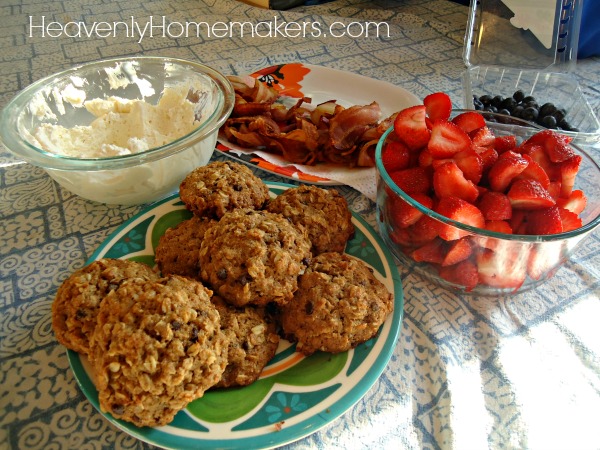
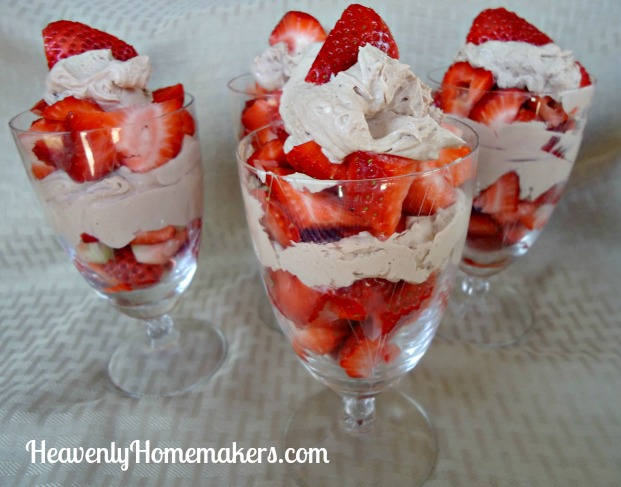
By the way, want to eat cookies for breakfast? With bacon? Strawberries and cream? Life is good, and so is your health. Real food for the win! (Seriously. Stop being afraid of bacon and cream. It’s real food, our bodies can utilize it for nourishment, and when we eat real food in balance, we can be healthy!)
We’re happy to share this 31 Days of Real Food Breakfast Ideas printable with you to use in whatever way works best for your family. Adapt it, pick and choose what works for you, and enjoy!
BONUS: Using these recipes will save you big bucks! How? Well, have you seen the price of a box of cereal? Making a homemade breakfast is quite a money saver. We love it!
Get your free printable 31 Days of Real Food Breakfast Ideas. Signing up to receive this will connect you to our Savings Club, providing you with relevant money-saving tips, recipes, ideas, and inspiration!


