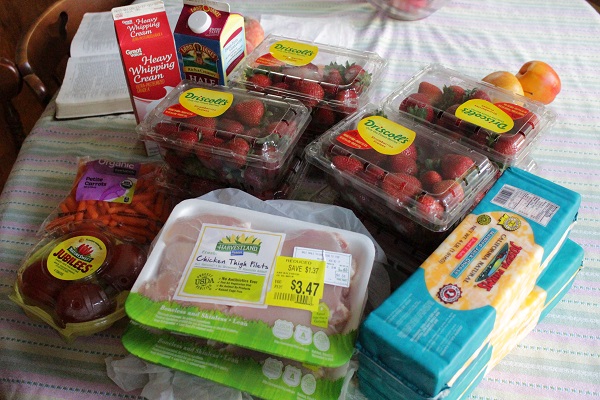
Hands down, strawberries are my favorite fruit. I can’t get enough. So today, as we head into summer, I thought it fitting to share my family’s favorite recipes to make with strawberries.
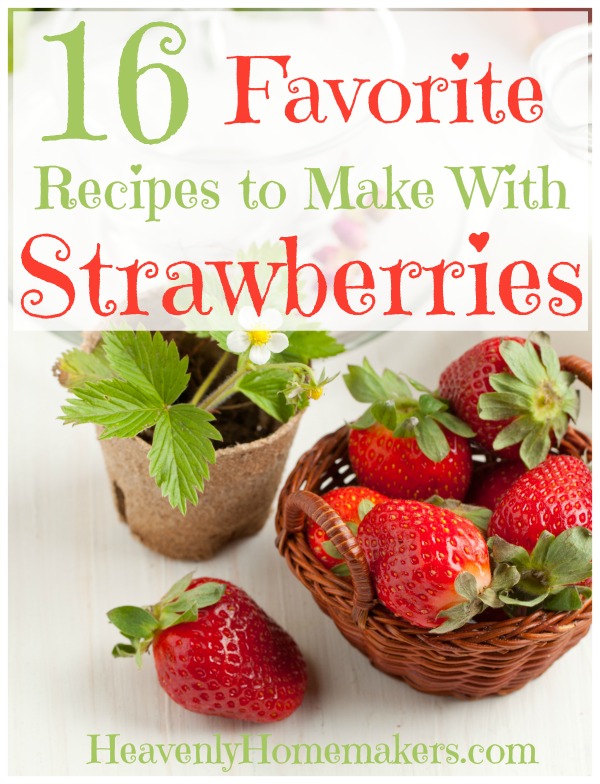
16 Favorite Recipes to Make With Strawberries
Mix and match other berries or bananas if you wish.
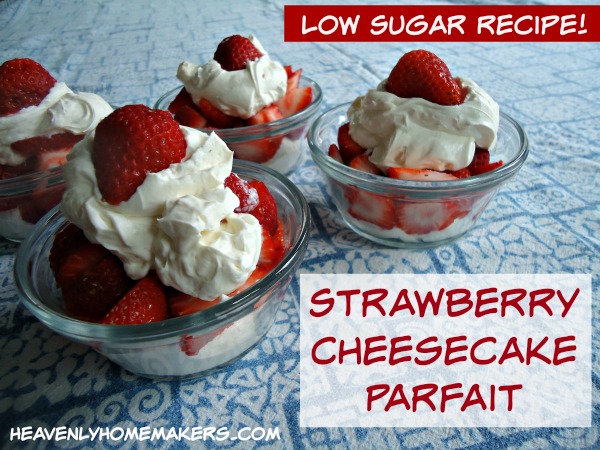
Cheesecake Parfaits
This recipe is hands down my favorite!
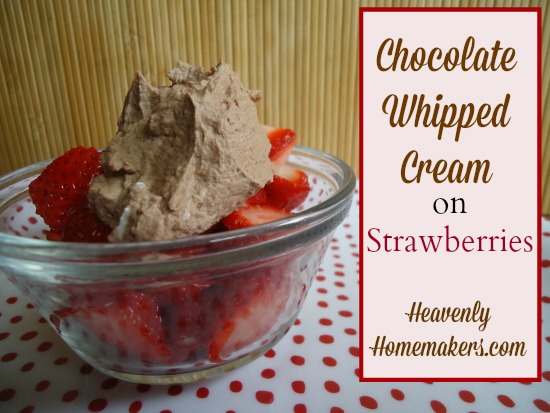
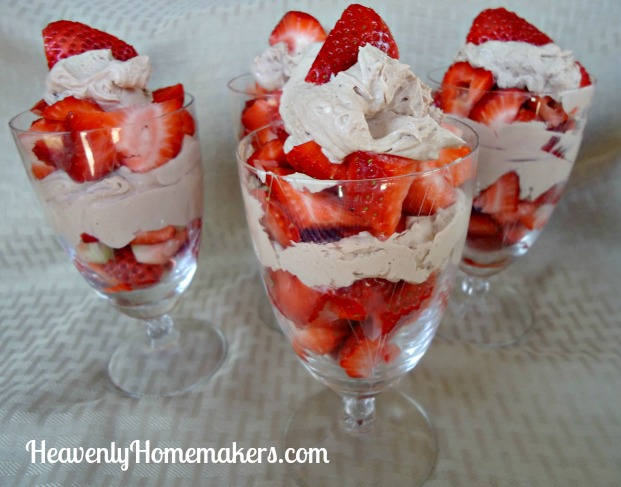
Chocolate Whipped Cream on Strawberries
This recipe is one I request my boys to make for me on Mother’s Day. Because obviously.
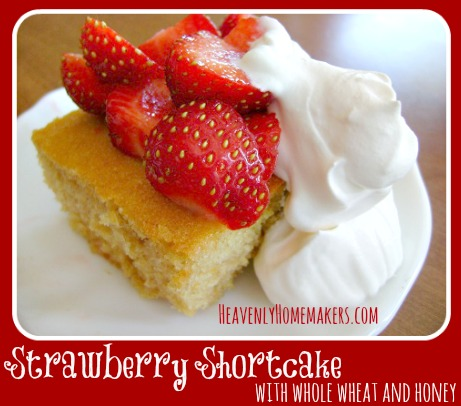
Strawberries on Whole Wheat Waffles
Now that we started making waffles like this, there is no turning back.

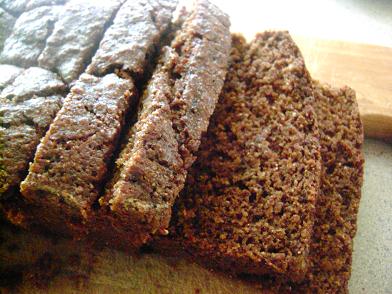
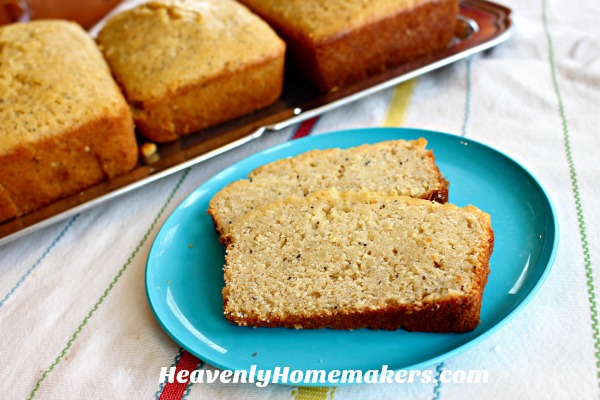
Strawberry Bread
This recipe makes it worth it to turn on the oven and heat up the kitchen during the summer.
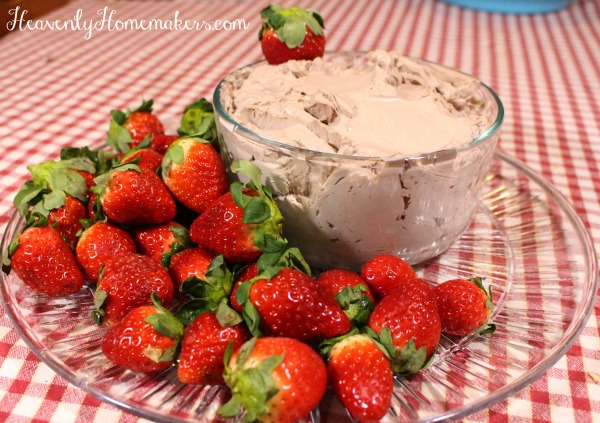
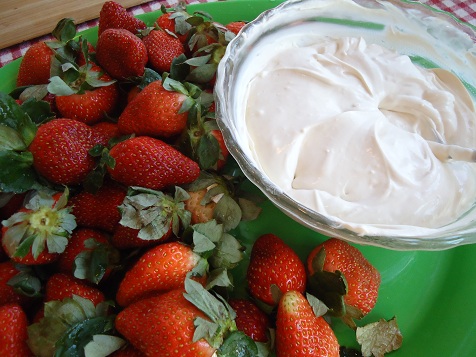
Creamy Chocolate Fruit Dip for Strawberries
You will take a bite of this and become speechless. Or you will have many words to say about how amazing it is. Maybe a little bit of both.
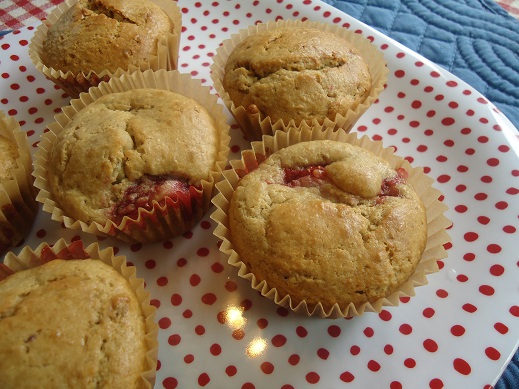
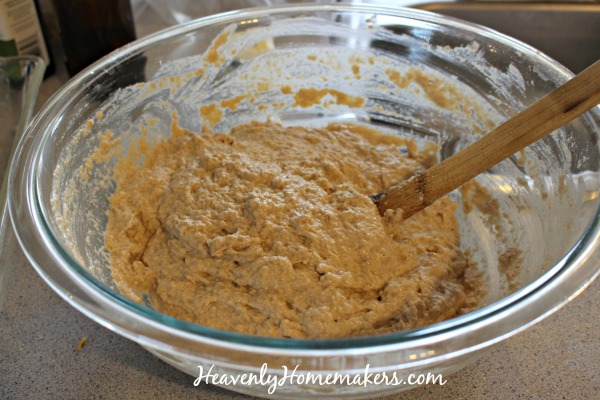
Strawberry Cream Muffins
These muffins make the word “moist” a happy word.
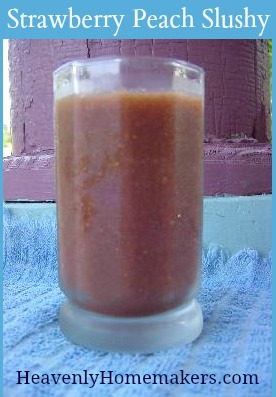
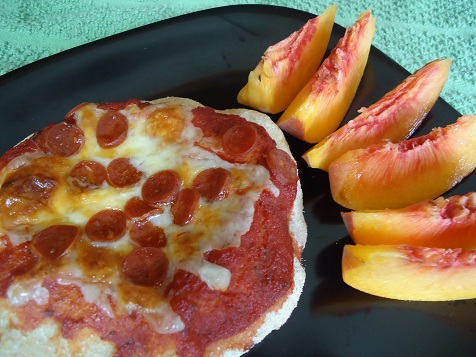
Strawberry-Peach Slushies
Don’t look now, but there’s a fresh spinach hiding in this slushy. You can’t tell? No one can. That’s the beauty of it!
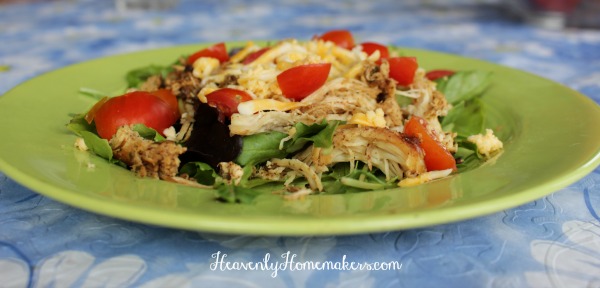
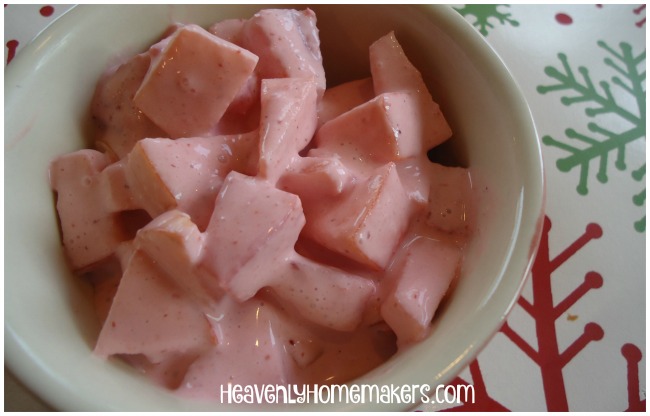
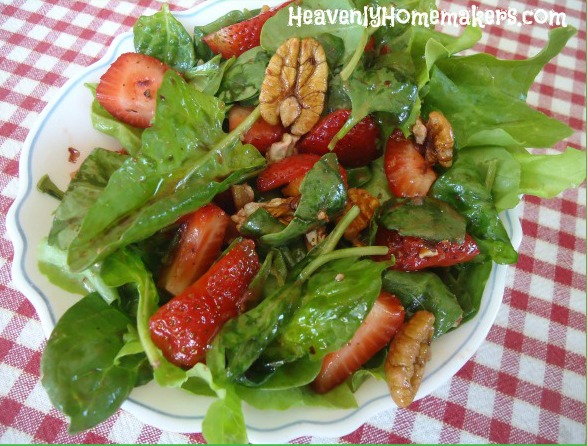
Strawberry Christmas Salad
No one said you have to wait until Christmas to eat this one. Christmas in July? Christmas next Thursday? Christmas every day? Okay then.
Low Sugar Strawberry Cheesecake Parfait
Where there are strawberries, there must be cheesecake parfait stuff in the fridge to go with them.

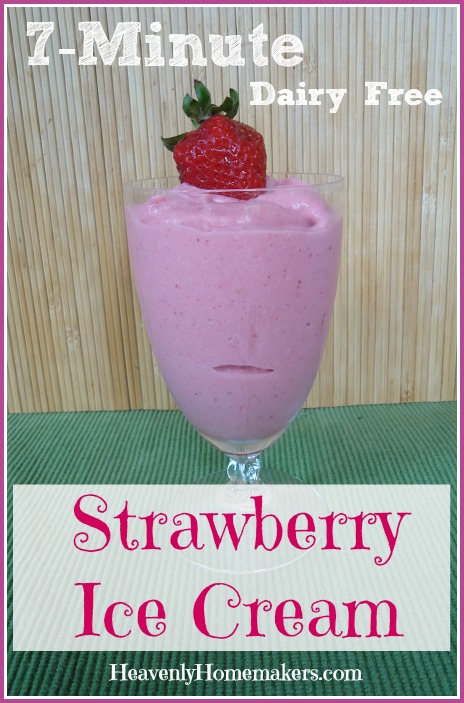
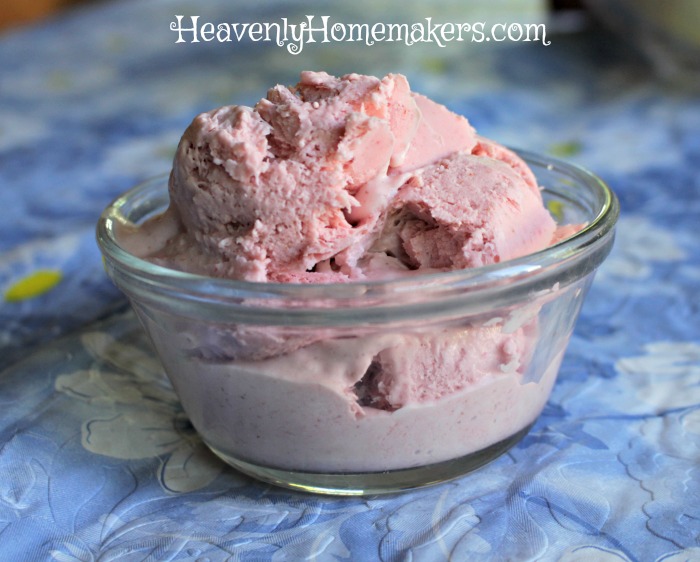
7-Minute Strawberry Ice Cream
Or maybe you can make this in 6 minutes. But who’s counting?
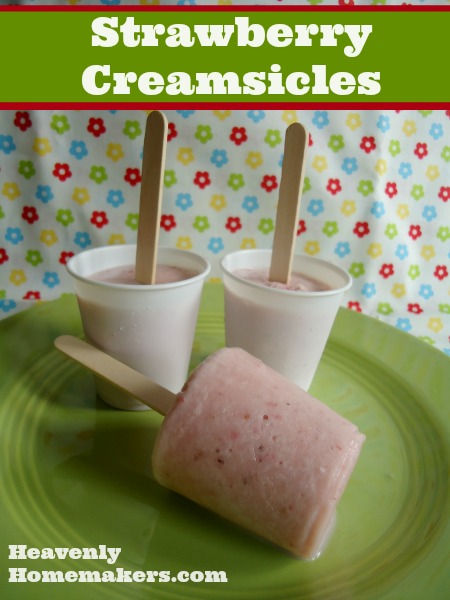
Strawberry Creamsicles
Be a kid again. Make and eat creamsicles. Share with the neighbors if you’re feeling extra nice.
Sometimes we make and eat this for breakfast. Life’s too short to eat fruit loops.
Low Sugar Chocolate Cheesecake Parfaits
Sometimes our cheesecake parfaits need cocoa. No need to say more? Shucks, I had an entire speech prepared.
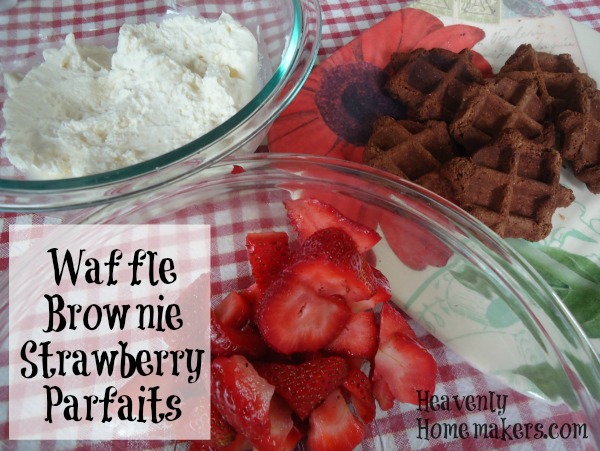
Waffle Brownie Strawberry Parfaits
Now this is just fun.
Strawberry Spinach Salad with Vinaigrette
There’s something about the combo of strawberries with pecans and the dressing that will make you feel you’re eating at a nice restaurant.
No Churn Strawberry Ice Cream
Just blend it and freeze it. It’s heaven in a bowl.
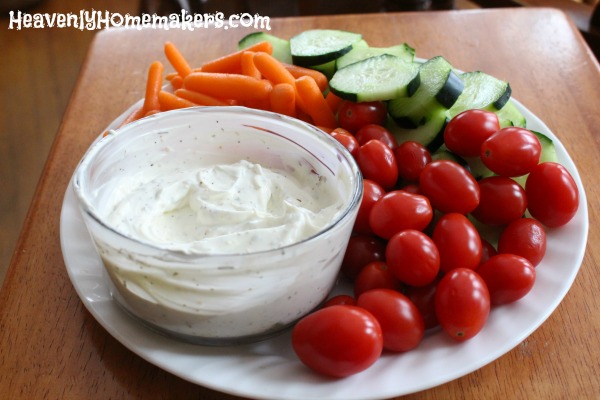
Cream Cheese Fruit Dip
Cream cheese. What would we do without you?
What are your favorite recipes to make with strawberries?


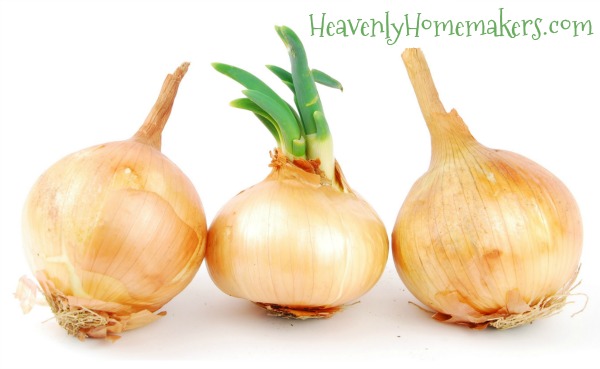
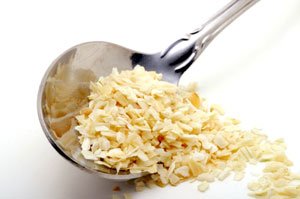
 How I Save Time Chopping Onions