You must try this Real Food Smothered Pork Chops in the Crock Pot recipe!

This delicious idea came about thanks to a great pork chop deal I got at Aldi recently. We prefer beef or chicken, but when the pork chops are originally only $3.29/pound, then they are marked down half-price, making them just $1.65/pound?? YOU BUY THEM ALL. Lookie there, bottom right. Four big packs of pork chops, filled with 12-16 chops each, marked down to only $4.00 per package. Crazy amazing!

So there I was with four big packs of super cheap pork chops. What’s a girl to do?
First, this girl did an online search for how to make Smothered Pork Chops in the crock pot – because that seemed like the easiest way to cook the chops. But wheat did your girl find?
Lots of ways to make Smothered Pork Chops with lots of Cream-of-Something soup.
Oh man. I don’t like cream-of-something soups.
Nor do I have much extra time on my hands to create recipes any more. But marked down meat calls for fast action (either freeze it or cook it asap, please, because it’s marked down due to it’s sell-by date). So I got a bit creative and wow are we happy that I did. Get yourself some pork chops and make these delightful chops. Your whole family will thank you!
This recipe seems “involved” but I promise it’s easy. I also promise that it’s worth the “effort” it takes to make the delightful gravy you will pour over your chops in the crock pot. If my kids gobble these up and ask for more – I think it’s safe to say that this recipe is a winner!
Real Food Smothered Pork Chops in the Crock Pot
- 6-8 thin cut pork chops
- 2 Tablespoons olive oil
- 1-2 teaspoons onion powder
- 1-2 teaspoons garlic powder, fresh garlic, or however you garlic your food
- Sea salt to taste
- 3 Tablespoons butter
- 3-4 Tablespoons flour
- 3ish cups milk or half-and half
- 8-ounces cream cheese
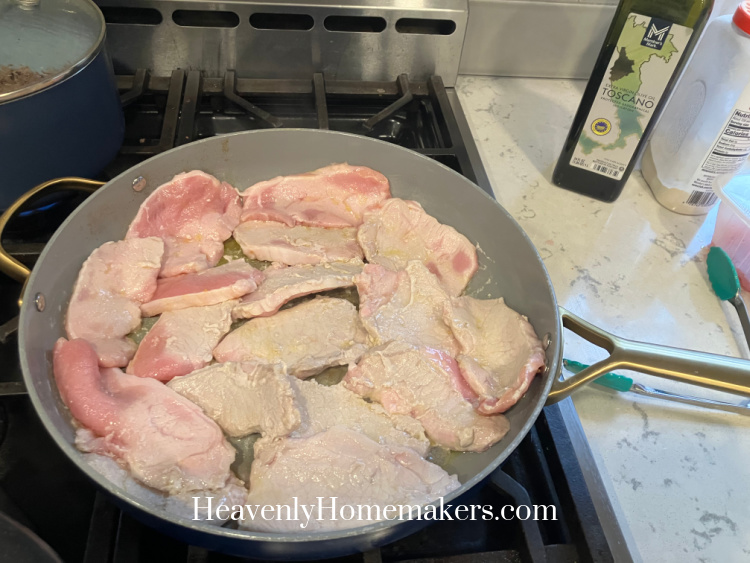
- In a large skillet, lightly sear pork chops in olive oil, seasoning with onion powder, garlic, and salt.
- Do not cook thoroughly - only cook both sides of chops for a minute or two each.
- Place chops in a crock pot.
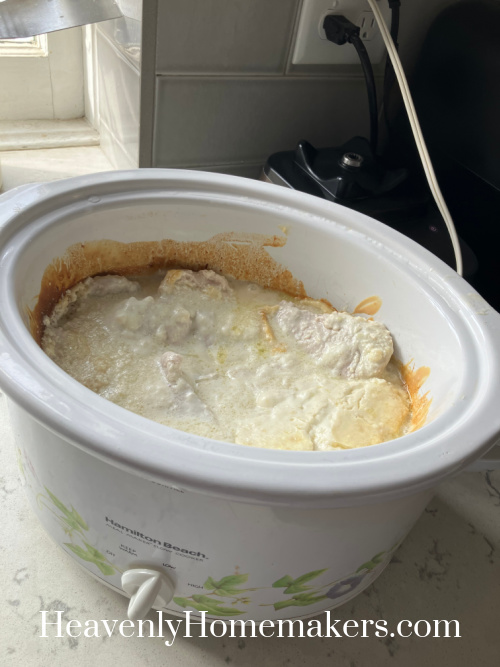
- Add butter to the seasoned oil in the skillet, stirring until melted.
- Add flour to make a paste, then add milk or half and half to make gravy.
- Stir constantly until thickened, adding more milk as needed.
- Add cream cheese and stir until melted.
- Pour gravy over the pork chops in the crock pot.
- Cook on low for 4 hours until pork chops are falling apart.


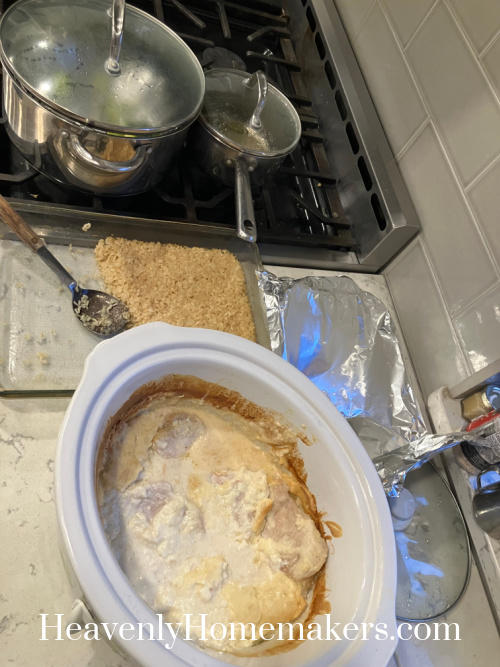
We found that these Smothered Pork Chops tasted amazing over Stick of Butter Rice.
Watch for those meat markdowns – it’s a huge money saver!