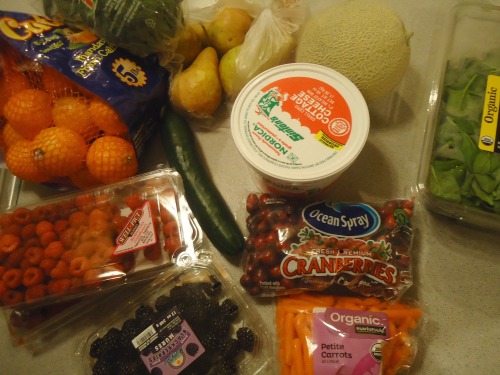
Actually, I’m keeping all of my favorite things. Sorry. They are my very favorite items and I use them constantly. However, I am going to give one of you a package full of duplicates of many of my favorite things so that you can enjoy them too! How fun is this?!
Now, the trick is that all of these favorites have to fit inside a stocking. This is why I’m not giving away my husband or children. (Not even their monthly grocery bill would fit inside a stocking.) Plus, I really want to keep them around.
I also decided not to include butter in this give away. Butter fits inside a stocking, but sending it in the mail? Well, I decided to skip it. I do think it is fitting to ask that every time you use butter, you think of me with a smile.
So, no butter, no family members, and you also can’t have my personal Bible or my recliner. (Again, stocking size restrictions, obviously.) But enough about what this giveaway does not include. What are these amazing items I’m choosing to giving away???

The winner of this giveaway will receive:
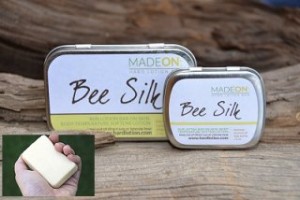
BeeSilk Family Size Hard Lotion Bar ($12.95)
I haven’t stopped raving about these since I started using them several years ago. They are completely non-toxic and healthy for the skin, and they have saved my hands!!! I love this stuff and don’t go a day without it.
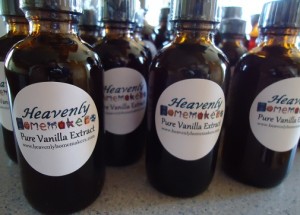
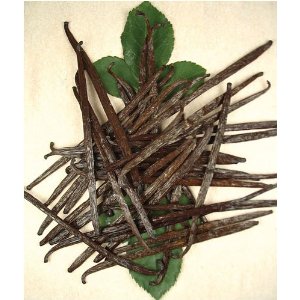
1/4 pound Vanilla Beans through Olive Nation ($19.95)
Making Homemade Vanilla Extract has been one of the most fun and delicious adventures in my kitchen since we switched to real food. Everyone needs to make this.
Lilla Rose Flexi-Clip ($13.00)
I wear Flexi-Clips almost daily. They are crazy easy to use and so very pretty. They don’t pull or break my hair like cheap ponytail holders. I absolutely love Flexi-Clips. The winner of this giveaway will win an extra-small Snowflake Flexi – perfect for young Frozen fans and their moms. :)

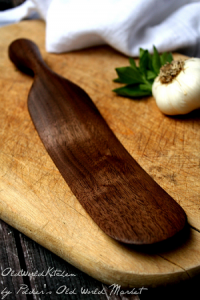
Polder’s Old World Market Spurtle ($39.00)
Ever heard of a Spurtle? It’s like a spatula, spoon, and paddle all in one. Not only is it a super handy kitchen gadget, it is beautiful and the best quality utensil I have in my kitchen. It is hand made – pure walnut. The winner of this giveaway will receive an Original Spurtle Spatula. These are fantastic!
Half-Tee Tank from Deborah and Co. ($17.99)
While this isn’t a winter item, you will be very glad you have this Deborah and Co. Half Tee Tank come spring and summer. I love mine so much I’m going to need to order more next summer. They are wonderful for comfortably adding a modest layer under tanks and dresses – definitely one of my very favorite things. (I just learned that this week only in the U.S., Half Tees are shipping for free!)

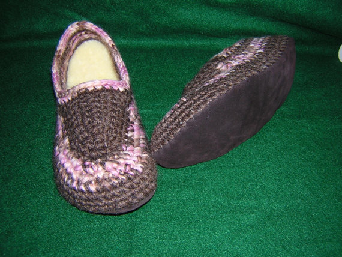
Hand-Made Slippers from The Purple Lamb ($80)
Seem like an expensive pair of slippers? Well, you get what you pay for. Regular $20 slippers from the store don’t last long since I tend to wear slippers all day long several months out of the year. I’ve had my Purple Lamb slippers for over two years and they still look and feel like they did the day they arrived. I cannot say enough about these amazing, custom, hand-made slippers. They are so well made, so perfect for my foot, so warm and comfortable – they are amazing. The inside of the slippers feature New Zealand Shearling – seriously the softest most luxurious thing ever. They include suede soles and are made from 100% wool. You will love these. (Available in up to an 11 inch foot.)
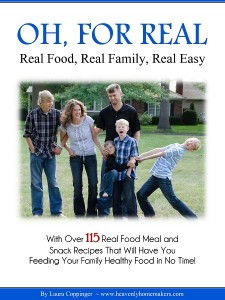
 Oh, For Real! Cookbook ($25.95)
You know my cookbook is one of my favorite things. ;) I use this so much that my copy has splashes and stains on it by now. It is a cookbook full of our family’s favorite recipes, as well as all my best tips for keeping life simple (and healthy) in the kitchen. I want you to have my cookbook!
Leave a comment on this post for a chance to win this fun giveaway of many of my favorite things. I will draw a random winner on Thursday, December 18. Be watching for a post stating the winner as you will be responsible for contacting me if your name is chosen!
If that isn’t exciting enough, wait until you hear this:
12 other bloggers stuffed stockings with their favorite things too! Not only can you enter for a chance to win the package I put together for you – you can enter 12 more wonderful giveaways while you’re at it!
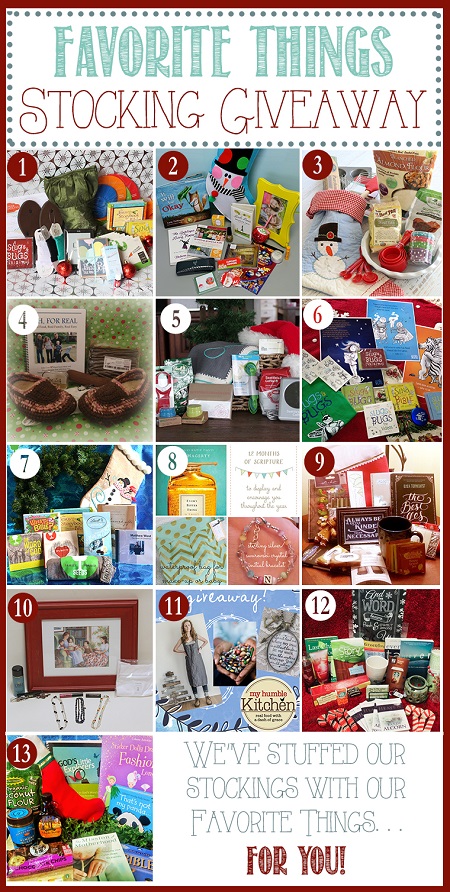
- Check out the Stocking Giveaway Collage featuring 12 other beautiful bloggers and their Favorite Things stockings.
- Enter to win my Christmas Stocking Giveaway at the giveaway below (just leave a comment!).
- HOP to all the other sites and enter to win their stockings!
- Look around and enjoy the sites of these incredible bloggers. I love this hand-picked group of blogs. They all love the Lord and their sites and content reflect that. If you like Heavenly Homemakers, you’ll surely like these blogs too!
1. Thriving Home 2. Happy Home Fairy 3. The Nourishing Home 4. Heavenly Homemakers
5. Meaningful Mama 6. Slugs and Bugs 7. Seeds Family Worship 8. Jennifer Ebehack
9. The Generous Wife 10. The Modest Mom Blog 11. My Humble Kitchen 12. Kara Chupp
If you’re new to Heavenly Homemakers, I’d love for you to sign up for our free newsletter. The fun never ends around here!
This post contains affiliate links.

![gratituesday[2]](https://www.heavenlyhomemakers.com/wp-content/uploads/2014/01/gratituesday2.png)