Heavenly Homemakers

Encouraging women in homemaking, healthy eating and parenting

  • Home
    • About
    • FAQs
  • Recipes
    • Bread and Breakfast
    • Condiments
    • Dairy
    • Main Dishes
    • Side Dishes and Snacks
    • Desserts
    • Gluten Free
    • Instant Pot
    • Crock Pot
    • Heavenly Homemaker’s Weekly Menus
  • Homemaking
    • Real Food Sources
  • Store
  • Contact
    • Advertise
    • Disclosure
    • Privacy Policy
  • Simple Meals
  • Club Members!

How to Use a Cast Iron Skillet like a Pro

January 27, 2021 by Tasha Hackett 1 Comment

This post may contain affiliate links. For more information, please see our disclosure policy.

I’ve loved and recommended using a cast iron skillet for years. Today, Tasha will tell you how to use one like a pro!

How to use a cast iron skillet like a pro

by Tasha Hackett

I didn’t know how to properly cook with a cast iron skillet until very recently. 

Even though I have prepared food almost exclusively on my cast iron skillet, I continually burned food or the food stuck so badly I spent far too long scraping it off the bottom and reseasoning again. 

I burned the pancakes on my cast iron again and I was sad. As I served my family I said, “I know it’s burned. Sorry. It is what it is. This is the last of the flour, I’m not making anything else. Sorry. Just eat it. I know it’s burned. Sorry. Don’t ask me why it keeps burning.” 

I burned the zucchini patties and I was sad. “I don’t know why they’re burning! The bottom is burned before I can even flip them without it falling apart! I turned it down and they’re still burning.” 

The scrambled eggs stuck to the bottom of the pan so badly I felt like I sacrificed two whole eggs to the cast iron gods. 

Please tell me I’m not the only one who struggles with the cast iron skillet? 

Figuring out how to use a cast iron skillet shouldn’t have taken me this long.


With all my struggles, you may be asking, “Why do you even use it if it causes so much trouble?” A few reasons. 

Now that I know how to use a cast iron skillet, I love it even more.

Foremost, I like the simplicity of it. I use this one pan multiple times a day. I clean it after each meal and it lives on my stovetop. The nostalgia that this is the same type of pan the pioneers used hundreds of years ago speaks to my author soul. I don’t wear 1800’s dresses, or travel by horse or train or write letters with an inkwell, but by golly I can cook with the same pan! (In theory, except I was disproportionately burning everything.) Another main reason I like to use it is that I don’t trust modern technology when it comes to our health. Teflon is bad for you–correction, teflon is bad for you when heated. HA! 

I know there are other non-stick pans out there today that claim to be non-toxic, but I haven’t had the time to look into them yet. (I’ve been far too busy wondering why I keep burning the Simple Tuna Patties.)

cast iron eggs

Here are my how-to tips for using your cast iron skillet:

  1. Start with a well-seasoned cast iron skillet. Which I have. Many times. Keeping it well-seasoned was my problem. Seasoning a skillet is simple: Clean. Dry. Rub a teaspoon of vegetable oil or lard all over. Top, bottom, outside, underneath, and the handle. Bake upside down in a 350* oven for an hour. Let it cool in the oven before putting it away.
  2. Be patient. Let the pan preheat at a low temperature for up to five minutes before cooking on it. A drop of water should immediately sizzle and then you may add the oil. If the butter, oil, lard, etc., is smoking, that means your skillet is too hot. Heating a cast iron skillet/pot/pan on high heat right away, especially on an electric stove, causes the iron to expand and heat unevenly and can cause warping. This is one of the only things that will ruin your skillet.
  3. Preheat the oil. Do this after the pan is preheated. Again, if the oil smokes or burns, this is a bad sign. If the butter is burning, the pancakes will soon be burning. (You’d think I could have figured that out sooner.) On my gas stove, I do most of my cooking just above Low or directly between Low and Medium. On my stove, the butter burns at Medium. Once the pan is heated, if you turn the temperature down it will not immediately make a difference. One of the pan’s strengths is the ability to hold heat. Therefore, adjusting the temperature up and down while you’re cooking isn’t going to work well for your food or your taste buds. Or your family’s trust in your cooking abilities. Have patience while preheating, and you will quickly learn where to set the temperature and can leave it there.
  4. Do the sizzle dance.

  5. The food should sizzle as soon as it touches the pan. Food that doesn’t sizzle means your pan wasn’t preheated enough and now your food is going to stick and then probably burn. (Preheat the skillet even if you are baking cornbread in the oven. The sizzle as you pour in the cornbread batter will create a delicious crust and keep the wet cornbread from sticking to the pan.)
  6. A properly seasoned cast iron skillet is easily cleaned with a wipe-down of a paper towel or hot water and plastic scraper. Boiling water in the pan, using soap, or not properly drying will cause your pan to rust and this is bad. If the pan rusts, you get to scrub it off with a steel brush and do the reseasoning thing again.
  7. Whenever dry spots appear on the pan, it’s time to reseason. If you use enough oil while cooking on the pan, you shouldn’t have to do the reseasoning thing more than a few times a year. If that. But… if you were anything like me and frequently burned the food and then had to scour it off with hot water, reseason it as often as necessary until you’ve perfected the patience that is required for preheating your pan. 

And that’s how to use your cast iron!

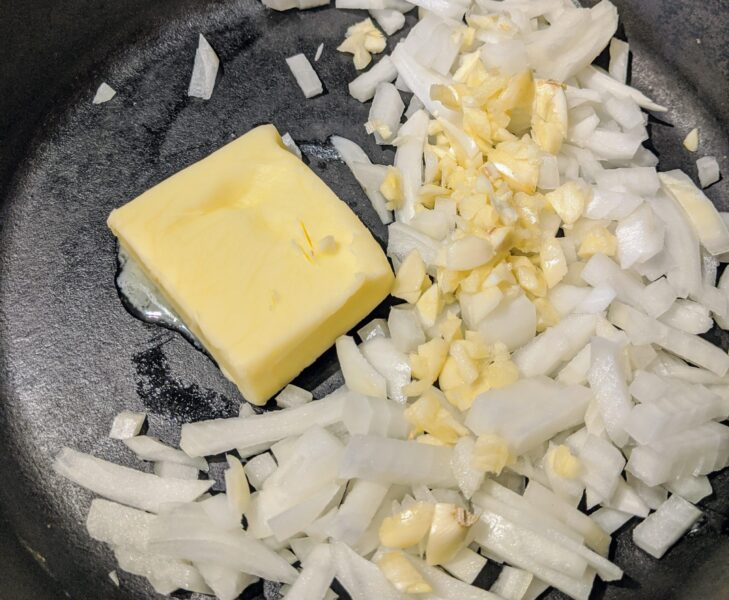
cast iron onions

This pan was not preheated. There was no sizzle when the onions were added. The butter wasn’t melted and then it will later burn.

I’m curious, how many of you have skillets passed down from your grandma? Years of history and thousands of meals prepared in a pan that is still in great use today? Amazing!

I love to invest in things that will last. Cast iron is just one of those things. Now that I know how to really use mine, I foresee some delicious pancakes in my family’s future. 


Tasha HackettTasha Hackett, friend of Laura, is fueled by sunshine or chocolate, whichever is more readily available. Recently embarking on a paleo journey to combat some chronic inflammation, she is still finding ways to eat chocolate. Though she proudly sings every word of the Wee Sing Silly Songs albums and often pretends to be a ballerina while unloading the dishwasher, her favorite thing is writing with hope and humor to entertain and encourage women—specifically young moms. Most of her time is spent with four chatty children and an incredibly supportive husband. They give her the kind of love people write books about. Her debut novel, Bluebird on the Prairie, a heartwarming Historical Romance will release spring, 2021. You can connect with her at www.tashahackett.com or on Instagram @HackettAcademy. 

Heavenly Homemaker's Club Members: Access your homepage and all your fantastic resources here! Not a member yet? Please join us!

Tips and Tools to Make Menu Planning EASY

January 26, 2021 by Laura 1 Comment

This post may contain affiliate links. For more information, please see our disclosure policy.

It really is possible to make menu planning easy, even if it’s a task you’ve never enjoyed. Here are my best tips and recommended resources to help. :)

Tips and Tools to Make Menu Planning EASY

Let’s just dive right in, shall we? Here are some of the tips I’ve found that are really helpful for simple menu planning. After I share these, then I will present you with some really great tools. :)

When it comes to figuring out food for your family…

1. Decide to have a good attitude about menu planning.

If you’ve always hated figuring out what to feed your family every day, keeping a good attitude about it can be tough. Even if you don’t mind or even actually enjoy menu planning, the daily grind of it can sometimes get old and tiresome. But the truth is that we all need to eat every day; therefore we do need some sort of plan so that we don’t become stressed out over food.

It’s possible you hate menu planning because you don’t plan your menus. (Eh?) What I mean is, if you don’t decide on a simple meal plan before it is mealtime, you’ll find yourself trying to figure out food for your family at the point in which they are all hungry, you are too hungry to think of good ideas, and you’re trying to make plans AND make food in the middle of ALL THE HUNGER.

This is no fun. It does not work. And it gives our brains the message that meal planning is hard and awful.

Take a deep breath. Pray. Choose joy over stress and angst. Menu planning can become easier. Learn what works for you (lots of ideas below), and decide to believe the truth that YOU CAN DO THIS.

2. Recognize that there are many ways to plan – so figure out what works for you!

Some people make a menu plan for an entire month. Some for each weeknight. Some for every single meal and snack of the day. Some subscribe to a menu planning subscription. Some make a plan each morning to carry out through the day. Some write down all the specifics on meal planners. Some make plans on a marker board. Some don’t write anything down at all.

These are only some of the methods and options – which proves that there are many ways to plan and that no one way fits the needs and preferences of every person or family.

If I was a once-a-month menu planner (which I am not, but if I was), and I told you “you should do it just like I do it!!” and then you tried it and it didn’t work for you, you might decide that menu planning isn’t for you. But the truth is that while once-a-month menu planning (and all the other methods) works for some, it doesn’t work for everyone. Menu planning is definitely not a one-size-fits-all thing. Toy with ideas, use resources that are available – and there are many! – and find a method that works for you.

3. Keep it simple.

Unless you really love gourmet cooking and creating elaborate meal plans, there is no reason to make menu planning and cooking for a family more difficult than it needs to be.

Discover simple recipes that you know your family will enjoy and that will not take long to prepare. Keep them in your back pocket (literally, if it helps; see below for details!). Jot down meal choices in a notebook, in your daily planner or calendar, or on pretty printable menu planning pages to keep on your fridge.

Think about and decide on your main dish, then consider simple fruit and veggie side dishes to round out your meal with nourishment.

We’ve all gotta eat. But we do not all gotta spend hours every day to make this happen!

Now I’m going to show you some wonderful tools that can make menu planning much easier.

Tools to Make Menu Planning Easier

We’re going to look at some tools that:

  • Show you how to budget when grocery shopping
  • Provide kid-friendly menu and snack planning ideas
  • Give you hundreds of recipes that are both easy and healthy
  • Walk you through how to get started with menu planning
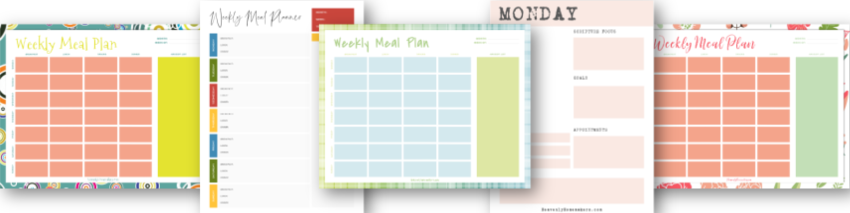
  • Offer printables and planners to make the job easier
  • Teach you about basic nutrition, weight loss options, and special dietary needs
  • Help you get organized, actually, easily :)

I have somewhere around 60 resources to tell you about, but first, take a look at one of my new favorite menu planning tools!

The Easiest Recipes, in a Flipbook!

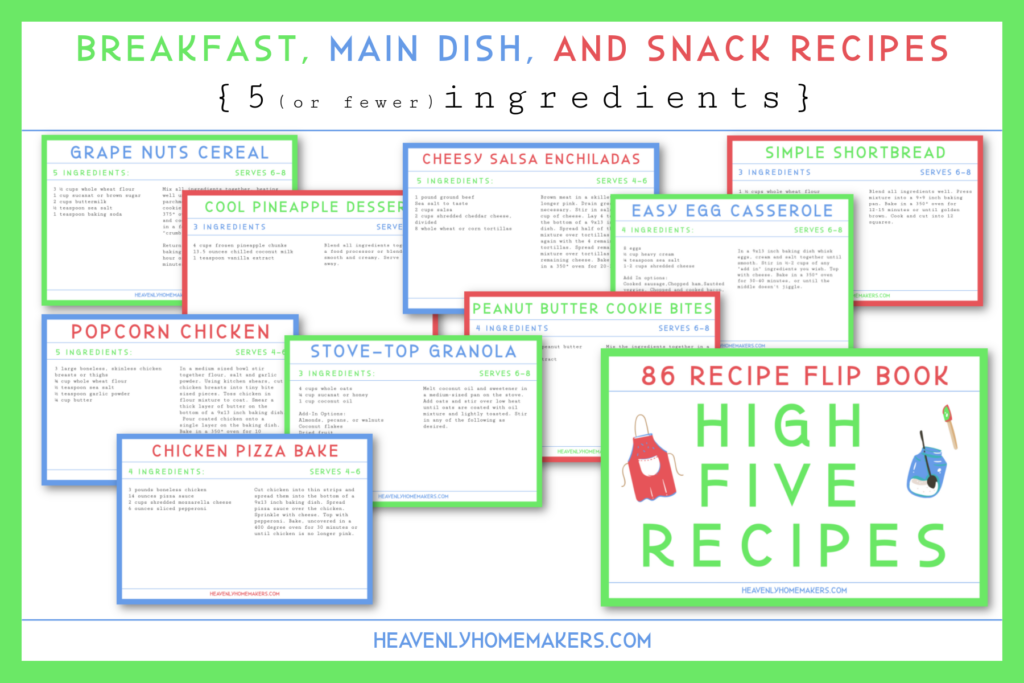
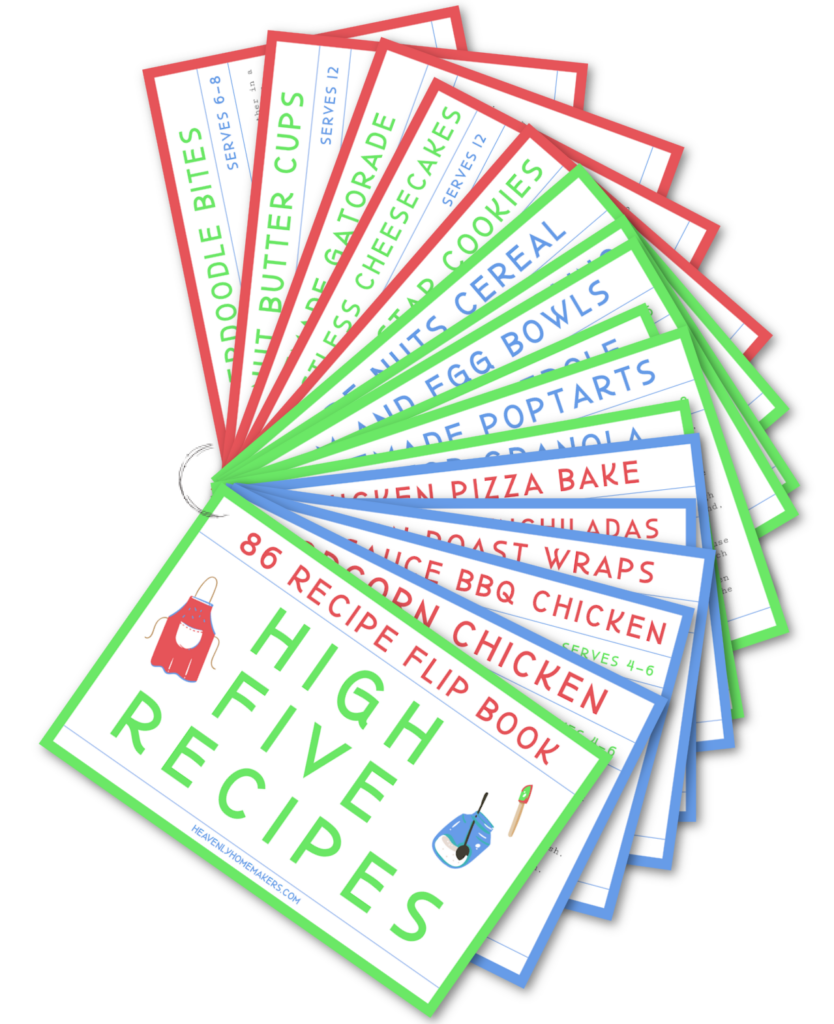
A few weeks ago, I took the recipes from my High Five Recipes eCookbook (recipes that all call for only 5 or fewer real-food ingredients!) and I turned them into a super handy Recipe FlipBook. Man, I am loving this – and this is what I was referring to when I said, “Keep simple recipes in your back pocket!”

I formatted each recipe to fit onto a  color-coded 4×6 card – then I sent them all to Walgreens to be printed. Just a few dollars later, I had all 86 recipes printed onto cards. I punched a hole through them, put a ring in the corner to hold them together, and tada! A High Five Recipes Flipbook!

This little tool is really handy (and fun!) because I can just grab it and start flipping through it for easy meal or snack ideas. Each section is color-coded to make it easier to go directly to the section I need: Breakfast Ideas, Main Dish Ideas, or Snacks and Treats Ideas.

The cards make it easy to see at a quick glance which few ingredients I’d need if I chose that recipe. Annnnnd since all of the recipes call for just 5 or fewer basic ingredients, I likely have most of the ingredients on hand and I know that the recipes will all go together quickly too!

I just added this new resource to my shop, so be sure to check it out!

And look what else!

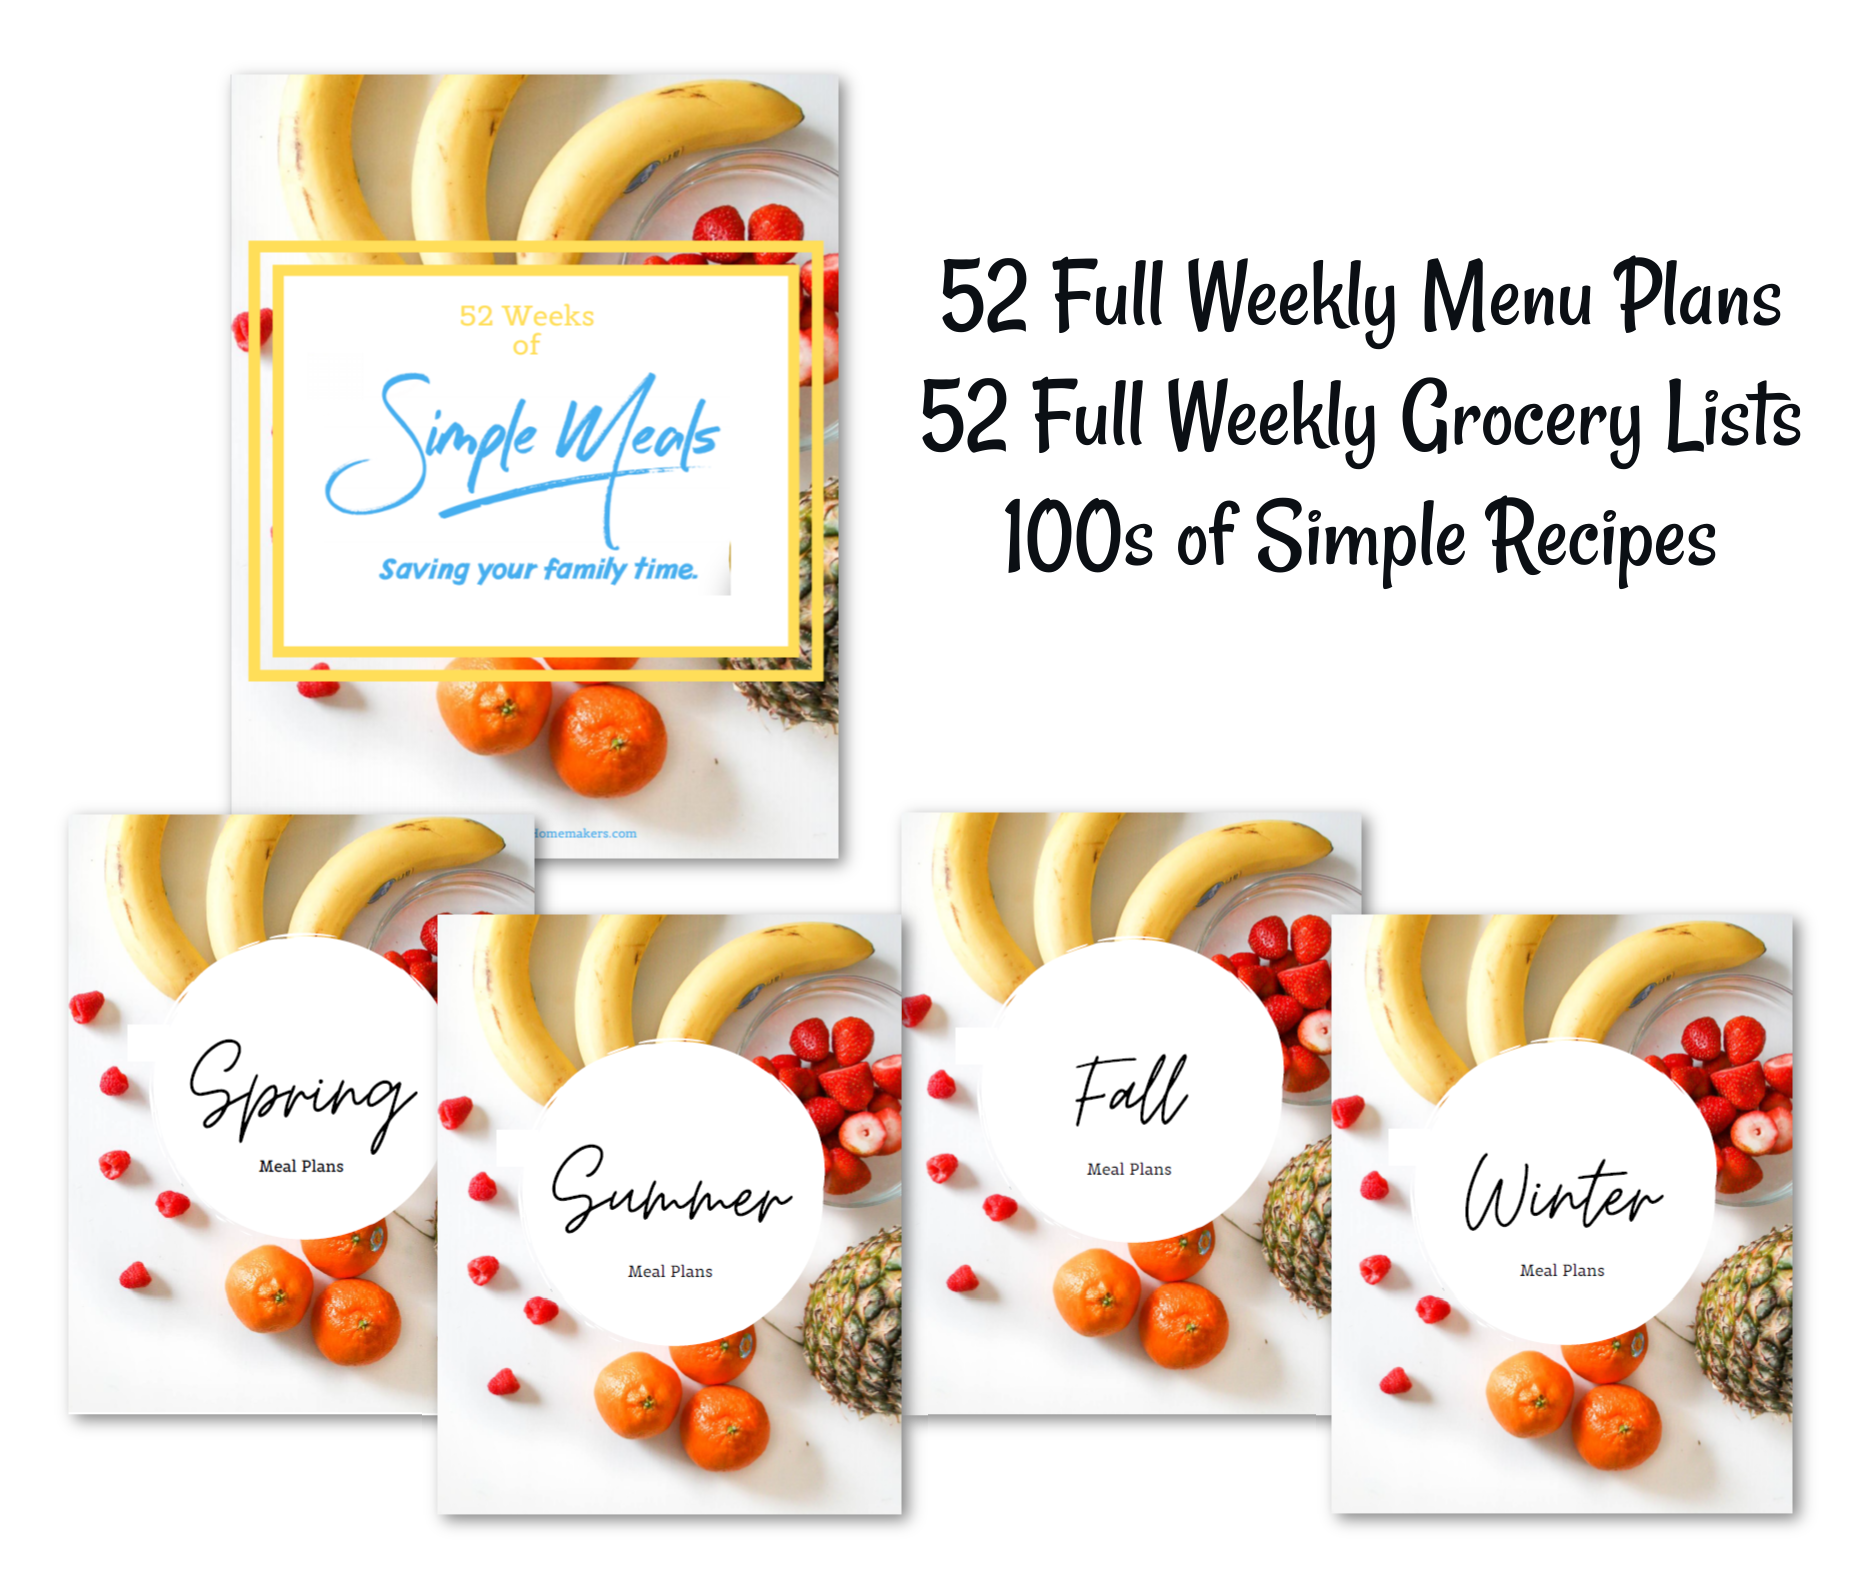
We just added our brand new 52-Week Simple Meals Planning Packets Collection 2!

Sometimes you just need someone to make the plan and tell you what to get at the grocery store, you know? We’ve been offering our Simple Meals Subscriptions here for several years to help with this – and they are awesome and well-loved! This collection includes 52-weeks worth of these Simple Meals planning packets – categorized in Winter, Spring, Summer, and Fall sections to make your job even easier. They tell you what to make, what to buy at the store, and how to make the food in the easiest ways possible.

If you prefer the entire collection of 52-weeks worth of menu plans, you can grab those here!

How to get these fun resources for FREE!

For two days only (January 26-27) they’ve brought back the Healthy Meal Planning Bundle I love so much. Many of you took advantage of this offer in August. But if you missed it, you can get it again if you hurry!

It includes 60 amazing resources to help you easily plan meals for your family. And then after you purchase, email me your receipt and I’ll send you the High Five Recipes Flipbook file (worth $15) and 52-Week Simple Meals Planning Packets Collection 2 (worth $52) for FREE!!

  1. Get your Healthy Meal Planning Bundle here before midnight, January 27.
  2. Email me your receipt and I’ll send you the High Five Recipes Flipbook and 52-Week Simple Meals Planning Packets Collection 2! (These are both digital so you’ll get them right away!)
Heavenly Homemaker's Club Members: Access your homepage and all your fantastic resources here! Not a member yet? Please join us!

Last Day for Real Moms Cooking Community Freebies!

July 7, 2020 by Laura Leave a Comment

This post may contain affiliate links. For more information, please see our disclosure policy.

If you haven’t already, please come join our Real Moms Cooking Community!

Real Moms Cooking Community Goals:

  • Add new quick and simple recipes to your regular rotation that your family will love
  • Find ways to save time in the kitchen
  • Discover great tips for saving money on groceries
  • Learn simple ways to eat out less
  • Add more fruits and veggies into your meals
  • Gain tips for making menu planning easier
  • Support one another!

There is absolutely no cost to join this community. In fact, we’re practically paying you to be a part of this! If you sign up to join the Real Moms Cooking Community by today (July 8), we’ll give you:

  • A special 2 week series of emails highlighting topics like grocery budgets, family-friendly recipes, saving time in the kitchen, simple menu planning, and how to make vegetables actually taste good. :)
  • Exclusive access to our brand new Real Moms Cooking Community Facebook Group – so we can all share ideas, tips, and recipes!
  • 1-month FREE subscription to Simple Meals
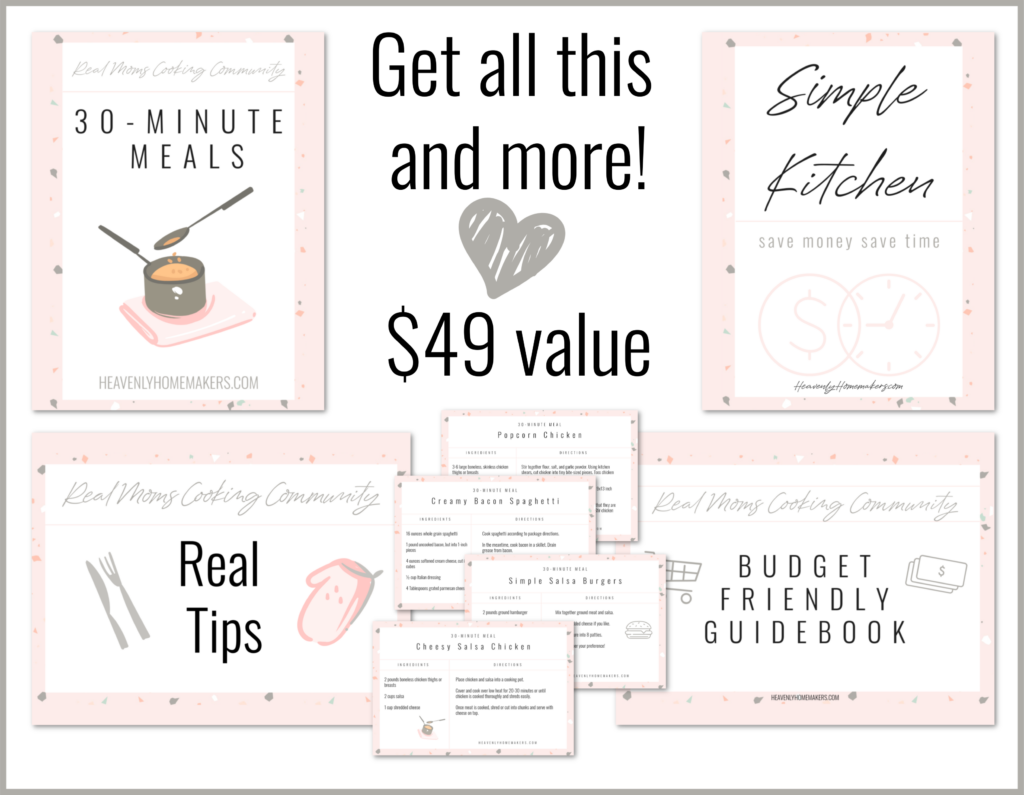
  • This incredible packet of resources, for FREE —->

Ready to join us?

We’ll hang out via email and Facebook. Sign up here and we’ll start sending you freebies and connect you with the Real Moms Cooking Community.

Click here to sign up!

BONUS! If you share this post on your favorite social media sites so that your friends can join too – you can enter you our giveaway for a copy of our beautiful Simple Real Food Recipes Cookbook! Everyone needs this cookbook!!!!

Be sure to let them know that if they sign up by July 8, they’ll also receive the $49 worth of freebies we’re handing out!

Join the Real Moms Cooking Community here

Heavenly Homemaker's Club Members: Access your homepage and all your fantastic resources here! Not a member yet? Please join us!

How to Make Stick-of-Butter Rice in the Instant Pot

May 27, 2020 by Laura 2 Comments

This post may contain affiliate links. For more information, please see our disclosure policy.

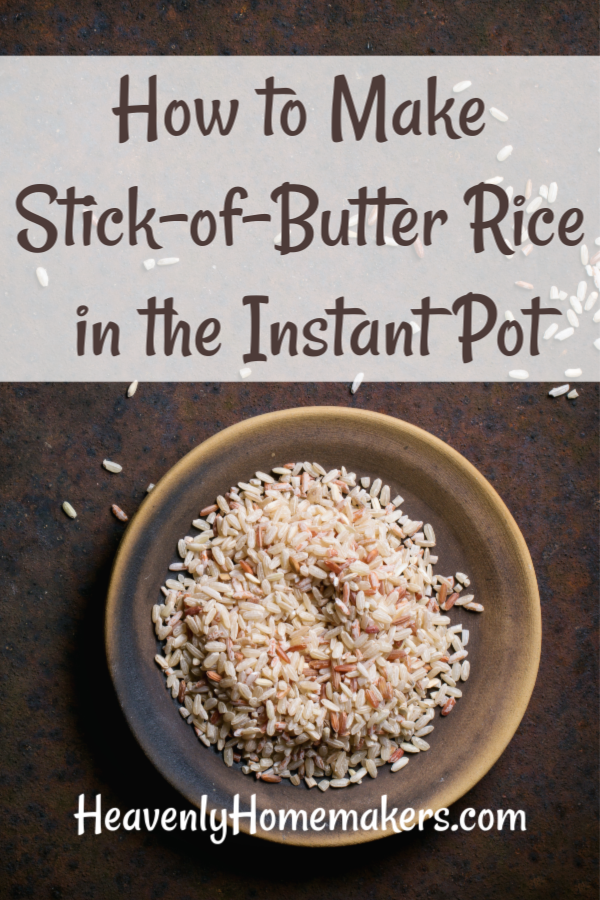
If you have an Instant Pot, this method for cooking Stick-of-Butter Rice cuts the cook time in half!

Yum

Once I learned to make Stick-of-Butter-Rice, I’ve never gone back to making it the “regular” way again. This recipe is TOO DELICIOUS. My entire family likes this – even the ones who never really cared about rice before. It’s the butter, of course. Also the onion. And the broth. The mixture makes incredibly tasty rice!

If you bake this recipe in an oven, it takes a solid hour. This is fine if you have an hour. If you don’t, and you have an Instant Pot, try it this way instead! It can be done in just a half hour!

I love making batches of rice ahead of time. Typically I’ll make this and use what we need for a meal, then use the rest to stir into recipes like:

  • Beef and Cheese Burritos
  • Chicken Burritos
  • Cheesy Beef and Rice
  • Spanish Rice

Then I can get two meals out of one!

Here’s how we often eat our freshly made rice, served with:

  • Hawaiian Crock Pot Chicken
  • Simple Overnight Saucy Crock Pot Chicken
  • Simple Overnight Melt-in-Your-Mouth Beef Roast
  • Simple Barbecue Beef Roast
  • Simple Hawaiian Beef Roast
  • Simple Crock Pot Salsa Shredded Beef

But truly, this rice is so flavorful that it’s perfect as a side dish all by itself. I think you’ll be like me once you try this and never go back to regular rice again!

How to Make Stick-of-Butter Rice in the Instant Pot

How to Make Stick-of-Butter Rice in the Instant Pot
 
Save Print
Author: Laura
Serves: 6-8
Ingredients
  • 2 cups brown rice (uncooked)
  • 2 cups beef or chicken broth
  • ¼ teaspoon sea salt
  • 2 Tablespoons dry minced onions
  • 1 stick of butter, cut into 6 chunks (1/2 cup)
Instructions
  1. Place ingredients in your Instant Pot and stir.
  2. Seal pot and cook on the manual setting at high pressure for 22 minutes.
  3. Allow the pot to release naturally after cooking.
  4. Stir and enjoy!
3.5.3229


Heavenly Homemaker's Club Members: Access your homepage and all your fantastic resources here! Not a member yet? Please join us!

Simple Spicy Chicken Cheese Dip

April 26, 2020 by Laura 2 Comments

This post may contain affiliate links. For more information, please see our disclosure policy.

I ate this Spicy Chicken Cheese Dip at a friend’s house recently and fell completely in love with its flavor!

Therefore, I came home and promptly made a big batch for my family the very next day. It’s ridiculously easy to make – especially if you have chicken already cooked and on hand to stir into this dip. (If not, simply cook 3 boneless chicken thighs or breasts in a pan on the stovetop for several minutes in a little water until it is no longer pink and shreds easily.)

Here’s where I confess to you that ever since we started taking in foster kids, I’ve started compromising more in the kitchen. But you already knew that. What you probably didn’t know is that I often now keep this canned chicken on hand in my pantry to use quickly in a pinch. I don’t even feel bad about it because God is bigger than free ranged chicken – and also chicken in a can.

So indeed, if you have canned chicken, drain a couple cans and throw it into this dip. Easy, delicious, and dinner is on the table super quickly!

Simple Chicken Cheese DipYum

Simple Spicy Chicken Cheese Dip
 
Save Print
Author: Laura
Serves: 6-8
Ingredients
  • 16-ounces softened cream cheese
  • ½ cup hot sauce (your favorite)
  • 1 cup ranch dressing
  • 3 cups cooked, shredded chicken
  • 2 cups shredded cheese (we use Colby jack)
  • Tortilla chips
Instructions
  1. In a blender or with a hand mixer, mix together the cream cheese, hot sauce, and ranch dressing until smooth.
  2. Fold in shredded, cooked chicken.
  3. Spread mixture into a 9x13" baking dish.
  4. Sprinkle shredded cheese over the top.
  5. Bake in a 425 degree oven for 10-15 mintues or until cheese is melted and dip is bubbly.
  6. Serve with tortilla chips.
3.5.3229

If you want, you can throw this dip into a crock pot to take to potlucks or parties. Make as directed, and cook in a slow cooker on low for 2-3 hours.

Amazingly tasty!!!

~~~~~~~~~~~~~~~~~~~~~~~~~~~~~~~~~~~~~~~~~~~~~~~~~~~

Want more Simple Real Food Recipes? We’ve got a beautiful cookbook full of them!


Heavenly Homemaker's Club Members: Access your homepage and all your fantastic resources here! Not a member yet? Please join us!

Make-Your-Own Cane’s Sauce

April 15, 2020 by Laura 4 Comments

This post may contain affiliate links. For more information, please see our disclosure policy.

I can’t take the credit for this one! Malachi (15) came up with this and we all decided that you all needed to know how to Make-Your-Own Cane’s Sauce!

What’s Cane’s? Oh my, only the best chicken place around, according to the Coppinger family. Raising Cane’s is definitely our top restaurant choice when we go to Lincoln. We love their chicken – but it’s the dip that really makes it great!

So when we made chicken strips at home recently, Malachi decided to try and duplicate their sauce for extra good dipping. What he came up with was so delicious, we all declared that he must make this for us to have on hand at all times. We even cleaned out an old ketchup bottle so we now have a special squeezy Cane’s Sauce bottle in the fridge alongside all of our other favorite condiments. #priorities

If that’s not a delicious way to reuse and recycle, I don’t know what is.

Make-Your-Own Cane’s SauceYum

Make-Your-Own Cane's Sauce
 
Save Print
Author: Laura
Ingredients
  • 1 cup mayonnaise (we use Hain Safflower mayo)
  • ½ cup ketchup
  • 1 teaspoon garlic powder
  • 1 teaspoon ground black pepper
  • 2 Tablespoons worcestershire sauce
  • ¼ teaspoon sea salt
Instructions
  1. Combine all ingredients with a whisk.
  2. Store in an airtight continer in the fridge.
3.5.3229


We’ve found it interesting to note that this sauce tastes great with just about everything. I even caught one of my kids using it to dip veggies, and who am I to argue with a  kid eating his veggies?

Try it with these Chicken Fried Steak Strips. Try it with Popcorn Chicken. Try it in Popcorn Chicken Tacos. Truly, this Cane’s Sauce is dreamy!

~~~~~~~~~~~~~~~~~~~~~~~~~~~~~~~~~~~~~~~~~~~~~~~~~~~

Want more Simple Real Food Recipes? We’ve got a beautiful cookbook full of them!


Heavenly Homemaker's Club Members: Access your homepage and all your fantastic resources here! Not a member yet? Please join us!

Oatmeal Cinnamon Yogurt Muffins

April 12, 2020 by Laura 4 Comments

This post may contain affiliate links. For more information, please see our disclosure policy.

Hmmm, Oatmeal Cinnamon Yogurt Muffins. I’m sure you’re wondering…what’s in these muffins? ;)

Perhaps a little oatmeal? Some cinnamon? Possibly a tad of yogurt? Wow, you guys are good. How’d you figure that out?

These simple muffins are the result of an experiment on a day I needed to use up some yogurt in my fridge. Yogurt makes muffins extra moist – though the oats make them a little more hearty. So the yogurt plus the oats work well together so that these muffins don’t turn out dry and crumbly!

And the cinnamon? Well, of course, that makes these muffins taste incredible!

We prefer these straight out of the oven, slathered in butter. You can use flavored yogurt if you’d like, though if you do, I’d recommend cutting down the sugar since flavored yogurts have sugar added. I use whole milk plain yogurt when I make these.

Oatmeal Cinnamon Yogurt MuffinsYum

5.0 from 1 reviews
Oatmeal Cinnamon Yogurt Muffins
 
Save Print
Author: Laura
Serves: 12
Ingredients
  • 1½ cups whole wheat flour (I use freshly ground soft white wheat)
  • 1 cup rolled oats
  • ¼ cup sucanat or brown sugar
  • 1 teaspoon baking powder
  • ½ teaspoon sea salt
  • 1 teaspoon cinnamon
  • ¾ cup whole milk plain yogurt
  • 2 eggs
  • ¼ cup melted coconut oil
Instructions
  1. Stir together dry intgredients in a large mixing bowl.
  2. Add yogurt, eggs, and oil, mixing well.
  3. Scoop batter into 12 paper-lined muffin tins.
  4. Bake in a 400 degree oven for 20-22 minutes or until muffins are golden brown.
3.5.3229

I especially like these because they remind me of a muffin I used to enjoy in our college cafeteria wayyyyy back in the day. I have no idea what was in those, but they were hearty with a hint of sweetness and cinnamon. Mmmm.

Is it crazy that I now have sons in college? And that I have babies again? And that I can still taste those college muffins from 29ish years ago? Life is crazy. Expect God to do great things!

Heavenly Homemaker's Club Members: Access your homepage and all your fantastic resources here! Not a member yet? Please join us!

Simple Omelet Muffins

April 5, 2020 by Laura 5 Comments

This post may contain affiliate links. For more information, please see our disclosure policy.

These Simple Omelet Muffins are super fun to make and eat for breakfast, brunch, lunch, or supper!

Not only do these Omelet Muffins work for any meal of the day, they are low in cost. You can make them ahead of time and rewarm them as needed. They freeze well. Annnnd…you can make them per everyone’s liking.

Add lots of meat. Add no meat at all. Throw in lots of veggies. Try a variety of cheeses. Have fun experimenting!

Some tasty add-in options are:

  • Chopped Ham
  • Bacon Bits (here’s how to make them yourself!)
  • Sausage Crumbles
  • Leftover Taco Meat
  • Shredded Chicken
  • Colby Jack Cheese
  • Mozzarella Cheese
  • Pepper Jack Cheese
  • Smoked Gouda Cheese
  • Blue Cheese
  • Diced Tomatoes
  • Diced Sweet Peppers
  • Diced Onion or Dried Minced Onion
  • Mushrooms
  • Sun Dried Tomatoes
  • Fresh Spinach
  • Broccoli
  • Black Beans
  • Sea Salt and Pepper to Taste

You really can enjoy a variety of mixtures using any of these add-in ideas or any others you can think of!

Simple Omelet MuffinsYum

Simple Omelet Muffins
 
Save Print
Author: Laura
Serves: 12
Ingredients
  • 10 eggs
  • 3 Tablespoons milk
  • ¼ teaspoon sea salt (more or less to taste)
  • Any variety of chopped meat, diced veggies, and shredded cheeses you like.
Instructions
  1. Whisk together eggs, milk, and salt.
  2. Add in any fillings you like.
  3. Spray 12 muffin cups with oil.
  4. Scoop omelet mixture into prepared muffin cups.
  5. Bake in a 400 degree oven for 20-25 minutes or until the muffins are set and golden brown.
3.5.3229


If you make these ahead of time, rewarm them in the oven or toaster oven at 350 degrees for just a few minutes.

To freeze these Omelet Muffins: Bake them as directed and allow them to cool completely. Put them into a freezer bag and freeze them for up to a month. Thaw and reheat as needed.

I think these would be great to pack and take to work for lunch – a great change of pace from packing a sandwich!

Do you have any other great add-in ideas for these Omelet Muffins?

Heavenly Homemaker's Club Members: Access your homepage and all your fantastic resources here! Not a member yet? Please join us!

How to Have a Successful Freezer Cooking Day

March 22, 2020 by Laura Leave a Comment

This post may contain affiliate links. For more information, please see our disclosure policy.

Hoping to get ahead by having a successful freezer cooking day? Here’s how!

Why have a freezer cooking day?

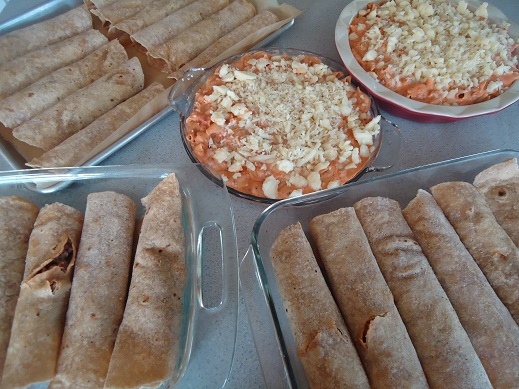
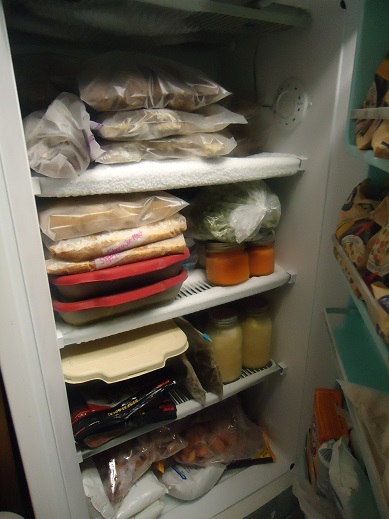
I love to have food pre-made and in the freezer to pull out and use as convenience foods on extra busy days! It’s beyond great to have a casserole in the freezer that I can slide into the oven for dinner without any prep (because I’ve already done the prep!).

In addition, it’s great to have muffins or cookies ready to pull out to bake or serve with just a few minutes’ notice.

If you have extra freezer space, it is worth your time to spend a few hours getting head so you can save time and energy later!

How to Have a Successful Freezer Cooking Day

Here are my top bullet points, with details to follow:

  1. Make a plan
  2. But don’t over plan
  3. Consider how you can multitask
  4. Get out everything possible the night before
  5. Be prepared for a mess, and save energy to clean it up!
  6. Have your evening meal already prepared and ready to serve.

1. Make a plan.

It’s a great idea to jot down a list of food you want to make ahead of time for your freezer so that you can prepare for your freezer cooking hours. Buy the groceries you’ll need, block out the time necessary for your freezer cooking extravaganza, and consider how you can make your time most efficient.

2. But don’t over plan.

But wait! Take it from me, the one who used to almost pass out during her freezer cooking days by trying to execute too much then becoming exhausted and grouchy at the kids (sorry, boys).

Be reasonable when you make your freezer cooking plan. If you only have two hours, your to-do list needs to be able to be fulfilled within just an hour and a half so you still have the energy to clean up afterward (see #5).

It’s easy to become overexcited, thinking of ALL THE THINGS you want to put into the freezer. Yay, you! But make your lofty list, then consider paring down to what is actually doable and reasonable. Perhaps break your lofty list into two or three different freezer cooking time slots.

3. Consider how you can multitask.

When making your list, look at what will help you be the most efficient with your time and energy. For instance:

Perhaps your freezer cooking day can focus on chicken dishes so that you can get out fewer ingredients, cut up several meals worth of chicken at once, and knock out more work in less time.

Or maybe your freezer cooking day is all about baked goods this time. Again, you can get out fewer ingredients so instead of working with meat and vegetables and flour and sugar – you are instead only focused on putting together sides, snacks, and desserts this time.

4. Get out everything possible the night before.

Say you’ve decided to make three batches of muffins, a double batch of cookies, and a pan of oatmeal bars during your freezer cooking session. The night before you are ready to take on the task set out all possible ingredients like baking powder, salt, sugar, flour, etc. Thaw your butter, lay out your recipes (or pull them up on your computer), get out bowls and measuring cups.

Whatever you can do to make the job easier tomorrow, do it today. Thaw meat, grate cheese, prep veggies, get out freezer bags. If you grind flour for baked goods, get that flour ready so you’ll save time tomorrow.

5. Be prepared for a mess, and save energy to clean it up!

In my experience, freezer cooking makes a pretty big mess. It’s worth it though, because of how easy it is to use and serve these prepared foods later! So remember that the mess you’re making now saves many messes later!

But also keep in mind that after you’ve spent an hour or four prepping food for the freezer, you’ll be a bit tired from your work. Plan ahead to save some of your energy and time to wash dishes, wipe down messy countertops, and sweep the floor.

6. Have your evening meal already prepared and ready to serve.

Is it just me, or do you ever not feel like cooking after you’ve spent the day cooking?

It is a good idea to plan ahead for this because, for some reason, everyone will still want to eat the night of your freezer cooking day. Crazy.

My suggestion is to have something in the crockpot already cooking, or better yet, if you’re making some casseroles for the freezer, save one to bake for dinner tonight.

7. It is worth noting that…

If you have big kids, they should be put to work with you on this endeavor! My big kids are my cheese graters, my floor sweepers, and my general go-to taskers. I have gotten very good at handing out small jobs left and right, which makes every big job (including freezer cooking!) so much easier!

Want some freezer cooking ideas?

Here are some great ideas to get you started!

  • 49 Favorite Freezer Breakfast Foods
  • 24 Favorite Lunch and Dinner Freezer Foods

Eat Right Away!

You can buy this awesome eBook that includes all the details, recipes, and grocery lists 20 meals you can make ahead for your freezer. Or become a club member and access it any time!

Heavenly Homemaker's Club Members: Access your homepage and all your fantastic resources here! Not a member yet? Please join us!

Groceries I Order From Azure Standard

February 12, 2020 by Laura 3 Comments

This post may contain affiliate links. For more information, please see our disclosure policy.

Curious about what groceries I regularly order from Azure Standard? Today I’ll share what’s often on my list!

Real Food Groceries I Buy From Azure Standard

First, let’s review.

Here’s a post to share what Azure Standard is and why I shop with them regularly. (Spoiler: They’re a food co-op that delivers even to small towns all over the U.S. Their prices on whole foods are fantastic!! More details here.)

Real Food Groceries I Buy from Azure Standard

  • 5-Pound Bags of Frozen Organic Peas, Green Beans, and Corn

We usually go through two bags each of frozen green beans and peas each month and one bag of corn. These are fabulous to have on hand!

  • 5-Pound Bag of Dry Roast, Unsalted Peanuts

I (used to) buy one of these each month to make several jars of Creamy Peanut Butter for my family. If you want to make your own peanut butter, I highly recommend buying nuts here!

  • 10-Inch Tortillas

Yes, I used to make them. But during this season in our lives, I am so grateful to have ready-made tortillas in our freezer! I buy them by the case and use them for Meat and Cheese Burritos, Breakfast Burritos, and Quesadillas. My favorite brand of tortillas from Azure is Stacey’s.

  • Frozen Potatoes

I have been getting 30-pound boxes of Frozen Hashbrowns, Southern Style, and I use them in so many ways! They are wonderful in casseroles like this and in my Easy Breakfast Casserole. Recently I realized I could even make them into these Mashed Potatoes and wow! Game changer! They are also a favorite in this Awesome Potato Soup.

  • Hard and Soft White Wheat

I used to grind our wheat fresh in my Nutrimill, so I liked to buy 25 pounds of hard white wheat and soft white wheat every month or two from Azure so I can always make whole wheat flour as needed. Read more about grinding wheat and which flour works best in various recipes here.

UPDATE: I don’t have time to grind flour anymore. So instead, I buy Azure’s flour: Whole Wheat Pastry Flour (for non-yeast baking) and Hard White Wheat Flour (for yeast recipes).

  • Oats

It’s so nice to buy a 25-pound bag of rolled oats to have for Homemade Instant Oatmeal, Breakfast Bars, Granola, and Cookies! I keep the oats in our extra freezers to pull out as needed. (Here’s a list of other great food I make with oats!)

  • Brown Rice

Just like oats and wheat, I like to buy 25-pound sacks of rice (if I still have room in my freezer!).

  • Active Dry Yeast

It’s awesome to buy a 5-pound bag of yeast to keep in the freezer and use it for baking as needed!

  • Fresh Produce

Some of their organic fresh produce is too pricey for my budget. But I find that most of the time their yellow potatoes, varieties of apples, peaches, and pears are usually super reasonably priced! And depending on the season, other produce options are a great price too!

  • Sale Items

Azure runs monthly discounts so I always scroll through them to see what is marked down 20% or or more and take advantage if I feel it will benefit my family!

I used to always buy butter and cheese from Azure Standard also, but the prices on those have gone up so now I just get those at a regular grocery store.

How Azure Standard works:

  1. Become a member. It is completely free.
  2. Join a local drop point (or start one).
  3. Order online each month according to your needs. There is no obligation to order if you don’t need or want anything. Just shop any or all months of the year as needed.
  4. The drop coordinator for your group will be informed of the truck delivery time each month. He/she will send information to let you know when/where to meet.
  5. Meet at the designated pick-up time and location to help unload the truck and take home your order! This unloading and sorting process usually only takes 15 minutes.

Are you a regular Azure Standard customer? What do you like to buy?

Heavenly Homemaker's Club Members: Access your homepage and all your fantastic resources here! Not a member yet? Please join us!
« Previous Page
Next Page »

Join Our Community!

 Facebook Twitter E-mail Instagram Pinterest

Popular Posts

~ Will All of the Real Moms Please Stand Up?
~ Easy! Stir-and-Pour Whole Wheat Bread
~ How to Make Gatorade
~ 31 Real Food Breakfast Ideas
~ Dear Teenage Girls...
~ When Mom Takes a Step Back
~ The Inexpensive Health Insurance We Love!
~ Let's Talk Real Food Grocery Budgets

Check out our latest posts!

  • Big Family Food and Fun: September 27-October 3, 2026
  • Big Family Food and Fun: September 20-26, 2026
  • Big Family Food and Fun: September 13-19, 2026
  • Big Family Food and Fun: September 6-12, 2026
  • Big Family Food and Fun: August 30-September 5, 2026
Home  ~  Simple Meals  ~  Club Membership  ~  Shop  ~  Privacy Policy  ~  Disclosure  ~ Contact

Copyright © 2026 · Beautiful Pro Theme on Genesis Framework · WordPress · Log in