These Mini Crustless Jelly Swirl Cheesecake Cups are so easy and only 5 ingredients!
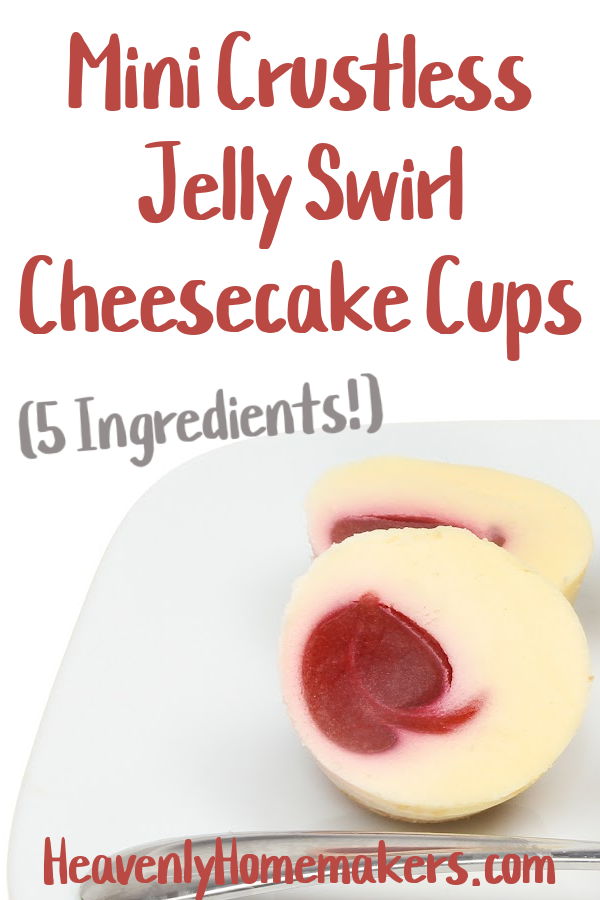
Why are these crustless? Because it’s easier that way and they taste just as good! I love blending the cheesecake ingredients together, scooping the mixture into cups, swirling in a little jelly, then baking as-is. These are such a good grab-and-go breakfast or snack!
Why not dessert? Well sure, they can be a dessert too! I just find them to be filling as a breakfast option also simply because they are low in sugar and high in protein. They are great with a cup of coffee in the morning!
Make a batch of these and keep them in your fridge for easy meal and snack options!
Mini Crustless Jelly Swirl Cheesecake Cups
- 2 8-ounce packages of cream cheese, softened
- 2 eggs
- 4 Tablespoons maple syrup
- 1 teaspoon vanilla extract
- ⅓ cup 100% fruit jelly (any kind)
- Blend first four ingredients together until smooth.
- Pour into 12 muffin cups. (I use a silicone muffin "pan" for this and they pop right out once cooled.)
- Spoon a small amount of jelly into each cup and swirl with a butter knife.
- Bake in a 350 degree oven for 20 minutes.
- Turn off heat, open the oven door, and leave the cheesecakes in the oven for an additional 20 minutes. (Cheesecakes will puff up during baking but deflate while continuing to sit in the oven.)
- Transfer cheesecakes to the fridge and chill for at least two hours before serving.
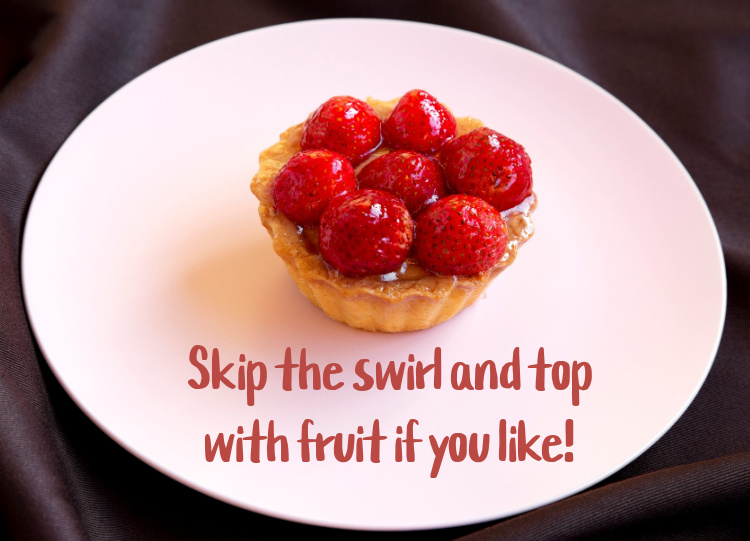
How about Peanut Butter and Jelly Swirl Cheesecake Cups?!
Yes, please! Simply blend 1/3 cup of natural creamy peanut butter into the cheesecake ingredients along with an additional egg. Follow the rest of the recipe as directed!


 Tasha Hackett is a friend of Laura and has officially been writing since she asked for a journal for her 10th birthday. Her first novel, a historical Christian romance,