I can’t decide which I like best about this dish: looking at it…or eating it. I love that the red and green peppers make this fritata look festive for Christmas. This is very easy to make and can be put together ahead of time and baked just before serving. If you want to add a little extra protein, throw in some leftover cooked chicken or sausage.

Sweet Pepper Fritata
1 small onion, chopped
3/4 cup chopped green pepper
3/4 cup chopped red pepper
2 Tablespoons butter
5 eggs, lightly beaten
1/2 cup chopped sun dried tomatoes
1 1/2 cups shredded cheddar cheese
1 teaspoon Worcestershire sauce
1/2 teaspoon sea salt
1/4 teaspoon black pepper
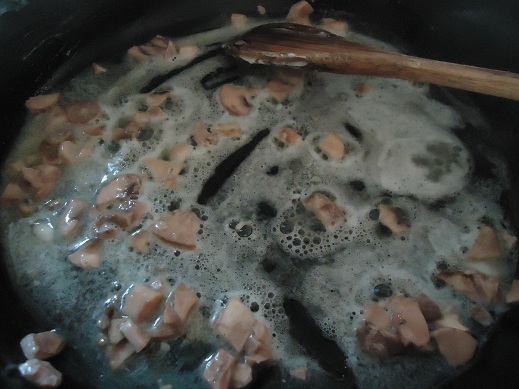
Saute onion and peppers in the butter for 5-7 minutes or until veggies are tender and your family comes running into the kitchen to see what smells so good. Meanwhile, combine remaining ingredients in a bowl. Stir sauteed vegetables into egg mixture. Pour into an ungreased pie dish. Bake in a 350° oven for 25-30 minutes or until a knife inserted in the middle of the fritata comes out clean. Serves 6-8.

Which would you rather do – look at this, or eat it? Or maybe you could just really enjoy looking at it while you eat it. ;)