Every year, the boys and I visit a pumpkin patch. Every year after visiting the pumpkin patch, I bake a few of the pumpkins we bring home so that I’ll have plenty of pureed pumpkin in the freezer for pies, breads, muffins and other treats throughout the year. Every year, in order to bake the pumpkins, I slice them in half to put them into a baking dish.
Ever tried slicing a raw pumpkin in half? It’s horribly not enjoyable or easy. Now don’t make fun of me, because it is a fact that I have very wimpy muscles. Therefore, I find that cutting a pumpkin in half makes me a little cranky -and also a little bit scared that I’m going to lose a finger.
This year, I decided to rebel – mostly because after the trip to the pumpkin patch with six boys (I took extras), I was a little tired and in no mood to lose a finger.
I’m not sure why I haven’t been cooking the pumpkin in its whole form all along – but now that I know it works so well, I will for sure be doing it this way from now on. Or at least on the days I don’t feel like losing a finger.
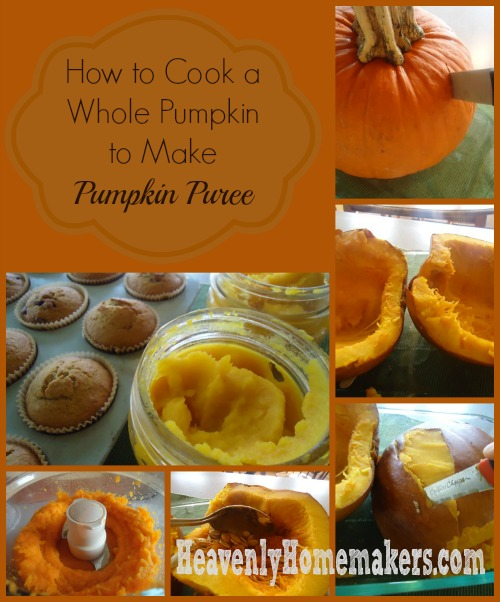
How to Make Pumpkin Puree from a Whole Pumpkin
First wash your pumpkin so that there will be no chance for soil or squished bugs to be mistaken for raisins in your muffins on a cloudy, autumn morning.

Next, give your pumpkin 6-10 nice stabs with a knife. There’s no better way to say it – there’s no such thing as gently poking a fork into a raw pumpkin. It must be stabbed. Although, I’m the one with the wimpy muscles, so what do I know?

Third, place your pumpkin in a baking dish, then into a 350° oven. I had to remove one of my oven racks to make this happen, but I figured I’d just saved at least three fingers, so this five second bit of labor was worth my time.

Bake your pumpkin for about an hour and a half or until poking it with a fork has become effortless.

Now slice the pumpkin in half – see how easy that is? Allow pumpkin to cool for 15-30 minutes.

Use a metal spoon to scrape out the seeds and the stringy stuff. Save the seeds for making roasted pumpkin seeds if you’d like.

Someone tell me what the real name of that stringy stuff is. It probably has some technical name like “glutinous threads”.

Scoop out the soft pumpkin – or turn the pumpkin over and easily slice away the rind.

All done:

Place a few slices into a food processor and puree until smooth.

Continue pureeing pieces of pumpkin until you’re finished, because that is the point at which you will be done. (Sometimes it’s fun to simply state the obvious.)

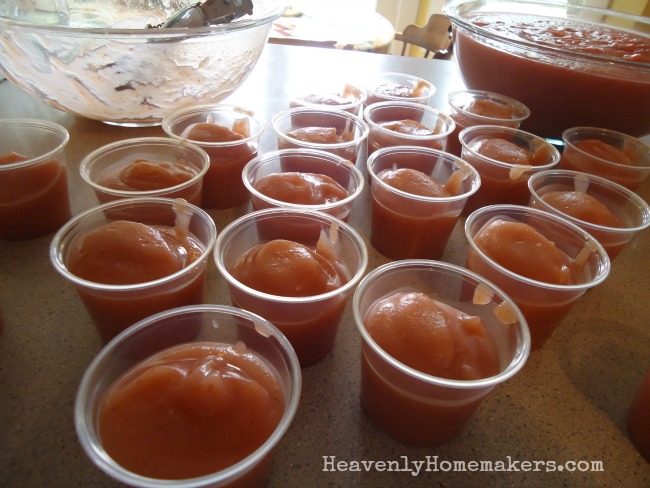
Freeze pumpkin puree in jars or freezer bags. I like to freeze it in two-cup portions for easy measuring while baking.

With my pumpkin puree, I make Pumpkin Pie, Pumpkin Chocolate Chip Muffins, Pumpkin Bars, and Pumpkin Pie Squares – plus a delicious Multi-Grain Pumpkin Pancake/Waffle recipe my friend Angie shared with me that I will in turn be sharing with you tomorrow.
How do you make pumpkin puree (or do you buy it already canned)? What do you like to make with pumpkin?
Disclaimer: No fingers were lost while making this pumpkin puree. Let us all rejoice.