My friend Emily is the one who told me about these Sour Cream Drop Biscuits as we stood in the church foyer solving all the world’s problems and talking about recipes. (The two go hand in hand.) She told me these included only four ingredients and that sour cream was one. “Let me guess then,” I said. “Sour cream, flour, baking powder, and salt?” Yep! With some butter drizzled in for flavor.
Well, yeah. Of course. Butter. Butter drizzled in for flavor, and a large pat of butter melted onto both halves of the biscuit immediately following their removal from the oven.
She promised to send me the recipe, and I was planning to wait patiently. But the next morning, all I could think of was how much I wanted a Sour Cream Biscuit. Surely I could figure out the correct proportions of the ingredients in these biscuits. So I got out the goods and experimented. How hard could it be?
Not hard. (Would I be sharing these with you if they were?)
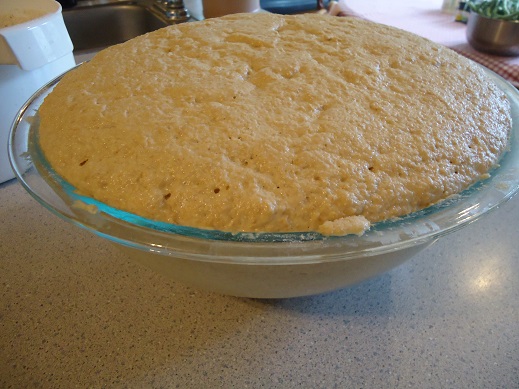
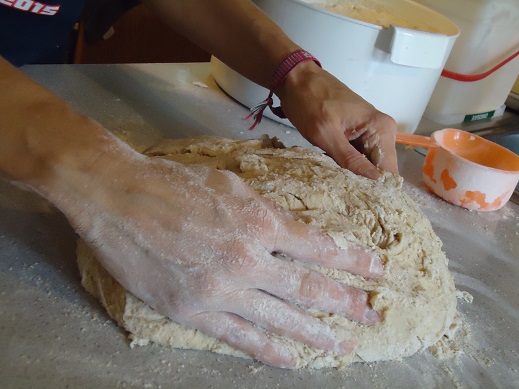
The trick is that you’re going to need to get your hands messy. The ingredients get tossed in a bowl all together, then you can begin to stir. After a short while, the stirring spoon will likely be thrown into the sink and your hands become your greatest kitchen tool. Mix and squish, friends. Mix and squish.
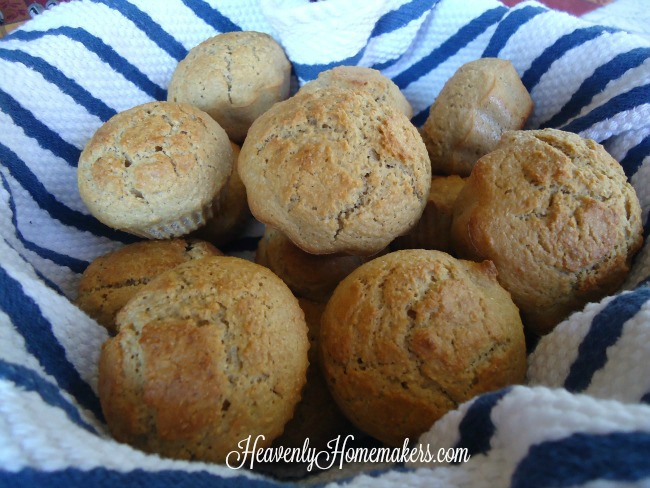
Since your hands are already messy, use them to pull out bits of dough (whatever size you want your biscuits). Roll the dough in your hands and press the ball down gently onto a baking sheet. This is so much easier than rolling and cutting and cleaning up the mess afterward. I mean, you will have to wash your hands.
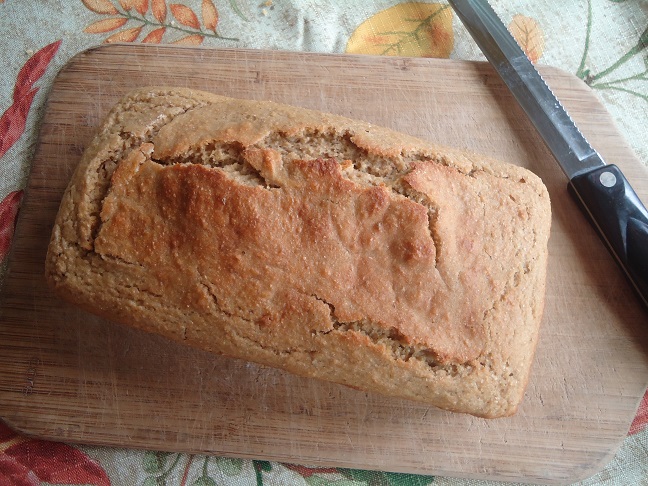
5-Ingredient Sour Cream Drop Biscuits
- 3 cups whole wheat flour (I use freshly ground hard white wheat)
- 1 teaspoon sea salt
- 1 teaspoon baking powder
- 3 Tablespoons melted butter
- 2 cups sour cream
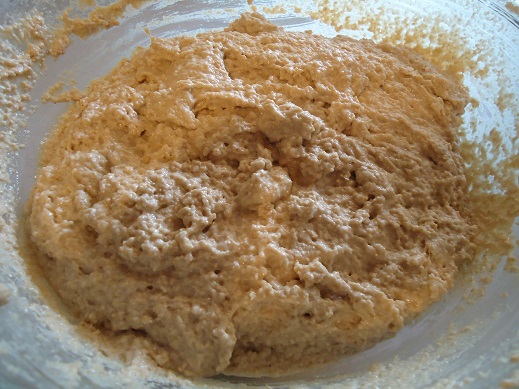
- Stir together flour, baking powder, and salt.
- Mix in sour cream and melted butter.
- You may need to use your hands to get the ingredients mixed thoroughly.
- Roll dough into balls with your hands, then flatten slightly and place them side by side on a baking sheet.
- Bake at 450° for 12-15 minutes or until golden brown.
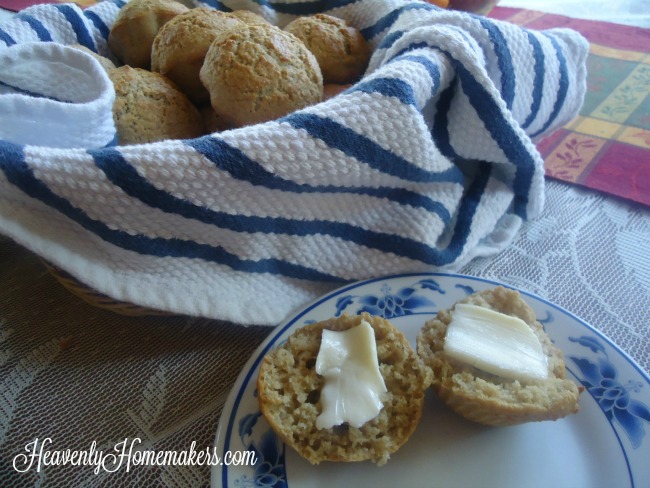
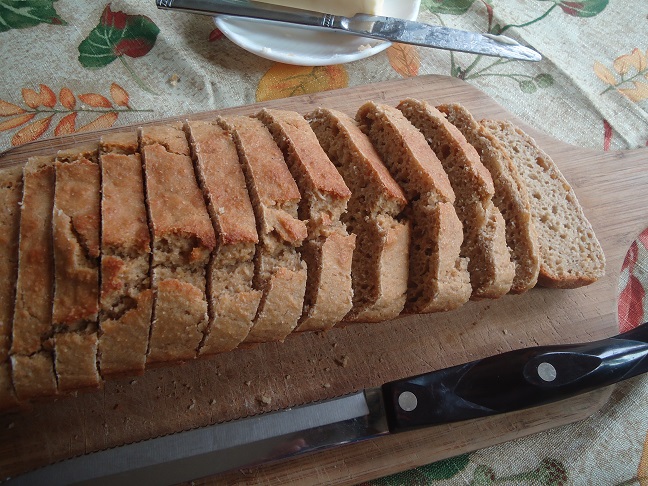
- Serve with butter, honey, jelly, or gravy.
Please don’t ask if you can sub buttermilk for the sour cream. There are plenty of Buttermilk Biscuit recipes out there. But these are Sour Cream Biscuits, so subbing another dairy or non-dairy item would make them a Not Sour Cream Biscuit.

Tall and Fluffy Biscuit Tip:
Put your biscuits onto the baking sheet side by side – rubbing shoulders, getting cozy. This way they have no choice but to bake up, not out. See, biscuits need their friends to come along side them to help them grow. This is, of course, a perfect and wonderful analogy to help you and I see our need for friends to come alongside us to build us up. Thank you, Fluffy Biscuit Tip.