I believe bacon is the language of love when it comes to most males, and I happen to like bacon too. You want to know the best way I’ve found to get all of my men-folk out of bed in the mornings? Make bacon. Hoooah! <—that was me grunting out a manly sound, did you hear it? That’s the sound that typically follows the word bacon in our house. “Mmm, bacon. Hoooah!” Based on this idea, I created Bacon Cheese Muffins.
I usually stick with turkey bacon, but it really is hard to beat the taste of the pork bacon I can get from our local farmer. It’s a wonderful, occasional treat at our house – and yes, it does drive the boys out of bed in the morning.
These Bacon Cheese Muffins are easy and delicious – perfect for a holiday brunch. (You may remember seeing this recipe in our free Healthy Breakfast Made Simple eBook.)
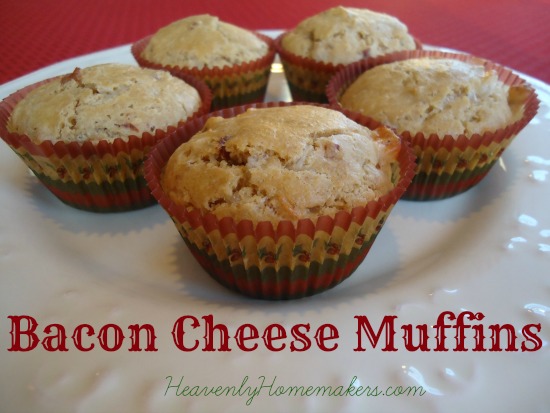
Bacon Cheese Muffins
- 1½ cups whole wheat flour
- ¼ cup sucanat or brown sugar
- ½ teaspoon baking powder
- ½ teaspoon sea salt
- 1 egg
- ¾ cup milk
- ¼ cup melted butter or coconut oil
- ½ cup bacon
- ½ cup shredded cheese
- Using kitchen shears, cut bacon into bite sized pieces.
- Brown bacon pieces in a skillet until thoroughly cooked.
- In a mixing bowl combine flour, sucanat, baking powder, and sea salt.
- Add egg, milk, and butter. Fold in cooked bacon and shredded cheese.
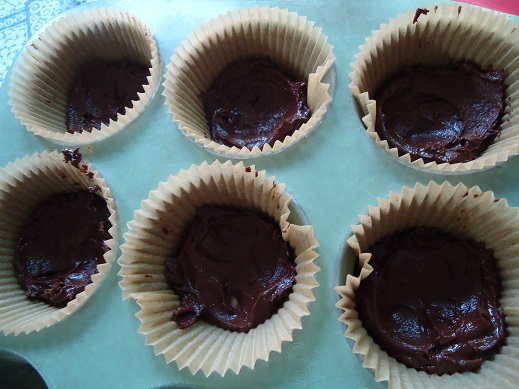
- Scoop batter into 12 paper-lined muffin tins.
- Bake in a 400° oven for 15-20 minutes or until muffins are golden brown.
Are you bacon lovers at your house? Hoooah!
Muffin Info You Need
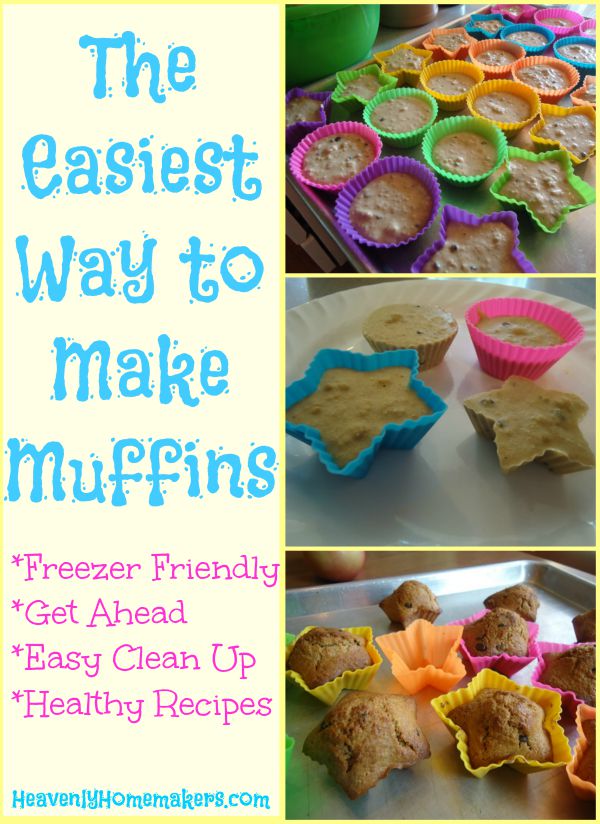
Even though muffins are easy to make, these tips make them even easier. I love real food made easy.
- The Easiest Way to Make Muffins
- Freeze Muffin Batter for Easy Breakfasts (my favorite muffin tip of all time)
- Make Pancake Muffins
- Use Silicone Muffin Cups to Save Money and for Easy Clean Up
All of these tips work great for these Bacon Cheese Muffins!