Heavenly Homemakers

Encouraging women in homemaking, healthy eating and parenting

  • Home
    • About
    • FAQs
  • Recipes
    • Bread and Breakfast
    • Condiments
    • Dairy
    • Main Dishes
    • Side Dishes and Snacks
    • Desserts
    • Gluten Free
    • Instant Pot
    • Crock Pot
    • Heavenly Homemaker’s Weekly Menus
  • Homemaking
    • Real Food Sources
  • Store
  • Contact
    • Advertise
    • Disclosure
    • Privacy Policy
  • Simple Meals
  • Club Members!

Peanut Butter Chocolate Crunch Cups – 4 Ingredients

February 19, 2020 by Laura Leave a Comment

This post may contain affiliate links which won’t change your price but will share some commission.

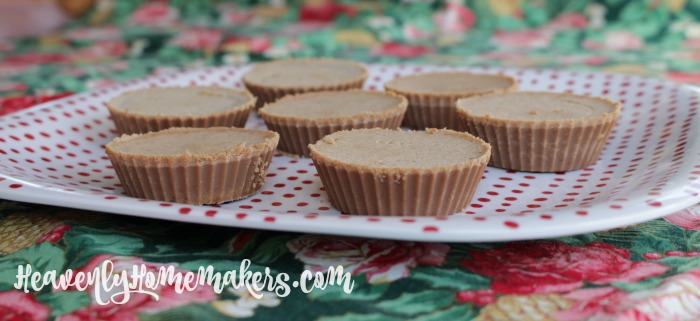
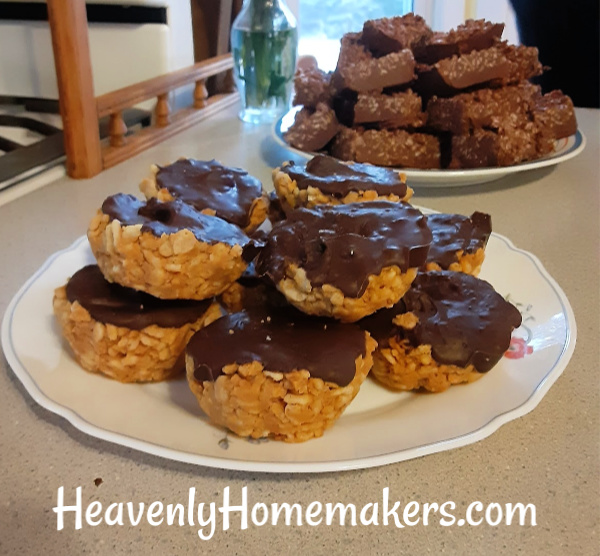
These Chocolate Peanut Butter Crunch Cups are practically begging for you to make them!
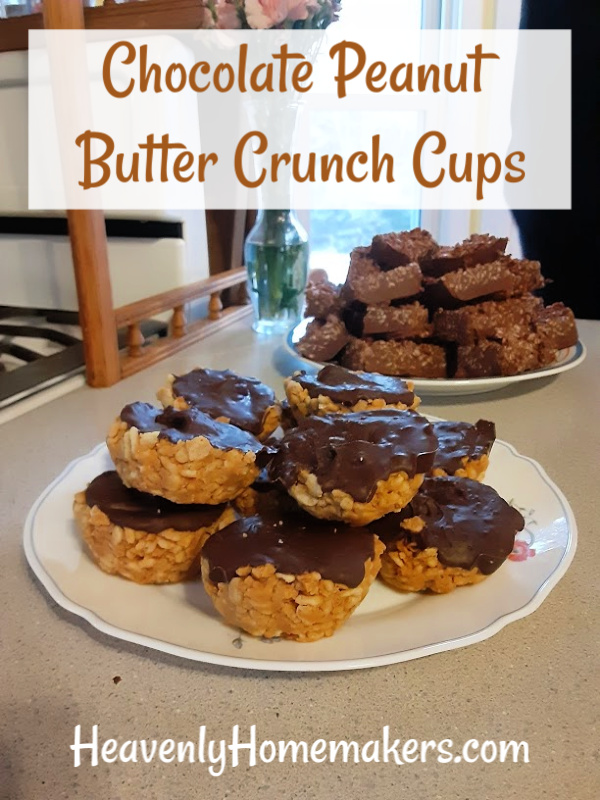
With college students joining us for lunch, I was searching the internet for ways to treat them, and I had rice krispie cereal that I needed to use up. All the recipes called for marshmallows, of course. But hey, I don’t keep those in my pantry regularly, much to my kids’ dismay.

Therefore, after wading through all of the marshmallow-y options, I finally found this winner! I tweaked it just a bit, and that is how these Peanut Butter Chocolate Crunch Cups were born.

These are incredibly easy and they were a hit with the college students! Who needs marshmallows?! (Well, they are helpful if you’re making smores…) But for rice krispie cereal treats, it’s amazing that we can do other fun things and use more wholesome ingredients to make treats!

Speaking of “other fun things” – I highly encourage that you also put these 4-Ingredient Chocolate Crunch Bars on your list of awesome rice krispie treats to make. These are hugely popular when I serve them to guests! It’s worth noting that the ingredient list in that recipe and in this one are very similar, making life easier. They just turn out two different and fun treats!

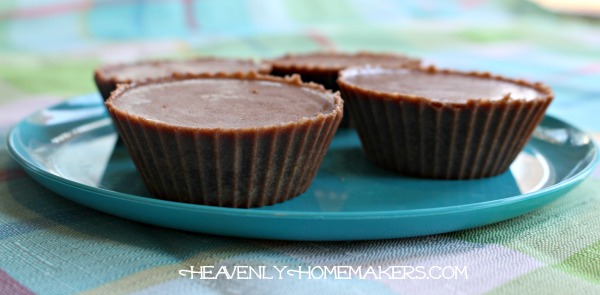
Peanut Butter Chocolate Crunch CupsYum

Peanut Butter Chocolate Crunch Cups - 4 Ingredients
 
Save Print
Author: Laura
Serves: 12
Ingredients
  • 1 cup Natural Peanut Butter
  • 4 Tablespoons Honey
  • 2½ cups Crisp Rice Cereal
  • 1½ cups any variety Chocolate Chips
Instructions
  1. In a saucepan, stir peanut butter and honey together over low heat until melted.
  2. Remove from heat and stir in rice crispy cereal.
  3. Press mixture into 12 muffin cups. (I recommend silicone cups to make them easy to remove.)
  4. Melt chocolate chips on the stovetop, stirring until melted and smooth.
  5. Spoon and spread melted chocolate over each peanut butter crispy cup.
  6. Refrigerate for at least an hour until chocolate has hardened.
  7. Remove cups and serve!
  8. Store Peanut Butter Chocolate Crispy Cups in an air tight container.
3.5.3229


Heavenly Homemaker's Club Members: Access your homepage and all your fantastic resources here! Not a member yet? Please join us!

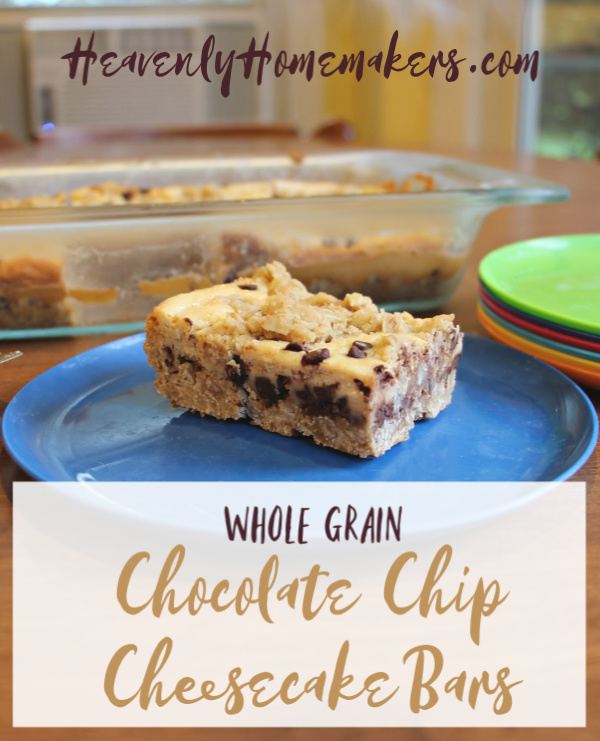
Whole Grain Chocolate Chip Cheesecake Bars

September 15, 2019 by Laura 5 Comments

This post may contain affiliate links which won’t change your price but will share some commission.

Perhaps you have become great friends with the infamous Whole Grain Raspberry Cheesecake Bars? If not, you must. And now, you must also get to know our new friend, the Whole Grain Chocolate Chip Cheesecake Bars. Where has this friend been your whole life?

But speaking of whole, it is fantastic to know that these bars are made with whole grains. But no one, not even the boxed poptart lovers out there, will realize that these are packed with delightful nutrition. I know this because I fed a batch to a bunch of teenage boys who were visiting our home and who had just polished off a box of poptarts they had brought over. The next morning, I presented them with these bars.

Perhaps it was the added chocolate chips that made these so inviting. Well yeah, of course it was the chocolate chips. Still, they gobbled these down with a pitcher of iced coffee and some fruit, thanking me for the great breakfast like the sweet boys that they are.

It’s so fun to make treats like this that provide nourishment while still being “not weird.” You cannot go wrong with the words “chocolate chips” and “cheesecake bars” in the same title, am I right?

So get yourself some oats (which you probably already have), some chocolate chips (which you probably already have), some whole wheat flour (which you probably already have), and some cream cheese and some butter (please tell me you keep a lifetime supply of these golden ingredients on hand at all times). You will love these delightful Whole Grain Chocolate Chip Cheesecake Bars!

Whole Grain Chocolate Chip Cheesecake BarsYum

5.0 from 2 reviews
Whole Grain Chocolate Chip Cheesecake Bars
 
Save Print
Author: Laura
Serves: 12
Ingredients
  • 1½ cups whole wheat flour (I use freshly ground soft white wheat)
  • 1½ cups rolled oats
  • ½ cup sucanat or brown sugar
  • ½ teaspoon baking powder
  • ¼ teaspoon sea salt
  • 1 cup melted butter
  • ½ cup chocolate chips
  • CHEESECAKE LAYER:
  • 8-ounces softened cream cheese
  • 1 egg
  • 2 Tablespoons real maple syrup
  • ½ teaspoon vanilla extract
Instructions
  1. Mix together flour, oats, sucanat, baking powder, and salt.
  2. Stir in melted butter until the mixture resembles crumbs.
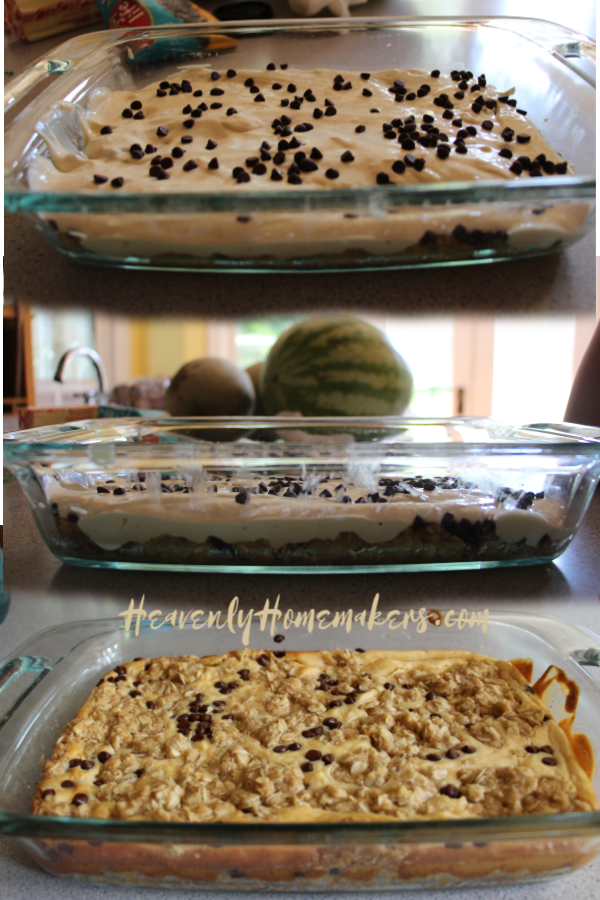
  3. Press half of the mixture into an 8x8 inch baking pan.
  4. In a blender or with beaters, whip together cream cheese, egg, maple syrup, and vanilla.
  5. Spread this cheesecake layer over the top of the oat layer.
  6. Sprinkle ½ of the chocolate chips over the cheesecake layer.
  7. Drop spoonfuls of remaining oat mixture on top of the cheesecake layer, then sprinkle the remaining chocolate chips on top.
  8. Bake in a 350° oven for 45 minutes or until lightly browned.
3.5.3229


Heavenly Homemaker's Club Members: Access your homepage and all your fantastic resources here! Not a member yet? Please join us!

How to Make Delicious Iced Coffee that is ACTUALLY Healthy

August 1, 2019 by Laura Leave a Comment

This post may contain affiliate links which won’t change your price but will share some commission.

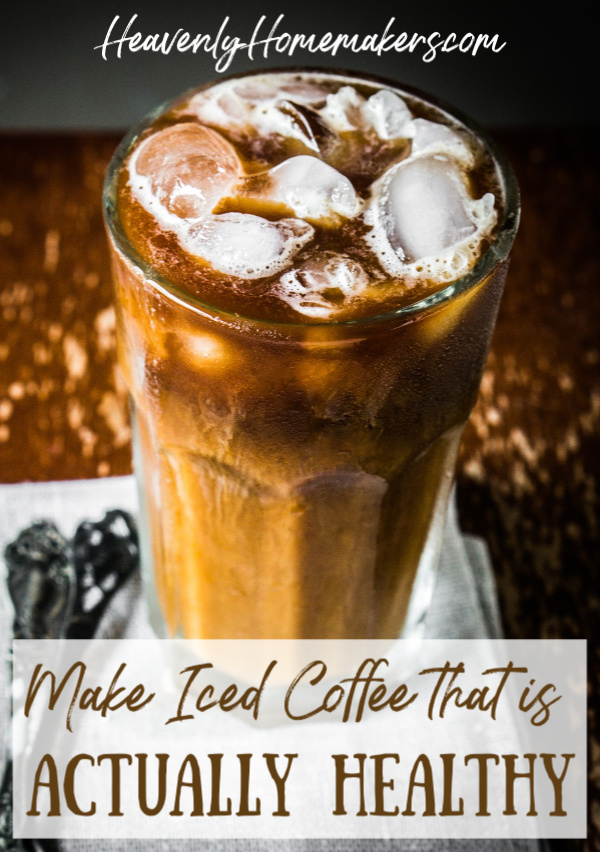
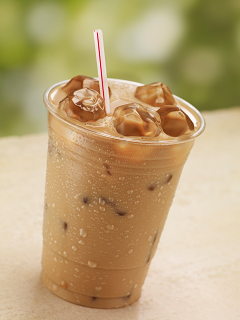
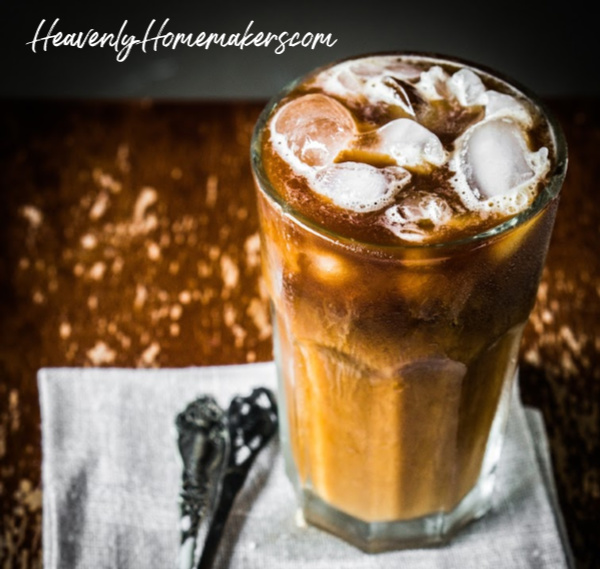
It really is possible to make delicious Iced Coffee that is ACTUALLY healthy! And not that it matters, but is there anything prettier?

Yum

Confession: I didn’t take this photo. I grabbed it from an online photo subscription source that I love to utilize. Occasionally using their photos has enabled me to continue writing here since I don’t have the work time I used to have now that we have little ones in the house again! Without a doubt, their photos are better than mine anyway!

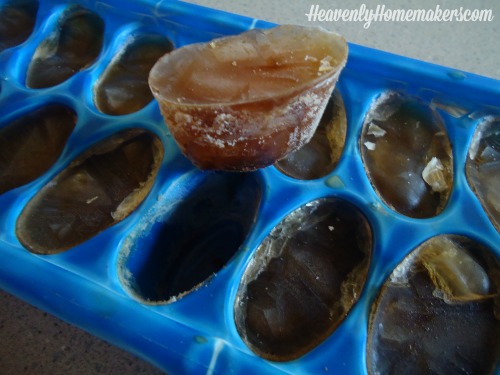
I tell you that for one big reason. When I make iced coffee, I use coffee ice cubes instead of water ice cubes. No need to water down our delicious coffee, right? And making coffee ice cubes is fun and easy!

There, now you know. Shall we talk about healthy iced coffee now?

How to make Iced Coffee that is Actually Healthy

1. I begin with a Dollar Coffee Club coffee packet. 

They have two coffee options, but I prefer the taste (actually, I love the taste!) of their Burn and Control coffee. Here’s a quick summary of why their coffee is actually healthy!

Dollar Coffee Club coffee (formerly known as Javita) is filled with fabulous God-given herbs and mushrooms that our bodies need for great health. We could grow these herbs ourselves and utilize them every day to help cleanse our systems, give us energy, regulate our blood sugar, and so much more. Or we can take advantage of the fact that the hard work has been done and the wonderful herbs are already prepared for us in these delicious drink packets!

Typically, I make my coffee packet into a regular hot coffee. But to make it into an iced coffee, I simply heat a little water and dissolve the packet in the hot water (about 3 Tablespoons). Then, I add cold water, my coffee ice cubes, and voila! I have healthy iced coffee!

2. Next, I add 1/2 and 1/2 or heavy cream.

Lest you fear that the cream makes the coffee unhealthy, I will remind you that it is a real, natural fat that our bodies recognize and can utilize for nourishment. Hooray for cream! This makes it sweet enough as for my taste and preference, therefore I declare that coffee with cream is absolute perfection! My family disagrees and prefers something sweet with their cream. And so…

3. They add this NuNaturals Chocolate Syrup.

It is sweetened with stevia, but you can’t even tell! My family is a bit picky over most stevia-sweetened treats. But this chocolate syrup wins them over and is perfect to add to coffee and cream for a fabulously sweet (but not sugary!) coffee treat!

So, coffee filled with wonderful, healing herbs, plus cream, with or without stevia sweetened chocolate. THAT is how you can make an iced coffee that is actually healthy!

Are you an iced coffee lover?

—-> Read more about Dollar Coffee Club coffee and other products here The entire business structure has been revamped, making it so much better for everyone! AND the prices had gone up, but they just went back down, oh yeah!<—-

Heavenly Homemaker's Club Members: Access your homepage and all your fantastic resources here! Not a member yet? Please join us!

Homemade Chocolate Pudding Recipe

July 28, 2019 by Laura 2 Comments

This post may contain affiliate links which won’t change your price but will share some commission.

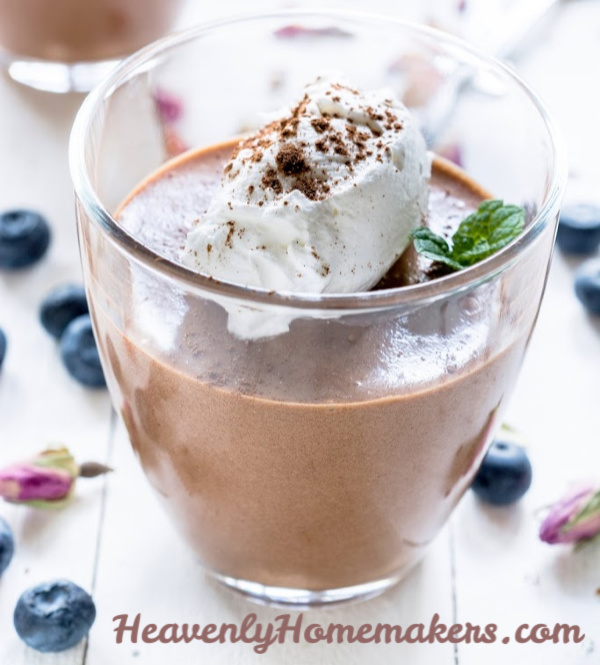
Apparently, it is the week for pudding! We’ve shared our Homemade Vanilla Pudding recipe, a great idea for a Pudding Parfait in a Jar, and today our Homemade Chocolate Pudding Recipe!

Just like our Homemade Vanilla Pudding recipe, this one is tried and true and worth another share. We wanted to highlight it again as another school year is approaching (I know, I don’t want to talk about it either!). This is a great recipe for an after school snack or to pack in a lunch.

How should you pack it in a lunch, you ask? Well now, check out this fun idea for How to Make Your Own Pudding Cups!

And get our other homemade pudding recipes here so that you can mix and match!

  • Vanilla Pudding
  • Butterscotch Pudding
  • Tapioca Pudding
  • Peanut Butter Pudding

Homemade Chocolate Pudding RecipeYum

Homemade Chocolate Pudding Recipe
 
Save Print
Author: Laura
Serves: 4-6
Ingredients
  • 2½ cups milk
  • 3 egg yolks
  • ¼-1/2 cup real maple syrup
  • ¼ cup unsweetened cocoa powder
  • 4 Tablespoons arrowroot powder or cornstarch
  • ¼ teaspoon sea salt
  • 1 teaspoon vanilla
Instructions
  1. In a medium saucepan, whisk together milk, egg yolks, maple syrup, cocoa powder, arrowroot powder, and salt.
  2. Cook over medium heat, whisking/stirring CONSTANTLY until pudding begins to thicken.
  3. Stir over the heat for about 15 more seconds.
  4. Remove immediately from the heat, and continue to stir until pudding is creamy.
  5. Add vanilla and continue to stir until mixed.
  6. Pour into serving dishes and serve warm, or chill for two hours and serve cold.
3.5.3229

Need some Homemade Whipped Cream to eat on top of your Homemade Chocolate Pudding? YES, you really do! It’s super easy to make and well worth the small amount of effort so that you can enjoy the additional treat of whipped cream on top of your homemade pudding! Get our Homemade Whipped Cream recipe here.


Heavenly Homemaker's Club Members: Access your homepage and all your fantastic resources here! Not a member yet? Please join us!

The Easiest Frozen Yogurt Cups

July 2, 2019 by Laura 4 Comments

This post may contain affiliate links which won’t change your price but will share some commission.

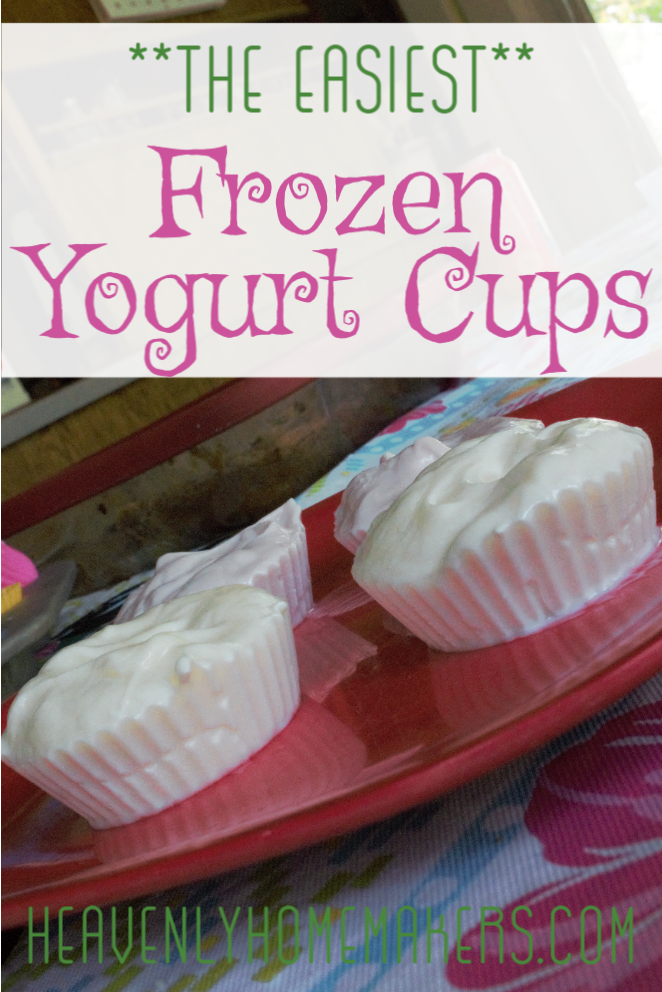
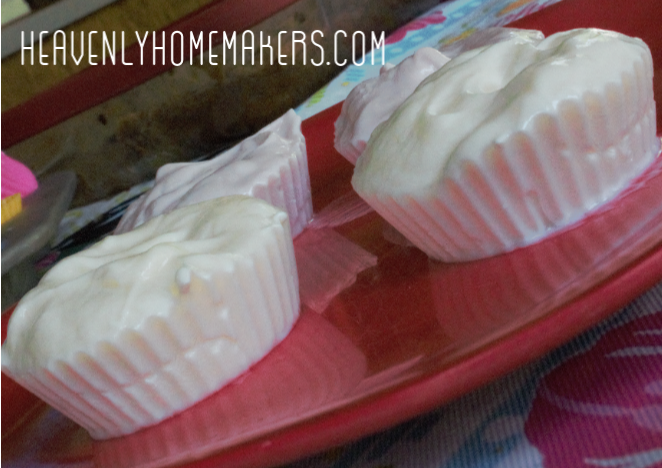
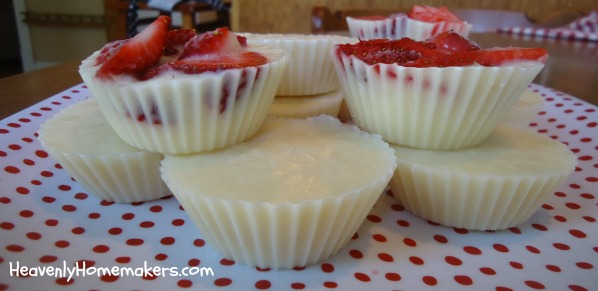
When I say that these are the Easiest Frozen Yogurt Cups, I truly do mean that they are the easiest!

The “recipe” I’m about to share with you is going to entirely amaze you. Where has this been all of our lives? Why have we never thought of this before? We should have been making these for years!!

This is the time where you gently interrupt and say, “Laura, I figured this one out a long time ago. You are the only one who didn’t know. Bless your heart.”

Heh.

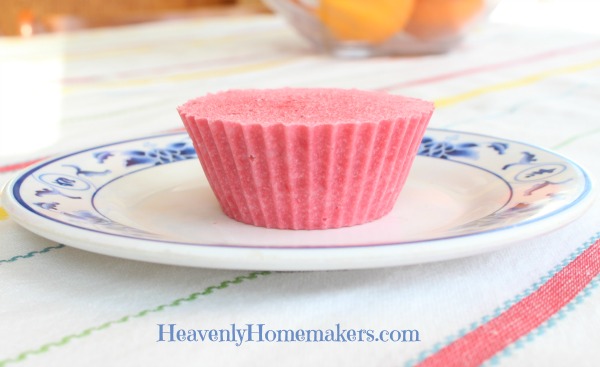
Well, either way, let’s all talk about making these Frozen Yogurt Cups right now. It’s the easiest thing in the world. And the result is super fun and refreshing on a hot day!

The job of making these Frozen Yogurt Cups has been turned over to our 5-year old. He’s thrilled to be our biggest kitchen helper, and we love that he is starting to learn basic cooking skills!

Of course, in the case of these Frozen Yogurt Cups, there is no cooking involved. This is perfect for a 5-year old!

I do need to interrupt myself now and say that I have actually made a variety of these Frozen Yogurt Cups before. But now I’ve discovered a cheater way to make them, which is why the 5-year old has found himself a kitchen job, and why I am left wondering why I never thought of this before now.

What’s the cheater way to make these Frozen Yogurt Cups?

Well, as you know, I’ve started buying a few cheater foods at the grocery store. Why? Well, now that our family is doing foster care and have started over raising Littles, all while keeping up with the Bigs, and navigating all the meetings and such involved with foster care – my time in the kitchen is more limited than before. And that’s saying something.

So yeah. Sometimes I buy ready-to-serve yogurt. It’s sweeter than what I could or would make myself if I always made or bought it plain and added our own good ingredients. But I’m pretty happy with the pre-made Whole Milk Yogurts I’ve found. So for now, we settle for this yogurt compromise.

~~~~~~~~~~~~~~~~~~~~~~~~~~~~~~~~~~~~~~~~~~~~~~~~~~~~~~~~~~~~~~~~~~

——> Need some re-assurance that compromising on perfect foods is just fine and dandy? Read my post called Beyond the Free Range Chicken. Be encouraged! Be free! Buy the yogurt. (Or not. Because we’re all in a different place and God will lead us each in how to feed our families.) <——-

~~~~~~~~~~~~~~~~~~~~~~~~~~~~~~~~~~~~~~~~~~~~~~~~~~~~~~~~~~~~~~~~~~~~~

Meanwhile, in the land of store-bought yogurt and 5-year old chefs, may we now present to you the lovely idea you are going to thoroughly enjoy this summer!

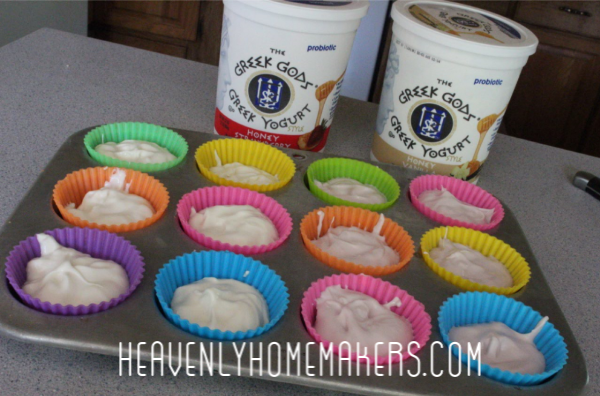
First, if you don’t already have them, I highly recommend that you invest in these lovely silicone muffin cups. With these jewels, you can make this Frozen Yogurt Cup “recipe” and many more. I love them and don’t know how I got by without them!

Other Recipes to use with your Silicone Cups:

Simple No-Bake Cookie Cups

Simple Strawberry Cheesecake Cups

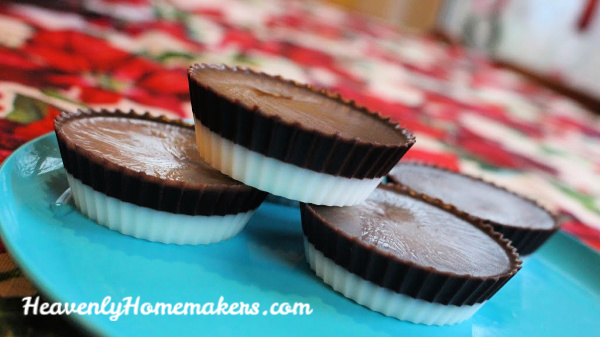
Honey Sweetened Chocolate Peanut Butter Cups

Healthy Peppermint Patties

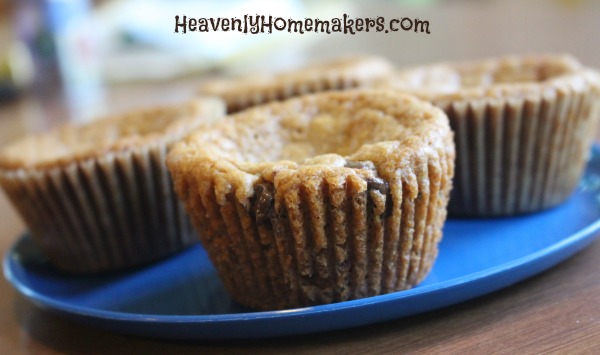
The BEST Chocolate Chip Cookie Cups


There you go. Just in case you didn’t believe me when I told you that I use my Silicone Cups very frequently!

Now, where were we? Ah yes…

The Easiest Frozen Yogurt CupsYum

While this is hardly a recipe, I’ll write it in recipe form, just for fun and ease. Hand this one to your kids and let them enjoy making this awesome treat!

The Easiest Frozen Yogurt Cups!
 
Save Print
Author: Laura
Ingredients
  • Your favorite yogurt
  • Muffin Cups or Silicone Muffin Cups
Instructions
  1. Spoon 3-4 Tablespoons of yogurt into muffin cups.
  2. Freeze for about 2 hours or until frozen solid.
  3. Store in a freezer bag or freezer-safe container.
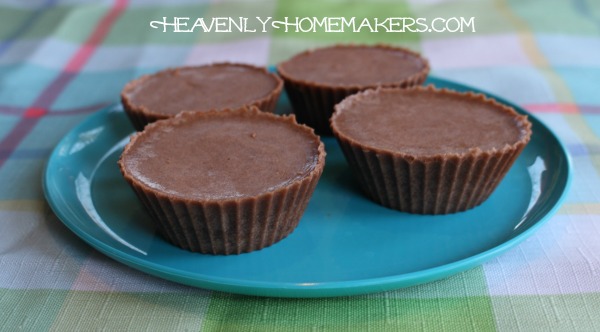
3.5.3229

P.S. Want to help your kids learn to cook? Great!

Need some resources to help you know where to start?

We have this great eCookbook package that is a huge help!

[wp_eStore_fancy1 id=33]

Better yet,  I highly recommend this incredible Kids Cook Real Food eCourse! We used it with Malachi and it was a lifesaver!

Heavenly Homemaker's Club Members: Access your homepage and all your fantastic resources here! Not a member yet? Please join us!

Super Moist Flourless Brownie Muffins – Perfect for a Lunch Box!

August 12, 2018 by Laura 7 Comments

This post may contain affiliate links which won’t change your price but will share some commission.

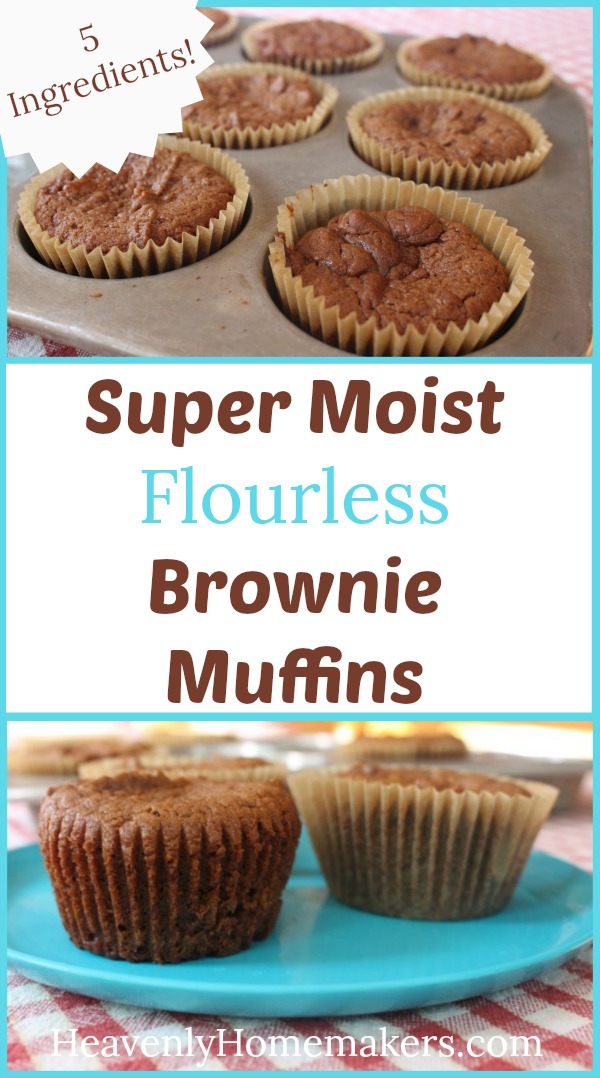
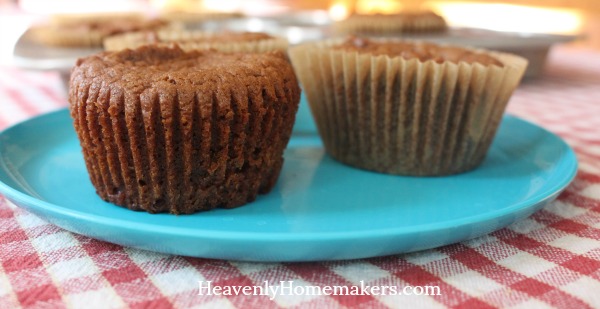
Would someone please stop me from eating all of these Flourless Brownie Muffins?

Just kidding. I’d actually like to keep eating them.

And also, I can let the kids eat all the Flourless Brownie Muffins they want because there is no reason to hold back on these. Want a brownie for breakfast? Sure! Want three more brownies? Okeedokee. Ran out and need to bake more brownies? Shucks, don’t mind if I do.


It’s been so interesting to me since I posted these Super Moist Flourless Brownie and Super Moist Flourless Peanut Butter Brownie recipes. SO MANY people have had trouble with them turning out dry and crumbly. (This is the opposite of moist – what in the world?! I am baffled.)

I’ve been trying to trouble shoot and solve the mystery of this, because these recipes turn out great for me every single time! Is it my oven? It can’t possibly be that my oven works in these recipes and all other ovens don’t. Is it the temp? The time?

I do believe it’s the time. I shortened the baking time in the instructions, hoping that will make a big difference. I believe the trick to turning out perfect Super Moist Flourless Brownies is to pull them out of the oven when they are slightly underdone. If they bake too long, they will become dry and taste like burned nut butter. Meh.

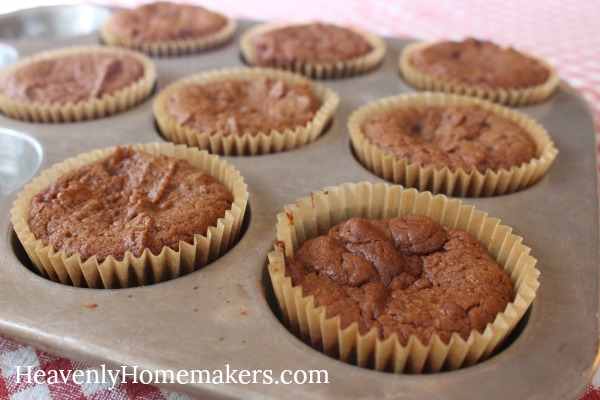
So during my time of tweaking and trouble shooting, it occurred to me that I should try baking this recipe in muffin cups. Perhaps that would turn out Super Moist Flourless Brownie Muffins, I thought. Maybe if this recipe was baked in muffin cups, we could bake them for less time and avoid drying out our brownies.

Well, as it turned out, once again these Super Moist Flourless Brownie Muffins turned out perfect for me! So perfect, in fact, I had a difficult time staying out of them. “I just want one more. I can quit any time…”

As for baking time on these Super Moist Flourless Brownie Muffins, I’m going to recommend 12-15 minutes. They may look slightly underdone when you pull them out. But this is what will keep them gooey and delicious!

Super Moist Flourless Brownie Muffins

5.0 from 2 reviews
Super Moist Flourless Brownie Muffins - Perfect for a Lunch Box!
 
Save Print
Author: Laura
Serves: 12
Ingredients
  • 1½ cups (12-ounces) Peanut Butter or Almond Butter
  • ½ cup honey
  • ½ cup unsweetened cocoa powder
  • 2 eggs
  • ½ teaspoon baking soda
Instructions
  1. Stir all ingredients together until well combined.
  2. Scoop batter into 12 paper-lined muffins cups.
  3. Bake in a 350 degree oven for 12-15 minutes. (Remove them from the oven when they are just slightly underdone so they come out moist!)
3.5.3229

I felt this recipe was worth sharing in the middle of my Lunch in a Jar series simply because these Super Moist Flourless Brownie Muffins are perfect for your Back to School Lunchbox! They are filling, nourishing, and fun!

Other Lunch Box ideas shared so far in this series:

Great add-ins to your Fruit with Dip Lunch in a Jar

  • Popcorn Chicken with Ranch
  • Quick Bread in a Jar
  • Veggies With Dip in a Jar
  • Apples & Peanut Butter in a Jar (or other fruit and dips)

We’ve got 10 super fun Lunch in a Jar ideas to share this month – perfect for your Back to School lunchbox! Subscribe here so you won’t miss a post!

Heavenly Homemaker's Club Members: Access your homepage and all your fantastic resources here! Not a member yet? Please join us!

Super Moist Flourless Peanut Butter Brownies

May 13, 2018 by Laura 10 Comments

This post may contain affiliate links which won’t change your price but will share some commission.

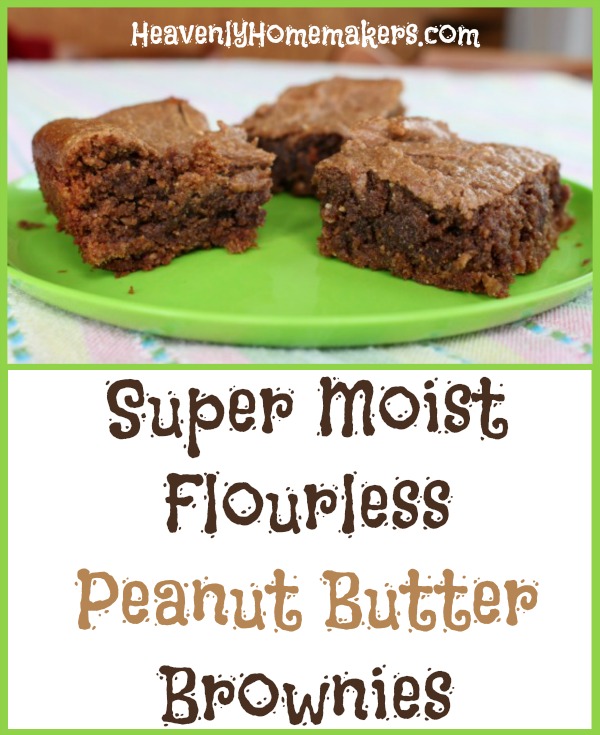
Like the old saying goes, when life gives you Super Moist Flourless Brownies, switch the almond butter for peanut butter and turn them into Super Moist Flourless Peanut Butter Brownies.

I admit that I often get on recipe kicks at my house. We discover a new recipe we love and we make it thirty times in forty days because we can’t get enough. (Sometimes, but not always, I exaggerate.) So it is with both varieties of these Super Moist Flourless Brownies. They are so incredibly good that we have gone through a ridiculous amount of Almond Butter and Peanut Butter in the past month and a half.

There goes the grocery budget.

Well, only sort of. After all, both of these brownie varieties are super wholesome and full of protein. So I’ll put out a pan of these for breakfast (no one complains, mind you) and because they are so rich and filling, there’s no need for me to add meat to the meal. Therefore, we’re subbing nut butter for bacon on days like this. Money-wise, it’s kind of a wash. Taste wise, well, we love our bacon, but the trade off is brownies. So everyone is happy.

If you’ve tried the Super Moist Flourless Brownie recipe (only 5 ingredients!) you’ll look at this one and notice that the only difference is a direct exchange of peanut butter for the almond butter. It’s too easy!

But here’s the thing: The tiny ingredient switch makes for a significant flavor change. This Super Moist Flourless Peanut Butter Brownies recipe really turns out a treat with the awesome peanut-butter-chocolate taste so many of us love! The Super Moist Flourless Brownies recipe made with almond butter taste like regular, but amazing, brownies.

So we love both. A lot. Like, I’m buying cases of Almond Butter just so we can make brownies. I can’t help it.

Make Your Own Nut Butters

I consistently make Homemade Peanut Butter, which does save a few pennies, but mostly just produces the most amazing peanut butter in the whole wide world. This one is super creamy and spreadable, our favorite. This one is made with straight peanuts, also incredible. Both are nourishing.

I have experimented with making Almond Butter but for the most part, I buy it already made.

Whether you make or buy your nut butters, I recommend using unsweetened, natural butters in these recipes.

Super Moist Flourless Peanut Butter Brownies

Super Moist Flourless Peanut Butter Brownies
 
Save Print
Author: Laura
Serves: 12
Ingredients
  • 1½ cups (12-ounces) Peanut Butter
  • ½ cup honey
  • ½ cup unsweetened cocoa powder
  • 2 eggs
  • ½ teaspoon baking soda
Instructions
  1. Stir all ingredients together until well combined.
  2. Spread batter into a buttered 8x8 inch baking dish.
  3. Bake in a 350 degree oven for 18-20 minutes. (Remove them from the oven when they are just slightly underdone so they come out moist!)
3.5.3229


Can you believe, these brownies have taken the place of my Fat Bombs for now? Depending on the day. I guess it’s apparent I really like my chocolate and my peanut butter, in all its healthy forms.

~~~~~~~~~~~~~~~~~~~~~~~~~~~~~~~~~~~~~~~~~~~~~~~~~~~~

Want 111 more recipes that include 5 or fewer real food ingredients? Here’s our best collection!

[wp_eStore_fancy1 id=32]

Heavenly Homemaker's Club Members: Access your homepage and all your fantastic resources here! Not a member yet? Please join us!

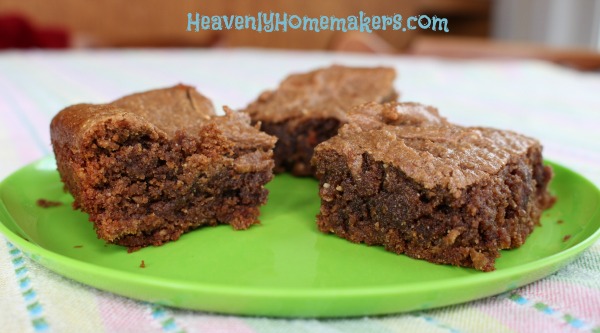
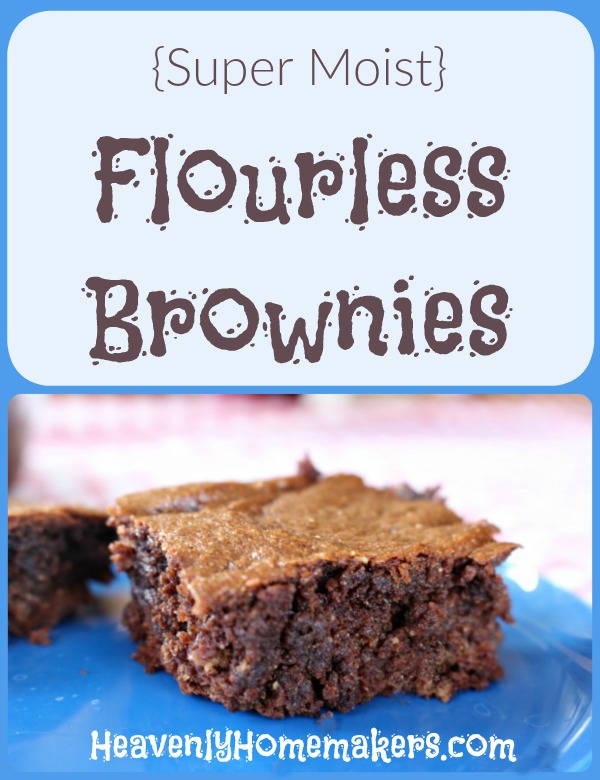
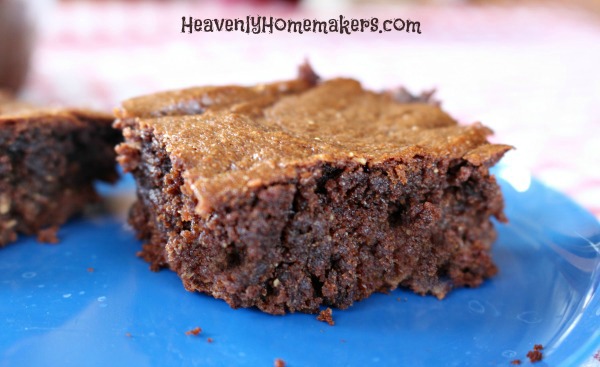
Super Moist Flourless Brownies

April 22, 2018 by Laura 21 Comments

This post may contain affiliate links which won’t change your price but will share some commission.

From now on, these Super Moist Flourless Brownies are the ones I will be making for my family. I’m very happy to share that there are no bananas involved in the making of this recipe. Allow me to explain how I really feel about this…

Deliver me from all recipes that are naturally sweetened with bananas. (See also: Pudding made creamy because of avocados.)

I love the idea; I think it is beautiful. What a fantastic way to sneak in fruits and veggies by adding them to our treats! But I’ve tried the banana-peanut butter-cocoa powder ice cream and I just can’t make myself like it. The same is true of the pancakes made with only bananas and eggs. Chocolate pudding made by blending avocados? I just can’t.

Am I picky? I like to think not. For goodness sake, I’m the girl who eats fresh spinach straight out of the container as a snack (basically this is me being too lazy to actually take time to get out bowl and a fork). So picky I am not. But I just can’t get into eating blended frozen bananas that are pretending to be ice cream.

Should we broach the subject of brownies made with black beans? I think this is a genius idea, but my children are less than impressed. Most of my healthy attempts at creating a low-sugar-no-flour brownie have fallen ridiculously short of, “Mom, make them this way every time!”

Until now.

The ingredients in these Super Moist Flourless Brownies won’t even shock you. There’s no secret ingredient that will cause you to cringe or question whether or not your family might actually try one.

You’ll be wonderfully amazed! These brownies actually have the taste and texture of brownies that come from a box, only of course, the real food ingredients make them even more delicious! My kids took a bite of these and couldn’t believe that these brownies were “actually healthy.” Our first pan lasted a very short time.

Look at these ingredients! How good can we feel about feeding these brownies to our kids? Good enough to serve them for breakfast? Absolutely.

Super Moist Flourless Brownies

Super Moist Flourless Brownies
 
Save Print
Author: Laura
Serves: 12
Ingredients
  • 1½ cups (12-ounces) Almond Butter
  • ½ cup honey
  • ½ cup unsweetened cocoa powder
  • 2 eggs
  • ½ teaspoon baking soda
Instructions
  1. Stir all ingredients together until well combined.
  2. Spread batter into a buttered 8x8 inch baking dish.
  3. Bake in a 350 degree oven for 18-20 minutes. (Remove them from the oven when they are just slightly underdone so they come out moist!)
3.5.3229

Can you sub out peanut butter for almond butter? I don’t know why not. In fact, I think that would create a delicious chocolate-peanut butter brownie worth writing home about.

Enjoy the simplicity of this recipe! Get excited about the nourishment and energy the brownies provide. Savor eating brownies for breakfast with your morning coffee. Delight in the fact that there are no bananas involved in the making of this treat. As for me and my house, we’ll save the bananas for creating smoothies and banana bread.

~~~~~~~~~~~~~~~~~~~~~~~~~~~~~~~~~~~~~~~~~~~~~~~~~~~~~~~

Did you notice that this new Super Moist Flourless Brownie recipe includes only 5 ingredients? How does this keep happening?? (OK, I admit. I’ve been on a High Five Recipe rampage. We all win when I get on a kick like this!)

Want 111 more recipes that include 5 or fewer real food ingredients? Here’s our best collection!

[wp_eStore_fancy1 id=32]

~~~~~~~~~~~~~~~~~~~~~~~~~~~~~~~~~~~~~~~~~~~~~~~~~~~~~~~~

Also, I’ve got to be sure you all see this incredible deal that is only being offered a few more days! 6 eBooks for $6!!

[wp_eStore_fancy1 id=31]

Heavenly Homemaker's Club Members: Access your homepage and all your fantastic resources here! Not a member yet? Please join us!

Simple Snack Recipe: No Bake Cookie Cups

February 4, 2018 by Laura 10 Comments

This post may contain affiliate links which won’t change your price but will share some commission.

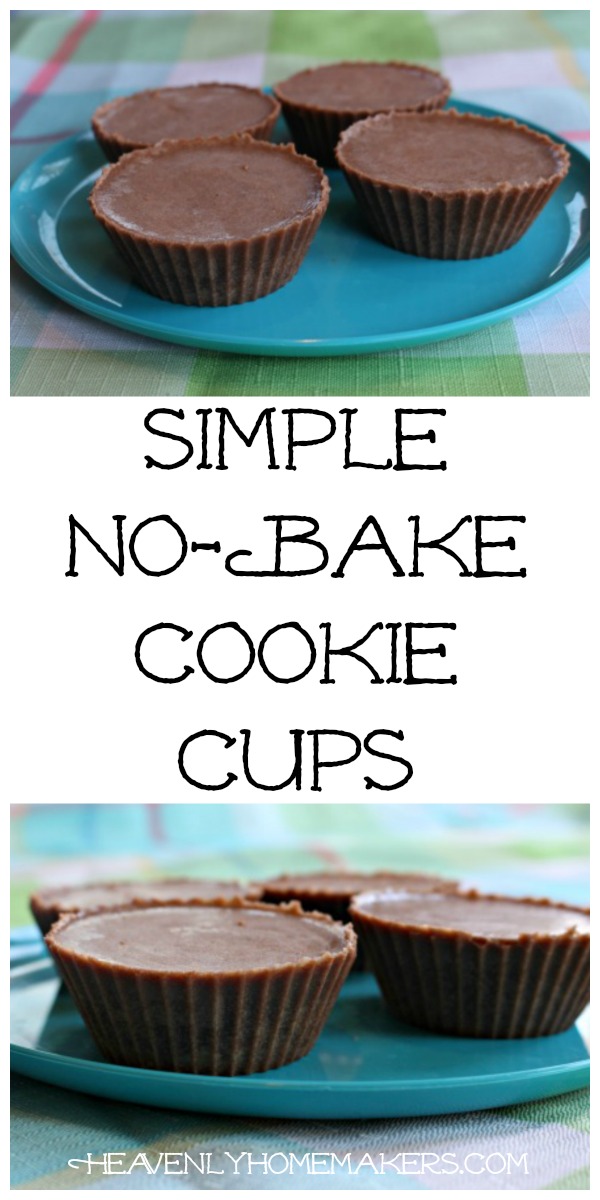
This is a recipe in which my beloved Fat Bomb treat teams up with my dearest Honey Sweetened No-Bake Cookies to create No Bake Cookie Cups in perfect harmony.

no bake cups11

Indeed, I’m talking about actual harmony as these No Bake Cookie Cups sing to me when I walk into the kitchen each morning. It’s like I have my very own Barber Shop Quartet sitting in my refrigerator. Just think of it! I open the fridge door at 6:30 am and these cookie cups take off their red and white striped hats to salute me. Then the singing begins.

I’ll spare you the song lyrics, but they are obviously all about how well I pull off the “just rolled out of bed” look with my mis-matched pajamas and fly-away hair.

Simple Snack Recipes Series

Why all the hoopla about this simple snack recipe? Because it truly is my very favorite. These No Bake Cookie Cups are a perfect mix of nourishment and deliciousness. They are super filling because they are loaded with good fat and protein. The oats make them seem more like a no-bake cookie, and well, oats are good. The fact that these are made in muffin cups makes them even easier to make and definitely easier to eat.

no bake cups12

So basically, these No Bake Cookie Cups are perfection, which is why we can all break out in to four part harmony together as we rejoice over this snack.

Here’s why they qualify as a Simple Snack Recipe: These come together in about five minutes. Scoop all ingredients into a saucepan and stir together until melted (five minutes, tops). Add the oats. Pour into muffin cups. Refrigerate. Eat. Sing. Be happy.

Such a Simple Snack Recipe!

No Bake Cookie Cups

Simple Snack Recipe: No Bake Cookie Cups
 
Save Print
Author: Laura
Serves: 12
Ingredients
  • ½ cup coconut oil (I use expeller pressed so the coconut flavor doesn't overpower.)
  • 1 heaping Tablespoon cocoa powder
  • 4 Tablespoons butter
  • ½ cup natural peanut butter
  • Liquid stevia to taste (I use 1½ droppers full of NuNaturals Brand.) or 2-3 Tablespoons honey
  • 1 cup whole rolled oats
Instructions
  1. In a small saucepan, heat and stir together coconut oil, cocoa powder, butter, honey, and peanut butter. (If using stevia as sweetener, wait to add it until after ingredients are melted and you've removed the pan from the heat.)
  2. Stir until melted.
  3. Remove from heat.
  4. Stir in oats.
  5. Pour into 12 lined muffin tins. (I prefer to use silicone liners for these.)
  6. Freeze for 20 minutes or refrigerate for 2 hours.
  7. Store in fridge and enjoy.
3.5.3229

Simple No Bake Cookie Cups

It’s worth noting that these taste best right out of the fridge and start to melt quickly if left out for longer than two minutes. Don’t ask me about the time I packed one to eat at a basketball game. Ok fine. I’ll tell you anyway. I once packed a No Bake Cookie Cup to eat at a basketball game, but by the time we arrived and I got it out to enjoy, it had turned to a baggie full of mush that required a spoon and five napkins. Good story, huh?

Stay tuned for more great (stories and also) Simple Snack Recipes you’ll love!

Heavenly Homemaker's Club Members: Access your homepage and all your fantastic resources here! Not a member yet? Please join us!

Real Food Chocolate Pie Crust

December 12, 2017 by Laura 3 Comments

This post may contain affiliate links which won’t change your price but will share some commission.

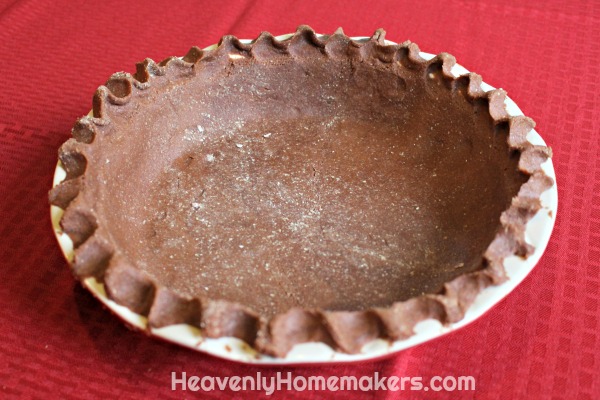
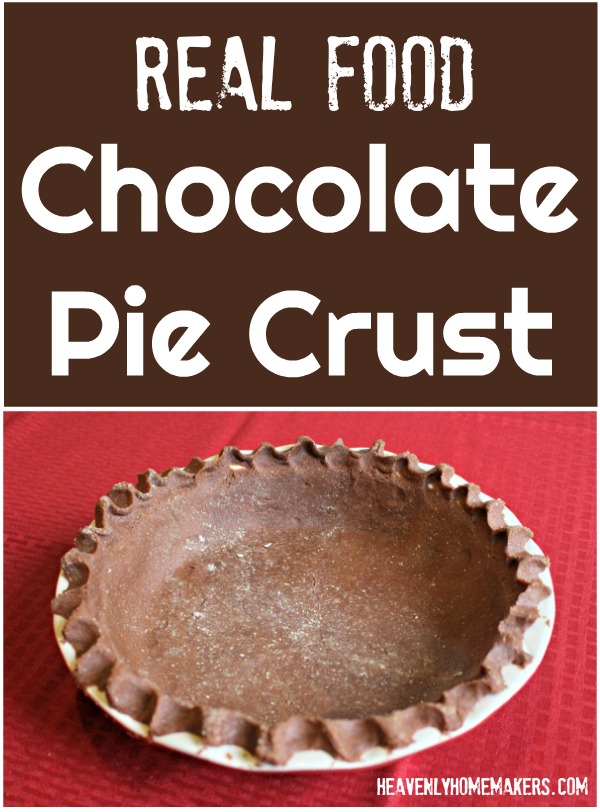
Why make a regular pie crust when you can make a Chocolate Pie Crust?

chocolate pie crust

Well now. Sometimes we actually do need a regular ol’ pie crust. Though pie crusts around here are anything but regular. We use whole wheat flour and palm shortening in our pie crust so that it is actually nourishing. But other than that…normal. Regular. Absolutely average. Nothing to see here. Just a regular ol’ pie crust.

pie_crust_palm_shortening_sm

Here I am calling pie crusts normal as if I make them all the time. No ma’am I do not. It’s rare that I actually take the time to make and roll out crusts these days. It must be a special occasion for me to “go to the trouble” to make a pie, because extra time I do not have.

But then suddenly, in between a History lesson with Malachi and taking time to proof-read a paper for Justus, I thought of the idea to turn a regular pie crust into a Chocolate Pie Crust. And would you believe? Tuesday afternoon became a special occasion, just like that. For no reason, I made a pie.

I mean, I do think one of the boys did exceptionally well on his math lesson that day. I did three loads of laundry like a boss. The mailman delivered some mail that wasn’t bills. The kitchen floor got swept. I answered several emails. For all these reasons and more, it seemed that a pie was in order. I can think of no other reason to celebrate, can you? Things like this call for pie with chocolate crust. Obviously.

Who says you can only make pie on special occasions?

Chocolate Pie Crust

Real Food Chocolate Pie Crust
 
Save Print
Author: Laura
Serves: 1 9"crust
Ingredients
  • 1 cup whole wheat flour
  • ¼ cup unsweetened cocoa powder
  • 2 teaspoons brown sugar
  • ¼ teaspoon sea salt
  • ⅓ cup Palm Shortening (or butter)
  • 4-5 Tablespoons cold water
Instructions
  1. Place flour, salt, cocoa, and brown sugar in a bowl or food processor.
  2. Stir to combine.
  3. Add palm shortening or butter.
  4. Blend until shortening is cut throughout the flour and the mixture resembles crumbs.
  5. Add cold water until a soft ball of dough has formed.
  6. Roll dough on a well-floured surface until it is slightly larger than your pie pan.
  7. Fold dough in half, then in half again.
  8. Place dough into pie pan and unfold to cover the pan.
  9. Shape edges as desired.
  10. Poke crust 4-5 times with a fork to prevent bubbles from forming while baking.
  11. Bake in a 450 degree oven for 10-12 minutes.
  12. Allow crust to cool before adding cream filling of choice!
3.4.3177

Real Food Chocolate Pie Crust

In a couple of days I will share a Peanut Butter Chocolate Chip Pie recipe with you that is simply perfect to fill this Chocolate Pie Crust. In the meantime, I also suggest filling your baked shell with:

  • Chocolate Peanut Butter Pie (which sounds like the new recipe I’m about to share, but I promise, it’s altogether different)
  • Chocolate Cheesecake Pie
  • Vanilla, Chocolate, or Butterscotch Cream Pie (use any of these pudding recipes to fill the Chocolate Pie Crust)
  • Peanut Butter Cream Pie (use this pudding recipe to fill the Chocolate Pie Crust)

And by the way, I get my palm shortening from Tropical Traditions. It’s fabulous and healthy. New customers at Healthy Traditions can get free shipping on their first order when you use the code FS10 at checkout!

Raise your hand if after seeing this recipe for Chocolate Pie Crust you just came up with a perfectly good (though random) reason to make a pie.

Heavenly Homemaker's Club Members: Access your homepage and all your fantastic resources here! Not a member yet? Please join us!
Next Page »

Join Our Community!

 Facebook Twitter RSS E-mail Instagram Pinterest

Popular Posts

~ Will All of the Real Moms Please Stand Up?
~ Easy! Stir-and-Pour Whole Wheat Bread
~ How to Make Gatorade
~ 31 Real Food Breakfast Ideas
~ Dear Teenage Girls...
~ When Mom Takes a Step Back
~ The Inexpensive Health Insurance We Love!
~ Let's Talk Real Food Grocery Budgets

Check out our latest posts!

  • Inexpensive and Fun Valentine’s Day Treats
  • Easy Chocolate Waffles
  • 4 Meals You Can Make for $1/Person
  • Easy Chili Cheese Dip
  • How to Make 5 Meals with 1 Pork Roast
Home  ~  Simple Meals  ~  Club Membership  ~  Shop  ~  Privacy Policy  ~  Disclosure  ~ Contact

Copyright © 2023 · Beautiful Pro Theme on Genesis Framework · WordPress · Log in