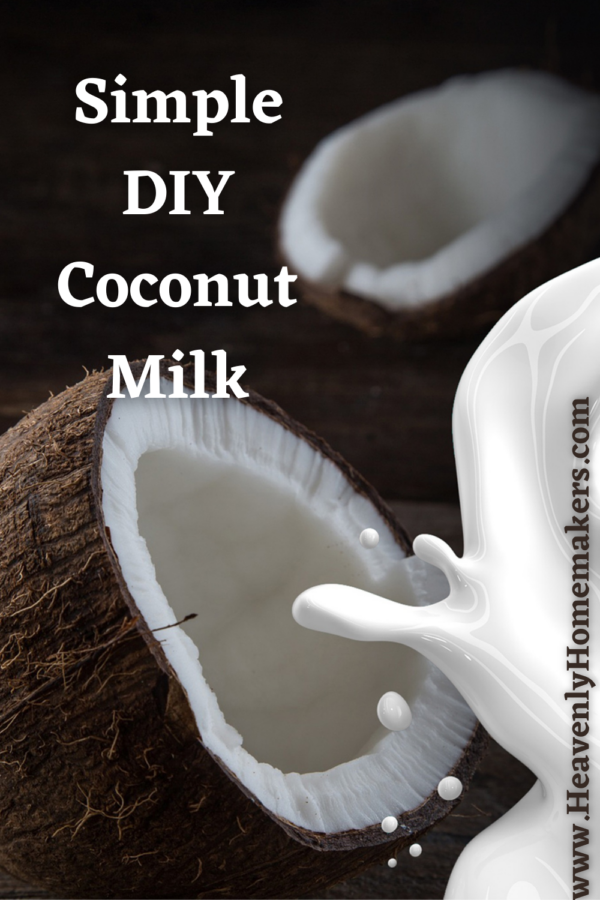
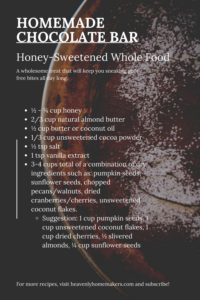
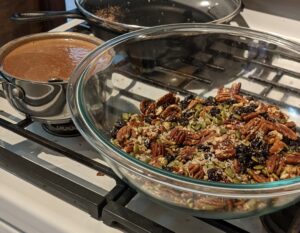
Simple DIY Coconut Milk
by Tasha Hackett
Dairy-free milk is good to have on hand these days. This simple DIY coconut milk is going to wow you, I’m sure of it. Even if you’re not on a special diet, the chances are high you know someone who is! Of all the nut milk options, coconut milk is the one I’ve landed upon for all my dairy-free baking and cooking. After almost a year of eating paleo to combat migraines, I’m embarrassed at how long it took me to try to this simple method. (Hi! Tasha, here.) If I wanted a yogurt or cream substitute, I used canned coconut milk or coconut cream. If I wanted simple coconut milk for smoothies and baking, I bought the jugs and ignored any added ingredients.
I finally tried making my own coconut milk.
Don’t get too excited. I’m not out there foraging coconuts and shredding the meat into milk. #aintnobodygottimeforthat. But I am side-stepping buying water in a jug. I had convinced myself that making my own was going to be too complicated. Silly Tasha. Once I mustered the proper sense of adventure and ingenuity, there’s really been no turning back.
Not only is this simple DIY coconut milk unadulterated with added ingredients, it is significantly cheaper, and saves the landfill and the factories from dealing with those obnoxious plastic/cardboard jugs. And because I Subscribe and Save my canned coconut milk from Amazon, I don’t even have to think about buying it. It just magically appears on my porch. Poof!
Simple Coconut Milk Recipe
I’m really stepping out on a limb here to call this a recipe. But if Laura can tell you to pour salsa on the chicken in the crock pot and call it a recipe, than we’re calling this a recipe.
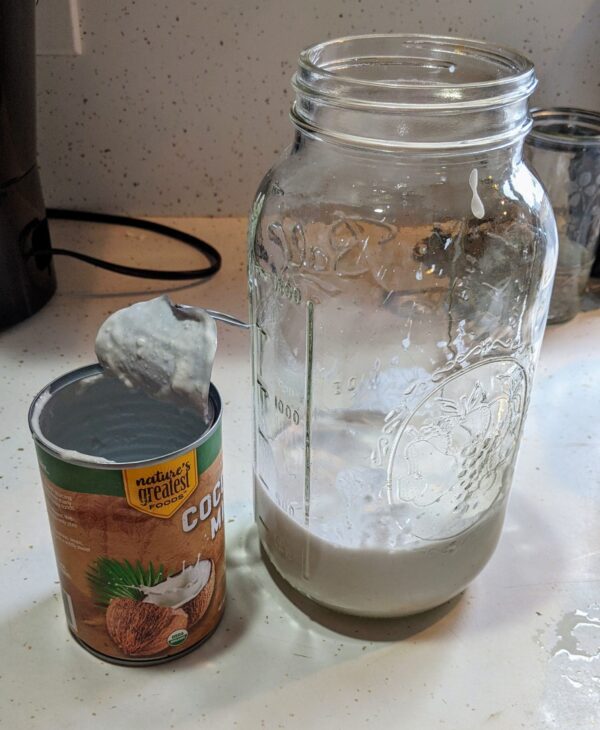
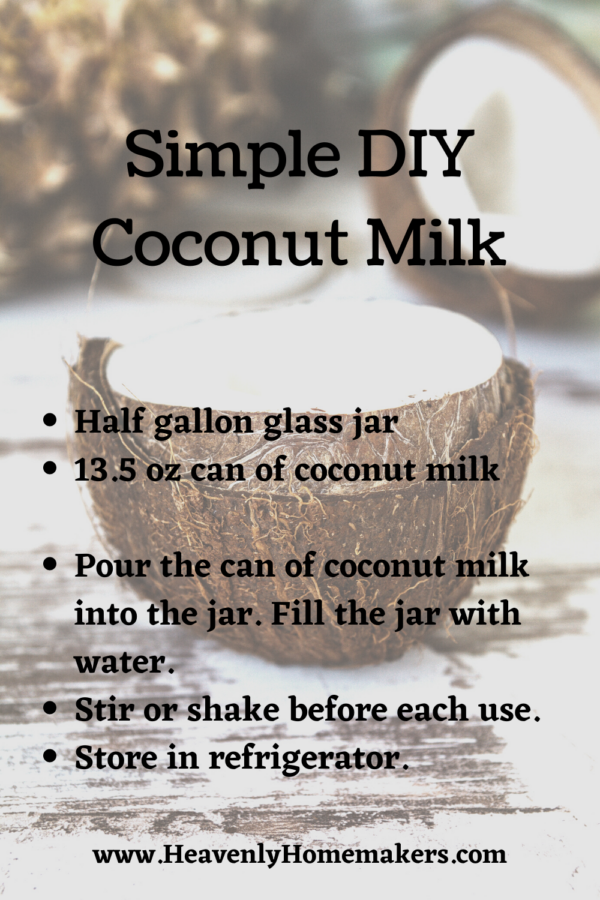
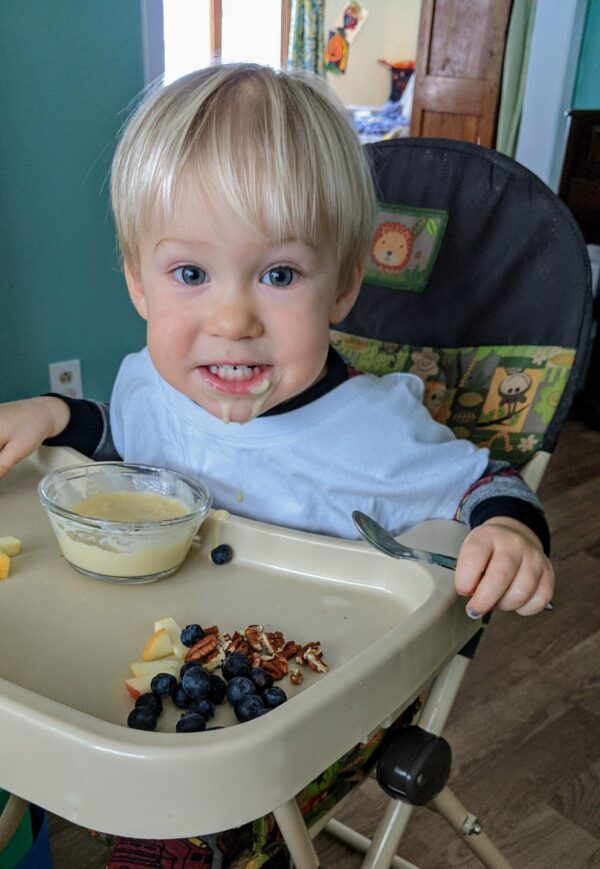
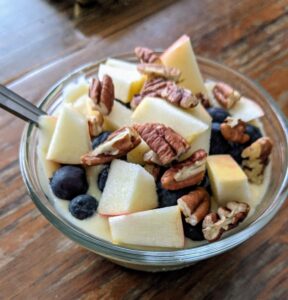
You will need a half gallon glass jar and a can of coconut milk. I currently use this brand. I’ll go over all the steps very slowly for you, just be sure you can keep up: Open the canned coconut milk. Pour it into the jar. Fill the jar the rest of the way with water and leave an inch or so at the top. Put the lid on the jar. In case you missed it, that last step is very important. A lidless jar is hazardess. Shake your lidded jar before using the coconut milk in smoothies, pancakes, muffins, and any recipe that calls for milk! As it happens, I pour a splash of it into my coffee each morning.
DIY Coconut Milk Recipe in Pictures
Because this recipe is very complicated, I decided to go the extra mile and show you the process step-by-step. I hope this clears things up for you.
Set out your supplies.
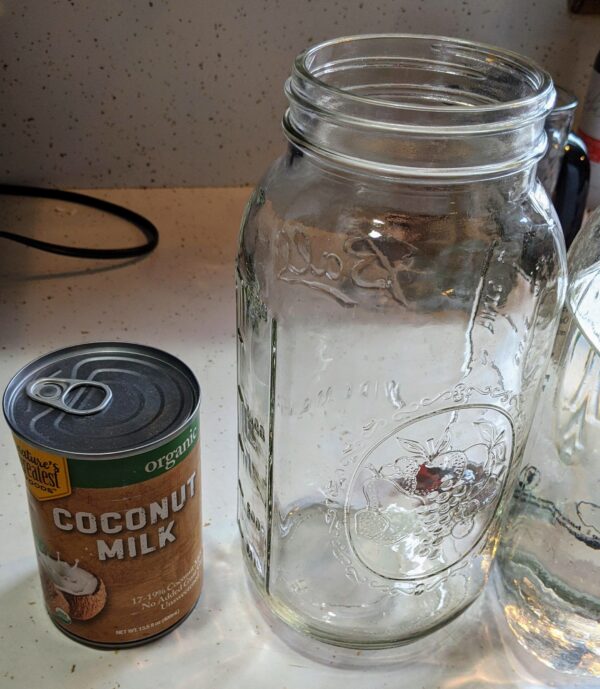
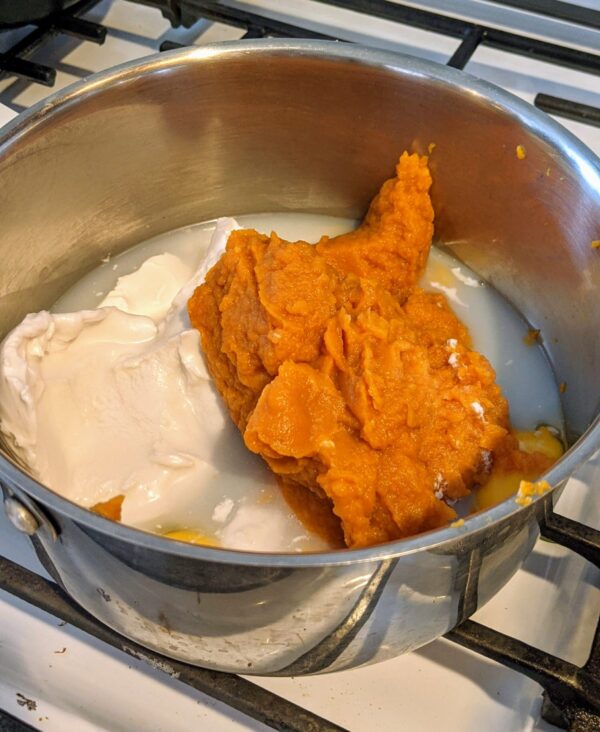
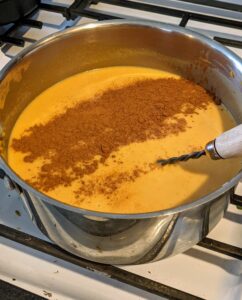
Open the canned milk and pour it into the half gallon glass jar.
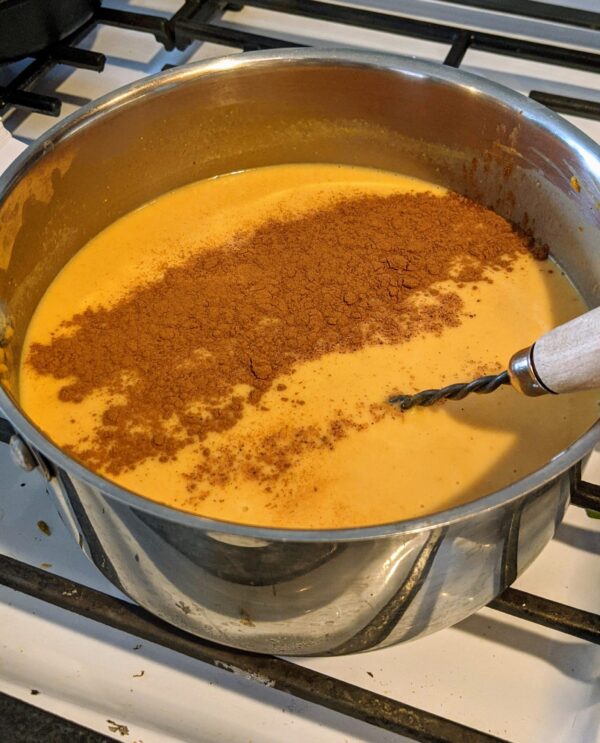
Fill the remainder of the jar with water.
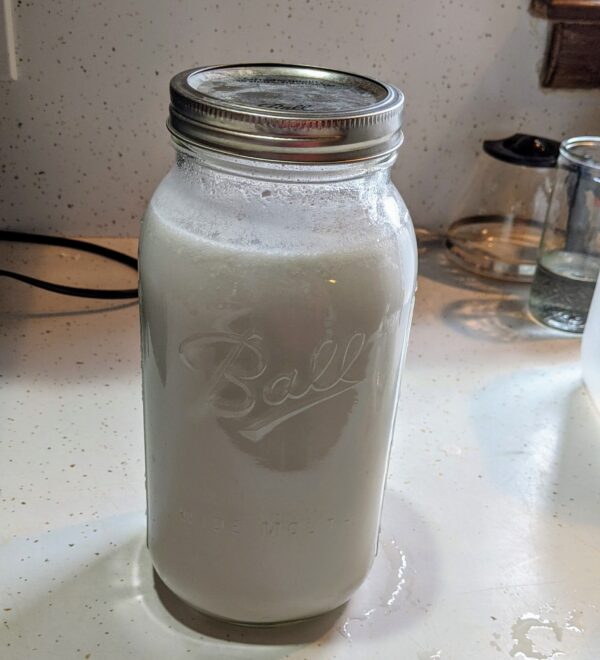
I hope you don’t mind, but I combined a step in this picture. See how the lid is on the jar?
Store in the refrigerator and give it a shake before using. That’s all, kids! I hope you enjoyed learning a new skill that will impress all of your friends the next time you’re at a party in need a parlor trick.
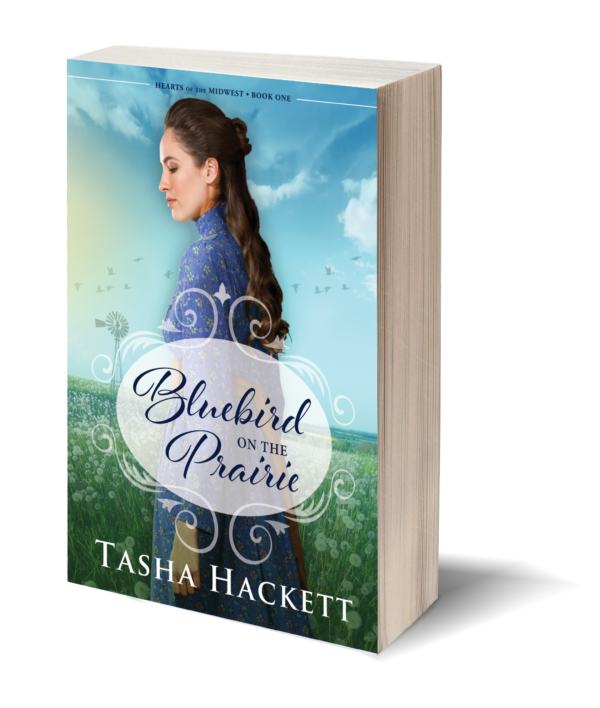
 Tasha Hackett is a friend of Laura and loves to eat homemade chocolate bars, potato chips, and yes, even salsa on chicken. A homeschooling mom of four, author, and recovering DIY addict, she loves to take a walk on the prairie as time allows. Her debut novel, a historical romance set in 1879 Nebraska released Summer 2021: Bluebird on the Prairie. (Print and Kindle options available.) Though Tasha likes to do All The Things, most of her time is spent with four chatty children and an incredibly supportive husband. They give her the kind of love people write books about.
To learn more about Tasha and her works of fiction, find her at www. TashaHackett.com.


 Tasha, friend of Laura, and fellow homeschooling mama, lives in the middle of America and does her best to keep the floors clean. Hahaha. Her kids are currently one, three, five, and seven. When she’s not writing for Laura she can be found on Instagram @heavenlyhomemaker, sneaking Jalapeno Cheetos, painting with her kids, pretending she likes to garden, and watching Star Wars with her husband.