Since I share all the other food we eat at our house, I thought it might be fun to share the lunches I packed for my kids’ first week of school.

First, here’s why I pack a lunch for my kids to take to school. This works best for us and I feel good about what they are eating each day.
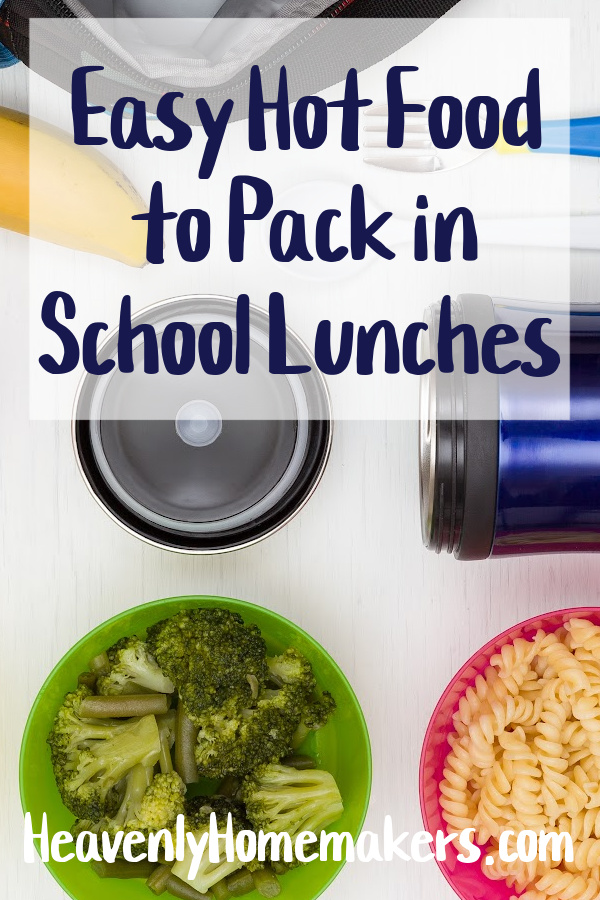
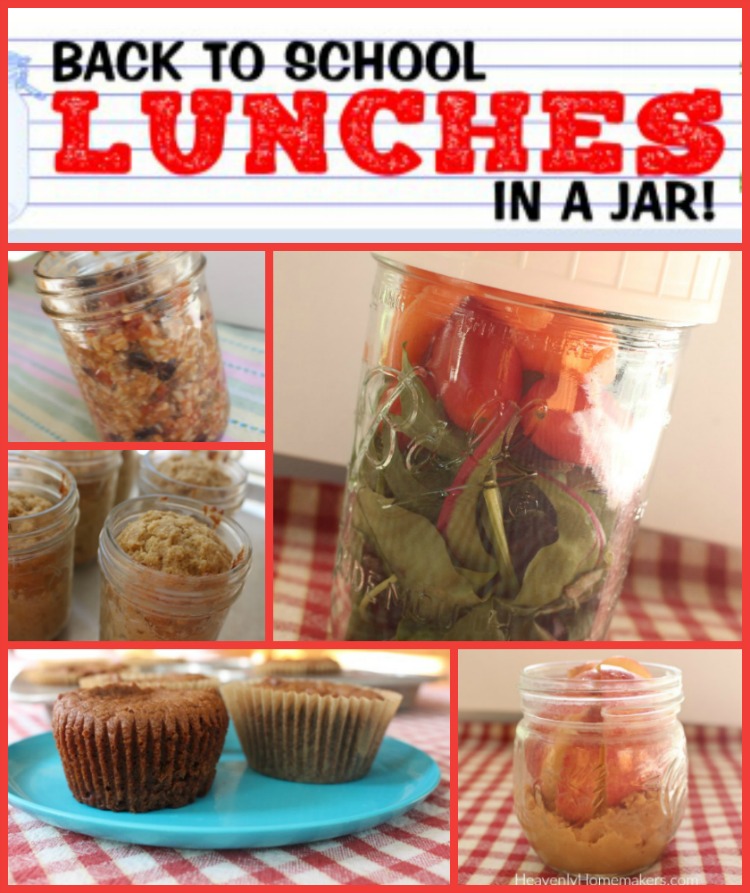
5 Lunches I Packed for My Kids’ First Week of School
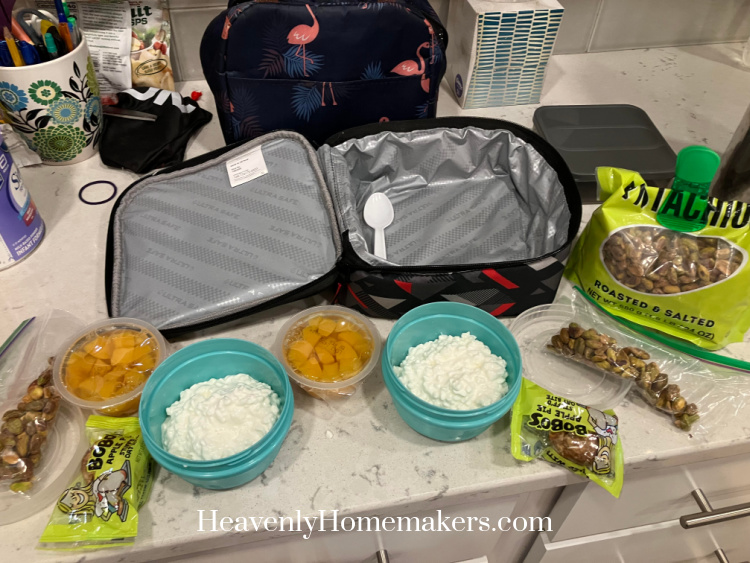
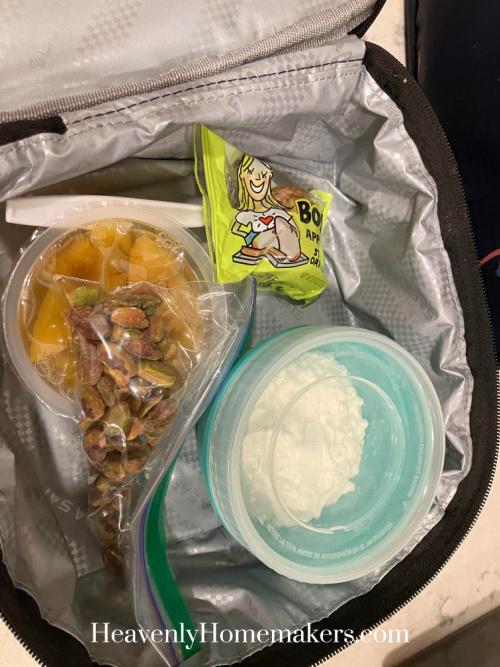
Monday I packed them a container of cottage cheese, a peach cup, a baggie of pistachios, and a fun Bobo’s muffin from Costco. This can all be put together ahead of time. In the morning before they put their bags into their backpack, I throw in an ice pack to keep everything cold.
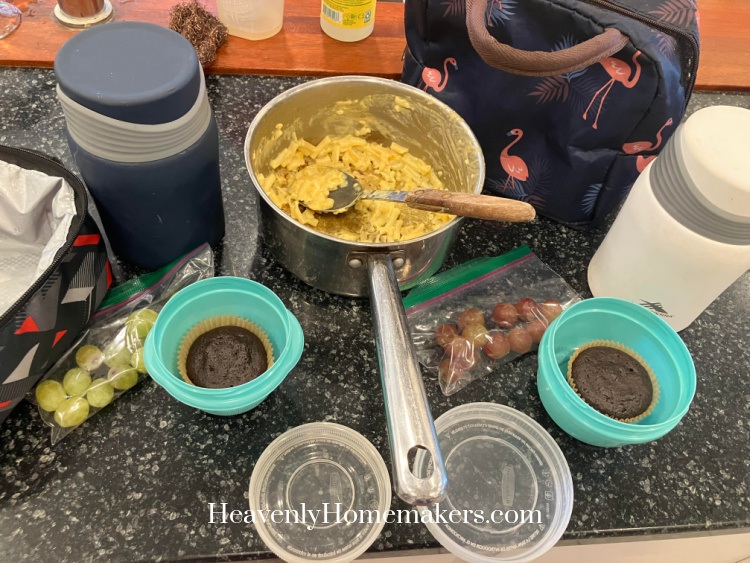
Tuesday they were thrilled to see that I was sending Leftover Mac and Cheese rewarmed and put into thermoses with grapes and a chocolate cupcake with hidden spinach.
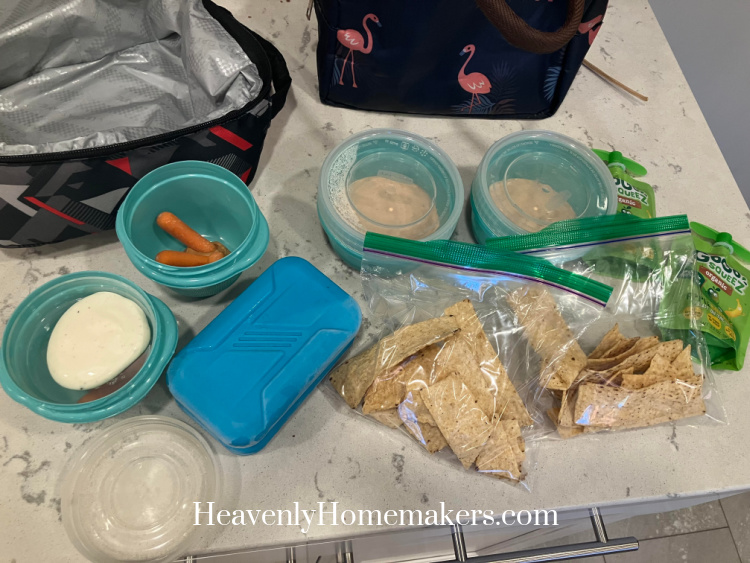
Wednesday I made Cream Cheese Salsa Dip which I put into a container and sent along with a baggie of tortilla chips, carrots with dip, and an applesauce squeezie.
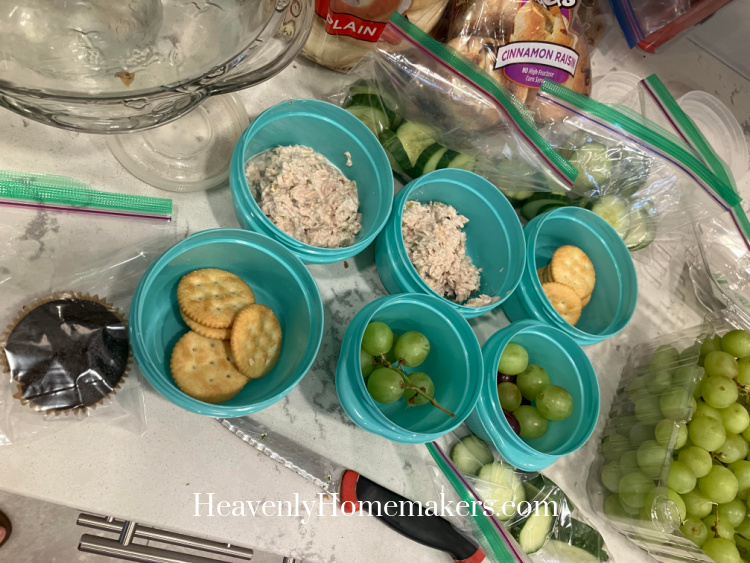
Thursday was leftover Tuna Salad that we’d eaten a few evenings before (I made extra that night for this purpose!). I sent a container with crackers for them to eat with their tuna, plus a container of grapes. For Kiya, I sent a chocolate cupcake with hidden spinach. Brayden has become obsessed with cucumbers this summer so I sent him a baggie of sliced cucumbers.
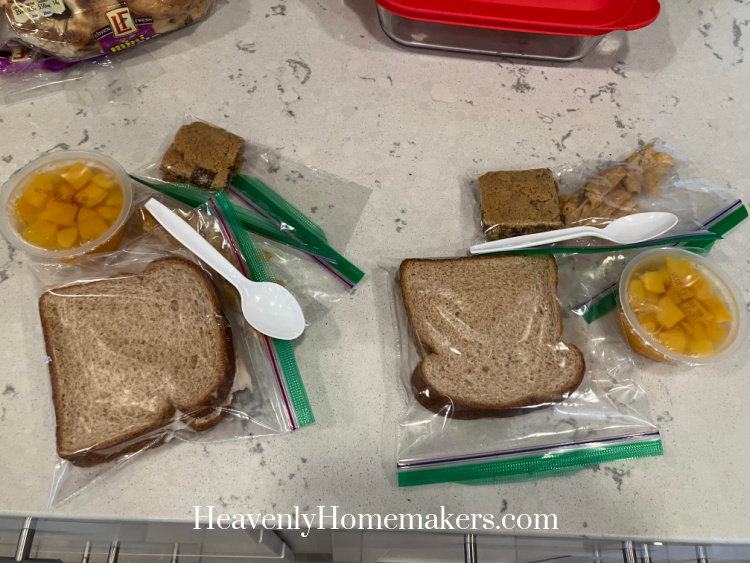
On Fridays last year we started having Fun Friday Lunch. This is the only day I send a sandwich and chips with the kids. Usually I add a sweet treat on Fridays too.
This week, I intended to make Homemade Uncrustables but didn’t get to it. So instead I made a regular PBJ for Kiya and a Turkey and Cheese sandwich for Brayden. I put a few Fritos into snack-sized bags for them, plus sent them a peach cup and a Chocolate Chip Cookie Bar.
It was a fun week of lunches and the kids came home with empty lunch boxes each day! Well, empty except that I ask them to put all their trash back into their bags to bring home so that nothing gets accidentally thrown away (like ice packs and spoons) and so that I can see what they ate and what is working!