Last I checked, Sara Lee charges over $3 for her frozen pies. I don’t blame her. I’d charge $5. But when I make my own pies, it can cost as little as $1 and I know what ingredients I’m including. Plus I’m making mine with love and all that. (Priceless, no doubt.)
Making a frozen pie is as easy as making a not frozen pie. Not that making a pie is easy. Nor is it really hard. You just have to commit, you know? You have to be like, “Today I am going to mix together and roll out pie crusts. I’m just going to do it and get this job out of the way. Everyone will love the pie. It’s not as hard as it sounds. Let’s do this.”
Then, after you mix and roll your crusts, you add whatever filling you want (pumpkin, apple, etc). You wrap them well, and you freeze them.
This is exactly how Sara Lee does it. Only she puts hers in a box. We’ll skip that part.
This post is chuck full of pie-making tips, recipes, and instructions. Shall we begin?
How to Make a Whole Wheat Pie Crust

- 1¼ cup whole wheat flour
- ¼ teaspoon sea salt
- ⅓ cup Palm Shortening (or butter)
- 4-5 Tablespoons cold water
- Place flour, salt and shortening in food processor.
- Blend until shortening is cut throughout the flour and the mixture resembles crumbs.
- Drizzle in the water while the food processor is still whirling.
- Continue until a ball of dough forms.
- Roll out your dough into a circle on a well floured surface.
- Fold the circle in half. Then fold it in half again.
- Place your dough in your pie dish with the folded corner in the center.
- Unfold the dough, shape it into the dish and make the edges pretty. (see tutorial video below)
- Poke your dough a few times with a fork to keep it from poofing up in the oven.
- Bake at 450° for 10-12 minutes or until the crust is golden brown. Or, fill it with pie filling and bake as directed in specific pie recipe.
How to Shape a Pie Crust
You can look through a picture tutorial on this post to see the specifics of how to roll a pie crust and place it in a pie pan.
Want to watch me shaping a pie crust a few years ago? Watch the video below. (Click here if the video doesn’t show up for you.)
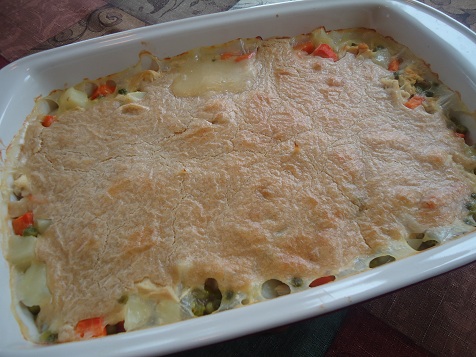
How to Make a Frozen Pie
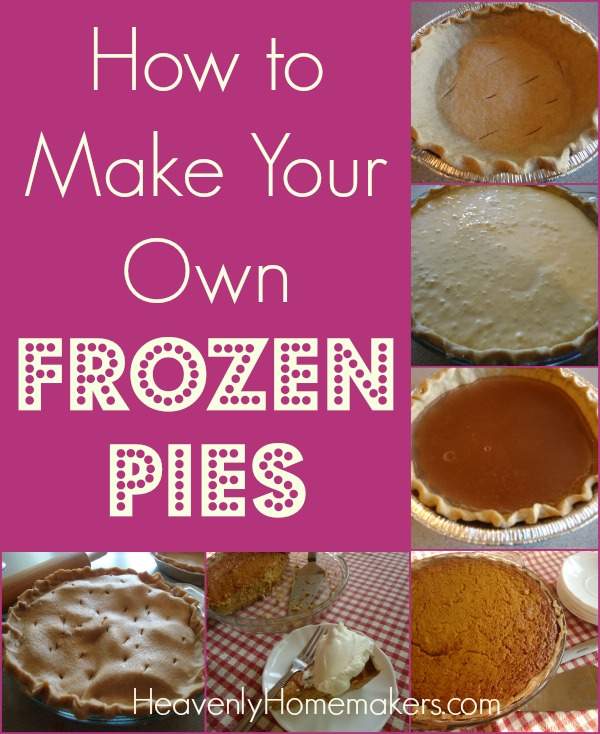
To make a frozen pumpkin or fruit pie, make it according to the directions but do not bake. Wrap the unbaked pie very well in plastic wrap. You might even consider putting the wrapped pie into a freezer bag for extra freezer protection. Label the pie. Freeze for up to three months.
To bake your frozen pie, take it out of the freezer and put it directly into a cold oven. Turn on the oven and bake as directed allowing a little extra baking time if necessary. See how easy this is?!

If you plan to make a cream pie, bake your crust as directed, allow it to cool, then wrap and freeze. Thaw crust and add your cream filling before serving.
Holiday Pie Recipes
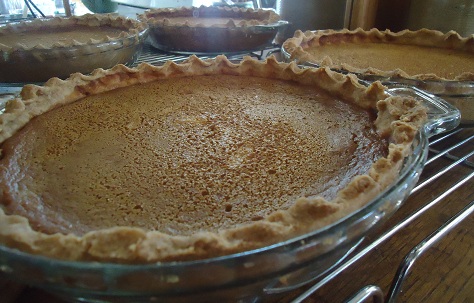
Pumpkin Pie Recipe
2 cups canned or frozen pumpkin
2/3 cup brown sugar or sucanat
1 teaspoon cinnamon
½ teaspoon ginger
½ teaspoon nutmeg
3 eggs
1 ¼ cup heavy cream
Whisk together all ingredients. Pour into unbaked pie crust. Freeze if desired. Bake at 350° for 50-60 minutes, or until a toothpick inserted in the middle of the pie comes out clean.
Apple Pie Recipe
5-6 apples (any variety)
1/4 cup sucanat or brown sugar
1 teaspoon ground cinnamon
Wash and slice apples. Stir in sucanat and cinnamon. Make a double pie crust recipe. Place one crust on the bottom of a pie pan. Spread apple pie filling into the unbaked crust. Place the second pie crust on top. Seal and shape as shown in the video above. Freeze if desired. Bake at 350° for 50-60 minutes.
I usually have prepared Apple Pie Filling in my freezer, making this super simple.
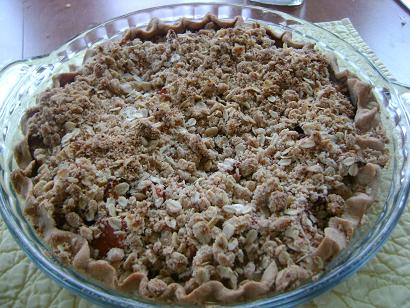
Dutch Apple Pie Recipe
Make as directed above, only make a single pie crust. Top apples with crumb topping recipe found here.
If you’re hoping to Get Ahead for the Holidays, I highly recommend making your pies soon and putting them into the freezer to pull out for easy baking the day before your meal!
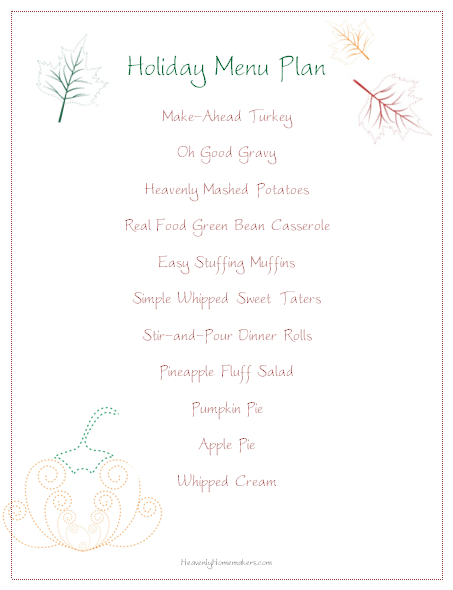
Here are the quick links to all the recipes we covered in this series:
- Make-Ahead Turkey
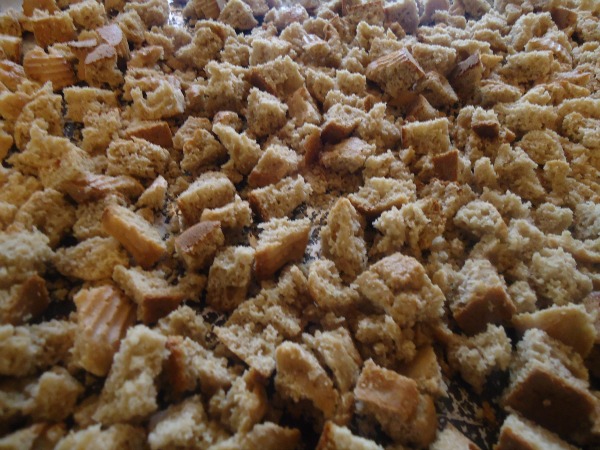
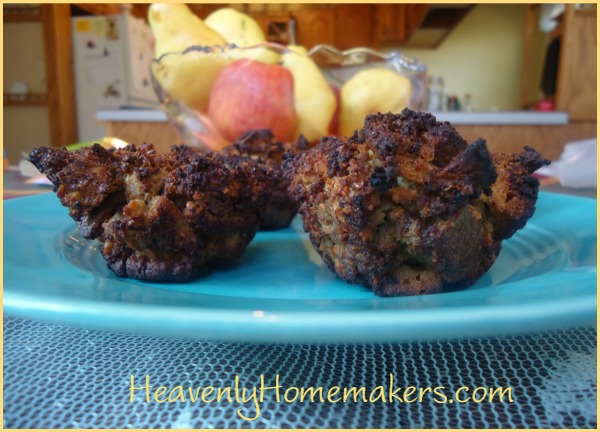
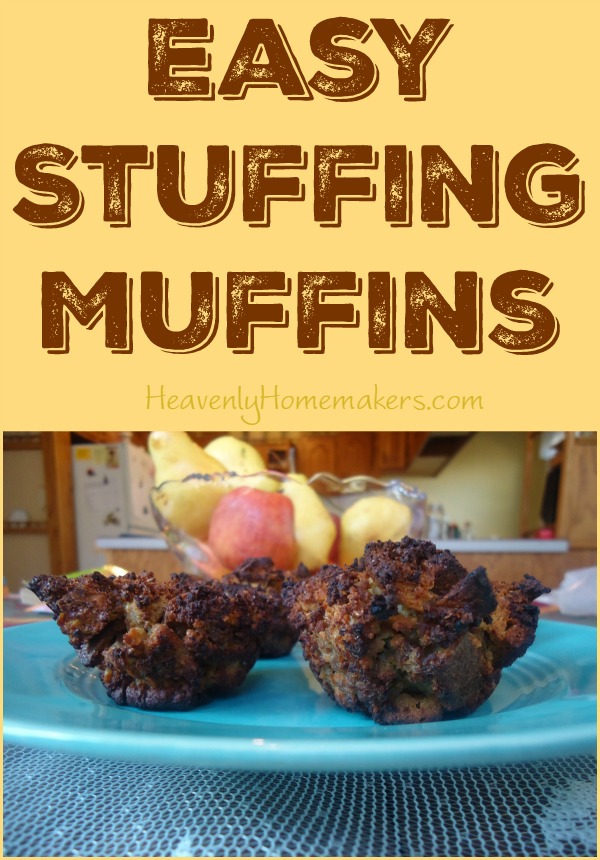
- Stuffing Muffins
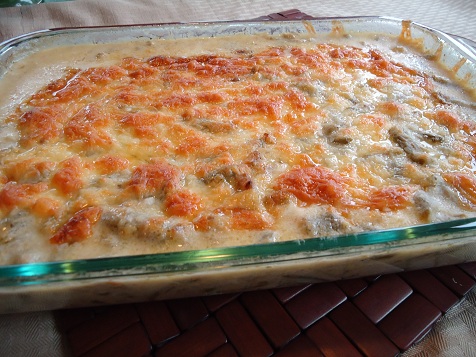
- Cheesy Mashed Potatoes
- Oh Good Gravy
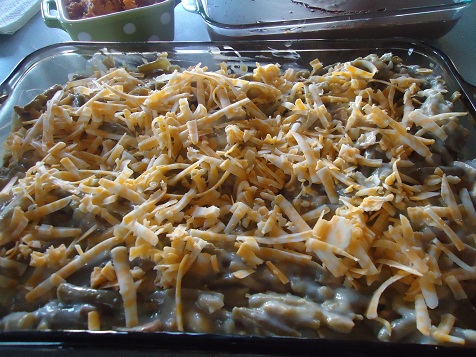
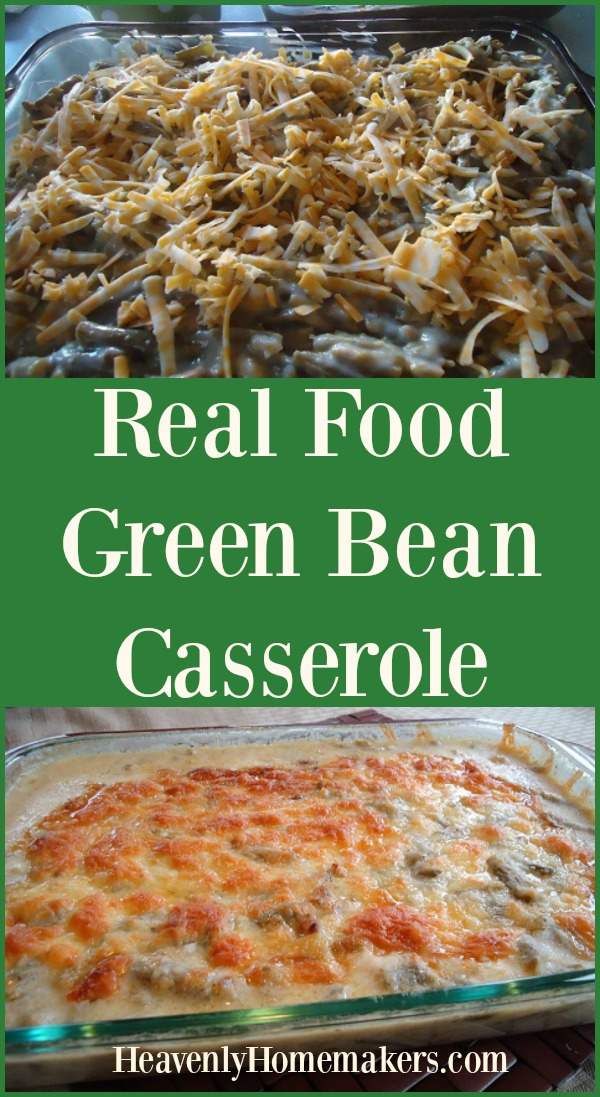
- Green Bean Casserole
- How to Make Frozen Pies
- Simple Whipped Sweet Potatoes
- How to make Whipped Cream
- Whole Wheat Stir-and-Pour Dinner Rolls
~~~~~~~~~~~~~~~~~~~~~~~~~~~~~~~~~~~~~~~~~~~~~
Simple Meals is here! It’s saving my brain (and many of yours too!). If you haven’t joined yet, now’s the time. Get all the details here!


![gratituesday[2]](https://www.heavenlyhomemakers.com/wp-content/uploads/2014/01/gratituesday2.png)