Another great smoothie!
by Tasha Hackett
You’re surely not tired of them yet, are you? This coconut blueberry lime smoothie is going make you do a little hula dance right there in your kitchen. Or in your friend’s kitchen when you make it at her house. Or in the camp kitchen you’re working at this week.
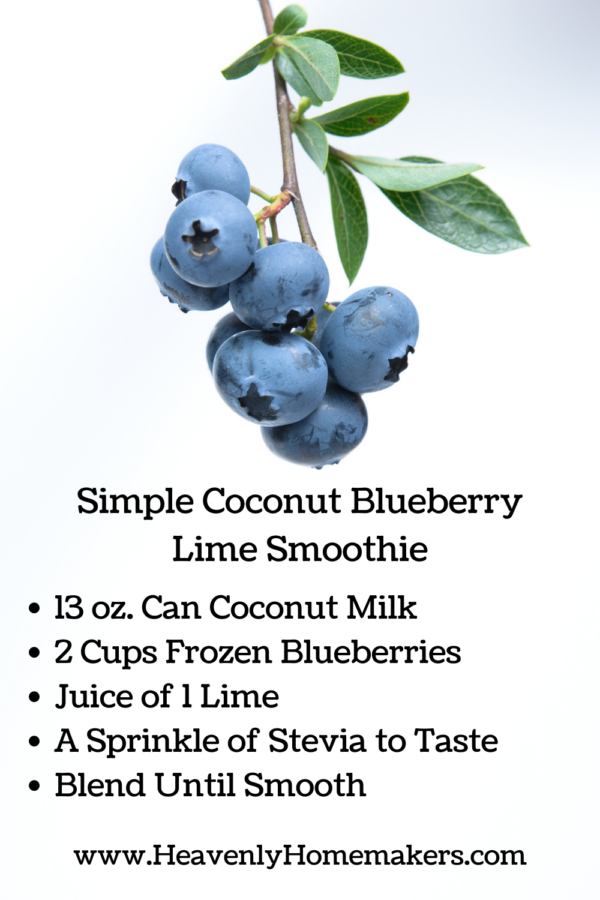
Simple Coconut Blueberry Lime Smoothie
I (Tasha) have been on a paleo diet since before Christmas. You could say it’s been the year of the smoothies. Even more than most years. It’s just so easy to get in the vegetables this way! Ack… this one doesn’t even have vegetables in it. I’m sorry. But you can go drink your salad another time.
While I’m at camp this week, I brought my Blentec—blender snob alert… yes, it’s me. High calorie smoothies like this one keep me from starving to death when not eating camp mac-n-cheese and chicken nuggets.
I did say simple smoothie, didn’t I?
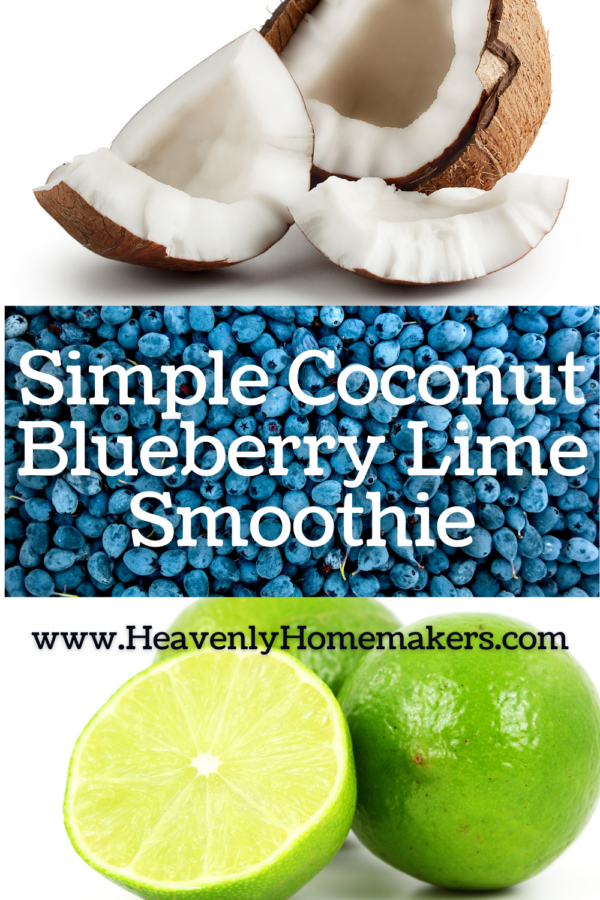
If my daily chocolate shake has too many ingredients for you, try this one! The recipe is in the title… Ding-a-ling! Easy peasy. It’s coconut milk, frozen blueberries, and the juice of one lime. You can stop there, or you can add a touch of sweetener:
- 13 oz. can coconut milk (I currently use Nature’s Greatest Organic 17% Coconut Milk Fat)
- 2 cups frozen blueberries (Or other berries, but then it wouldn’t be a Coconut Blueberry Lime Smoothie now would it?)
- Juice of 1 lime (Or 2-3 tsp of lime juice if you don’t have time for the squeezing of the lime… but I recommend the real deal.)
- Blend until smooth****
****If your kids are, well, you know, average kids, you may need to add a touch of a sweetener of choice. I use 1/2 teaspoon of THM Super Sweet stevia blend.
Put the lime in the coconut…
If you’re looking for more great smoothie ideas, search smoothie over there on the search bar on this sight and be wowed by the variety. How about this cinnamon one? And a homemade Orange Julius. Remember your high protein chocolate shake here. And lastly, don’t be scared to throw a few goodies in the blender and see what happens! Just PLEASE and I mean, PLEASE stay away from arugula in smoothies. Spinach and maybe some kale, but arugula does not play nice in a smoothie. That is my best advice to you. And beets… unless you like eating pink dirt. Haha. Some people will fight me on this one, but that’s a topic for another day. For now, go enjoy this fresh summer treat.