Ready for a great recipe from Tasha? This is a pretty fantastic idea!
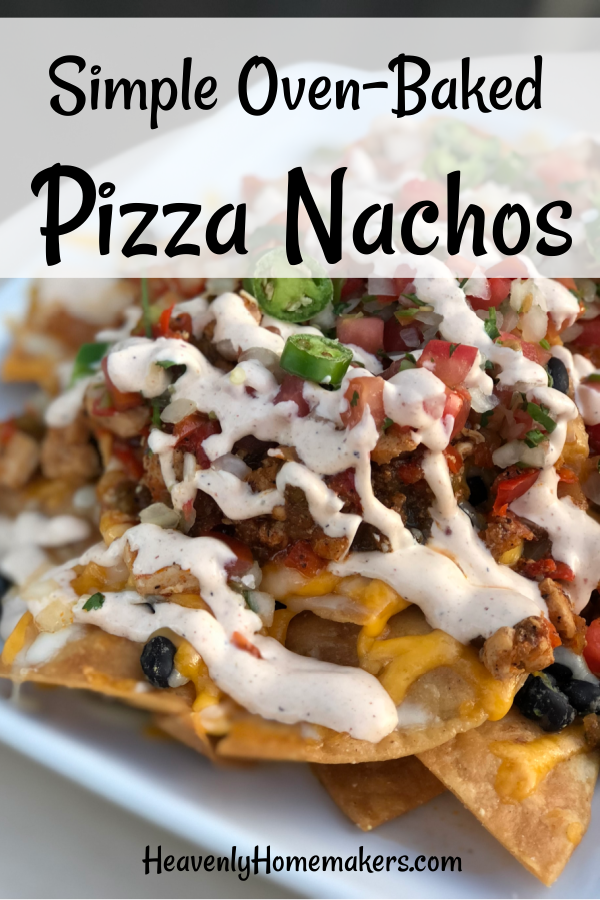
What happened when Pizza met Nachos? Pizza Nachos.
by Tasha Hackett
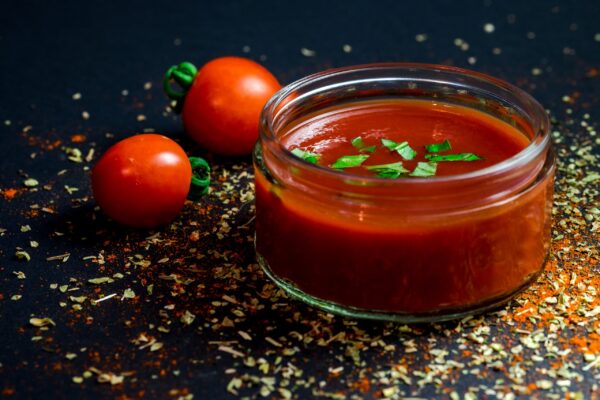
You can probably go on your merry way and figure this one out: Oven-Baked Pizza Nachos. Got it? But wait! Come back! I have a secret tip that takes this to the next level. Dip in warmed pizza sauce!
If you asked my family, “What’s better than nachos for dinner?” They will tell you it’s Pizza. Coincidentally, “What’s better than pizza for dinner?” Nachos. But I bet you can’t guess the newest thing I’m in love with…? Okay, fine, you got me. Pizza Nachos!!
But how simple is simple? Like, do I have to wash a bowl?
This simple and easy dinner has become one of my favorite go-to meals where I feel like I’m meeting all the food groups (*cough* VEGETABLES) while still pleasing even the picky eaters. I started making this a few years ago, but I limited myself to traditional pizza toppings such as pepperoni, olives, mushrooms, peppers, etc., and mozzarella cheese. But this summer I realized, “I can hide all sorts of vegetables in mozzarella cheese!” (Namely zucchini.) One day, when I happened to be out of everything fresh I pulled canned chicken from my emergency pantry. Because even though I’m pretty talented at life, Laura still is mentoring me on the whole meal-plan-ahead-thing. Thus began the weekly Pizza Nacho extravaganza because even though Stir-and-Pour Pizza Crust is amazing and simple and easy, even that is too much for me right now. (Let’s be real, stirring and pouring I can handle, it’s the waiting and baking and that extra bowl to wash that does me in.)
Okay, Karen, you can stop scrolling. Here’s how SIMPLE Pizza Nachos are made.
- Spread a baking dish with tortilla chips. I use my large pampered chef jelly-roll pan. But you can use any pan you like that has an edge to keep the chips from falling into your oven and burning and setting off your smoke alarm and will leaving you wishing you had just ordered pizza like Susan does every weekend and then maybe you wouldn’t be pulling out the fire-extinguisher on a busy evening. So… I’ve used two 9″ X 13″ pans before and that works well.
- Sprinkle a very sparse layer of shredded mozzarella on the chips. This is the glue to hold your toppings together.
- Add your toppings of choice. Feel free to be creative or not. I’ve been enjoying diced zucchini and green peppers with canned chicken on mine! Garden fresh basil and jalapenos are delightful.
- Sprinkle with just a touch of Italian seasoning, salt, and garlic.
- Add the rest of the cheese to completely cover any sneaky vegetables you don’t want certain family members to know about.
- Bake in the oven at 350° until the cheese is melted and just starting to brown. About 8 minutes. You CAN use broil for a couple minutes instead and you will have dinner, like, yesterday. But broil is not for the faint of heart, or the easily distracted, and you may want to go back to step #1 read it through carefully before you ever ever ever use the broil function… you’re welcome. #TashaCantBroil #BurnedFoodGuaranteed #TrueStory #GoAheadAndUseBroilifYoureVeryBrave
- While your Pizza Nachos are baking (or not burning under the broiler thing), warm up your pizza sauce of choice and do a little dance, but not too much dancing if you’re broiling.
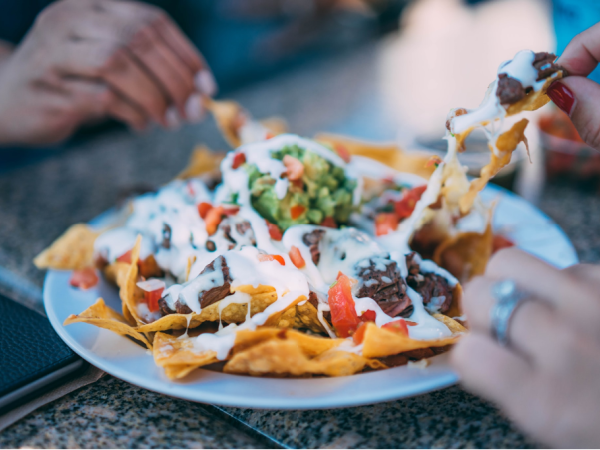
- Serve with metal salad tongs, because I don’t know any other way, and dip in pizza sauce.
What are you waiting for? Go forth and make simple food.
And now I’m going to go eat one of those chocolate peanut butter cups that I have stored in my refrigerator because Laura made me do it and now I’m addicted and all this talk about pizza and nachos has me drooling.
Have you ever made pizza nachos before? I feel like I made this up, but I probably did not. Also, serious question: Is it even possible to broil without walking away and forgetting about what’s turning black in the oven? I know I’m a super unique and wonderful individual human person, but I can’t be only one with this skillset.
P.S. You’re still allowed to plan ahead with this meal and write it on your meal plan that Laura has been teaching us about, and then you can relax that you have one less thing to worry about because you don’t even have to wash a dough bowl.

Tasha Hackett is an unpublished Christian romance author who sometimes lives in a dream world of the Midwest 1800s with her characters. Graciously, Laura lets her play on the blog a few times a month! Tasha likes to encourage women, stay out of debt, read wonderful books, and homeschools with her four children. You can find her playing on Instagram @HackettAcademy and @heavenlyhomemaker.


 Forgive me, friends, for bombarding you with so many variations of one basic recipe. I am sorry – not sorry – for making your meals so delicous without much effort.