If you’re looking for a great way to help your kids become great writers, you’ll want to check out this wonderful (free!) resource!
It’s called Kingdom Pen and it helps encourage young Christian writers and provides a like-minded community to connect with other writers, as well as opportunities to get your writing (short stories and poems) published.
I know so many people who want to write or want to teach their kids to write, but they don’t know where to start. Having this available at no cost is so fantastic!
Are you or your teen a creative writer? Do you want to improve your craft and connect with other Christian writers Kingdom Pen is are determined to help authors at all stages of their journey make progress toward new levels of success.
Their website provides:
- A forum full of young Christian writers
- Opportunities to get published
- Regular articles
- Free resources to improve your writing
- And more!
Kingdom Pen is for you if…
- You love writing
- You want to connect with other Christian writers
- You want to learn how to master your craft and become a writer that creates impactful stories
- You are looking for opportunities to get your work (poems and short stories) published
- You need motivation and inspiration to keep writing
If this sounds like you, then be sure to come over to Kingdom Pen!
Also, I highly recommend clicking over so you can take advantage of their free downloadable eBook:
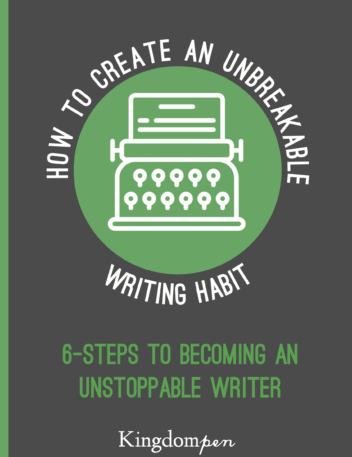
What a great resource! How wonderful that it’s free! Head over to Kingdom Pen and check it out!


 Tasha, friend of Laura, loves to
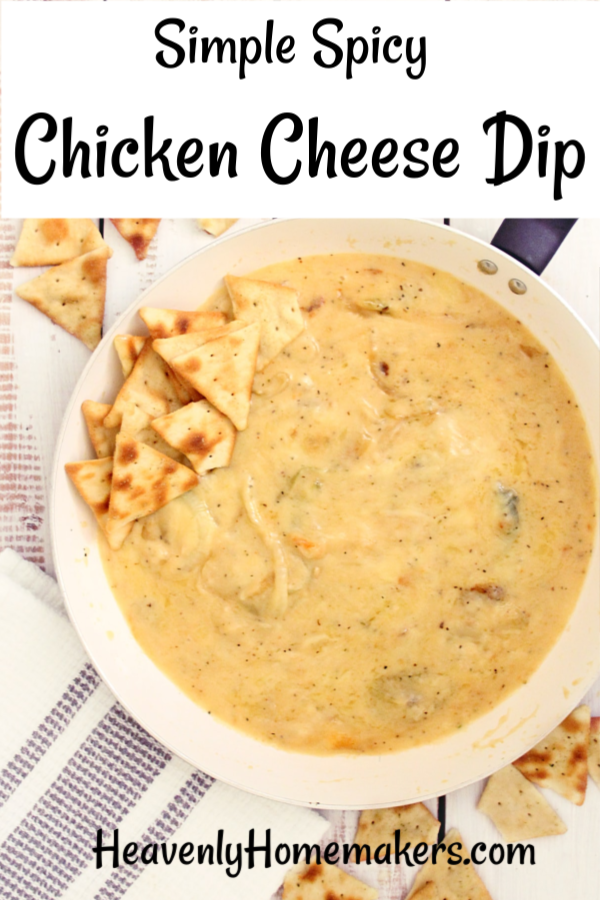
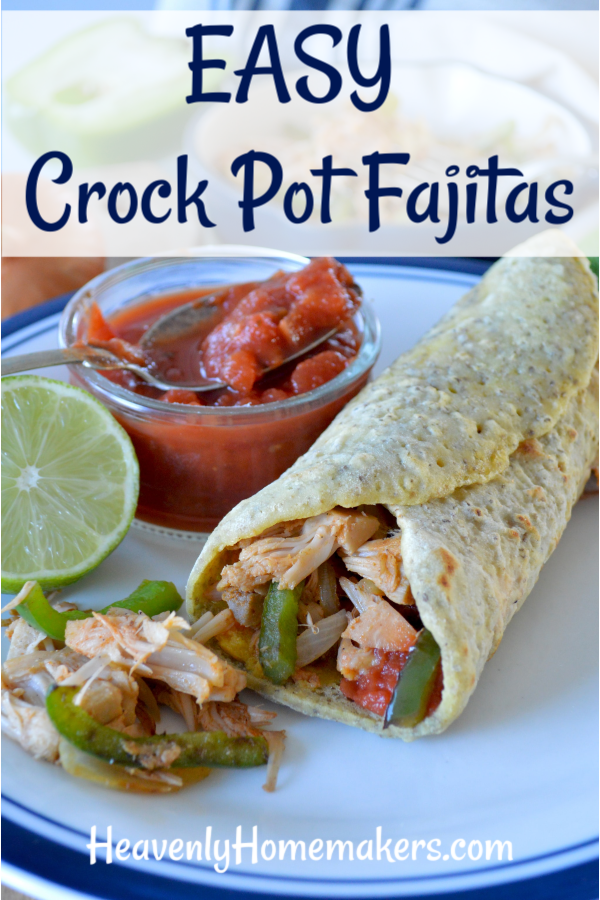
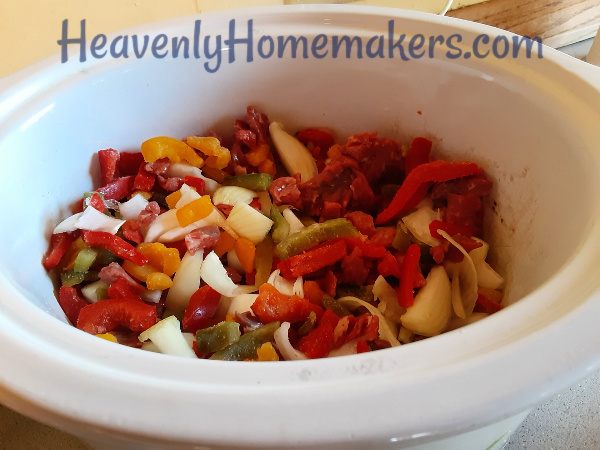
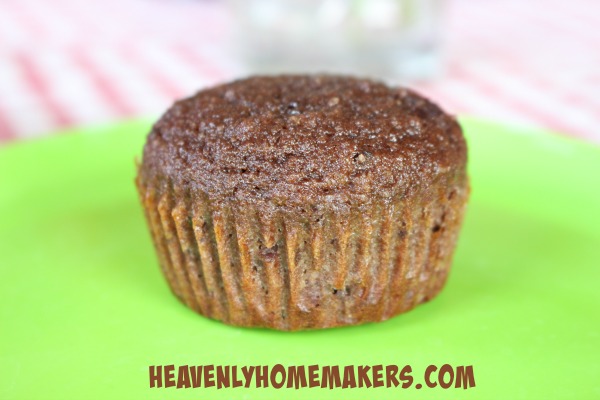
  Forgive me, friends, for bombarding you with so many variations of one basic recipe. I am sorry – not sorry – for making your meals so delicous without much effort.