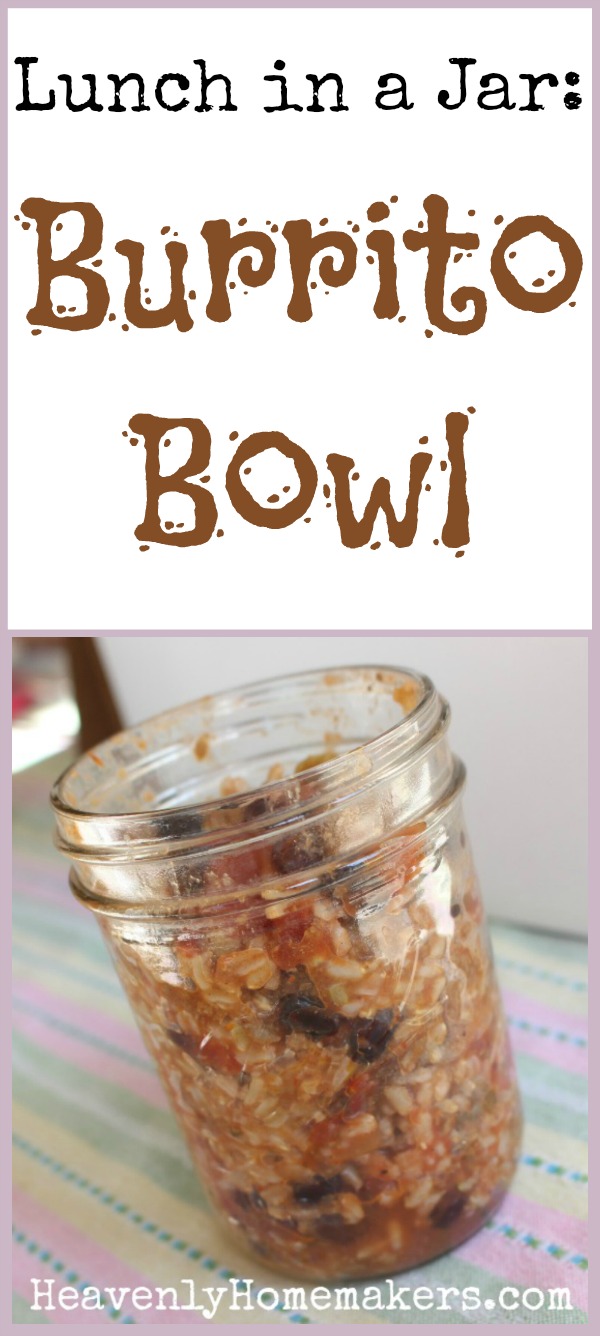
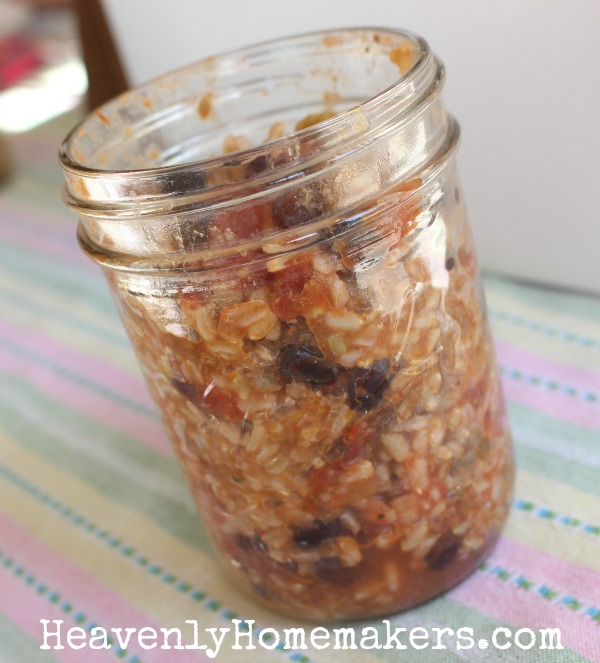
Today’s “Lunch in a Jar” idea might sound like a strange one. But trust me when I say that a Burrito Bowl packed in a jar and taken on the road or for a work or school lunch is extremely tasty!
It’s also wonderful because it’s a great change of pace if you’re tired of sandwiches or other “normal” sack lunch foods. We’ve found that a Burrito Bowl packed in a jar tastes great hot or cold. So if you have a way to warm up your food at work or school, go for it! But if not, this Burrito Bowl will still taste great as is!
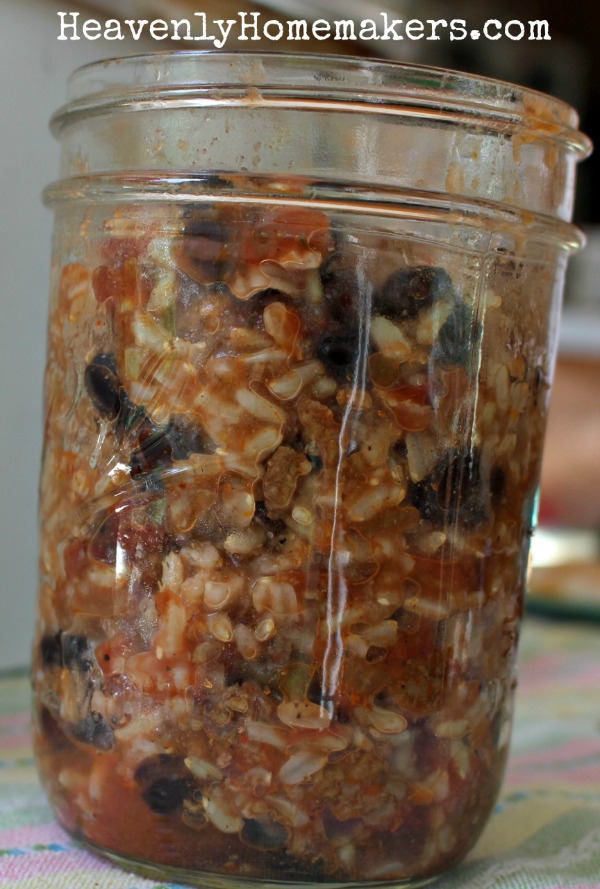
The beauty of the Burrito Bowl is that it can be made per each person’s preference. Not a fan of olives? (Me neither.) Leave them out. Love extra spice? Go nuts with the salsa or hot sauce! Everyone can build their Burrito Bowl the way they love without any extra effort!
Lunch in a Jar: Burrito Bowl
Here are the food items we like on our burrito bar:
- Salsa Chicken
- Seasoned Hamburger Meat
- Brown Rice (seasoned with chili powder, garlic powder, salt, and a splash of lime juice)
- Black Beans and or Pinto Beans
- Salsa
- Guacamole
- Sauted onions and peppers
- Mixed Greens or Spinach
- Shredded Cheese
- Tomatoes
- Olives
- Corn
- Sour Cream
Each person can fill their bowls or jars any way they like. Stir it together and you’ve got a great meal. Make several jars ahead of time to pull out and pack to go as needed!
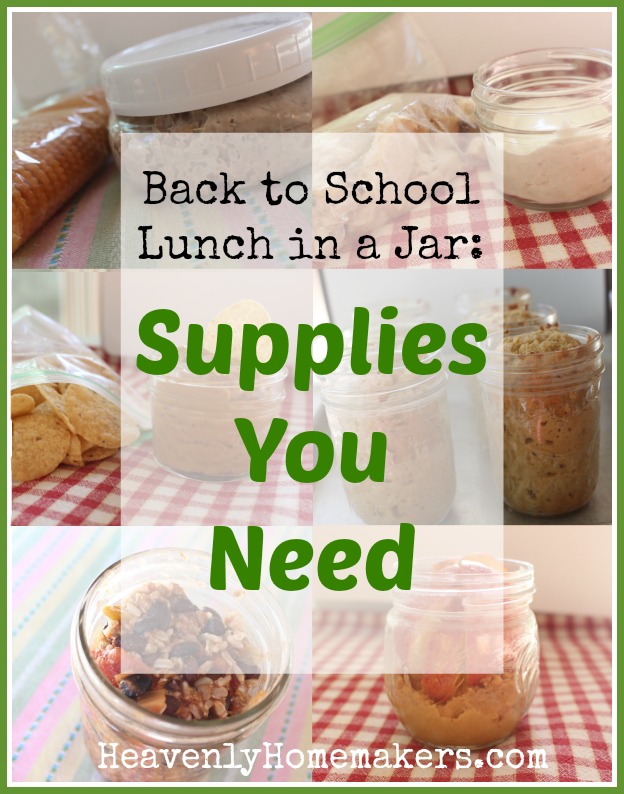
—-> Did you see the fun list of supplies and jars I recommend for packing lunches? <—–
Great add-ins to your Burrito Bowl Lunch in a Jar
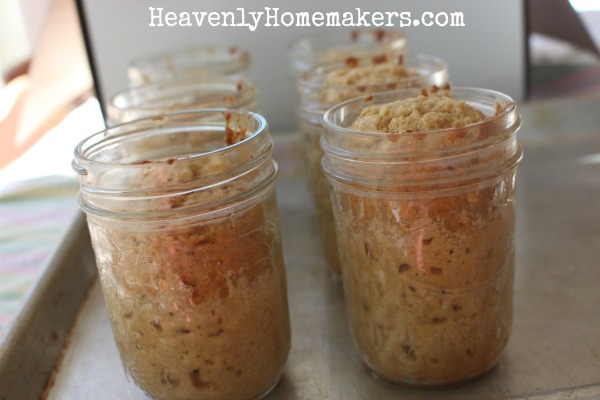
- Quick Bread in a Jar
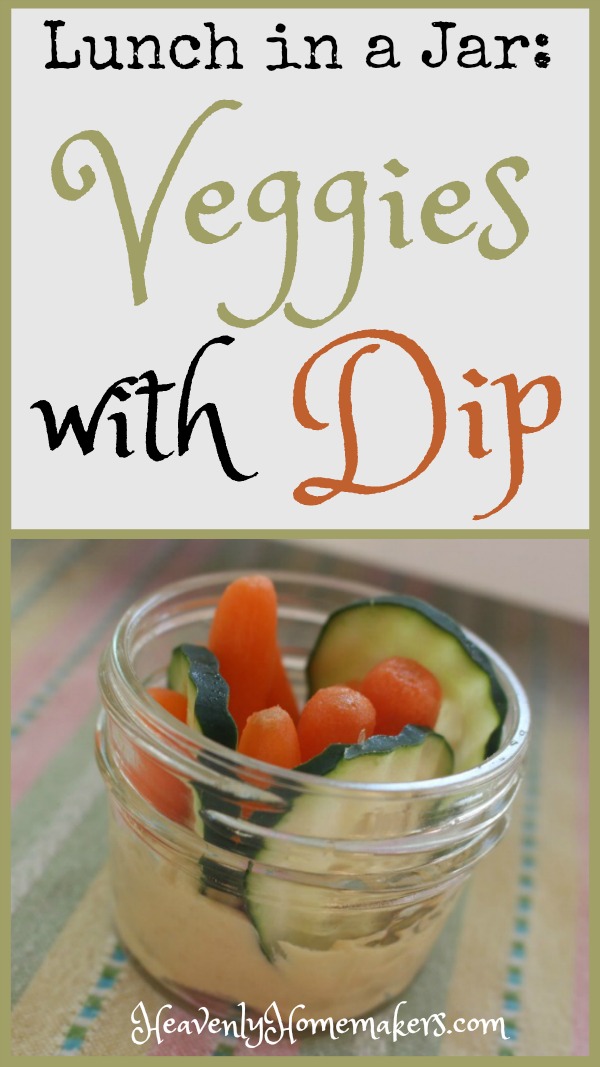
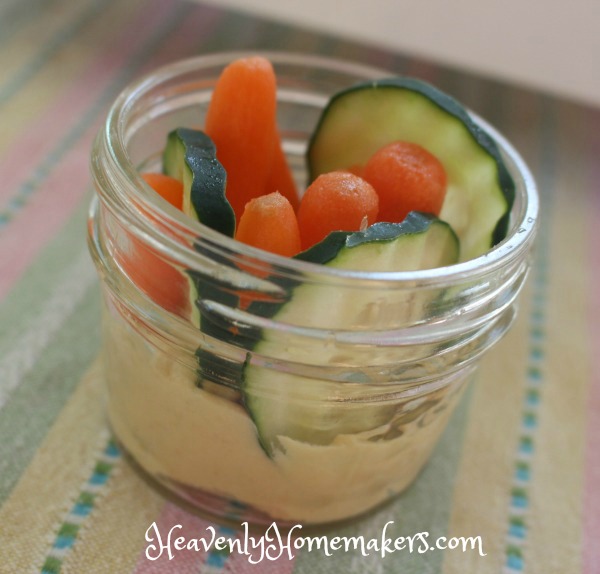
- Veggies With Dip in a Jar
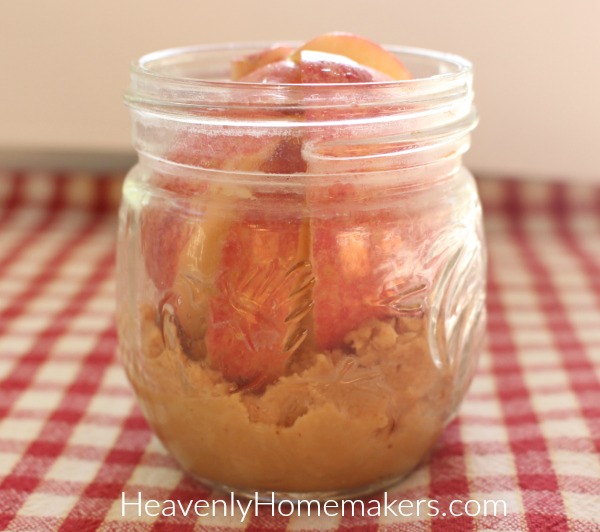
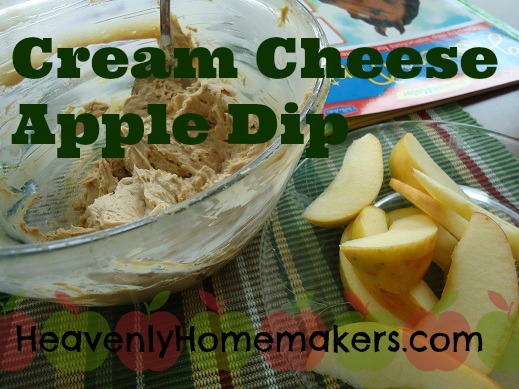
- Apples & Peanut Butter in a Jar (or other fruit and dips)
- Flourless Brownie Muffin
- Fresh pineapple, cantaloupe, watermelon, or berries (in a jar, of course)
- Side salad
We’ve got 10 super fun Lunch in a Jar ideas to share this month – perfect for your Back to School lunchbox! Subscribe here so you won’t miss a post!


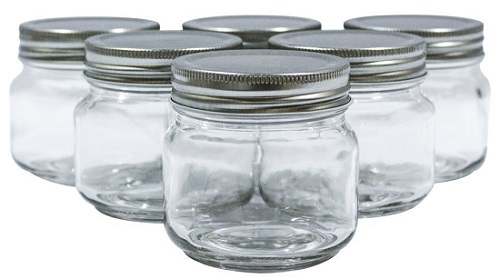
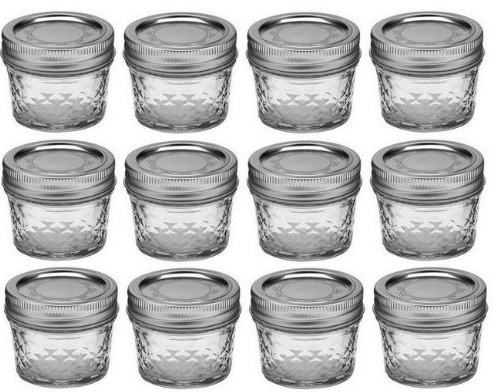
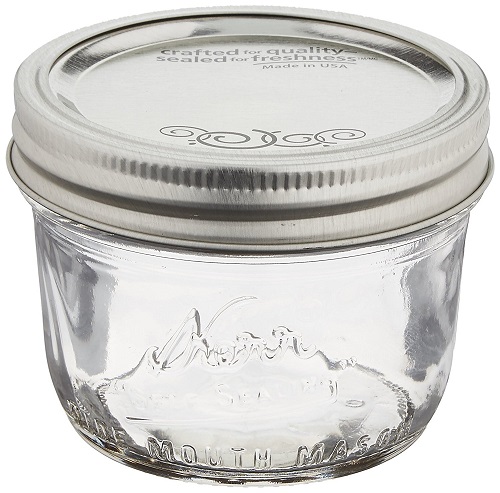
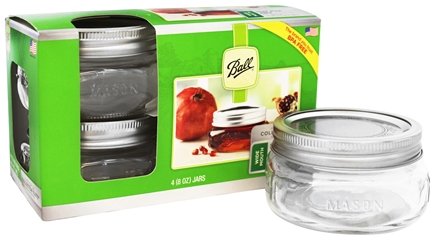
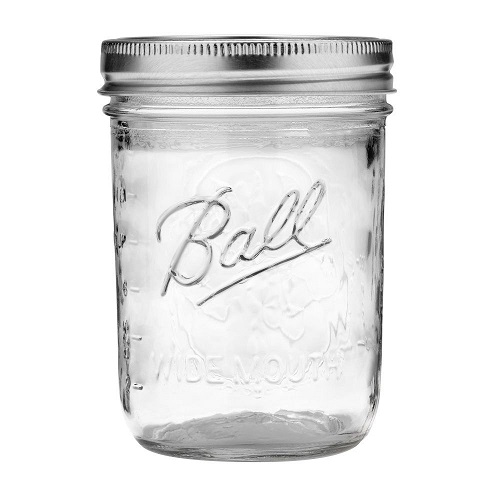 Wide mouth jars make eating directly out of the jar so much easier! They are also easier to clean. I have a set of these 8-ounce wide mouth jars and use them all the time for packing fruit salads and other side dishes.