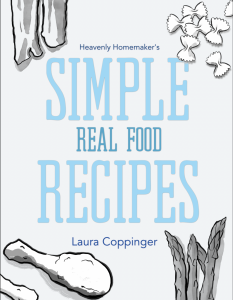
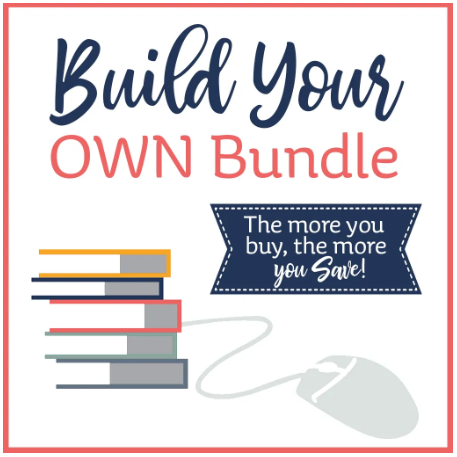
This is a valuable tool we can use to teach our kids about America and the upcoming election. I just bought it and wanted to highlight this package for you before the deal expires!

Yeah, I know. I already bought my discounted books from Build Your Bundle. ;) (See what I already got here!)
But then, this afternoon I went back and looked again since the sale ends tomorrow. I ended up buying and downloading this American Studies bundle and the very intriguing Mystery Bundle (more on that below).
I am so glad I went back and looked so I didn’t miss out on this. I’m not sure how I missed it before! It’s going to make teaching our kids about the upcoming election and about how our government works so much easier. Plus Brayden now has some great new resources for learning the basics about the 50 states!
Here’s what this particular packet of American Studies digital books includes:
- Drawing Around the World: USA
- 50 States Notebooking Pages
- Across the USA
- “28 Great Quotes from US Presidents” Cursive Penmanship
- Hands on Presidents
- Presidential Election Fact Pack
- US Geography Sorting Mats: All 50 States
- An Early Learners Introduction to the 50 States
- U.S. President’s Emergent Readers
- Celebrate! Patriotic Songs of the USA
ALL of those books only cost me a total $19.95!! They can store be stored on the computer to print and use as needed – forever!
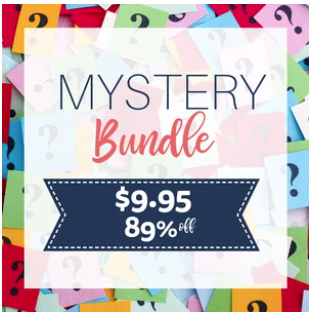
Then, I couldn’t resist getting this year’s Mystery Bundle. I can’t tell you specifically what’s in it, but it’s great for all elementary ages, and I’m very happy that I took a chance and grabbed it too. It includes:
- History resources
- Science resources
- Math resource
- Language arts resources
- Writing resources
- AND MORE!
This is such a fun sale!! Having all of these great learning tools makes me so excited! Getting them for such a low price makes it even better. ;)
This all ends Monday, May 18 so this is the last chance to take advantage until this sale comes back again next year.
Why I love digital books
I have shelves and shelves of “actual” books and I love those too for different reasons! But here’s why I love digital books too:
- I don’t have to dust them.
- I keep them all in a folder in my computer for easy access.
- All the ones I get include printable pages so I can print the ones I need, for any of my kids, however many times I need them.
- They save money because for all my kids, I’d have to buy multiple “consumable” books. But this way, I just print as needed.
- These particular digital books are at least 75% off or even more right now!!!
Go see what you can use and grab them before the sale ends. Books, books, discounted books! So fantastic!

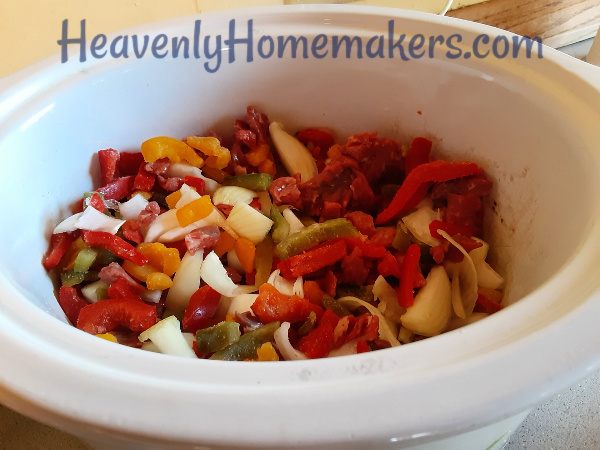

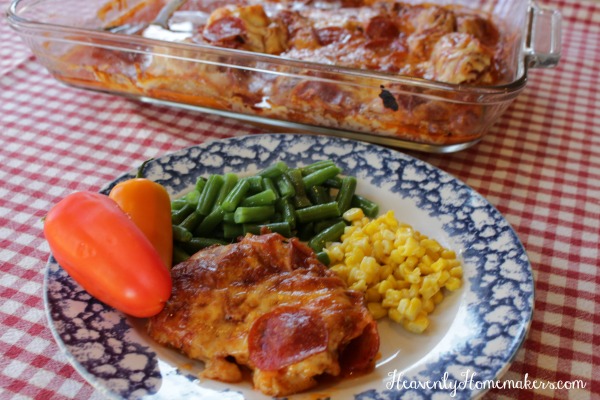
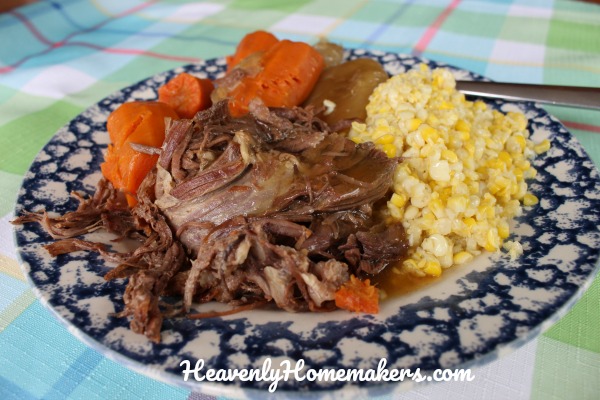


 Forgive me, friends, for bombarding you with so many variations of one basic recipe. I am sorry – not sorry – for making your meals so delicous without much effort.