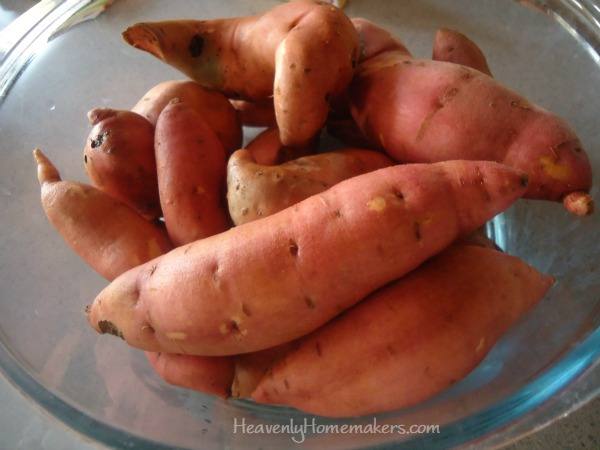
Matt grew these beauties in our garden this summer!
Will your feelings be hurt if the sweet potatoes for your holiday meal don’t have marshmallows?
I don’t want marshmallows. My husband doesn’t want marshmallows. I’ve never even liked marshmallows (even in a s’more). But some people want marshmallows.
For example:
According to my 13-year old, the sweet potato recipe below isn’t sweet enough. Therefore I asked him, “Do you think I should add more maple syrup? Maybe even some brown sugar? Extra butter? Do you think I should salt it to bring out the natural sweetness? What do you think this recipe needs?”
With a grin, he quietly said, “Probably just marshmallows.”
Stinker.
I do love to accommodate, especially for a holiday. Therefore, even though I vowed I never would, I looked again at homemade marshmallow recipes. Maybe for a special occasion, I thought, I could go to the trouble to make some. I searched for the marshmallow recipes that said “easy” and “quick.” But once again, I realized why I’ve never wanted to make homemade marshmallows. They might be easy, but they aren’t quick. They instruct, “Stand and whip the mixture until your legs cramp and you can no longer remember your name.”
Have I mentioned I don’t even like marshmallows?
I tell you what. If you want to add marshmallows to this recipe, I won’t even care. You can make them homemade. You can buy a package of them at the store. I will probably just skip the sweet potatoes and eat extra Green Bean Casserole. We can all still be friends. The good news is that this recipe (without the marshmallows) is incredibly simple to make, and you can make it ahead if you like!
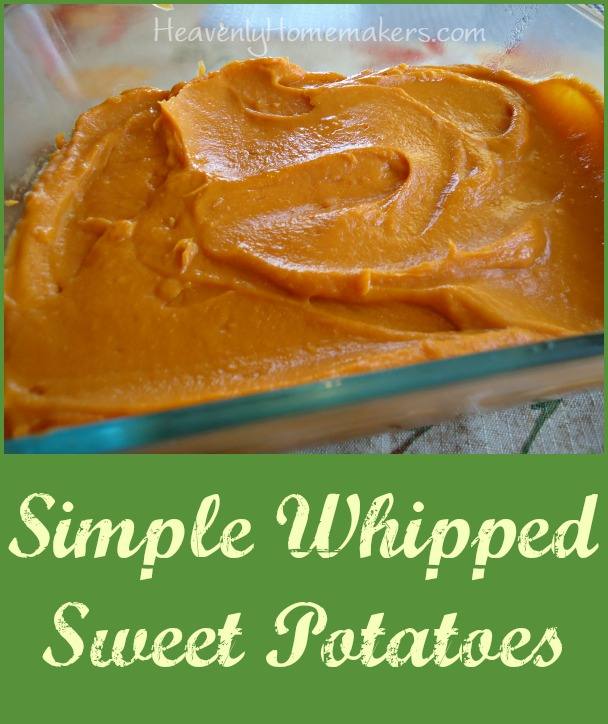
Simple Whipped Sweet Potatoes
- 4-6 medium sized sweet potatoes
- 3 Tablespoons butter
- 3 Tablespoons real maple syrup, sucanat, or brown sugar
- Sea salt to taste
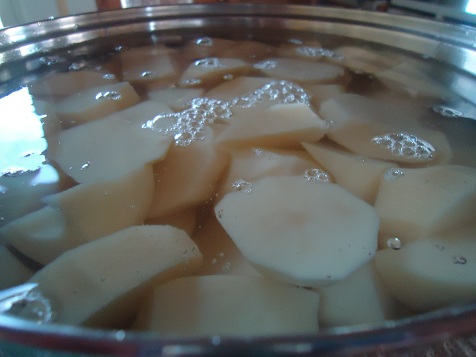
- Scrub sweet potatoes and place them in a covered baking pan.
- Bake them in a 350° oven for about one hour or until they are tender.
- The skins should peel right off!
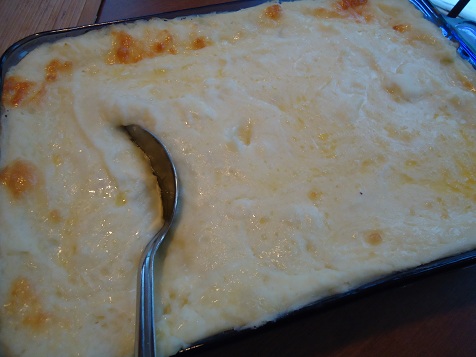
- Place peeled potatoes and remaining ingredients into a high power blender or into a mixing bowl. Blend until smooth either with a blender or a hand mixer.
- Serve right away or follow directions below to prepare ahead of time.
Make Ahead Whipped Sweet Potatoes
Make sweet potatoes according to directions above. Allow them to cool completely. Cover and refrigerate for up to two days before rewarming to serve. Or, cover and freeze the dish for up to 3 months. To reheat and serve, thaw potato dish, cover, and place in a 350° oven for about 30 minutes or until they are warm through and through.
Truly, you will want to embellish these sweet potatoes to fit your tastes. Add more sugar if you like. Toss on some marshmallows (I’ll look away). It’s a holiday! Do whatever you enjoy!
Are you a fan of marshmallows?
Here are the quick links to all the recipes we covered in this series:
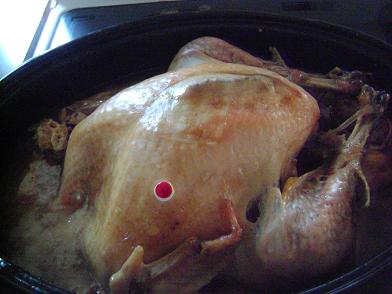
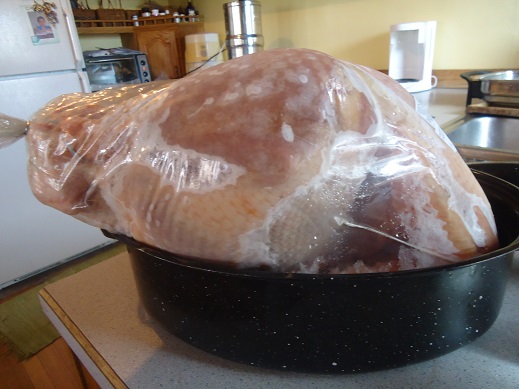
- Make-Ahead Turkey
- Stuffing Muffins
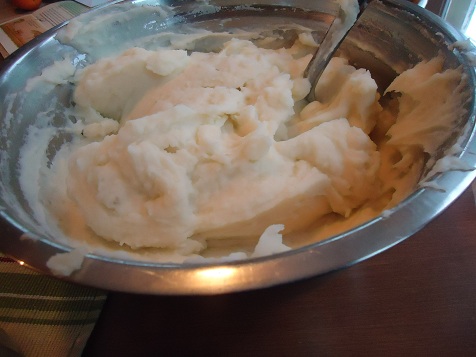
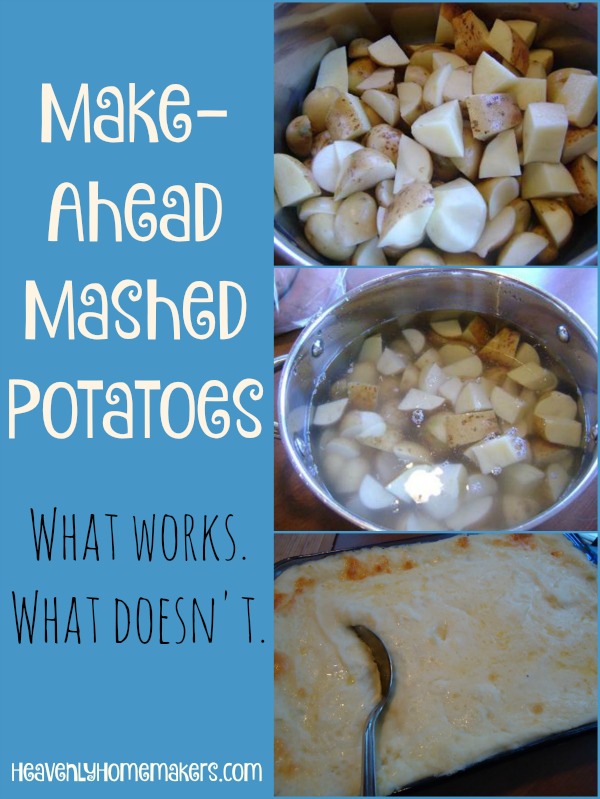
- Cheesy Mashed Potatoes
- Oh Good Gravy
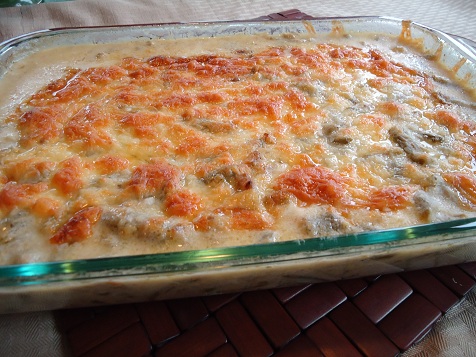
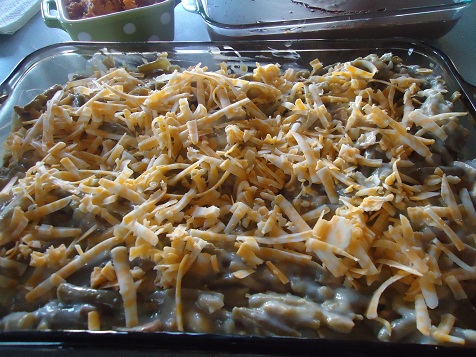
- Green Bean Casserole
- How to Make Frozen Pies
- Simple Whipped Sweet Potatoes
- How to make Whipped Cream
- Whole Wheat Stir-and-Pour Dinner Rolls

~~~~~~~~~~~~~~~~~~~~~~~~~~~~~~~~~~~~~~~~~~~~~
Simple Meals is here! It’s saving my brain (and many of yours too!). If you haven’t joined yet, now’s the time. Get all the details here!