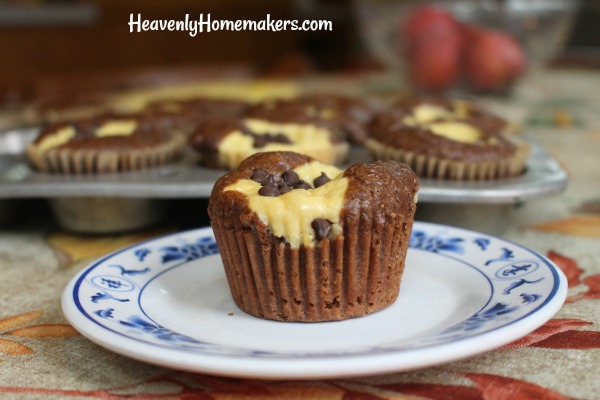
Perhaps you’re thinking, why would I make Banana Cheesecake Muffins when I can make Chocolate Cheesecake Muffins?
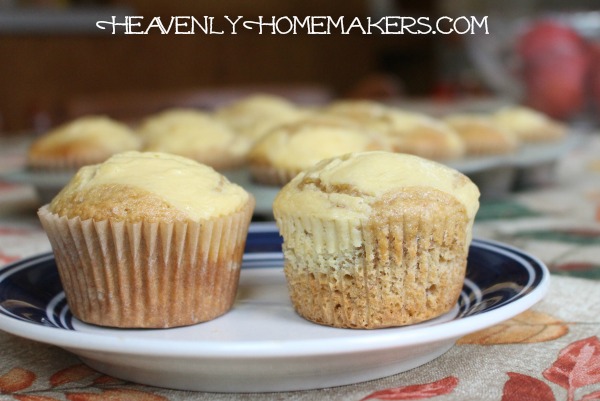
I’m here to tell you that I actually like these even better than the chocolate muffins. This, from a girl who loves her chocolate. There’s just something about the subtle sweetness, the perfect moistness, and the obvious cheesecake topping that makes these banana muffins rise to the top for me.
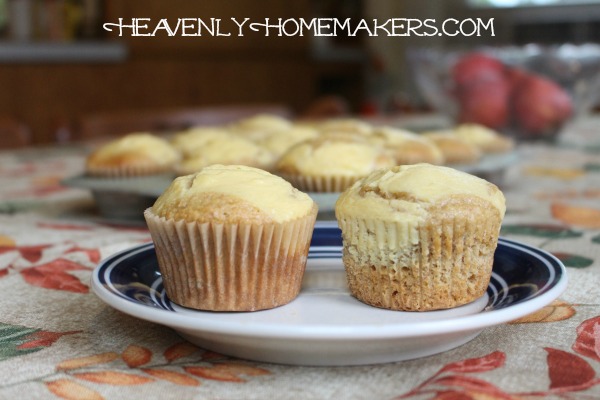
Then there’s the fact that I can think of no better way to use up overripe bananas. Now I watch our uneaten bananas start to turn dark and I’m like, “YES! I’m going to have to make some Banana Cheesecake Muffins with these!”
Notice I said “have to.” Because there is no other option. None at all. The only thing I can possibly do with my blackened bananas is make these Banana Cheesecake Muffins. It is the only way.
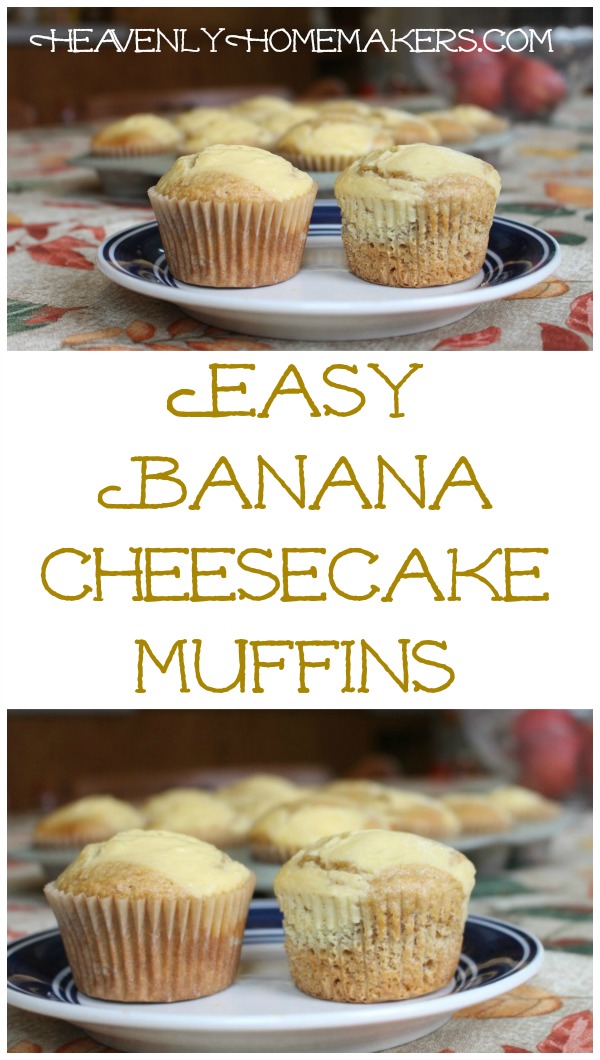
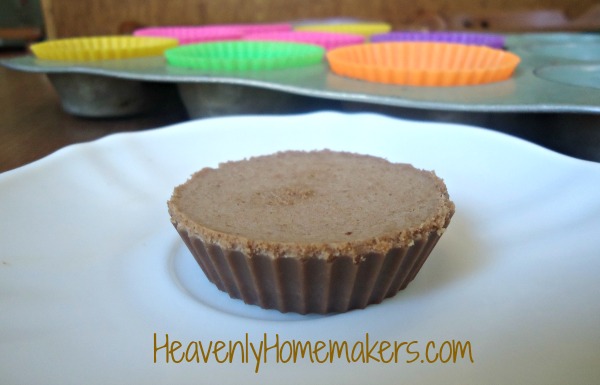
Easy Banana Cheesecake Muffins
- 2 cups Muffin Mix** or...
- 1½ cups whole grain flour
- ⅓ cup brown sugar or sucanat
- ½ teaspoon baking power
- ½ teaspoon sea salt
- 1 egg
- 2 mashed ripe bananas
- ¼ cup melted butter
- Cheesecake topping:
- 8 ounces softened cream cheese
- 1 egg
- 2 Tablespoons real maple syrup
- ½ teaspoon vanilla extract
- Scoop Muffin Mix or measure dry ingredients together in a bowl.
- Add egg, mashed banana, and melted butter, stirring until ingredients are combined.
- Scoop batter into 12-15 prepared muffin tins.
- Prepare cheesecake topping by blending (in a blender or with a hand mixer) cream cheese, egg, maple syrup, and vanilla until smooth.
- Spoon 2-3 Tablespoons of cheesecake topping over each unbaked muffin.
- Bake in a 400 degree oven for 18-22 minutes or until muffins are golden brown.
**If you have our Simple Mixes to Save the Day eBook, save time and energy by using the Muffin Mix for this recipe instead!!
Check out the sister recipe to this one: Easy Chocolate Cheesecake Muffins. And be watching for more! Easy Pumpkin Cheesecake Muffins and Easy Chocolate Chip Muffins recipes coming soon!


 Are you having a wonderful fall, loving all things


