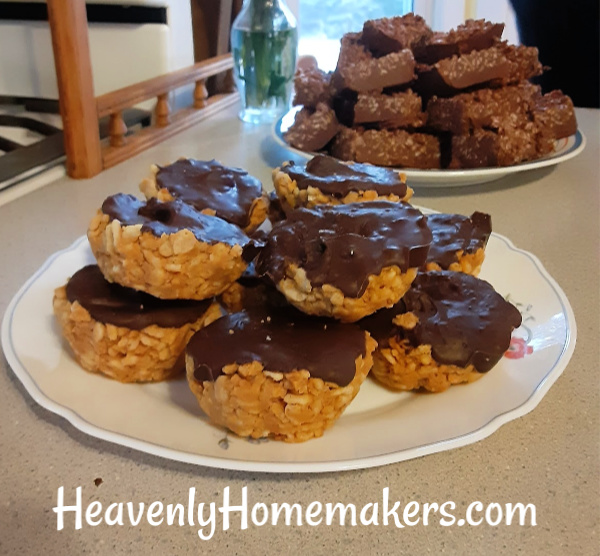
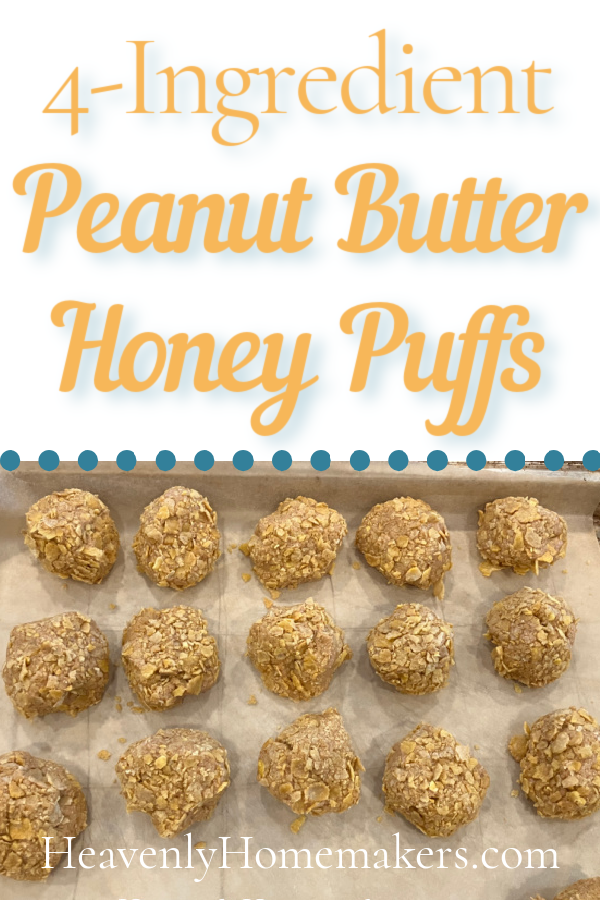
Allow me to introduce you to the very first recipe I ever made by myself as a kid: Peanut Butter Honey Puffs.
The best from the 1980s :)
Why has it take me this long to share this recipe with you, you might ask? Did I really start making these at age 9?
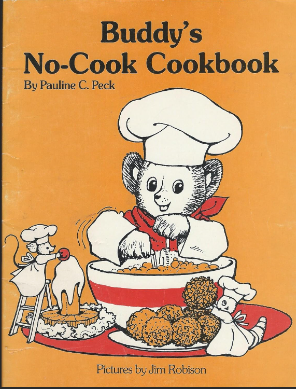
I did. I found it in Buddy’s No Cook Cookbook, the very first cookbook I ever called my own. I poured over that book and I made everything I could make without help. I loved it and I dare say that book kick-started my love for recipes and cooking!
The Peanut Butter Honey Puffs recipe in that book is the one that stuck though. It’s the recipe I loved the most and the one I made most often through my growing up years.
But then I moved on to different recipes, different cookbooks, and eventually, I forgot all about my childhood cookbook and favorite recipe. During last week’s snow days, suddenly I became hungry for a Peanut Butter Honey Puff. What made me think of them after all these years – I don’t know. But think of them I did.
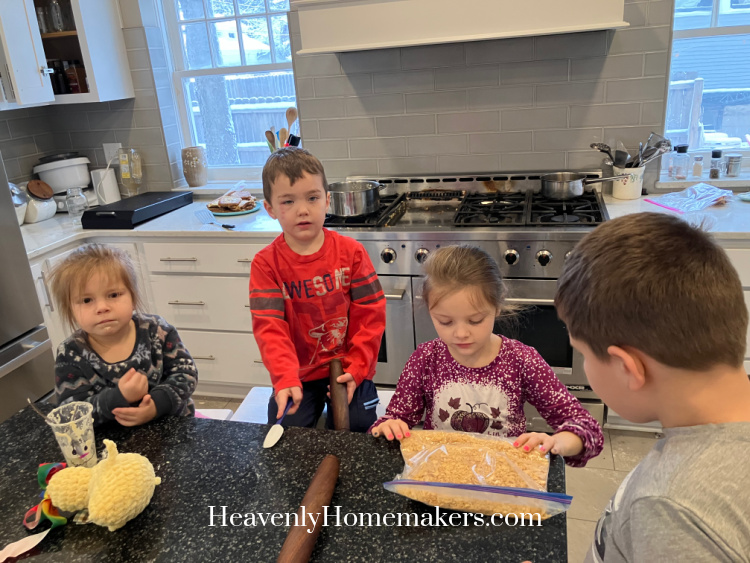
I told my kids about them and pulled them into the kitchen to try them with me. I couldn’t remember all of the specifics about the recipe, but I remembered enough to attempt it. They turned out great!
So great that I wanted the exact recipe. And I wanted to hold my Buddy’s cookbook in my hands and see what else I had forgotten. I checked on Amazon, and there it was. My Buddy’s No Cook Cookbook. I ordered it and now I feel like I’m nine again. :)
Over the weekend, we made these Puffs again, this time following the recipe in the book. Well, actually, we followed the recipe but adapted it because I knew we didn’t need THAT much honey to make them taste good. And because I wanted to use whole milk dry milk instead of non-fat.
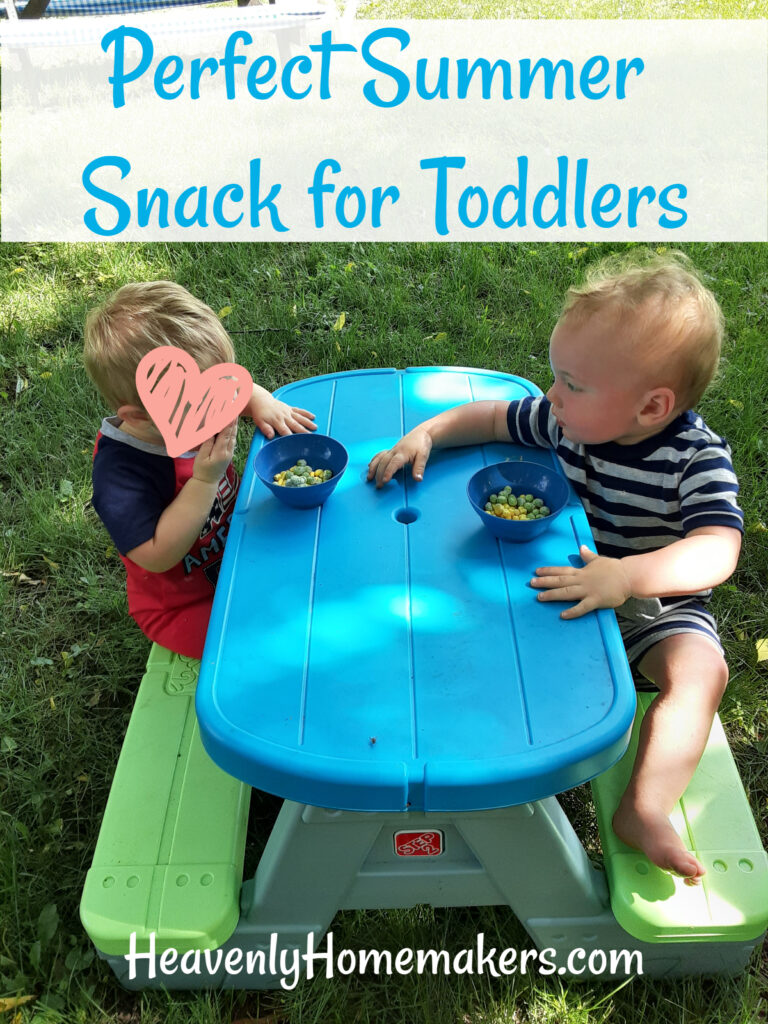
So here is Laura’s version of Peanut Butter Honey Puffs, courtesy of Buddy, my childhood friend. I’m so happy to have these snacks back in my life again!
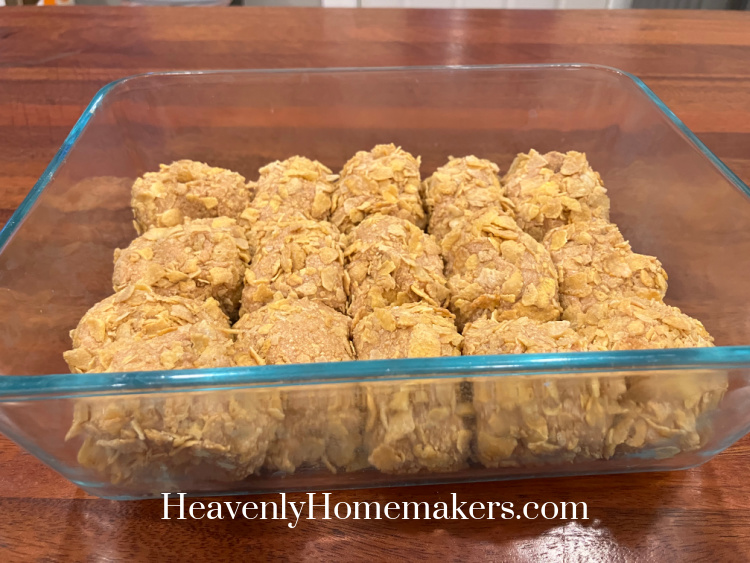
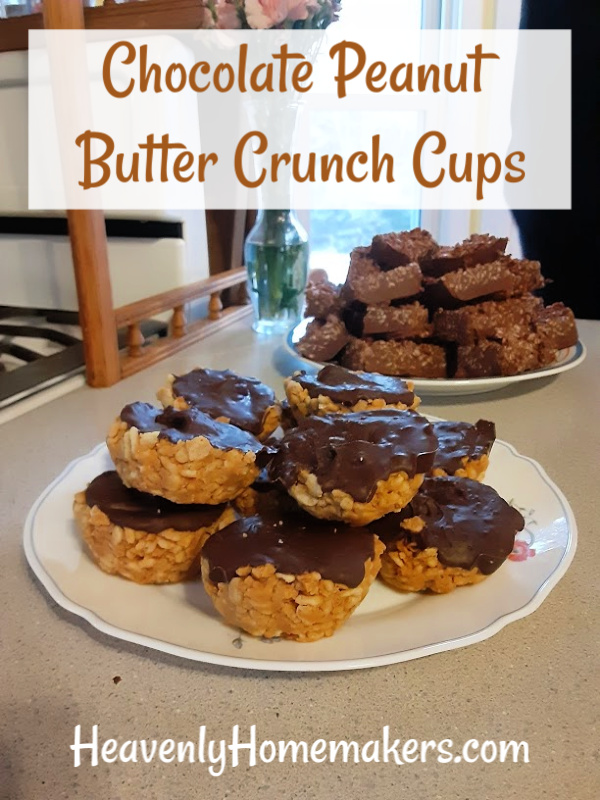
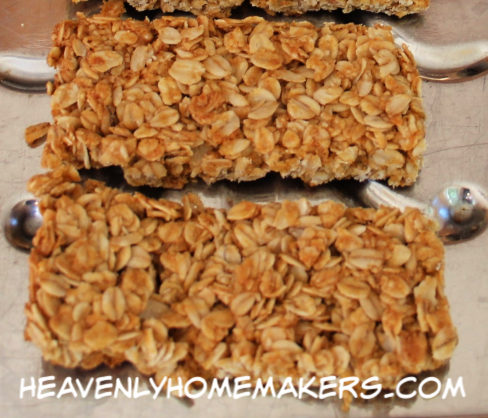
Peanut Butter Honey Puffs
- 2 cups natural peanut butter
- ¾ cup honey
- 1 cup whole milk dry milk
- 1 cup crushed cornflakes
- In a bowl, stir together peanut butter, honey, and dry milk.
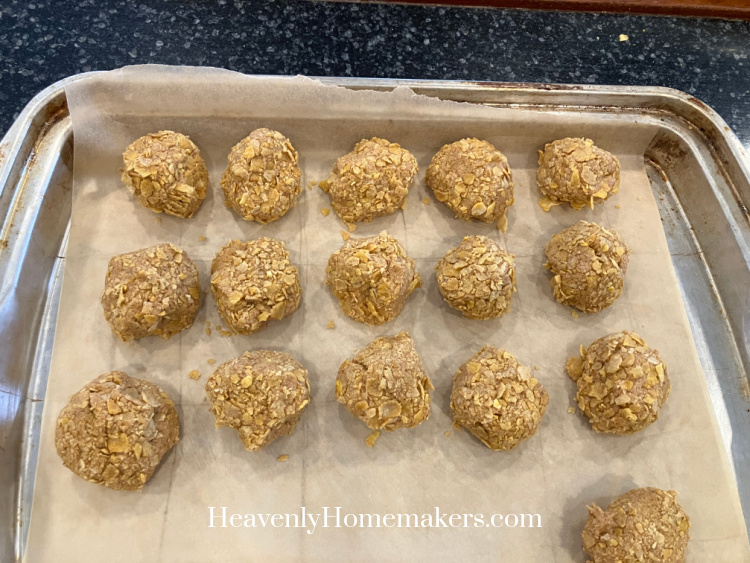
- Roll mixture into balls, then roll them in crushed cornflakes to coat.