Heavenly Homemakers

Encouraging women in homemaking, healthy eating and parenting

  • Home
    • About
    • FAQs
  • Recipes
    • Bread and Breakfast
    • Condiments
    • Dairy
    • Main Dishes
    • Side Dishes and Snacks
    • Desserts
    • Gluten Free
    • Instant Pot
    • Crock Pot
    • Heavenly Homemaker’s Weekly Menus
  • Homemaking
    • Real Food Sources
  • Store
  • Contact
    • Advertise
    • Disclosure
    • Privacy Policy
  • Simple Meals
  • Club Members!

The Best Orange Glazed Poppyseed Quick Bread

April 10, 2018 by Laura 3 Comments

This post may contain affiliate links. For more information, please see our disclosure policy.

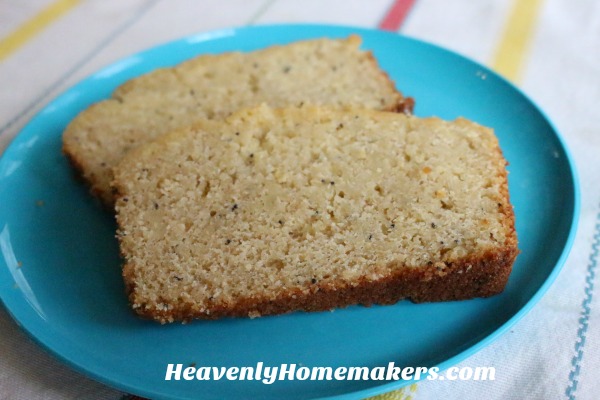
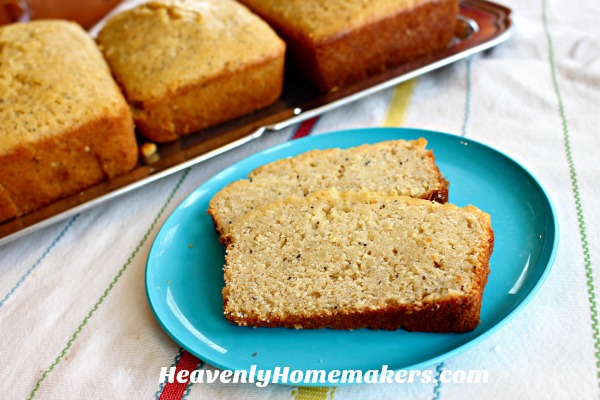
This Orange Glazed Poppyseed Quick Bread will shock you, especially when you see that it is made with whole wheat flour. How can something made with whole wheat be so moist? Ahh, let me tell you athe secrets.
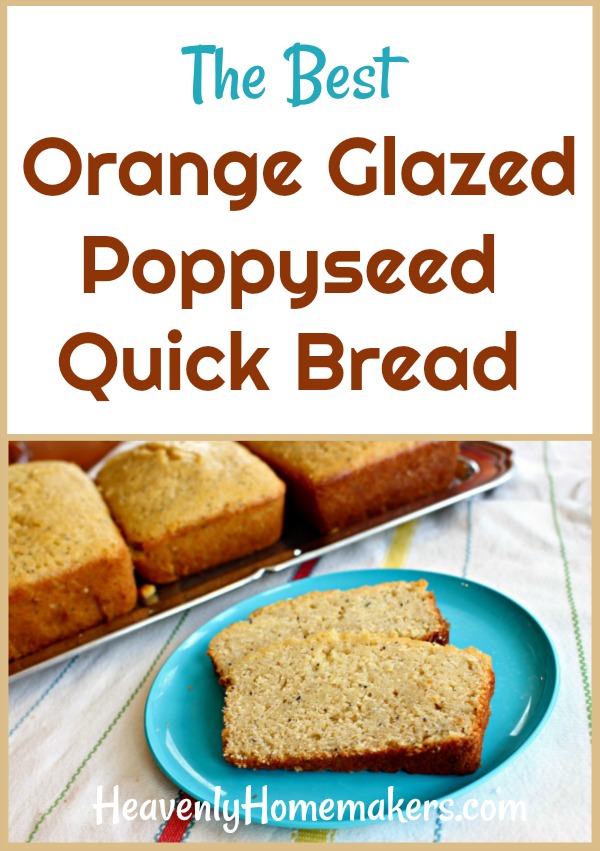
First, I believe a huge factor in making this bread delicious while baking with whole grain is that I use freshly ground soft white wheat. There is a big difference in wheat flour ground from hard red berries (which makes heavy, dark whole wheat flour), wheat flour ground from hard white berries (which makes lighter whole wheat flour), and wheat flour ground from soft white berries (which becomes a light pastry flour – still whole wheat!).

Read more details about these varieties of wheat here. I use hard and soft white wheat berries, depending on what I’m baking. (Hard wheat must be used in recipes that call for yeast.) For recipes like this Orange Glazed Poppyseed Quick Bread, I use soft wheat berries. The pastry flour this makes is so light it seems like I’m using all-purpose white flour. But it’s whole grain – and full of nutrients!

Beyond the kind of flour used in this recipe, I believe the Orange Glaze is what gives this bread an extra measure of moistness! Mix a little orange juice with honey, add almond and vanilla extract, and this glaze is incredible!

And speaking of almond extract, I’m going to make this ingredient the MVP of this Poppyseed Bread recipe. Wow, does the almond extra take this bread from a one-star to a five! This, from a girl who loves vanilla extract. Sorry, vanilla. It’s almond that wins the prize this time. :)

Orange Glazed Poppyseed Quick Bread

The Best Orange Glazed Poppyseed Quick Bread
 
Save Print
Author: Laura
Serves: 2 loaves
Ingredients
  • 3 cups whole wheat pastry flour
  • ¾ cup sucanat, brown sugar, or raw sugar
  • 1 ½ teaspoons baking powder
  • 1 ½ teaspoons sea salt
  • 1 ½ cups milk
  • 1 ½ teaspoons vanilla extract
  • 1 ½ teaspoons almond extract
  • 3 eggs
  • 1 cup melted butter or coconut oil
  • 1 ½ Tablespoons poppy seeds
  • ORANGE GLAZE:
  • ¼ cup orange juice
  • ¼ cup honey
  • ½ teaspoon vanilla extract
  • 1 teaspoon almond extract
Instructions
  1. Mix flour, sucanat or sugar, baking powder, and salt.
  2. Add eggs, milk, extracts, oil, and poppy seeds.
  3. Mix well.
  4. Pour batter into 2 well-buttered loaf pans (or six small loaf pans).
  5. Bake 45-60 minutes at 350°.
  6. FOR GLAZE:
  7. Whisk ingredients together until smooth.
  8. Pour mixture over loaves of poppyseed bread about 3 minutes after they have been removed from the oven, but before removing the loaves from the baking pans.
3.5.3229

I guess it’s clear that while this is a Poppyseed Quick Bread recipe, poppy seeds aren’t the ingredient that gets my attention. Those are important too, but whole wheat pastry flour, orange glaze, and almond extract are the key to making this recipe absolutely amazing!!

  • Read more about grinding flour in a grain mill here.
  • Not able to grind your own flour right now? You can buy Whole Wheat Pastry Flour like this.
  • Want to make your own Vanilla Extract? Here’s how.
  • Need Almond Extract for this recipe? Here’s my favorite brand.
  • Not sure where to buy poppy seeds? I either buy them in bulk from Azure Standard, or I find them at Amazon.

By the way, I love doubling this recipe and freezing extra loaves to pull out and serve another time. This bread doesn’t get dry in the freezer and thaws to be a perfect convenience food!

Some of these links are my affiliate links.

Heavenly Homemaker's Club Members: Access your homepage and all your fantastic resources here! Not a member yet? Please join us!

Simple Bean and Cheese Salsa Dip (3 ingredients!)

March 25, 2018 by Laura 3 Comments

This post may contain affiliate links. For more information, please see our disclosure policy.
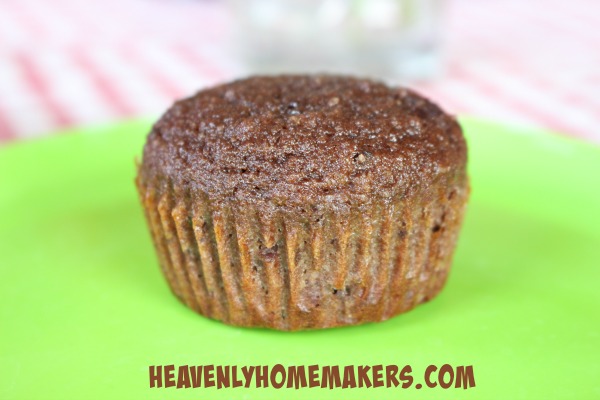
You’ll love this Simple Bean and Cheese Salsa Dip. But first, wait until you see what we’ve got in the works!

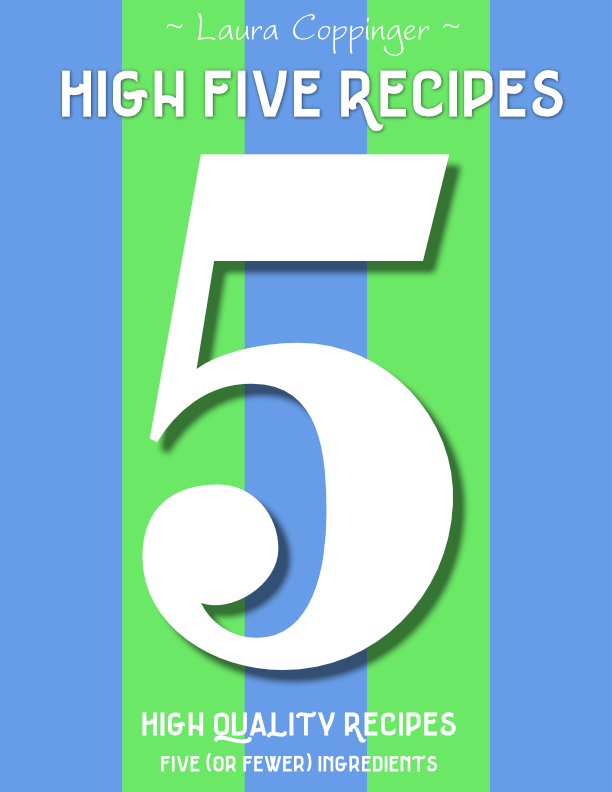
high five cover

It’s a brand new eBook and we’re going to roll it out very soon! It includes a whopping 111 recipes – all of which only utilize 5 or fewer ingredients. This has been one of our most exciting projects! Sharing ways to put simple food on your table is one of our favorite goals, and if the recipe has only 5 ingredients, you can bet it is simpler than ever!

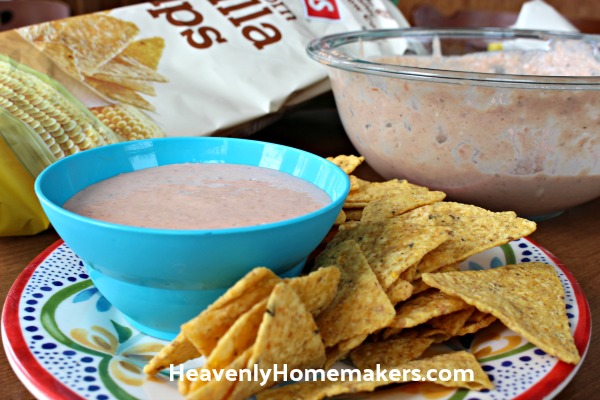
Be on the look out for brand new High Five Recipes I’ll be sharing during the next few weeks, as well as the reveal of our brand new eBook in just a few hours! As for today, you’ll need three simple ingredients and a bag of chips. What used to be a snack can now become a meal!


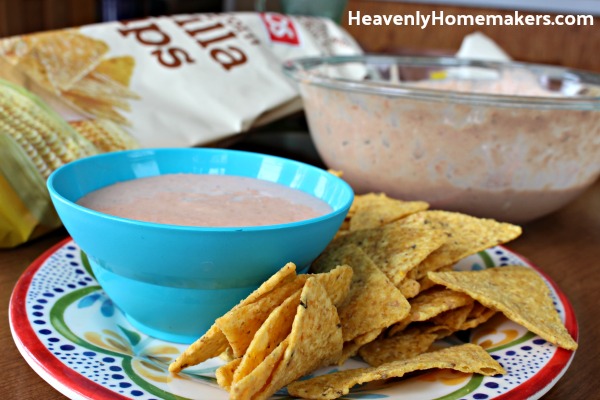
A few weeks ago when I posted my Cream Cheese Salsa Dip recipe, Kayla left a comment to share that she used the same idea to make Bean Dip. Say no more, Kayla. We got out our cream cheese, salsa, and a can of refried beans and we suddenly had a new favorite!

Do you see how easy real food cooking can be? I had a teen at my house last week devouring my food saying, “I guess I never knew healthy food actually tasted good.” Boom. That is my goal. Healthy food that tastes good. And if it can also be simple to make, then my entire food mission has been accomplished.

If you have time, soak and cook pinto beans for this recipe. But for all who are in a hurry, simply get out a jar of salsa, a package of cream cheese, and a can of beans. Blend it together and your main dish is ready. Eat it hot. Eat it cold. And of course, eat it with fruits and vegetables on the side because this is the 11th commandment. “Thou shalt eat fruits and veggies with every meal.” Amen.

Simple Bean and Cheese Salsa Dip

Simple Bean and Cheese Salsa Dip (3 ingredients!)
 
Save Print
Author: Laura
Serves: 5 cups
Ingredients
  • 16-ounces salsa (any variety)
  • 8-ounces softened cream cheese
  • 15-ounce can refried beans or pinto beans
Instructions
  1. Blend ingredients together until smooth.
  2. Serve hot or cold with corn tortilla chips.
3.4.3177

**UPDATE**

It’s here! Learn all about our High Five Recipes eBook and grab yours here!

[wp_eStore_fancy1 id=32]

Heavenly Homemaker's Club Members: Access your homepage and all your fantastic resources here! Not a member yet? Please join us!

The Easiest Way to Make Brown Rice

March 13, 2018 by Laura 25 Comments

This post may contain affiliate links. For more information, please see our disclosure policy.
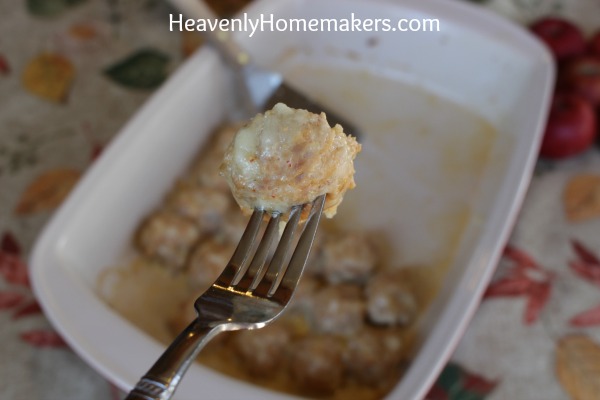
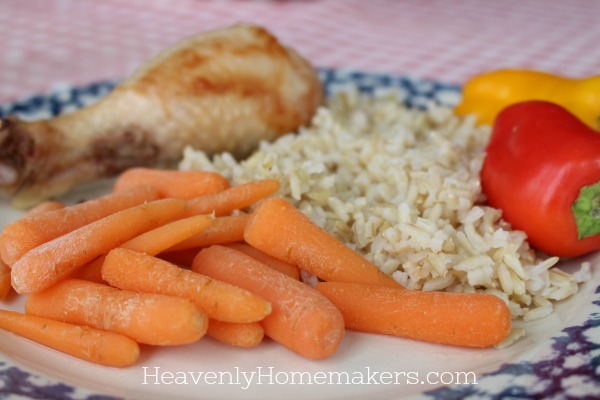
My friend Emily has been encouraging me to try this little “bake your rice in the oven” trick for quite some time. As it turns out, this really is the easiest way to make brown rice!

rice55

Now, I’ve been making rice on the stove-top for years without any problem. Then I got an Instant Pot and tried making rice in that.

Confession: While it is actually very easy to make rice in the Instant Pot, I kept having to look up how to do it because I could never remember from one time to the next. So ultimately, this didn’t make my life easier. Ha! Old habits die hard. I didn’t want to have to actually think about how to make rice. Ain’t nobody got time for that.

So I went back to my “cook rice on the stove-top” method.

Then Emily said something again about making rice in the oven, about how easy it was, and about how the rice turns out perfectly every single time. Fine. I decided to try it. After all, the method did sound very simple.

Boom. I’m going to use the oven method every time from now on. It’s a no brainer! And it actually is easier than making rice on the stove-top because I don’t have to boil water first, then add rice, then turn down the heat, yada, yada.

Here are the basics you need to know to make brown rice in the oven:

  1. Always use 2 parts water to 1 part rice.
  2. Cover the dish.
  3. Bake for 1 hour at 350.

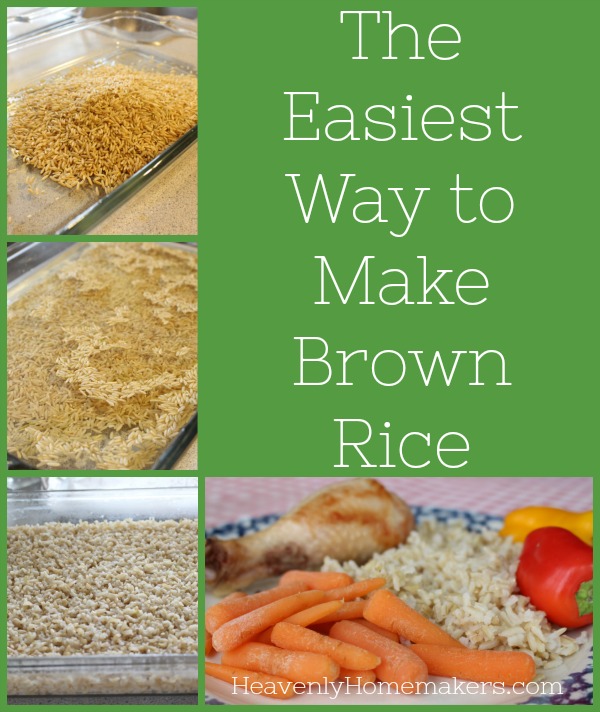
Here’s a basic picture tutorial. Watch and be amazed.

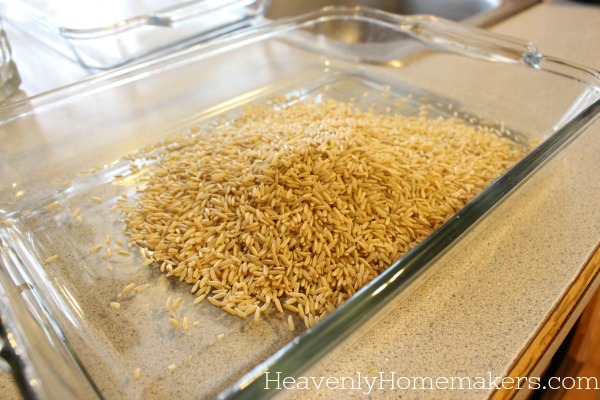
1. Put rice in a dish.

rice11

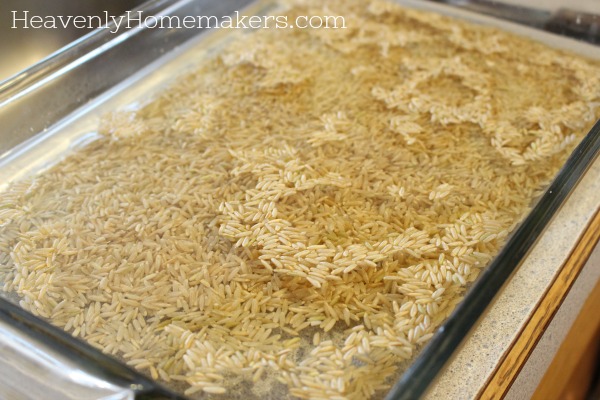
2. Add water. Cover, and bake for 1 hour at 350.

rice22

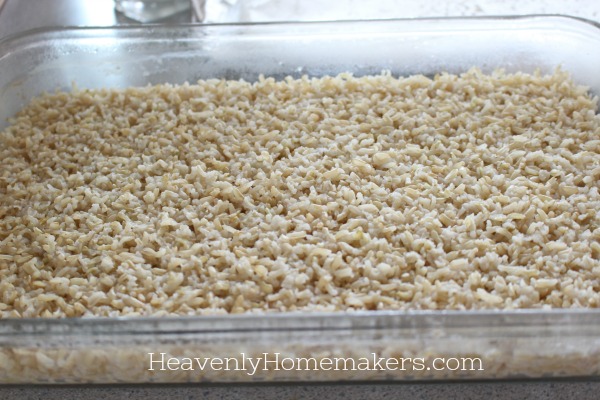
3. The rice is done. It is perfect. Your life just got easier.

rice33

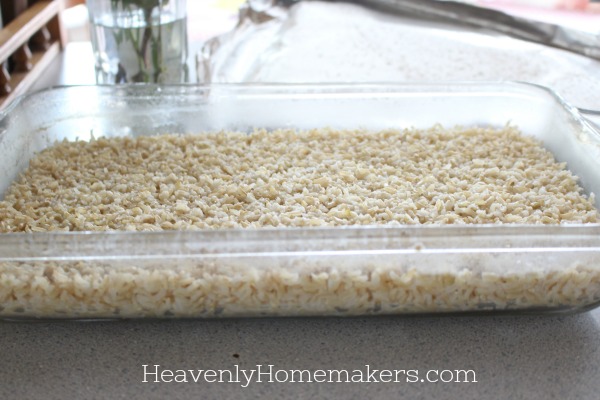
4. Be amazed and look at the rice from a different angle. Stare joyfully at the rice.

rice44

5. Move on. It’s time to eat the rice.

rice55

The Easiest Way to Make Brown Rice

5.0 from 1 reviews
The Easiest Way to Make Brown Rice
 
Save Print
Author: Laura
Ingredients
  • 1 cup brown rice
  • 2 cups water
  • sea salt to taste
Instructions
  1. Place one part rice to two parts water into a baking dish.
  2. Sprinkle in sea salt according to your taste. (You can add salt later if you prefer.)
  3. Stir.
  4. Cover.
  5. Bake in a 350 oven for one hour.
3.4.3177

The Easiest Way to Make Brown Rice

This will forever more be my go-to rice making method. I love how simple it is! And the rice truly turns out perfect!

What’s your favorite way to make brown rice? Have you ever tried this oven method? I think you’ll love it!

Heavenly Homemaker's Club Members: Access your homepage and all your fantastic resources here! Not a member yet? Please join us!

The Best Way to Add Flavor to Plain Yogurt

March 6, 2018 by Laura 3 Comments

This post may contain affiliate links. For more information, please see our disclosure policy.
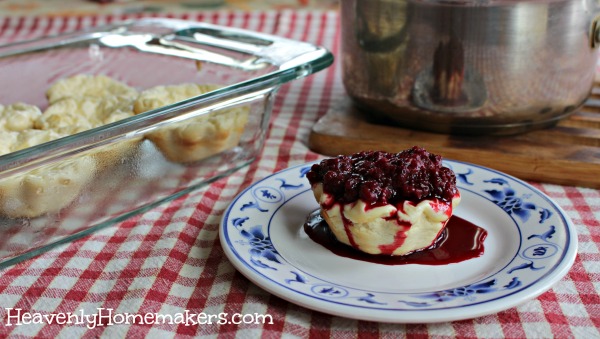
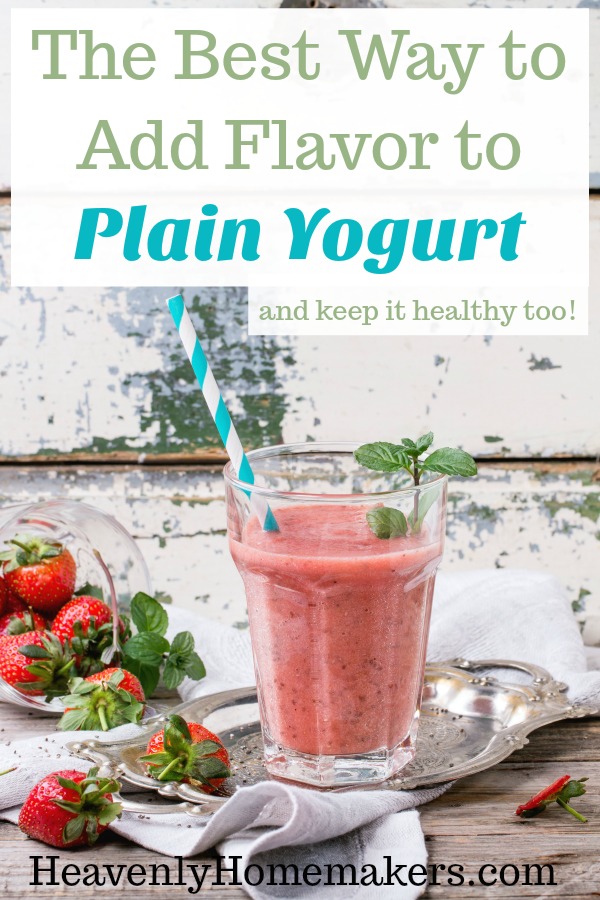
If you’ve struggled to know how to doctor up plain yogurt and keep it healthy, you will love this tip from Bethany as much as I do!

The Best Way to Add Flavor to Plain Yogurt

From Bethany:

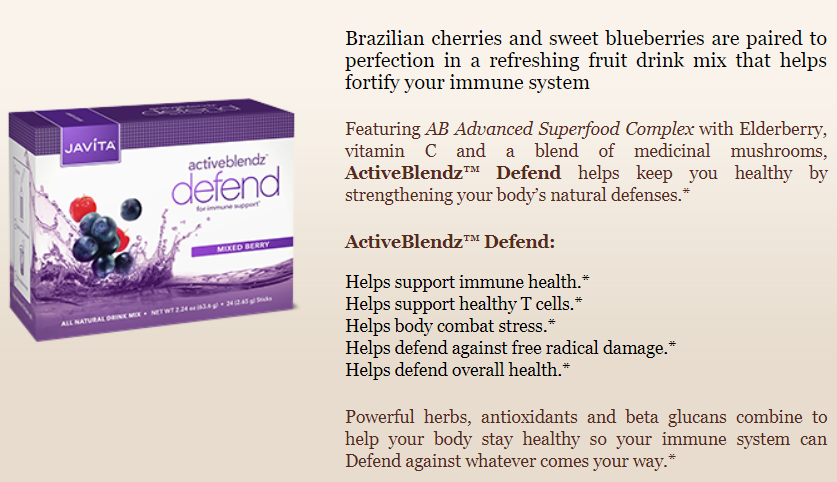
We’ve really been enjoying our Javita here, and it really helped a lot over our recent vacation! I wanted to share with you a little fun thing. We have struggled with yogurt since cutting sugar. The flavored ones are loaded with so much sugar (and often other junk), but the pain is so…. plain, and my kids have disliked every flavoring I’ve tried to add. Until today! I had the idea to mix a packet of Defend into a tiny bit of milk and then mix that into a container of plain yogurt. Everyone loved it, even my pickiest kids! Hooray! Now we can eat yogurt again!

I LOVE this! We’ve always added fresh or frozen fruit to flavor our plain yogurt. Then we add some kind of sweetener, usually real maple syrup. This is great, but what I love about Bethany’s idea to stir in a Defend is that not only does it flavor and sweeten the yogurt (with stevia), it provides our bodies with all the immune system benefits of drinking a Defend.

Why I Trust Defend:

My family has been drinking Defend all winter to help us fight sicknesses that have been going around. I personally find that Defend mixed with Flex is a perfect combo as the Flex adds anti-inflammatory help with keeps my asthma in check along with Defend’s immunity boost.

So consider all the benefits of yogurt to keep our guts healthy, then add Defend and we’ve got a winning, delicious combination!

Thank you, Bethany, for sharing this fun information you discovered!

How to Add Defend to Plain Yogurt

The Best Way to Add Flavor to Plain Yogurt
 
Save Print
Author: Laura
Serves: 2 cups
Ingredients
  • 1 Packet of Defend
  • 3 Tablespoons milk
  • 16-ounces plain yogurt (more or less to taste)
Instructions
  1. Empty one packet of Defend into the milk and whisk until dissolved.
  2. Stir mixture into plain yogurt and serve.
3.5.3229


Read more about Javita products here and why I love them so much.

May our yogurt be delicious, our digestive systems working like they should, and our immune systems kicked in full gear!

Heavenly Homemaker's Club Members: Access your homepage and all your fantastic resources here! Not a member yet? Please join us!

The Easiest Way to Make Fruit Leather

March 6, 2018 by Laura 3 Comments

This post may contain affiliate links. For more information, please see our disclosure policy.
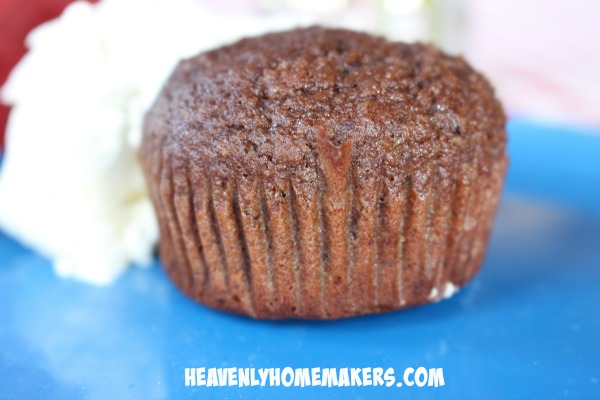
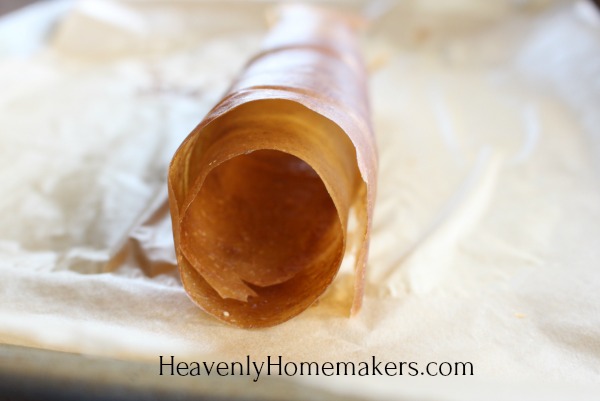
Ever wondered the easiest way to make Fruit Leather? Or did you even know that making Fruit Leather is actually ridiculously easy?!

fruit leather66

Indeed, Fruit Leather is one of the easiest snacks you can make. Many recipes call for added sugar, but in our experience, none is necessary!

Also, making Fruit Leather at home costs only pennies. And it is a great way to use up fruit that is almost ready for the compost pile! Store-bought fruit leather is super convenient, so I definitely take advantage of this option from time to time and buy them for ease when we’re on the road for ball games. But if I can make it at home instead, I do.

Tips for Making Fruit Leather

  • The easiest way to make fruit leather is to spread leftover applesauce on your pan and dehydrate per the instructions below.
  • Peaches, nectarines, strawberries, blueberries, blackberries, raspberries, and watermelon are also great choices for Homemade Fruit Leather.
  • I avoid pineapple for fruit leather as it tends to be too stringy.
  • We’ve found that bananas by themselves don’t make a great fruit leather. But blending pureed bananas with other pureed fruit is a winner!
  • Speaking of mixing fruit together, we like mixing a variety of fruit to make more exciting fruit leather options.
  • Use a high power blender to turn your fruit into a super smooth and spreadable puree. Otherwise you might end up with chunky fruit leather. :)

fruit leather55

The Easiest Way to Make Fruit Leather

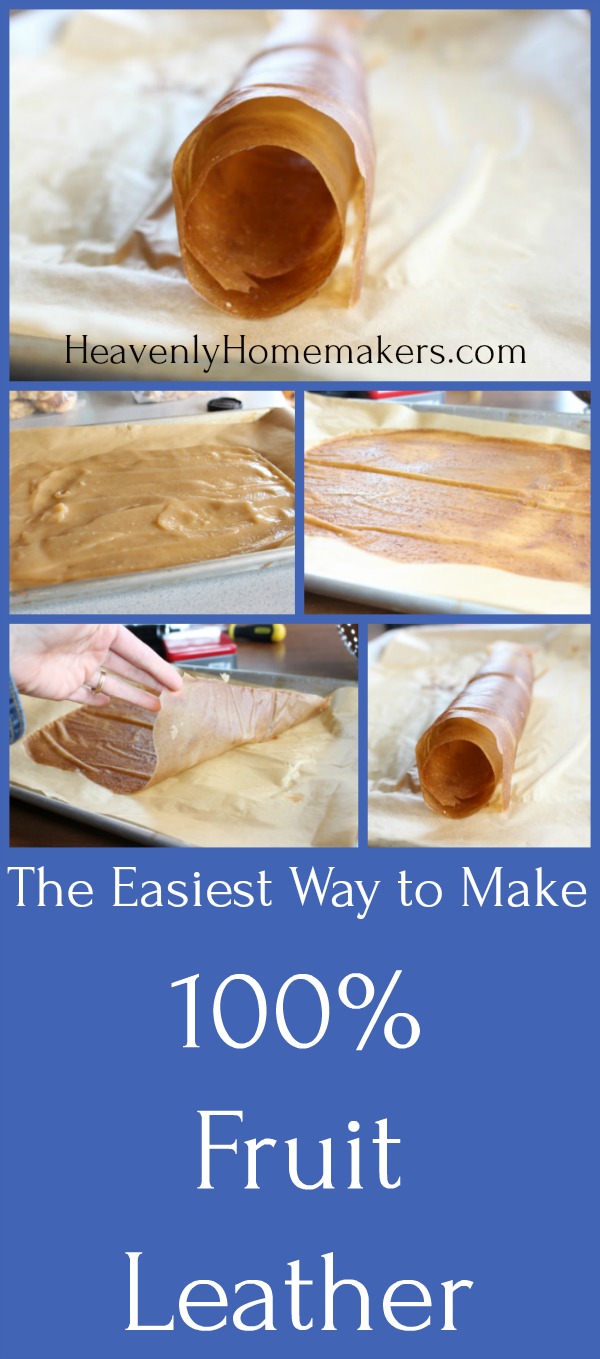
We’ve got more detailed info below. But here are the basic instructions so you can see how simple this is!

  1. Puree fruit.
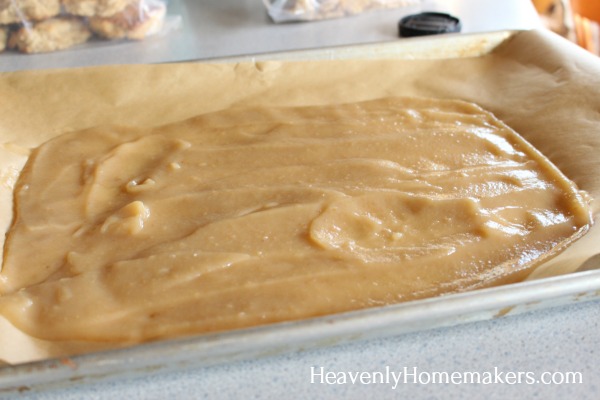
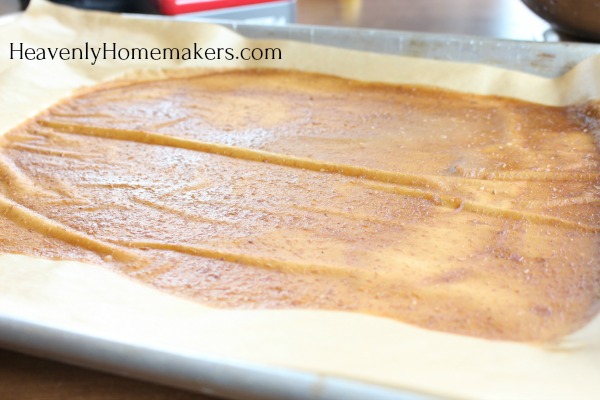
  2. Spread mixture onto a parchment paper-lined cookie sheet.
  3. Bake for 4-10 hours at 170 degrees.

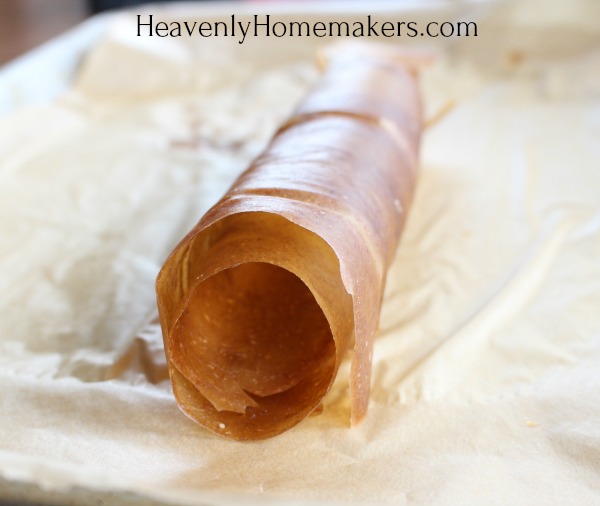
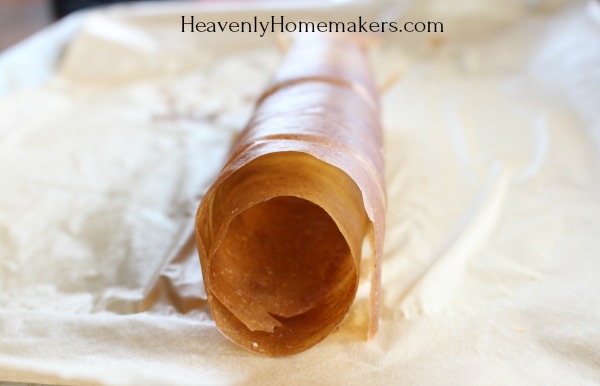
fruit leather11

fruit leather22

fruit leather33

fruit leather44

The Easiest Way to Make Fruit Leather

The Easiest Way to Make Fruit Leather
 
Save Print
Author: Laura
Ingredients
  • Approximately 1 cup fruit
Instructions
  1. In a high power blender, puree fruit until smooth.
  2. Spread pureed fruit onto a parchment paper-lined cookie sheet, making sure the fruit is no more than ⅛ inch thick.
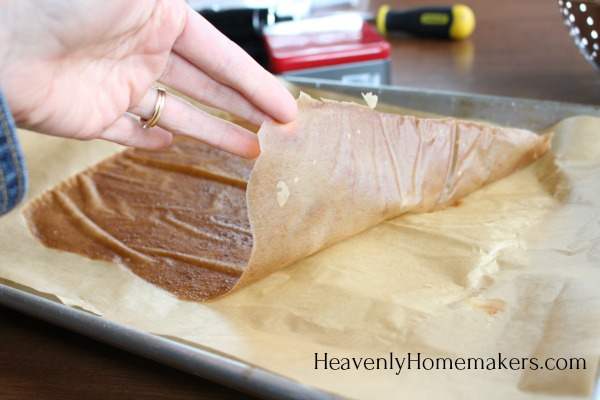
  3. Dehydrate in a 170 oven for 4-10 hours or until the entire sheet is no longer wet.
  4. (Mine tends to dehydrate from the outside in. Once the middle is dry, the fruit leather is done!
3.4.3177

The Easiest Way to Make 100 Fruit Leather

Have you ever tried to make fruit leather? What are your favorite flavors and fruit combinations?

Heavenly Homemaker's Club Members: Access your homepage and all your fantastic resources here! Not a member yet? Please join us!

Healthy Snacking? Last Day for Coupon Code!

March 1, 2018 by Laura Leave a Comment

This post may contain affiliate links. For more information, please see our disclosure policy.
“What can I have for a snack??”

How many times are you asked that question every day? How would you like 227 answers to that question?

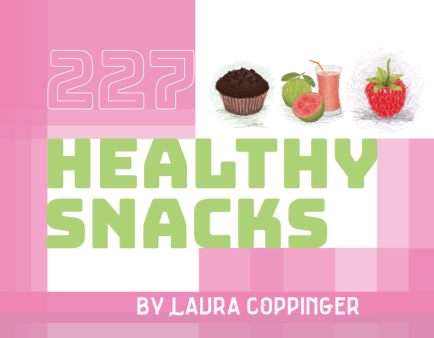
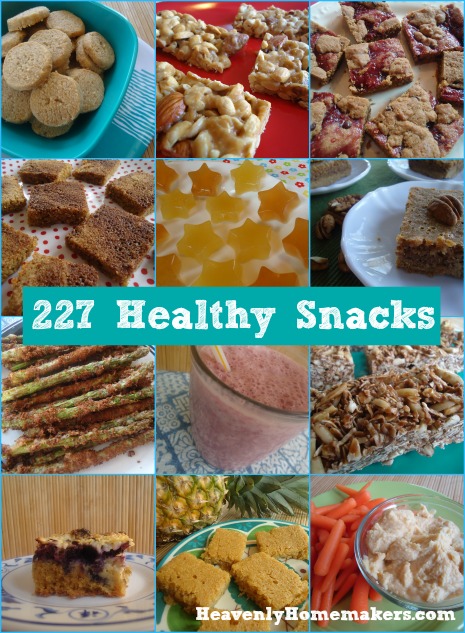
We just rolled out this beautiful, new and improved edition of 227 Healthy Snacks! It’s available now in our shop so you can download it and have 227 answers to the “what can I have for a snack?” question we’re all faced with so many times each day!

For one final day, you can use the code HEALTHYSNACKS to get this book for only $5.00! Hurry and get yours before the coupon expires!

[wp_eStore_fancy1 id=6]

Heavenly Homemaker's Club Members: Access your homepage and all your fantastic resources here! Not a member yet? Please join us!

The Best Coconut Flour Chocolate Cupcakes (Only 6 Ingredients!)

March 1, 2018 by Laura 9 Comments

This post may contain affiliate links. For more information, please see our disclosure policy.
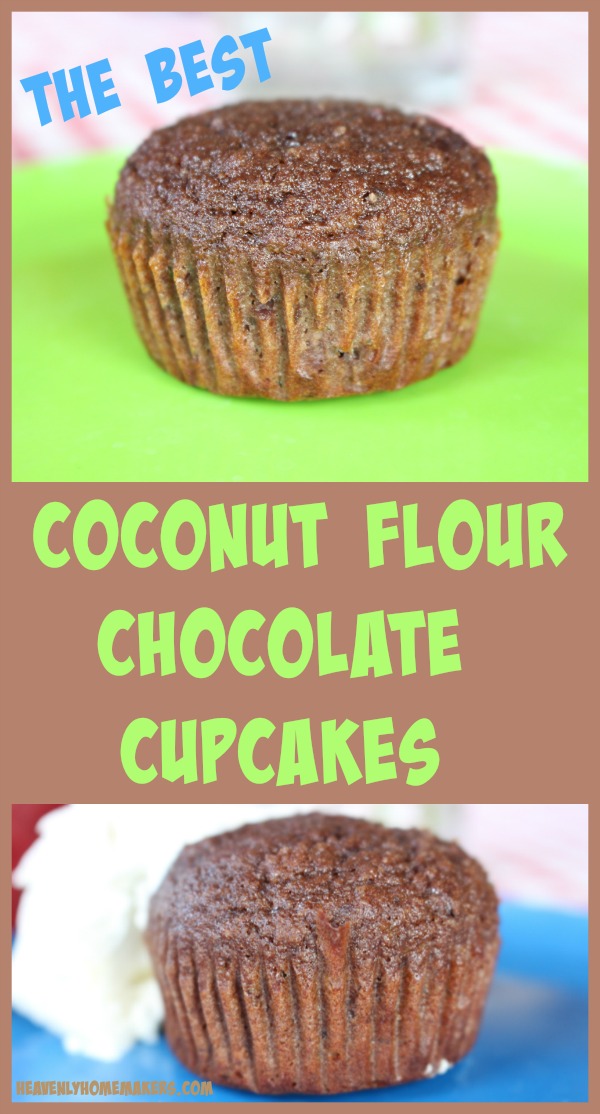
Whether or not you need to eat a gluten free diet, you will want to make and enjoy these fabulous and highly nutritious 6-Ingredient Coconut Flour Chocolate Cupcakes! Wait until you hear how and why we came up with this recipe.

coconut flour cupcake22

My 18-year old son came home after a weekend away and shocked me by saying this, “Ok, Mom. For the next 30 days, Jacob and I are cutting out all junk food and empty carbs. We’re going to do 100 push-ups and 100 sit-ups every day. At the end of the 30 days, we’re going to see how we feel, and then we’ll eat birthday cake.”

Birthday cake? Well yes. This was part of the plan because Justus happened to be turning 18 the day his eating challenge ended. Perfect timing, eh?

I was amazed during the 30 days that followed Justus’ proclamation. He was extremely disciplined, ate loads of fruits and veggies for snacks, and even packed big salads to eat in the bleachers between his basketball games. (By the way, his friend who joined him in this challenge is also on the basketball team. They cracked me up more than once as they sat side by side eating salad in the bleachers. Here are your team captains, ladies and gentlemen, showing leadership on and off the court.)

While I loved this challenge the boys had set their minds to, I was also very cautious. Justus has zero body fat and is extremely active, so I watched carefully to be sure he was getting plenty of good carbs, good fats, and good proteins along with his fruits and veggies. He realized only two days into the challenge that he needed to keep a big supply of easy and filling snacks around the house so he would stay full and energized throughout the day.

simple-chicken-cheeseballs1

He made himself Chicken Cheeseballs, Simple Crunchy Ranch Chicken Strips, Honey Sweetened Fat Bombs, and Low Sugar Crustless Cheesecakes.

easy-mini-crustless-baked-cheesecake

Throughout the day, Justus would randomly drop down to the floor and do a round of push-ups or sit-ups. I even caught the kid searching for high protein snacks on Pinterest, then heading to the kitchen to experiment. Is he my son or is he my son? It was too much fun. (I’m still debating whether I’m going to let him graduate high school and move out in a few months.)

Together we came up with this wonderful recipe for The Best Coconut Flour Chocolate Cupcakes. Call them muffins if you want as these are full of nourishment and very adaptable. Coconut Flour Chocolate Cupcakes are very filling since they are so full of fiber and protein. Commonly I watched Justus eat three of them along with an entire pound of strawberries. Ha! No need to worry that this kid was still getting enough good carbs and calories while on his “diet.”

coconut flour cupcake11

I truly think eating treats like these Coconut Flour Chocolate Cupcakes can be good for all of us! Coconut flour is a wonderful source of fiber, protein, and fat. It’s grain free so it gives our bodies a break from all the wheat or rice we often consume. I plan on serving these to my entire family for breakfast and snacks long after Justus’ special diet ends.

Where to Get Coconut Flour

I tend to shop around to find the best price for Coconut Flour and have even discovered that our local Wal-mart now carries it. A little Coconut Flour goes a long way, so keep that in mind as you shop for this gem.

  • Amazon has a variety of Coconut Flour options. Here’s a good one for a good price!
  • Healthy Traditions carries a top-knotch brand of Coconut Flour. I only purchase from them if they are offering a sale paired with free shipping.
  • iHerb is a great option. They offer a variety of quality brand names to choose from.

coconut_flour

You’ll notice that most Coconut Flour recipes call for a significant amount of eggs. This is because Coconut Flour is very dry. Eggs provide liquid needed, plus “stickability” in recipes. I love that combining Coconut Flour with so many eggs makes treats like this so high in protein and good fat!

Ready to enjoy these amazing Coconut Flour Chocolate Cupcakes?

The Best Coconut Flour Chocolate Cupcakes

The Best Coconut Flour Chocolate Cupcakes
 
Save Print
Author: Laura
Serves: 12
Ingredients
  • ½ cup coconut flour
  • ½ cup unsweetened cocoa powder
  • ½ teaspoon baking powder
  • ⅓ cup honey
  • 6 eggs
  • ⅓ cup melted coconut oil
Instructions
  1. Whisk all ingredients together until smooth.
  2. Scoop batter into 12 paper-lined muffin tins.
  3. Bake in a 350 degree oven for 20 minutes.
3.4.3177

The Best Coconut Flour Chocolate Cupcakes

I personally love these cupcakes with a big scoop of Stevia-Sweetened Cream Cheese Frosting spread over the top or plopped onto the plate.

Stevia Sweetened Cream Cheese Frosting

8 ounces softened cream cheese
1 cup heavy whipping cream
1/2 teaspoon vanilla extract
Liquid stevia to taste (I use about 30 drops)

Whip ingredients together in a blender or with a hand mixer until smooth.

If you don’t mind the added sugar, sprinkle some chocolate chips on top of each cupcake before baking. Add nuts if you like.

Coconut_Flour_Muffin

Here a few other coconut flour recipes you’ll find here at Heavenly Homemakers:

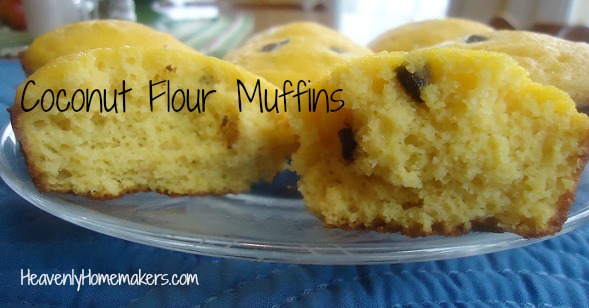
  • Coconut Flour Muffins
  • Coconut Flour Banana Muffins
  • Coconut Flour Drop Cheddar Biscuits

What are your favorite ways to get plenty of good carbs, fats, and proteins?

Heavenly Homemaker's Club Members: Access your homepage and all your fantastic resources here! Not a member yet? Please join us!

Simple Snack Recipe: Creamy Chocolate Fruit Dip

February 27, 2018 by Laura 2 Comments

This post may contain affiliate links. For more information, please see our disclosure policy.
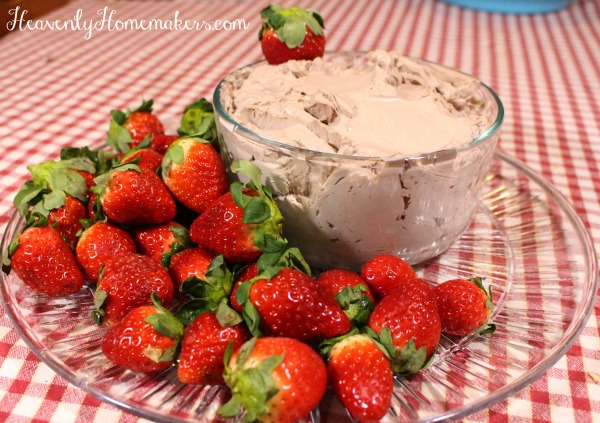
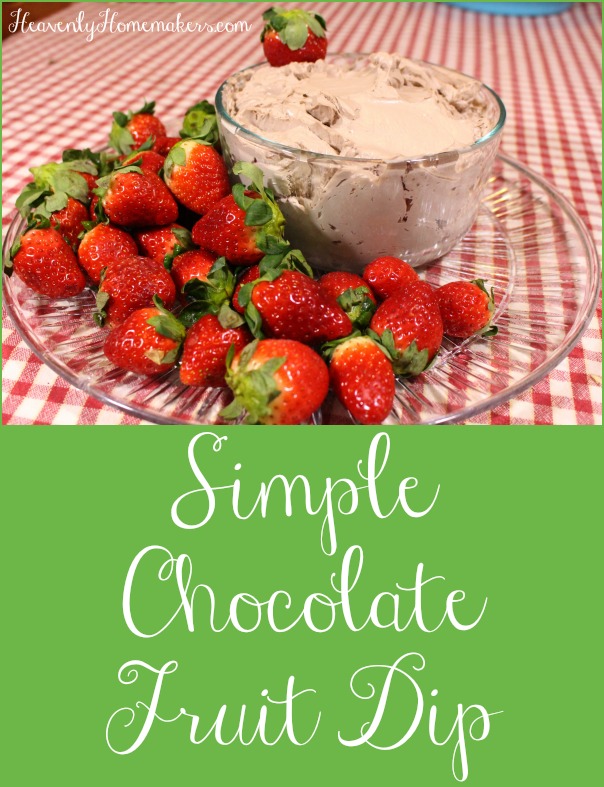
When you eat Creamy Chocolate Fruit Dip you might find yourself pausing to say out loud, “Is there anything better than this dip with strawberries? Anything at all on this entire earth?”

chocolate fruit dip23

Some of the children standing in the room might answer your rhetorical question and suggest that winning a soccer game, getting an A on a difficult test, or finally finishing Geometry for the rest of your life is better than the Creamy Chocolate Fruit Dip. But then he will pop a chocolate dip-covered strawberry into his mouth and remember quite clearly that indeed, this snack is better than almost anything in the entire world. And perhaps it goes without saying that eating this Creamy Chocolate Fruit Dip with strawberries immediately after winning a soccer game, getting an A on a test, or finally finishing Geometry for the rest of your life is the perfect way to celebrate all good things.

Far be it from me to ruin the strawberry-dipped moment by reminding said child that one day when he has a child of his own, he may encounter Geometry all over again as a dad who helps his kid try to understand linear equations and obtuse angles. This is not the time to speak of the Geometry of the future. Let the child enjoy this Geometry-Free Creamy Chocolate Fruit Dip pleasure, am I right?

I guess now you know how we all feel about Geometry at our house. Sorry, Mathematicians. We try. And we appreciate your care and concern about figures that are congruent. We realize that life as we know it is so much better because of your vast knowledge. But we would prefer to create fun videos and music to entertain you in your down time. And we like making delicious food to feed you. Dear Mathematicians. May we interest you in a Creamy Chocolate Fruit Dipped strawberry? We think it will give your protractor a run for its money.

Truly, isn’t it a joy that we all have interest in different things? This is what makes the world go ’round. But also, this Creamy Chocolate Fruit Dip!!!! As sure as the world is spinning, dipping your fruit in this will make each day better no matter your opinion of working with Isosceles Triangles.

Creamy Chocolate Fruit Dip

5.0 from 1 reviews
Simple Snack Recipe: Creamy Chocolate Fruit Dip
 
Save Print
Author: Laura
Serves: 3 cups
Ingredients
  • 8- ounces softened cream cheese
  • 2 cups heavy whipping cream
  • 2 heaping Tablespoons unsweetened cocoa powder
  • Sweetener of your choice (30 drops liquid stevia, 3 Tablespoons real maple syrup, or ¼ cup sugar)
Instructions
  1. Blend ingredients together until smooth.
  2. Cover and store in refrigerator until ready to serve.
  3. Serve with fresh strawberries, bananas, raspberries, apples, or blueberries.
3.4.3177

Simple Chocolate Fruit Dip
Looking for more Simple Snack Recipes?

We’re sharing new recipes all month! So far here’s what we’ve come up with:

  • No Bake Cookie Cups (5 minute prep!)
  • Cream Cheese Salsa Dip (2 ingredients!)
  • Pineapple Coconut Quick Bread (blends together fast!)
  • Parmesan Crisps (so easy you won’t believe it!)
  • Sweet and Salty Almonds or Pecans
  • Chocolate Cheesecake Fudge
  • Creamy Italian Veggie Dip
  • No Bake Chocolate Chip Cookie Bars
  • Honey Sweetened Flourless Peanut Butter Bars (3 ingredients!)
  • Easy Cheesy Popcorn

Do you like math with your strawberries?

Heavenly Homemaker's Club Members: Access your homepage and all your fantastic resources here! Not a member yet? Please join us!

Simple Snack Recipe: Easy Cheesy Popcorn (made with real cheese!)

February 25, 2018 by Laura 6 Comments

This post may contain affiliate links. For more information, please see our disclosure policy.
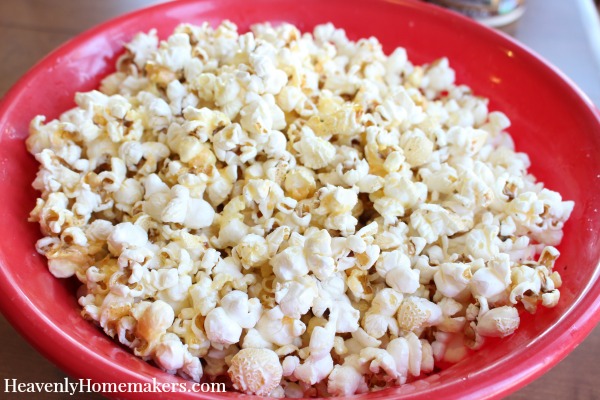
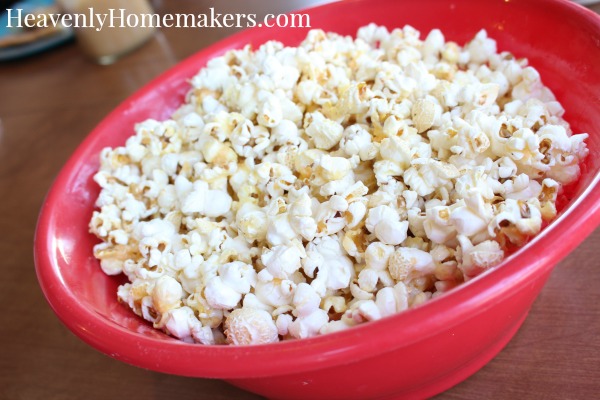
It’s too easy. This Easy Cheesy Popcorn? Prepare to be amazed.

cheesy popcorn22

I’ve been meaning to share this Simple Snack Recipe idea with you for something like four or eighty years. Our friends often take this fun snack to share at get-togethers and it’s always a huge hit! Every time I think to myself, “I have GOT to learn their secret and share it with everyone at Heavenly Homemakers!”

And then I forget about it until the next get together that involves the Cheesy Popcorn and well, here we are four or eighty years later.

I finally did it though! Today, before every single one of us have become great-great grandparents, I finally thought of the popcorn. I finally remembered to ask and I finally learned all the tricks. Turns out, making Easy Cheesy Popcorn is as easy as adding butter, cheese, and salt to already popped corn. So you and I could have been enjoying this Cheesy Popcorn delightfulness long, long ago.

cheesy popcorn11

Be impressed that I got all these details from the 13-year old son of the Family of Easy Cheesy Popcorn Experts. He was at our house hanging out with my 13-year old son. (By the way, we can no longer say “the kid came over to play” because when you’re 13 that is not cool. They hang out. They do not play.) Anyway, I interrupted a game of soccer they were playing to ask a boring recipe question. God bless the teenage boys who come hang out with my kids. What can I say? I knew that if I didn’t ask about the popcorn right at that moment another eighty years will go by and we would never learn these secrets.

So here you go. Easy Cheesy Popcorn. It is a snack of champions because it is loaded with good, nourishing fat and it tastes incredible too.

 Easy Cheesy Popcorn

Simple Snack Recipe: Easy Cheesy Popcorn (made with real cheese!)
 
Save Print
Author: Laura
Serves: 4-6
Ingredients
  • 1 cup unpopped popcorn
  • Coconut oil
  • ½ cup butter
  • 1 cup shredded cheese (parmesan, Colby jack, or cheddar recommended)
  • Sea salt to taste
Instructions
  1. Pop 1 cup of popcorn in coconut oil or in an air popper.
  2. In a small saucepan, melt butter and cheese together, stirring until well combined.
  3. Shake a liberal amount of sea salt into the butter/cheese mixture and stir.
  4. Pour butter/cheese mixture over the popped corn and stir.
  5. Serve right away.
3.4.3177

Easy Cheesy Popcorn

Looking for more Simple Snack Recipes?

We’re sharing new recipes all month! So far here’s what we’ve come up with:

  • No Bake Cookie Cups (5 minute prep!)
  • Cream Cheese Salsa Dip (2 ingredients!)
  • Pineapple Coconut Quick Bread (blends together fast!)
  • Parmesan Crisps (so easy you won’t believe it!)
  • Sweet and Salty Almonds or Pecans
  • Chocolate Cheesecake Fudge
  • Creamy Italian Veggie Dip
  • No Bake Chocolate Chip Cookie Bars
  • Honey Sweetened Flourless Peanut Butter Bars (3 ingredients!)

Want a Simple Meal Plan sent to your inbox every single week? We’d love for you to join Simple Meals!

[wp_eStore_subscribe_fancy id=19]

Heavenly Homemaker's Club Members: Access your homepage and all your fantastic resources here! Not a member yet? Please join us!

227 Healthy Snacks

February 23, 2018 by Laura Leave a Comment

This post may contain affiliate links. For more information, please see our disclosure policy.
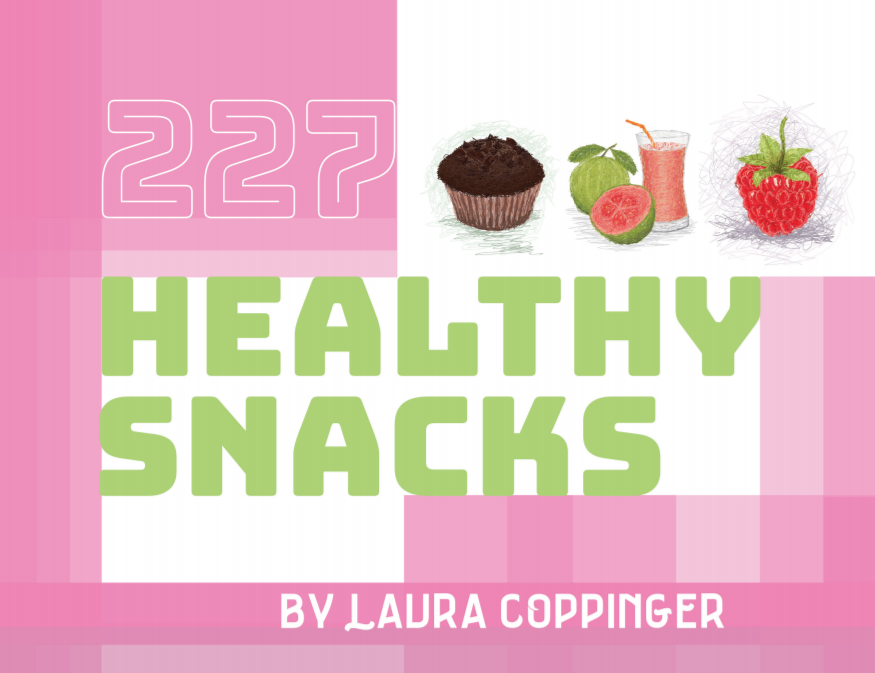
Since we’re on the subject of Healthy Snacks this month, I thought this would be the perfect time to re-introduce the new and improved, absolutely beautifully designed 227 Healthy Snacks eBook! (We’re handing out a coupon code this week too!) Look, look, look!

Healthy Snacks cover

Yum

Never again will we have to throw our hands in the air in frustration as we try to answer the question, “What can I have for a snack?” This book is filled with 227 ideas and recipes – all made with real food, all super tasty! Of course the ideas are all simple, because that’s how we roll around here!

227 Healthy Snacks

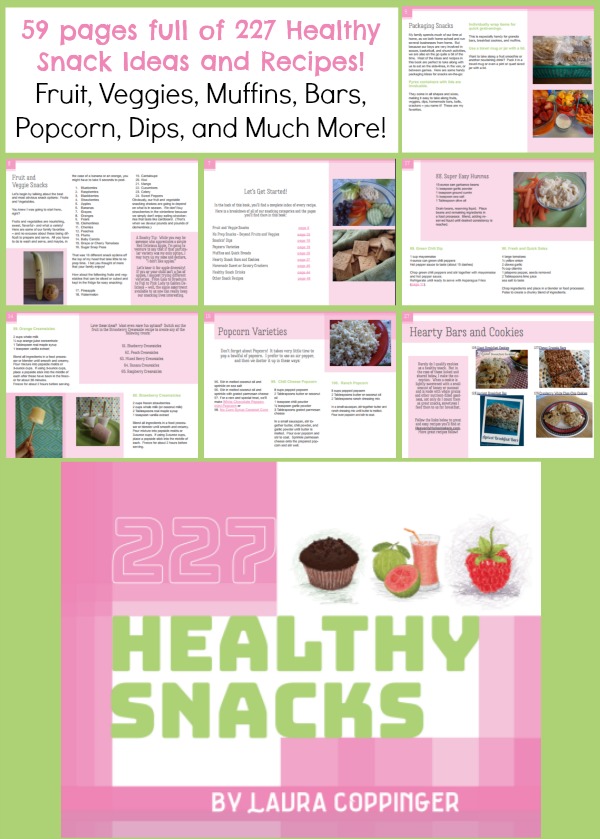
We completed this book back in 2015, but decided this year it was time for a major update. The results are gorgeous, and the layout makes the recipes and instructions much easier to follow! The recipes? Well, those are as great as ever. Here’s a peek into a few of the pages:

227 Healthy Snacks Recipe Book

What’s included in 227 Healthy Snacks?

  • 227 ideas and recipes that are nourishing, delicious, family friendly, easy, and fun.
  • All 227 of these snack ideas and recipes can be prepared ahead of time for easy snacking.
  • More than 200 can be prepared or mixed up in a matter of a few minutes.
  • 145 of them are naturally gluten free or are recipes that can be easily adapted to become gluten free.

You’ll learn to make Homemade Payday Bars, Healthy Fruit Snacks, and Crispy Crackers. Fill up on recipes that can be used for snacking or even a simple meal time. Learn how to easily take snacks on the road. Find ways to get your kids to eat veggies.

Grab your copy! We love it and you will too!

Maximum quantity exceeded
Minimum purchase amount of 0 is required
Maximum purchase amount of 0 is allowed
8.000

Want to see a complete list of all the recipes included in this book? Click here.

Snack on!

Heavenly Homemaker's Club Members: Access your homepage and all your fantastic resources here! Not a member yet? Please join us!
« Previous Page
Next Page »

Join Our Community!

 Facebook Twitter E-mail Instagram Pinterest

Popular Posts

~ Will All of the Real Moms Please Stand Up?
~ Easy! Stir-and-Pour Whole Wheat Bread
~ How to Make Gatorade
~ 31 Real Food Breakfast Ideas
~ Dear Teenage Girls...
~ When Mom Takes a Step Back
~ The Inexpensive Health Insurance We Love!
~ Let's Talk Real Food Grocery Budgets

Check out our latest posts!

  • Big Family Food and Fun: August 16-22, 2026
  • Big Family Food and Fun: August 9-15, 2026
  • Big Family Food and Fun: August 2-8, 2026
  • Big Family Food and Fun: July 26-August 1, 2026
  • Big Family Food and Fun: July 19-25, 2026
Home  ~  Simple Meals  ~  Club Membership  ~  Shop  ~  Privacy Policy  ~  Disclosure  ~ Contact

Copyright © 2026 · Beautiful Pro Theme on Genesis Framework · WordPress · Log in