Twas the day before Easter and my friend Chandra and I were discussing our Easter Dinner menus. She mentioned that she was making Party Potatoes, which we all know is a delicious, creamy, and cheesy potato dish.

While I knew exactly what Chandra was talking about, it occurred to me that when I was growing up, my family always called this dish “Funeral Potatoes.” Same recipe, same deliciousness, but incredibly different label. Party Potatoes and Funeral Potatoes are one in the same? Yes, indeed.
Chandra and I decided that people in the north (where her family is from) must like parties better. And that people in the south (where my family is from) need to let go and live a little. Bless our hearts.
Indeed, my family had Funeral Potatoes on all the most exciting celebration days: Easter, Christmas, and Birthdays. “Happy Easter, He is Risen!!!! Please pass the Funeral Potatoes.” What is wrong with me that I never realized what we were saying?
It is worth noting that Death By Chocolate was also a family favorite. I requested it at one of my Bridal Parties before Matt and I got married. “I’m going to marry the man of my dreams! I want Death by Chocolate please!”
Well, now you know the truth about my family history. We really knew how to party.
I have decided that it’s time to break the cycle. No more Funeral Potatoes. From now on, we will eat Party Potatoes!! Woohoooo, I LOVE PARTY POTATOES!!!!!”
Though what will I do the next time I’m at a funeral and they serve Party Potatoes? This is a conundrum.
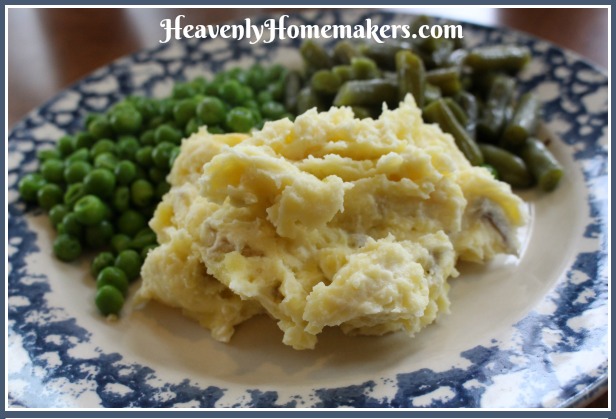
Simple Slow Cooker Party Potatoes
You’ll notice that I’ve taken this popular potato dish recipe and tweaked it to include all real food ingredients (so we can avoid the MSG in canned soup). You’ll also notice that I found a way to make this dish in a slow cooker. I found this to be a helpful trick for the times I’m out of the house and need the potatoes to be ready to eat when we get home. It’s also nice to use the slow cooker method as it frees up oven space.
Not to worry though. I’ve included instructions for oven baking as well. As you can see, I’ve done all that I can to meet all of your funeral and party planning needs.
- 24 ounces frozen hashbrowns or cut potatoes
- 3 Tablespoons dry minced onion
- 1-2 teaspoons sea salt, to taste
- 16 ounces sour cream
- 1 cup heavy whipping cream
- 16 ounces shredded Colby jack or cheddar cheese
- Mix all ingredients together and spread evening in a slow cooker or 9x13 inch baking dish.
- Slow Cooker Instructions: Cook on low for 5-6 hours or on high for 3-4 hours.
- Oven Instructions: Cover and bake in a 350 degree oven for one hour.

Survey time: What did you call this potato recipe when you were growing up?