I’ll give you one guess as to my favorite thing about fall.
Yep! Food, food, food, food, food. Different seasons bring on different foods, as do different special events and holidays. This should, by the way, make us super appreciate how blessed we are to have such variety and bounty. I can’t even imagine what it’s like to eat the same two or three foods day after day, all year long, because those are my only meager options. We are spoiled by our vast food choices and we often still complain. If you ever hear me say, “Oh I’m so overwhelmed because I have so many apples and tomatoes that I need to put up” just shake me.
(This perspective seeking heart-check is brought to you by yours truly – after I spent an evening at our local mission with a homeless single mama and her 3 year old twins and 2 year old. It reminded me that I have soooo much! Also, my boys and I are reading Louis Zamperini, who, among other things, was lost at sea for 28 days then a tortured prisoner of war for a year and a half – so I vow to never complain again. Also, there’s Gladis. I have absolutely nothing to complain about. But if/when I slip up and do it anyway – call me out on it. I’m serious.)
So back to fall food and all the happiness that comes with it. My kitchen is spilling over with amazing foods and it makes me so excited. I love summer like you wouldn’t believe, so fall with its cinnamon deliciousness certainly softens the blow of “brace yourself, winter is coming!” (Not that I’m going to complain. Do I or do I not have closets full of blankets and sweaters? I do.)
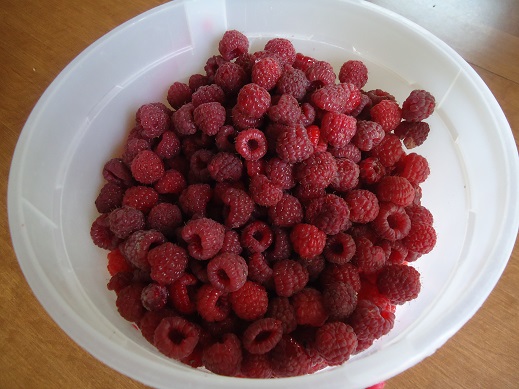
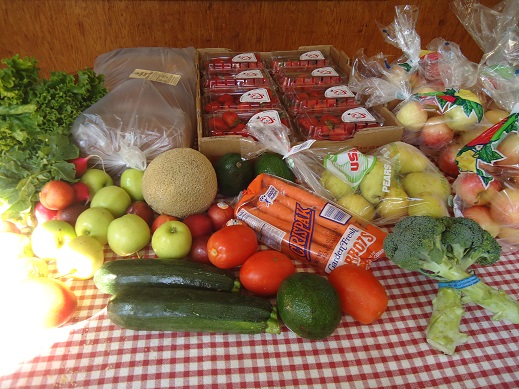
Right now, I am in fall food stock-piling mode. We’ve been picking raspberries as much as we can. Apples are everywhere. It’s pumpkin time. I guess I’m finding myself shifting in thought as to what foods I want to keep on hand for fall, winter, and holiday cooking. Here are my top priorities:
Fall Foods To Stock Up On
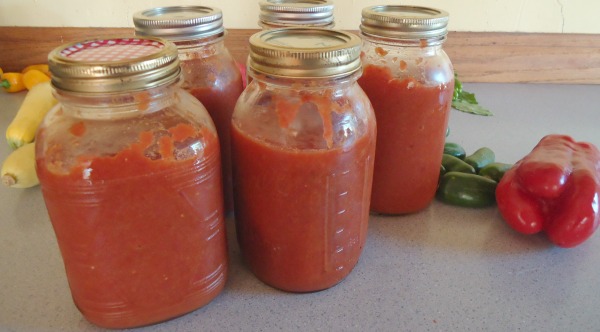
Tomato Soup
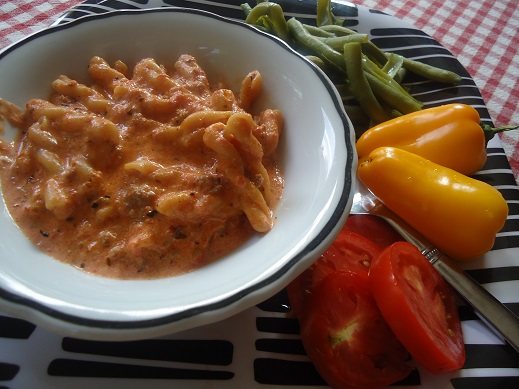
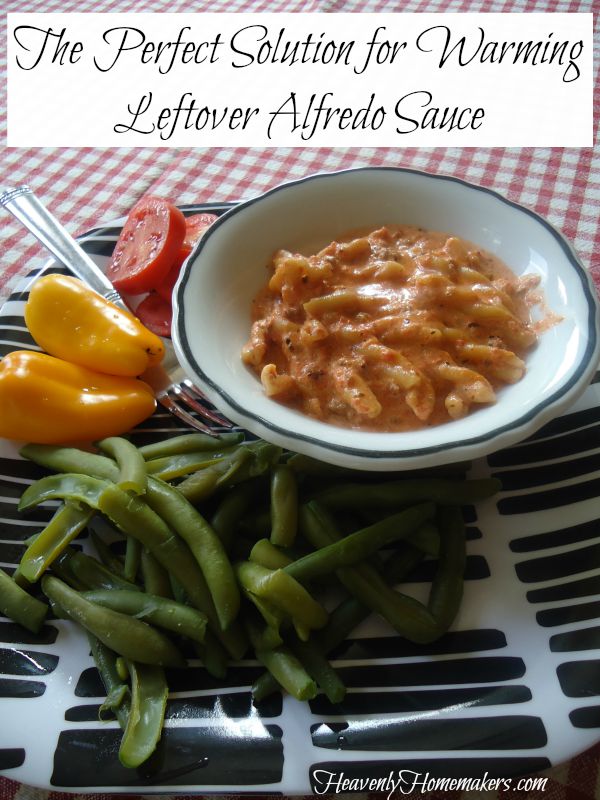
Our favorite Tomato Soup recipe is easy and super good. When we run out of my homemade soup, I’ll buy a case of Pacific Organic Tomato Soup because I really love having it on hand for casseroles or simply to warm up to eat with grilled cheese sandwiches. So yum!
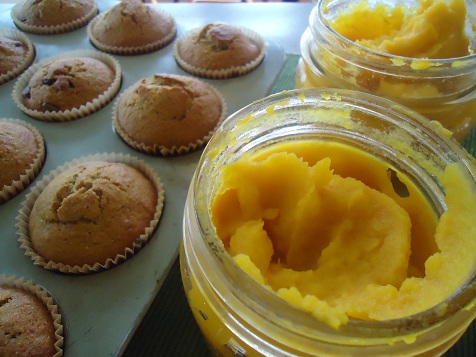
Pumpkin Puree
This is how I easily cook whole pumpkins to have inexpensive pumpkin puree on hand. Sometimes I buy a case of Organic Pumpkin Puree through Amazon when the price is right. See list below of our favorite pumpkin recipes!
Cinnamon
Of course. This is a fall must-have. I buy a one-pound package from Azure Standard. I also love the Cinnamon Sticks from Olive Nation.
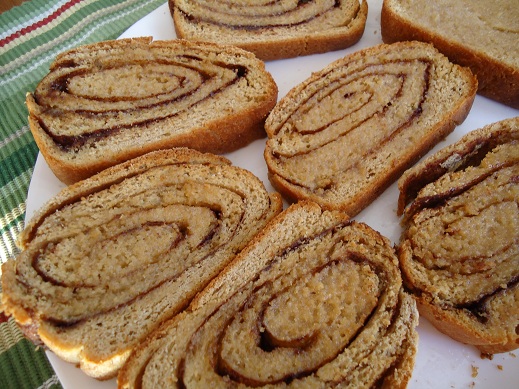
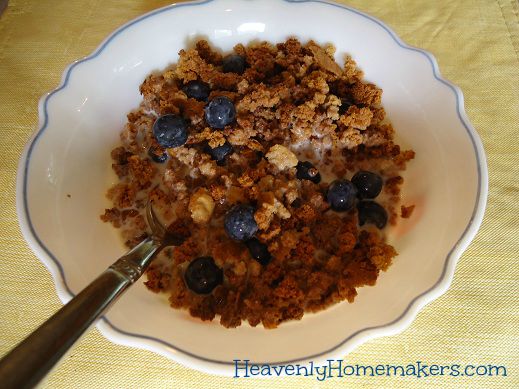
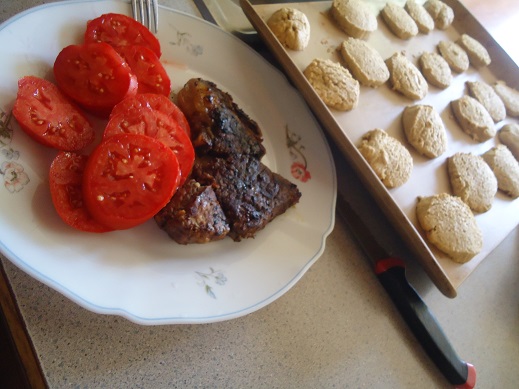
That thar is Cinnamon Swirl Bread – a delicious part of this complete fall breakfast.
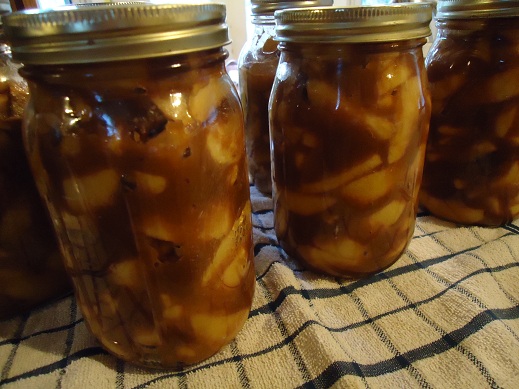
Apple Pie Filling
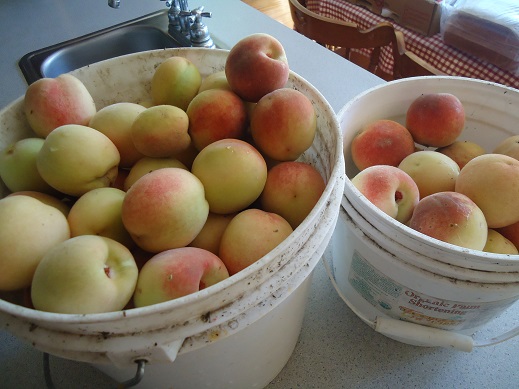
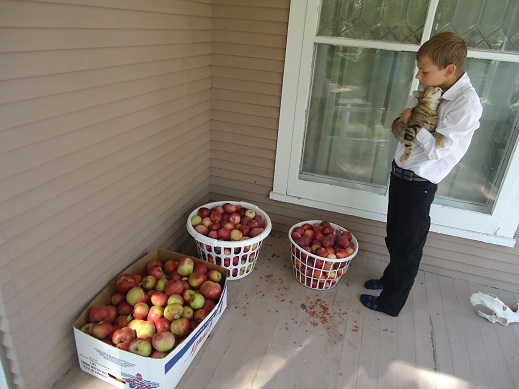
I almost always have great sources each fall for free or inexpensive apples. One of my favorite ways to preserve apples is to prepare pie filling then freeze it. If I have time or a full freezer, I will instead can the apple pie filling. I can then easily dump the prepared filling into a Whole Wheat Pie Crust or easier yet – make Apple Crisp.
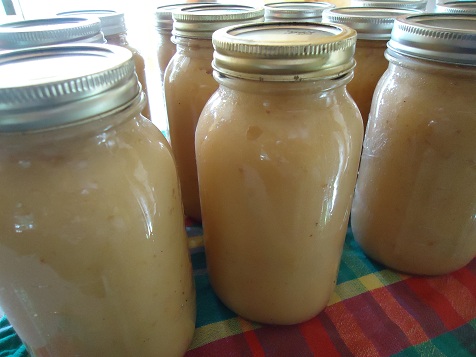
Applesauce
Having plenty of applesauce on hand is awesome for so many reasons. It’s a great side dish or snack, and it’s also great to bake with. If you haven’t tried Applesauce Bread, well, it’s fall. You need to make Applesauce Bread.
My favorite (and easiest) way to make applesauce is with a Victorio. That tool makes my work so much less work-ish!
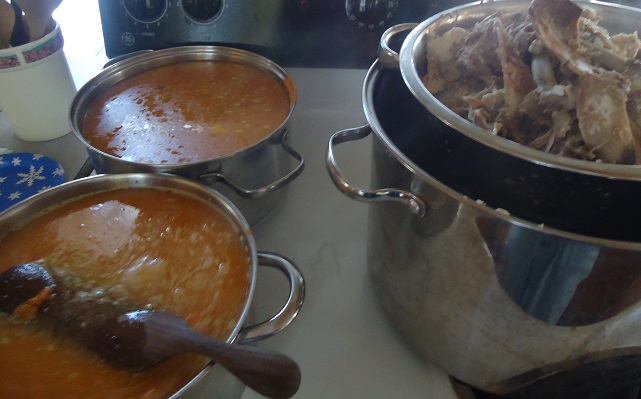
Chicken and Beef Broth
It’s soup time, so having veggie loaded broth prepped and in my freezer is so helpful. Must reads: How to Make Beef Broth and How to Make Chicken Broth.
And now, over 40 of my favorite fall recipes using these foods! There is some overlap since almost all pumpkin and apple recipes also call for cinnamon(but don’t worry, none of them call for broth).
What to Make With Cinnamon
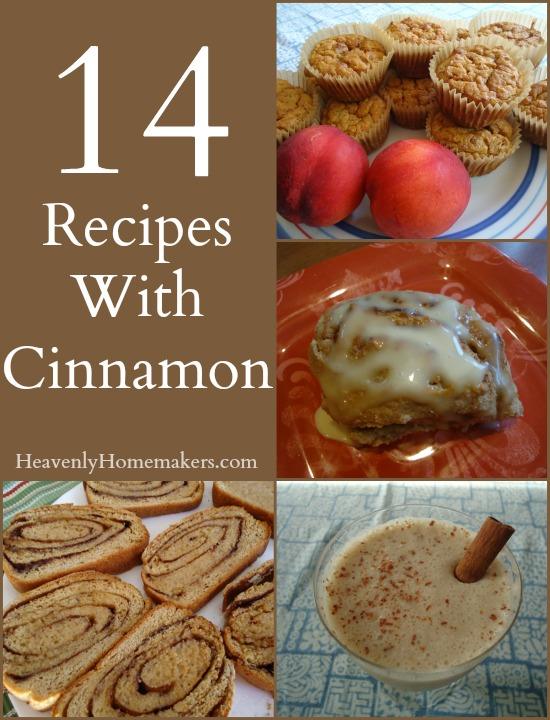
- No-Knead Cinnamon Rolls with Honey’d Orange Glaze
- Cinnamon Smoothie
- Cinnamon Nectarine Muffins
- Quick Mix Honey Cinnamon Muffins
- Cinnamon Apple Toast
- Snickerdoodles
- Cinnamon Swirl Bread
- Baked Apple Pancake
- Snickerdoodle Muffins
- Vanilla Muffins with Cinnamon Crumb Topping
- Apple Pie Filling
- No-Bake Snickerdoodle Bites
- Low-Sugar Carrot Cake
- Zucchini Carrot Bread
What to Make with Apples
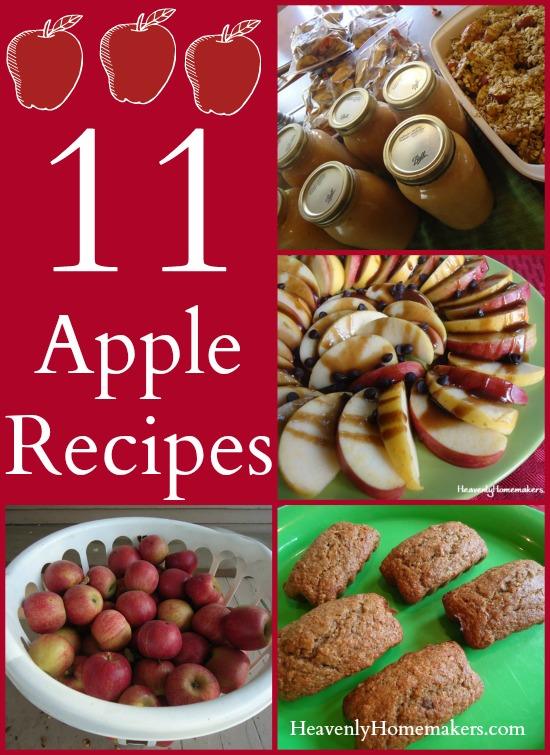
- Applesauce
- Baked Apple Pancake
- Apple Pie Filling
- Salted Caramel Apple Crisp
- Cream Cheese Fruit Dip (to go with your apples)
- Applesauce Bread
- Apple Fruit Leather
- Build a Fruit Salad Bar
- Apple Crisp
- Apple Butter
- Apple Nachos
What to Make with Pumpkin Puree
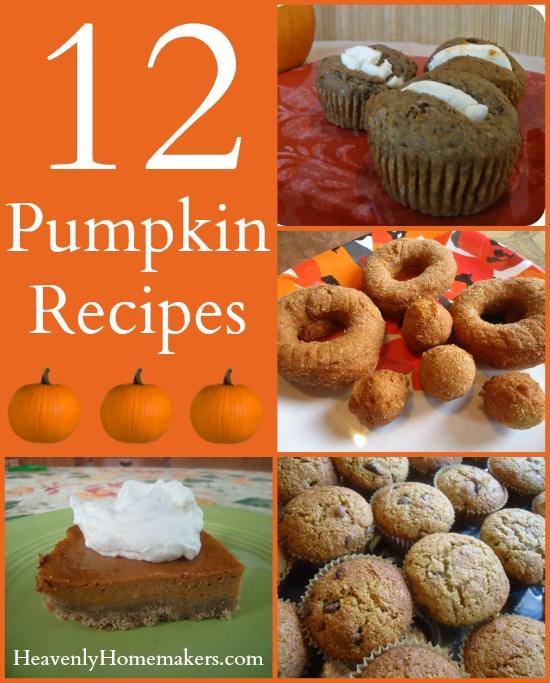
- Pumpkin Chocolate Chip Bread
- Pumpkin Chocolate Chip Muffins
- Pumpkin Donuts
- Warm Pumpkin Custard
- Multi-Grain Pumpkin Waffles and Pancakes
- Pumpkin Chocolate Chip Cake
- Pumpkin Pecan Pie Squares
- Pumpkin Pie
- Pumpkin Breakfast Cake
- Pumpkin Cheesecake
- Pumpkin Pie Bars
- Pumpkin Cream Cheese Muffins
What to Do with Beef Bone Broth or Chicken Broth
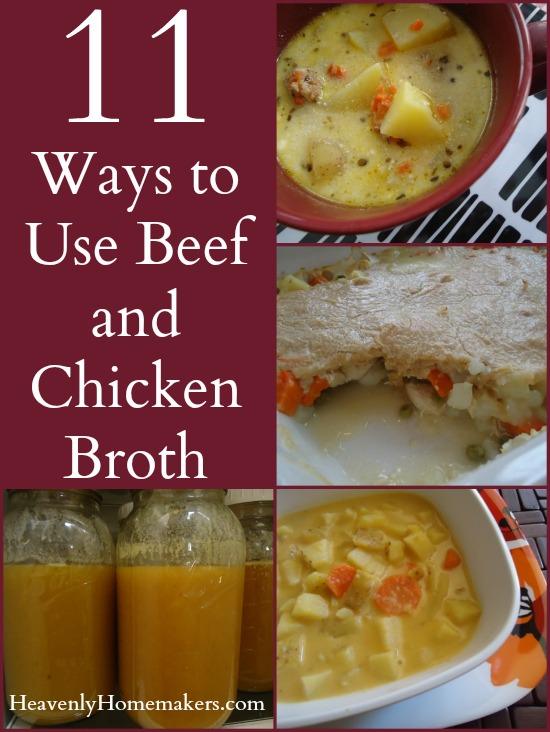
- Cook brown rice in it (instead of water) for delicious flavor and added nutrients
- Drink it as-is
- Make Beefy Vegetable Soup
- Make Cheeseburger Soup
- Make Chicken Noodle Soup (or use the same idea for Beef and Noodle Soup)
- Cook rice in it for Cheesy Beef and Rice
- Use it in Chicken Pot Pie
- Make Chicken Tortilla Soup
- Cook rice in it for Creamy Chicken and Rice Casserole
- Make Pizza Soup
- Make Potato Soup


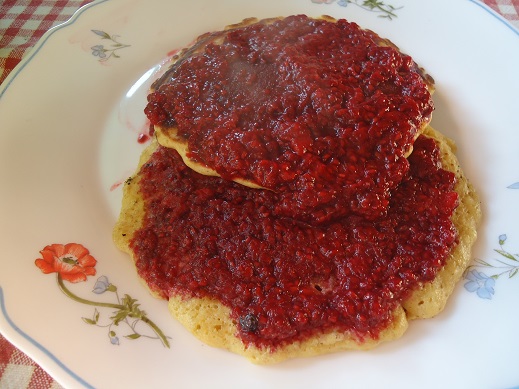


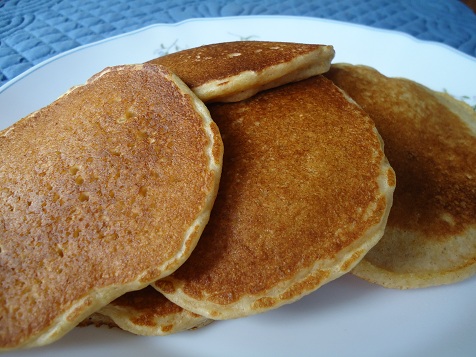
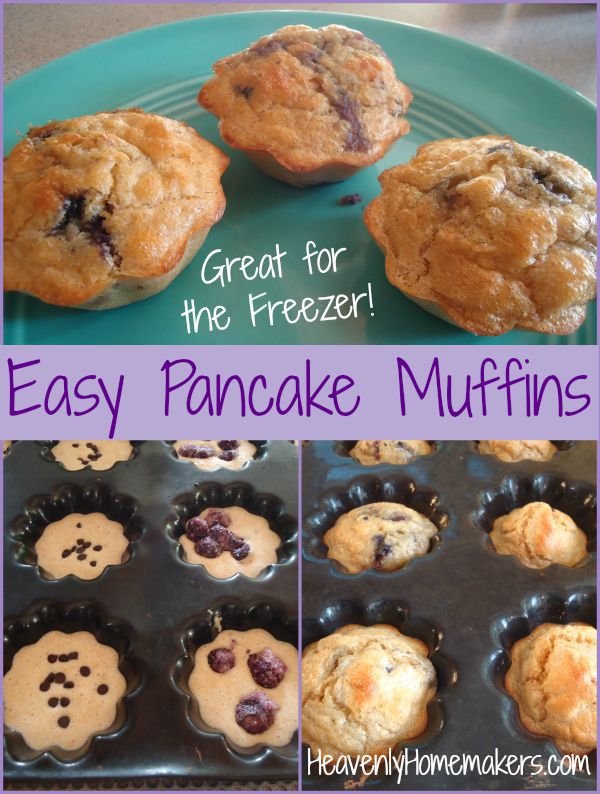
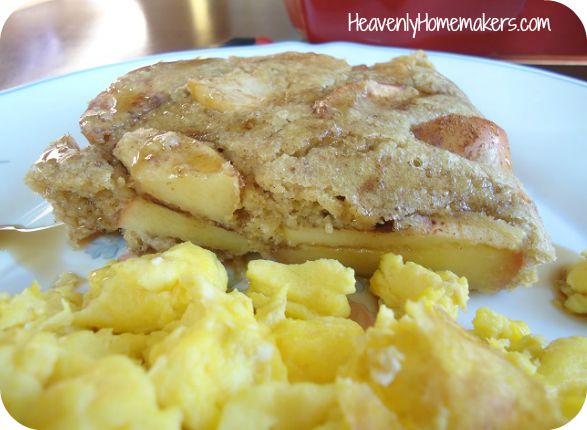
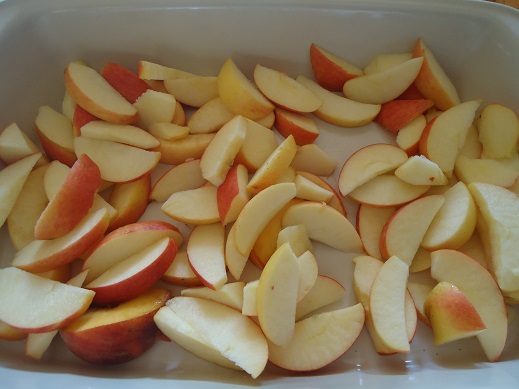
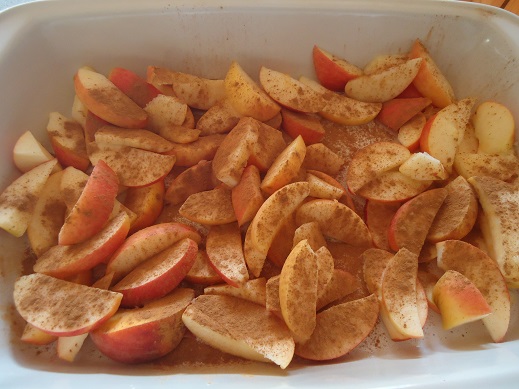
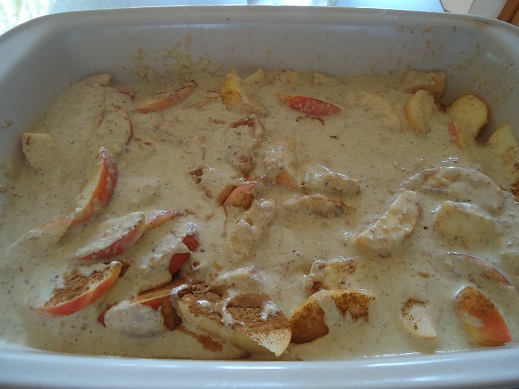
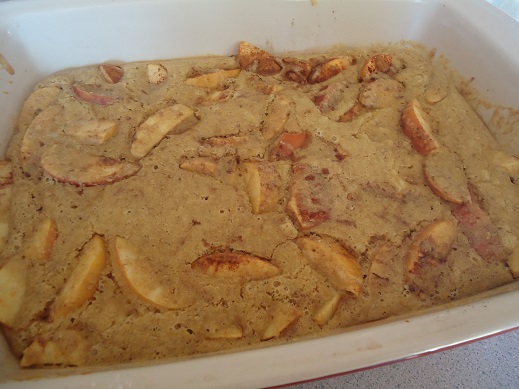
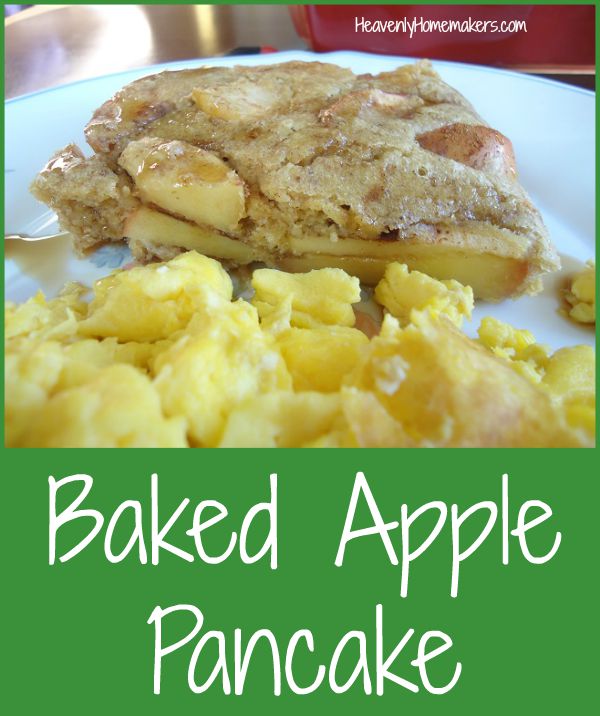 Baked Apple Pancake