Hey, breakfast at school? You sure are sweet.
Today I’m taking a moment to process my thoughts about the school’s tasty donuts. Also, the chocolate milk. Then I’m going to tell you what I’m trying to do at our house to help our kids avoid sugar overload.

I am all about offering a fun breakfast. But I try to keep the sugar level down if I expect any of us to be productive. Here babies. Eat these fruity pebbles. Now go sit still for a long time and calculate numbers and sound out words.
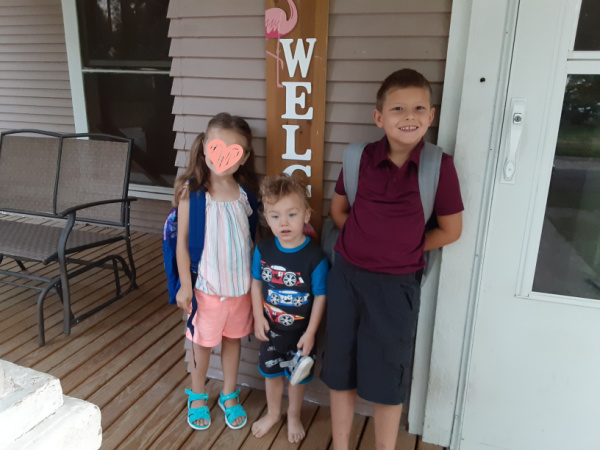
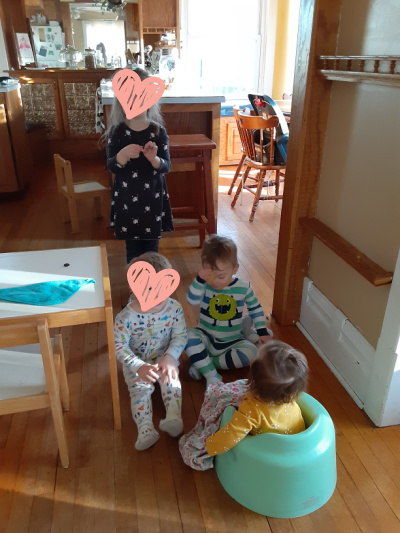
First day of school, 2021. Keith had to get in on it too!
And how dare they get on the bus without him?!
School breakfast is free this year, so I decided to check something off my morning list and let the kids eat at school when they got off the bus.
I have no idea what the kids ate on their first day. It was the first day. We survived it. That’s all that mattered.
On the second day of school, our kindergartener came home with precious, sweet chocolate cheeks. She proudly told me that they all got chocolate donuts for breakfast! I celebrated the fun with her, and then gently suggested that maybe tomorrow she pick something less sugary to start her day.
Bless her little five-year-old heart. On day three, she told me that today she’d had cereal – so that was much less sugary, right? Good job, said I. What kind of cereal did you pick?
Her happy reply was, “The chocolate kind. OH! And then I poured chocolate milk into it so it was double chocolate!”
Oy. Well, what would any of us have chosen as kids? The chocolate cereal with the chocolate milk? Well, yeah! (Ok, fine. I would have chosen the fruit loops.)
Yes, of course, the school always also offers fruit and protein. But Mom isn’t there to make them take it and eat it, ha. And it’s easy to overlook it when there lie the donuts. So.

I fight enough battles with our kids.
Our seven and five-year-old babes have plenty of other more important needs for me to focus on. I feel like I am constantly re-training and re-directing and re-teaching them. So for me to say, YOU MAY NOT EAT SUGAR AT SCHOOL! would not be an ok thing. This isn’t a hill I’m going to die on. It’s not their fault that there are so many fun sugar choices. And the school has a lot of kids to feed in a short amount of time. They can’t make omelets to order. Sweet items are easier to dole out!

Chocolate Milk…times three
This one is maybe the hardest for me. When given the choice, of course, our kids are going to take chocolate milk. That’s what I did as a kid!
I’ve tried to encourage white milk, but they don’t like how it tastes out of a carton. Then there was the day Brayden proudly told me he’d chosen a different carton of milk at school. “White milk?” I asked. “No, the pink kind!” Ahhhh, strawberry. Hahaha. Bless.
If the kids just got one sugary milk each day, I would just shrug and move on. Again, I’m not dying on this hill. But in fact, they get chocolate milk three times every day. One at breakfast, one at snack, and one for lunch. My stomach hurts just thinking about it.
So we decided to skip breakfast at school.
Maybe once in a while, I’ll let them go through the breakfast line for a special treat. But I feel like I need to start their day of learning on a better foot so that they can focus better.
- I feed my kids before they get on the bus. This is tough because they leave the house at 7:05. But it’s worth the extra effort in the morning.
- I focus on protein and fresh fruit at home before sending them off for the day. If I can get some eggs or sausage on their plates and tummies, I feel so much better about whatever else they might choose to eat or drink at school. Before rushing out the door, I know they have some good nourishment in them.

Some high protein at-home breakfast ideas:
Here are a few of the menu items I’ve given my kids before sending them off. Keep in mind they only have about 10-minutes to eat before leaving to meet the bus (because I let them sleep as late as possible). So the portions are small and easy to eat (and I don’t allow any chattering between bites because oh my goodness that…sloooowwwwws…themmmm…dowwwwwnnnn).
- Fruit. Any Fruit. Just pick one and eat it. Then I give them something like:
- Scrambled Cheesy Eggs
- Apple Slices and Peanut Butter (this gives them both their fruit and their protein!)
- Apple Slices and Cheese
- Banana with Peanut Butter
- Sausage Patties or Links
- Peanut Butter Toast
- Bagel with Cream Cheese
- Fried Slices of Ham
- Ham on Toast
- Sausage Sandwich
- Egg Sandwich
- Summer Sausage and Cheese
It’s actually been pretty fun to come up with ideas for this. One day I thawed six pounds of meat and made a huge batch of Homemade Sausage.

I froze the patties, uncooked, on paper plates separated with parchment paper. These have been great to pull out and fry quickly while the kids are waking up and getting ready.

Get my Homemade Sausage recipe here. The recipe calls for ground turkey, but I use other ground meats too! Also, you’ll save time making Homemade Sausage if you follow this great recipe for making Sausage Seasoning. I keep a big jar of it, then just stir it into a large batch of meat!
Reference this too!
This simplified breakfast menu idea is my go-to! Sneak peek at the skeleton plan:
Monday – Muffins
Tuesday – Toast
Wednesday – Oatmeal
Thursday – Eggs
Friday – Granola or Cereal
What do you feed your kids for breakfast before school?