We’ve put together a tasty list to help you cool off during these super hot days!

This list is in no particular order. The ideas are simply tasty and fun! Make smoothies. Make frappes. Make fruity sweet teas. Make pudding pops. Make ice cream.
These are all made with real food ingredients. And if you know me at all you know that all of these recipes are easy to put together!
19 Treats to Help You Cool Off!
- Homemade Gatorade
- Chocolate Frappe
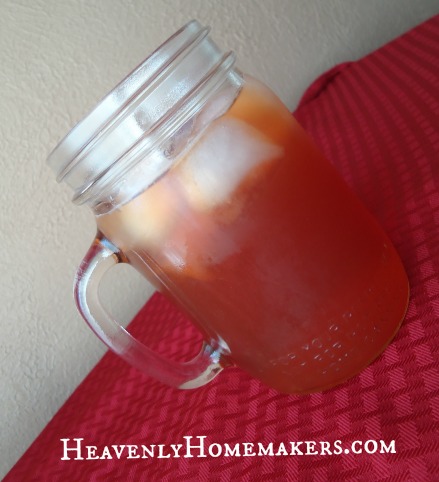
- Iced Mango Sweet (or Unsweet) Tea
- Cinnamon Smoothie
- Creamy Orange Cooler
- Peach Sweet (or Unsweet Tea)
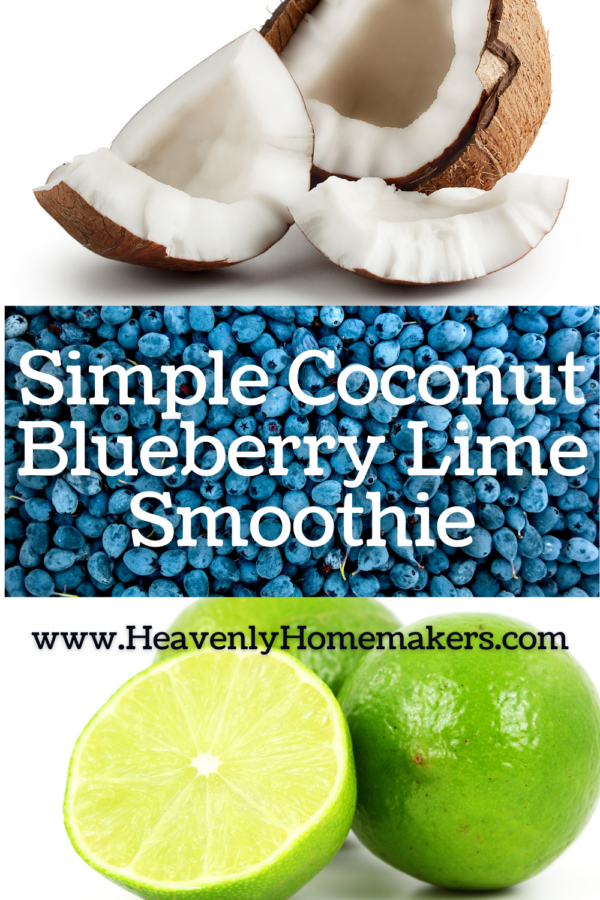
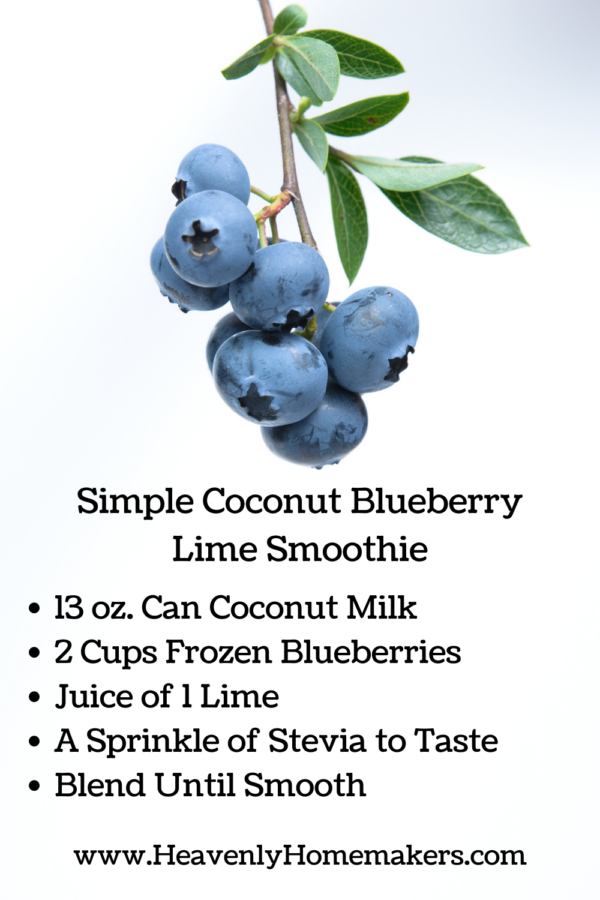
- Pineapple Mango Smoothie
- Coffee Milkshake
- Iced Coffee
- Raspberry Sweet (or Unsweet) Tea
- Pineapple Cream Dessert
- Strawberry Creamsicles
- Strawberry Ice Cream – Dairy Free
- Icy Cold Milkshake Treats
- Homemade Ice Cream
- Pudding Pops
- Strawberry Peach Slushies
- Orange Creamsicles
- Mock Frozen Yogurt
TIP: I’ve been making smoothies almost daily this summer with lots of fresh greens in them like this. Matt and I love drinking our salad this way! But the kids? They don’t like them with as many greens as we grown-ups do. BUT! The kids will drink them with some greens. So I make a separate batch for the kids with more fruit, some yogurt, and a couple of small handfuls of fresh spinach. They drink them right up!
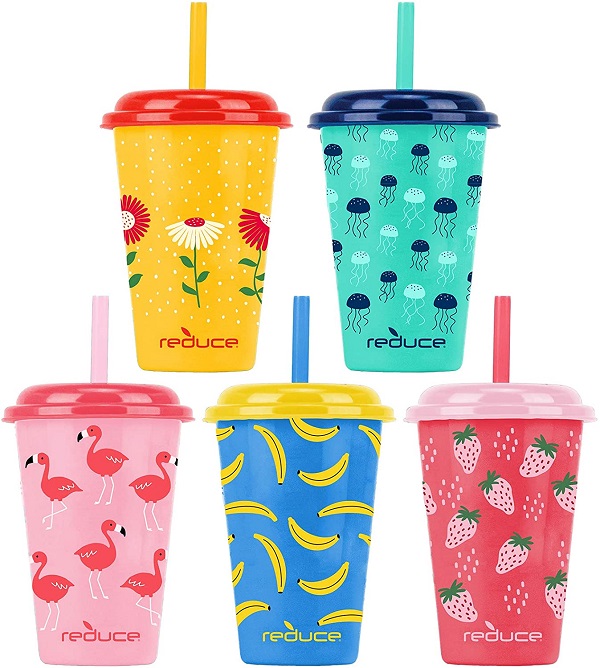
TIP: If I put the kids’ smoothies in cups like this, they aren’t turned off by the color created by blending in spinach. Mwuhaha. I have my ways. :)
TIP: However, my kids are onto me. So I don’t try to sneak the spinach into the blender. I have them wash their hands and help me put the leaves in themselves. That way they feel proud of the spinach in their smoothies. Mwuhahaha, again.


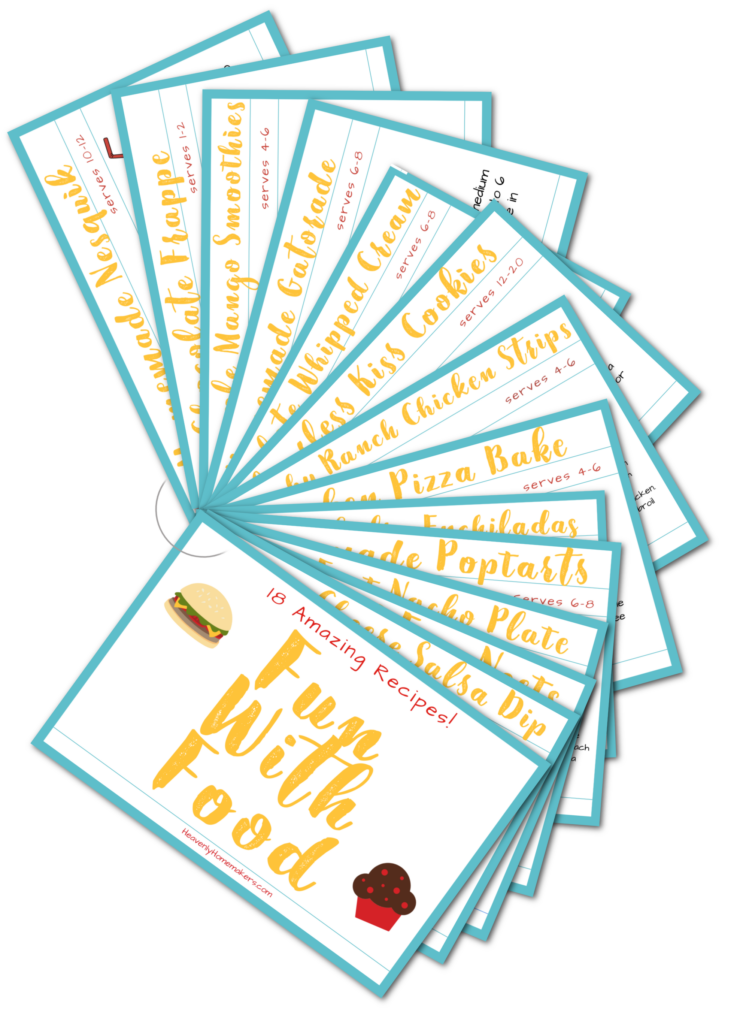
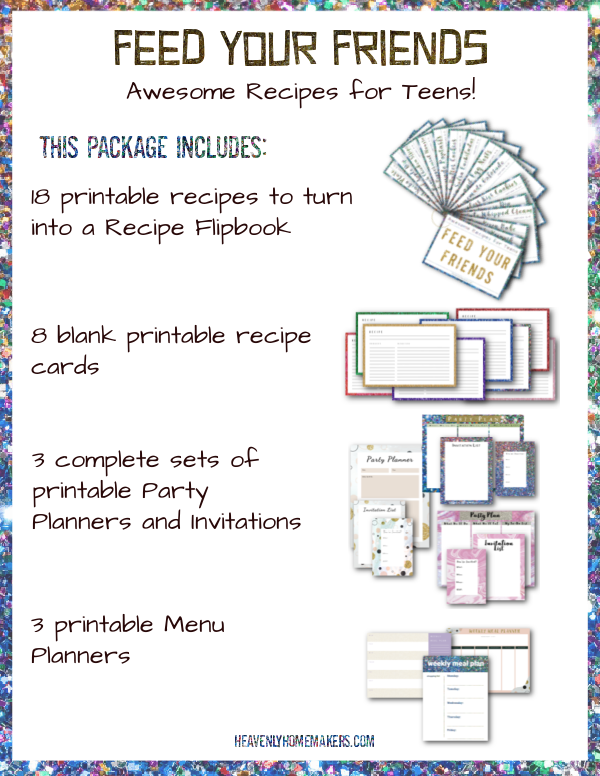
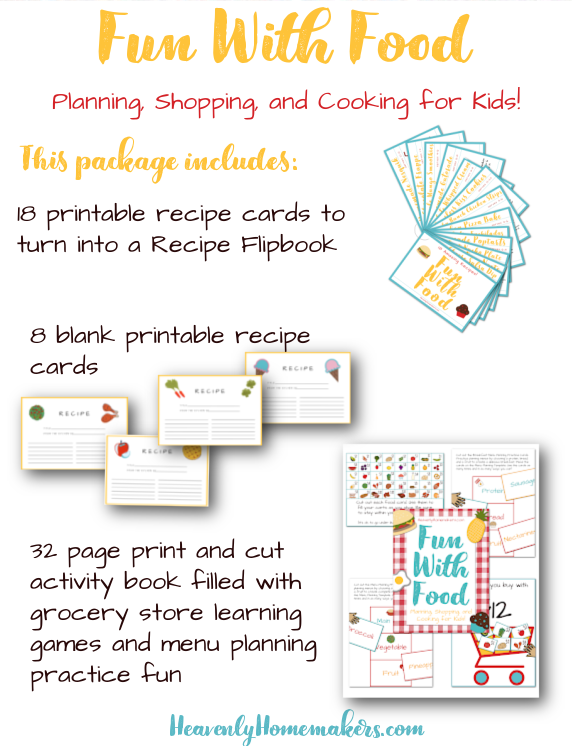
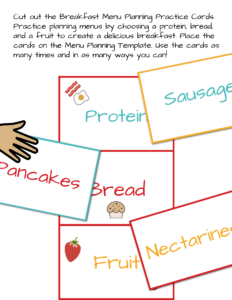
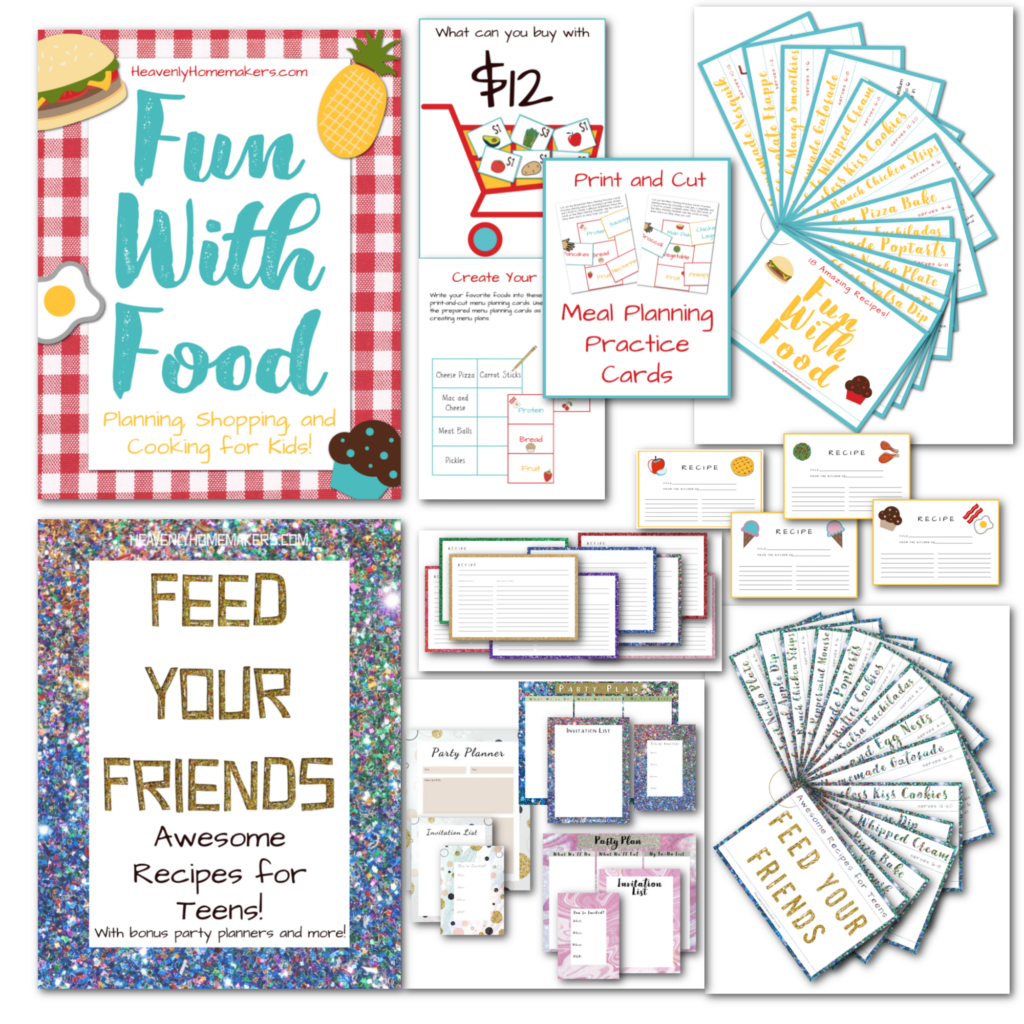 This is a 2-in-1 package that includes: