Whenever I can find a few extra minutes, here are the snacks I like to make!
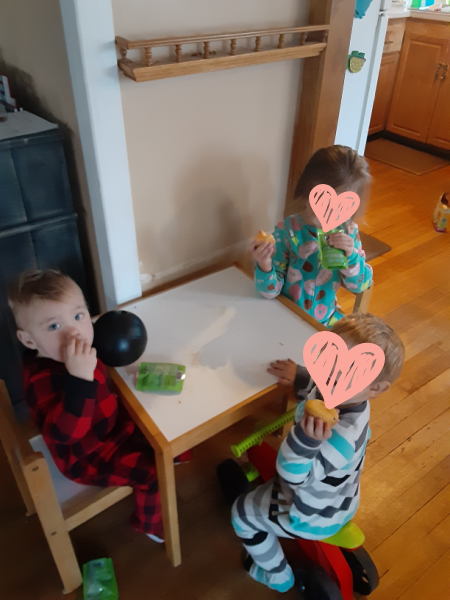
I barely have time to eat these days, much less cook or bake. But therein lies the problem: all these kids who are taking up so much of my time need good snacks that I can grab quickly for them. And since I mostly have to eat on the fly, anytime I have something easy to grab for myself I appreciate it so much!
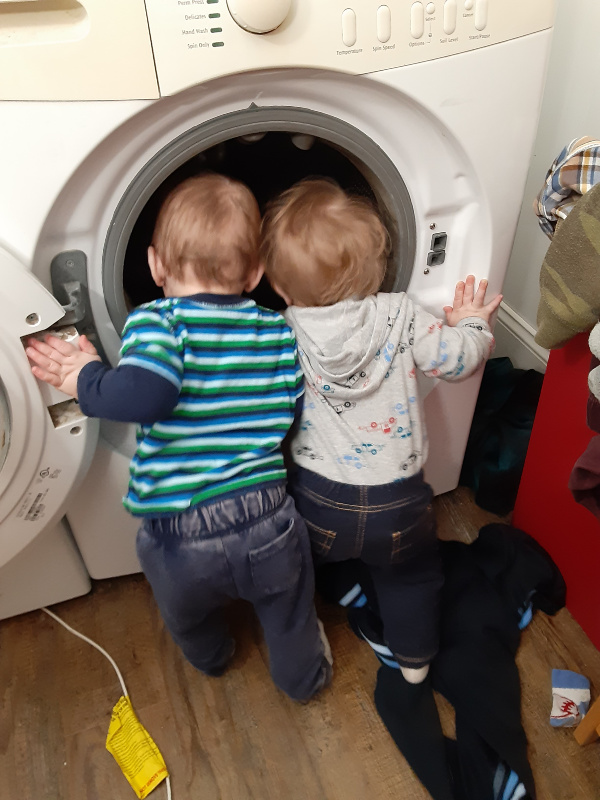
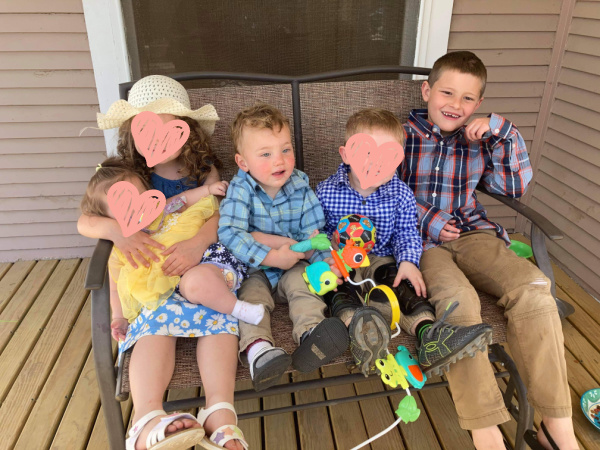
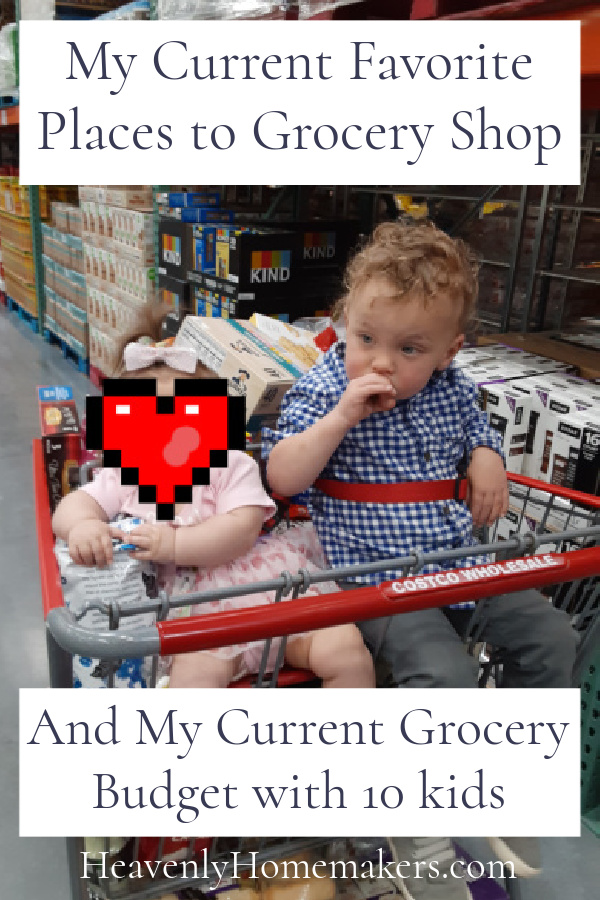
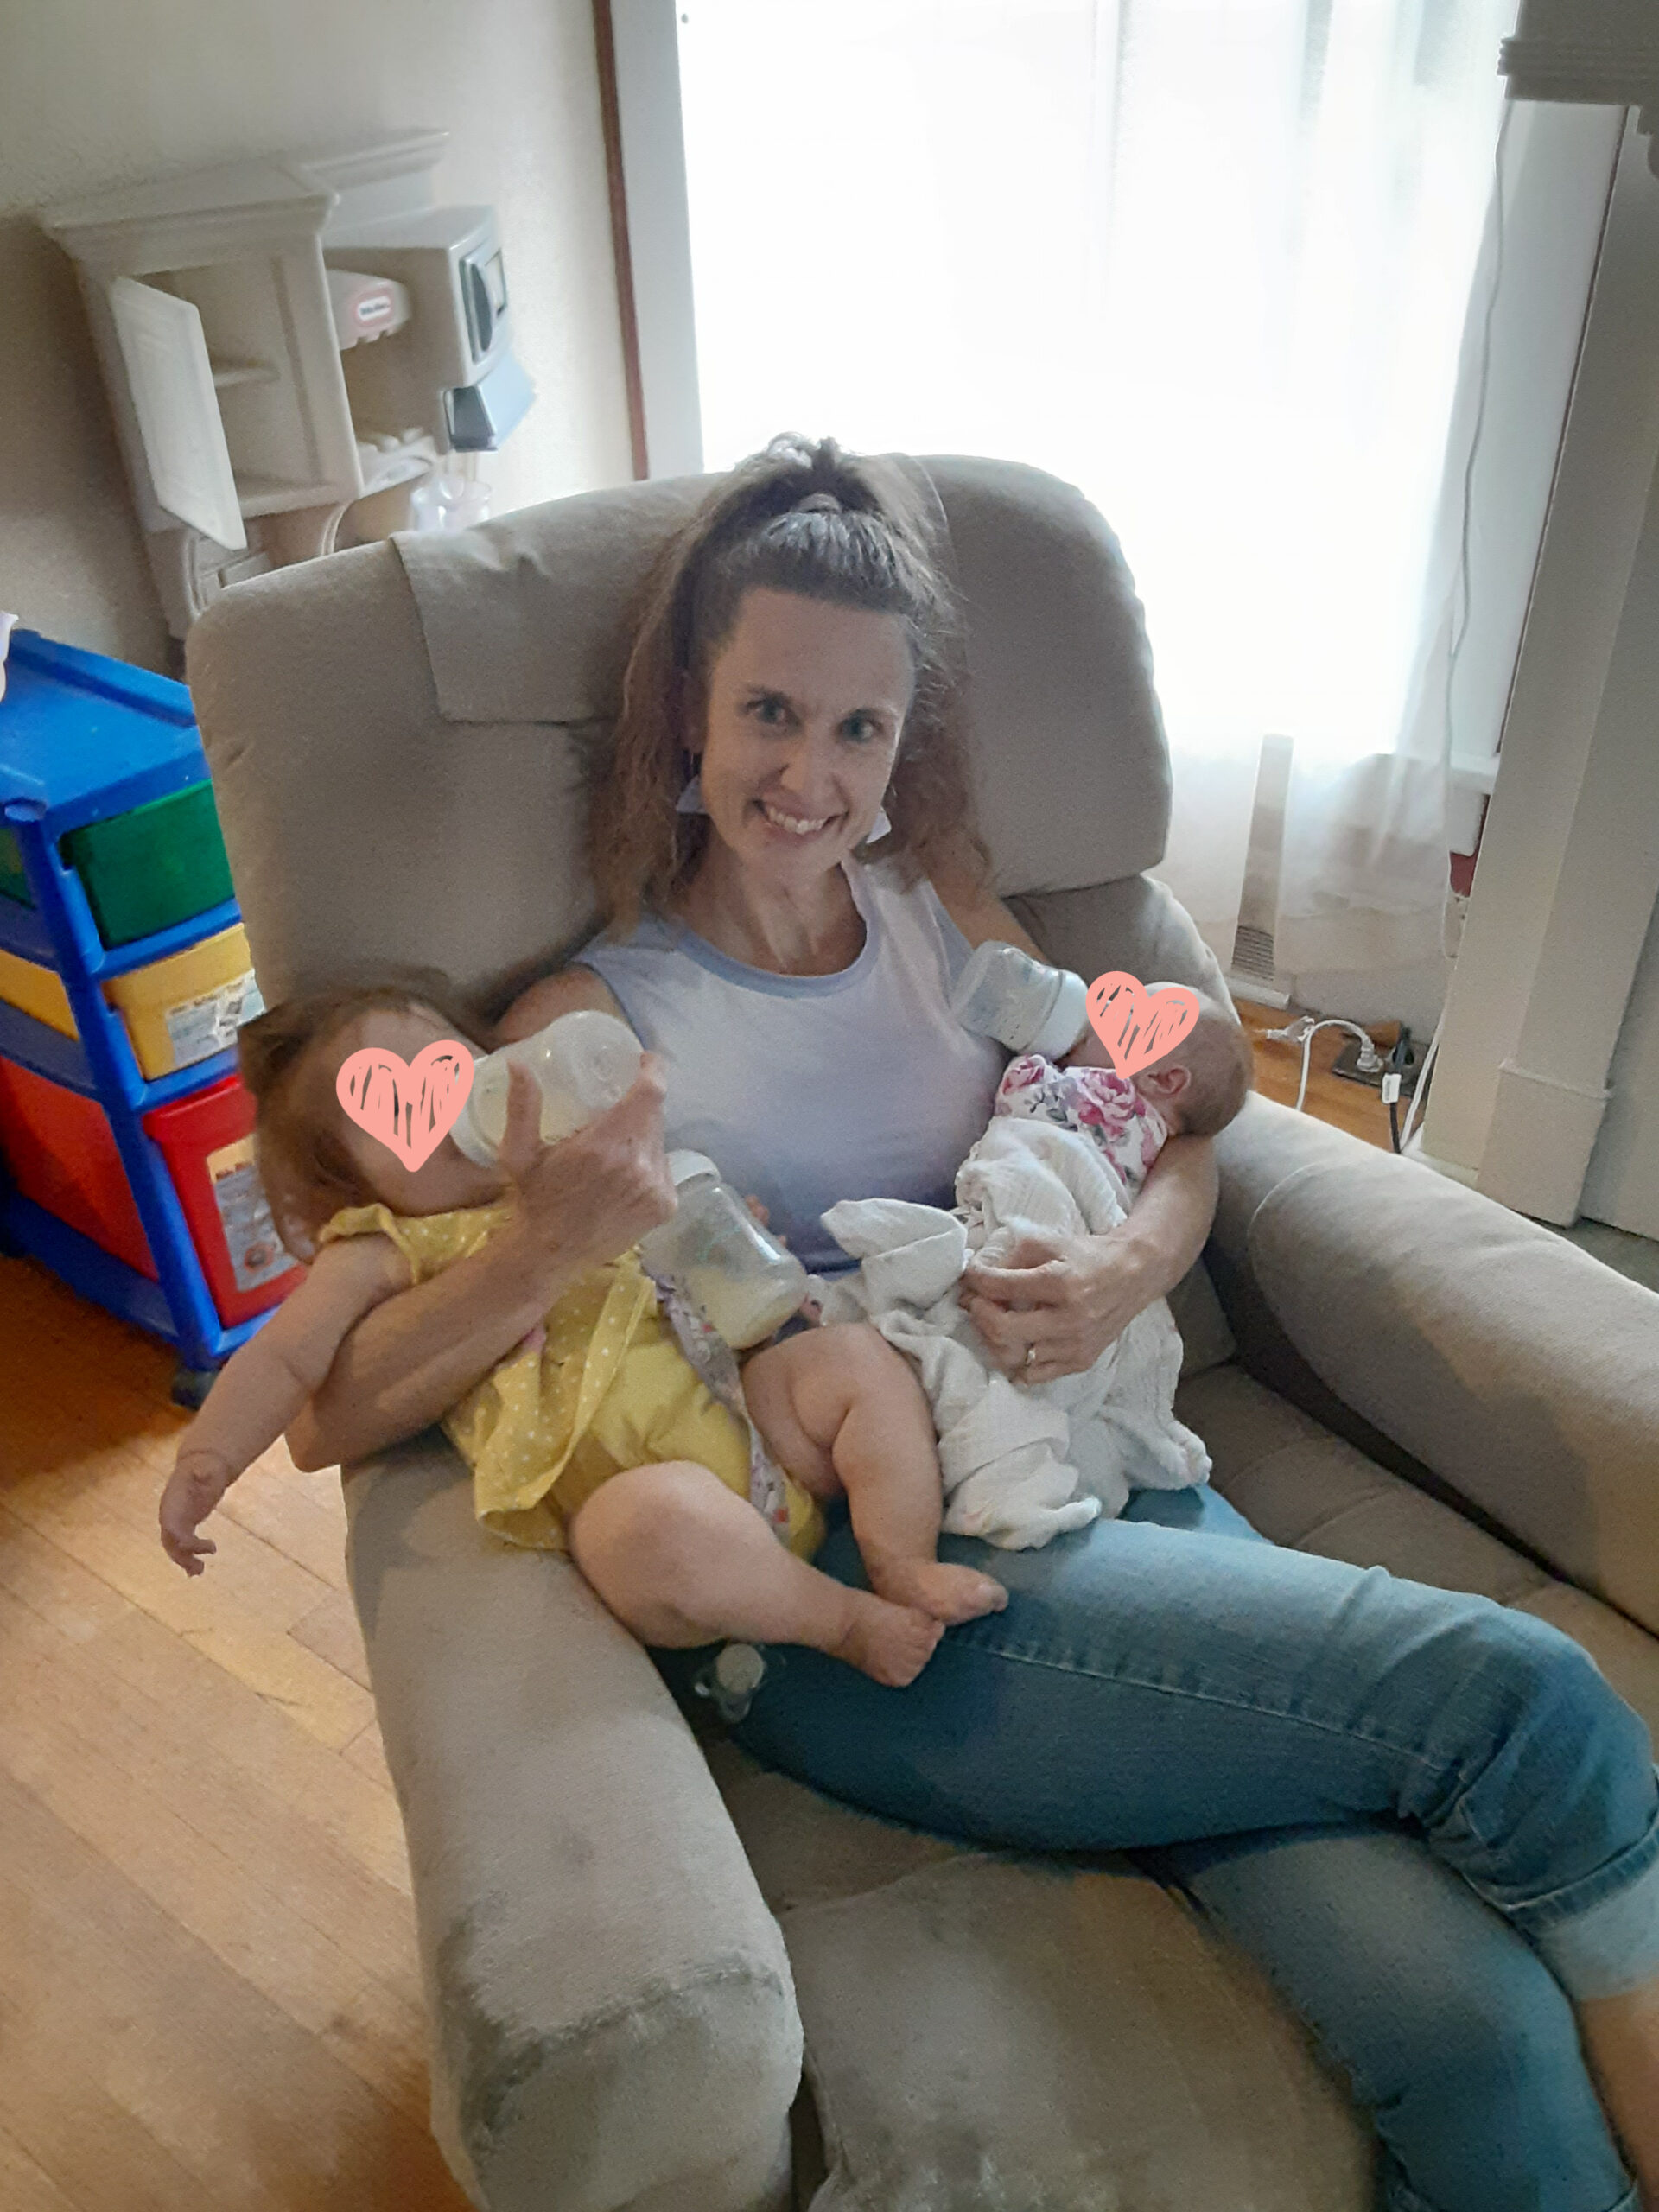
Current count: 10 kids. Our two oldest are missing from this picture!

Also? I. Love. To. Cook. And. Bake.
When I’m so busy with all of our kids and the appointments and meetings that come with foster care, I actually find that I miss my kitchen. Creating food for people truly feeds me (haha, it’s kinda punny). So if and when I find a few extra minutes, I find it to be so fulfilling and relaxing if I can stir some muffins together for the oven or roll out a batch of Cookie Dough Bites.
What a win, huh? I get my kitchen therapy, and then we end up with snacks for the family!
OH! But this only works if the recipes are simple and quick. I’m an instant gratification kind of a gal. I’ve never liked spending extra time on any task. I prefer to get it started, get it finished, and have a fun, fast result!
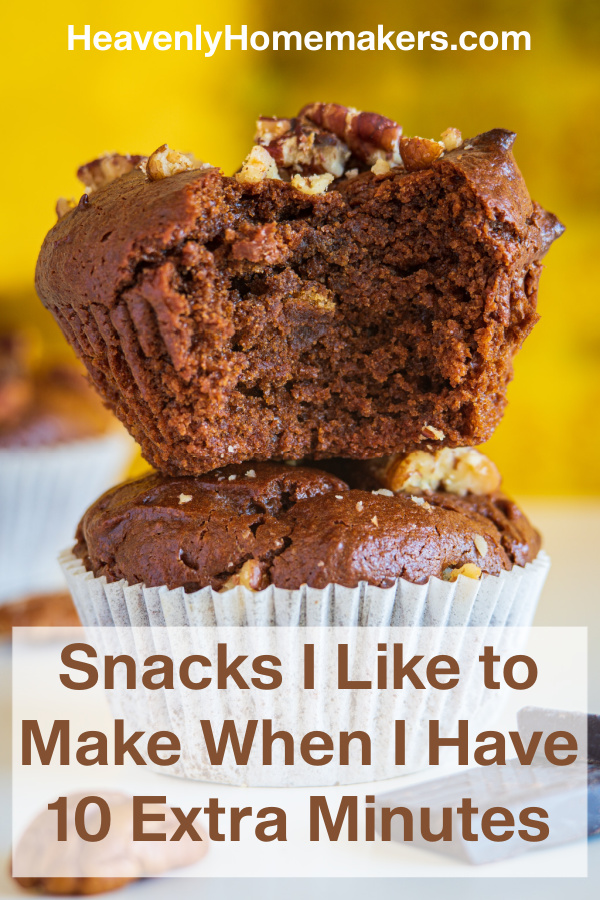
Snacks I Like to Make When I Have 10 Extra Minutes
Here are the recipes I go back to over and over that can be put together quickly and grabbed and eaten by our family as needed:
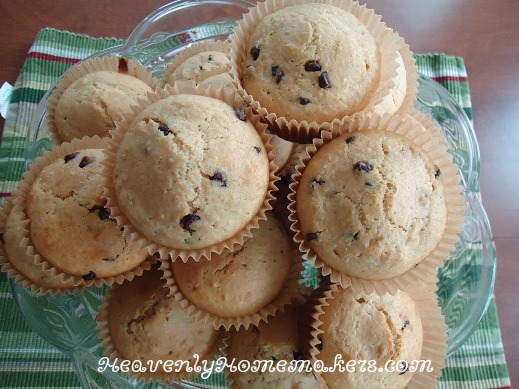
Muffins
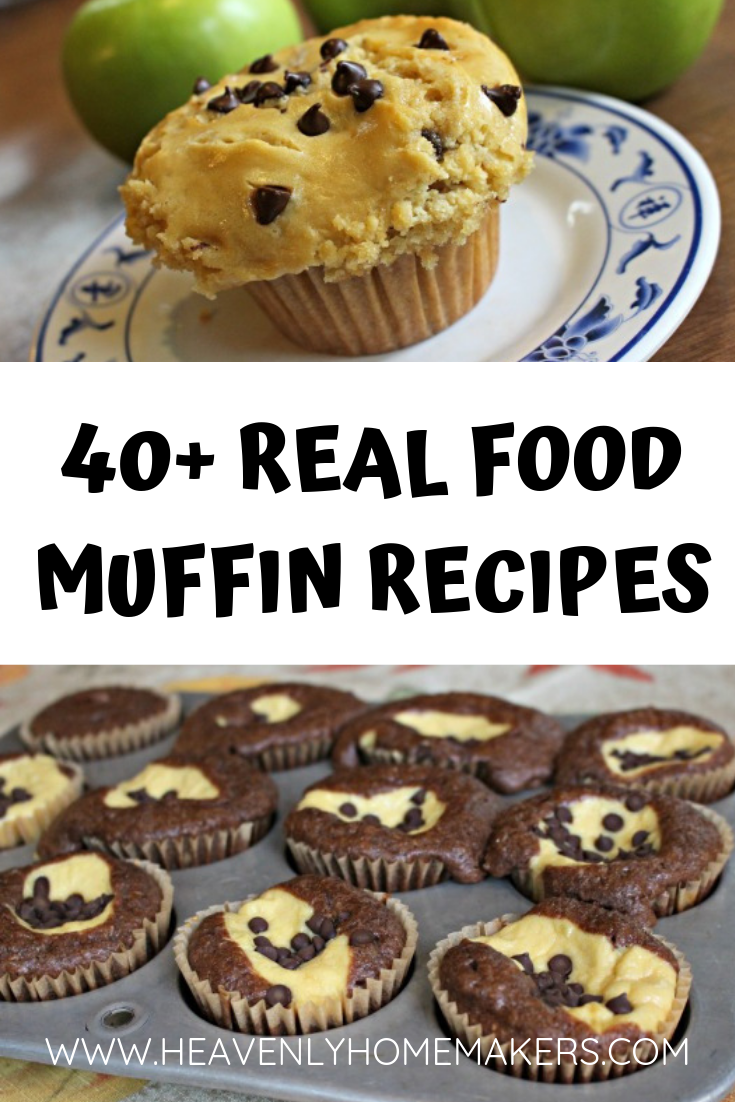
So. Many. Muffins. We eat them by the dozen and we love all varieties. Sometimes I make mini-muffins, but regular-sized muffins can be made faster, so that’s my usual style. Muffins make great breakfasts or snacks, and with this many little ones, I’ve found that they are the baked good I try to keep on hand at all times.
- Almond Flour Muffins (gluten free/dairy free)
- Bacon Cheese Muffins
- Banana Muffins
- Banana Cheesecake Muffins
- Blueberry Cheesecake Muffins
- Blueberry Streusel Muffins
- Breakfast Cake Muffins
- Chocolate Cheesecake Muffins
- Chocolate Chip Cheesecake Muffins
- Chocolate Chocolate Chip Muffins
- Chocolate Swirl Muffins
- Chocolate Zucchini Muffins
- Coconut Flour Muffins (gluten free/dairy free)
- Coconut Flour Banana Muffins (gluten free/dairy free)
- Cornbread and Cornbread Muffins
- Cream Cheese Pumpkin Muffins
- Eggnog Muffins
- Flourless Brownie Muffins
- Flourless Pumpkin Muffins
- Honey Cinnamon Muffins
- Lemon Muffins
- Muffin Waffles
- Orange Muffins
- Pancake and Sausage Muffins
- Peaches and Cream Muffins
- Peanut Butter Muffins (grain/gluten/dairy free)
- Peanut Butter Chocolate Chip Muffins
- Peanut Butter Chocolate Chip Cheesecake Muffins
- Pumpkin Cheesecake Muffins
- Pumpkin Chocolate Chip Muffins
- Snickerdoodle Muffins
- Strawberry Cream Muffins
- Stuffing Muffins
- Sweet Potato Streusel Muffins
- Vanilla Muffins with Cinnamon Crumb Topping
- Whole Grain Chocolate Chip Muffins
- Whole Grain Lemon Muffins
- Whole Grain Orange Poppyseed Muffins
- Whole Wheat Chocolate Zucchini Muffins
- Whole Wheat and Honey Zucchini Muffins
- Whole Wheat Oatmeal Chocolate Chip Muffins
Crustless Cheesecake
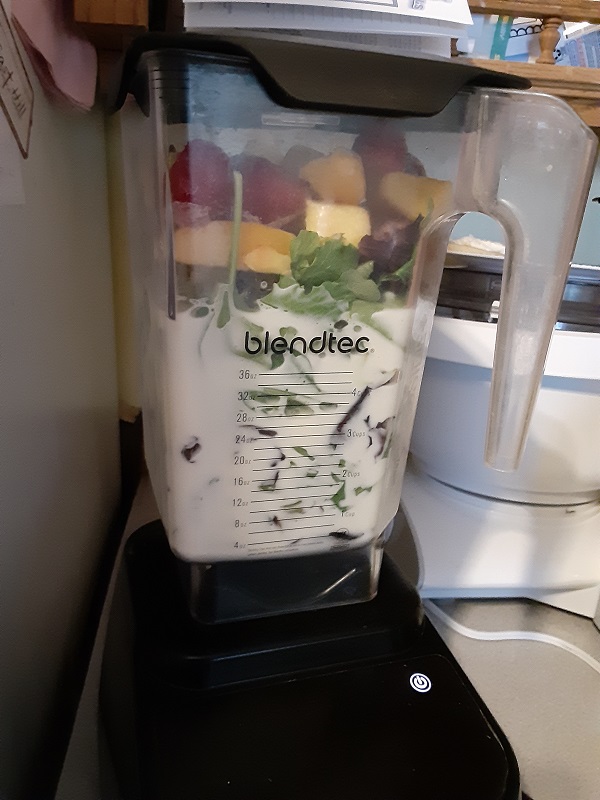
I can throw the ingredients for these into my Blendtec, whip it all for 30 seconds, then it’s ready to pour and bake. When I need a pick-me-up, I can grab one of these from the fridge and eat it on my way to grab a diaper for a baby. They are low in sugar and full of protein. I love them!

Flourless Brownies
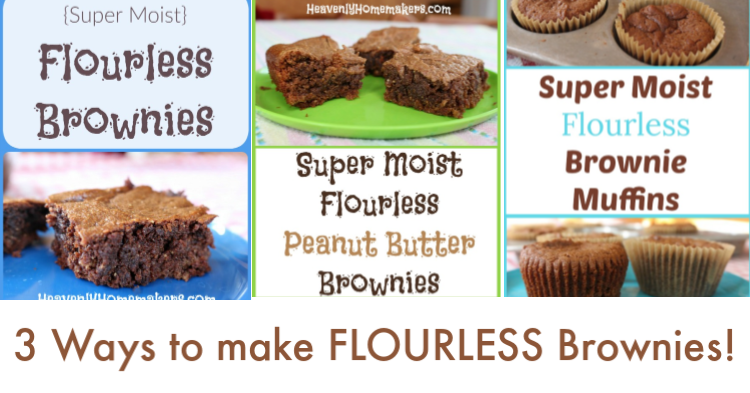
We can stir these together quickly and they are incredible for breakfast or snacks! If you pull them out of the oven when they look slightly under-done, they will be super moist and amazing. Make them with almond butter or peanut butter and you will love these!!
No-Bake Cookie Dough Bites
These call for nut butter and coconut flour, so they are high in protein and fiber, filling, and tasty (sweetened with honey!). I have several recipe varieties, which really means I use the same ingredients with a few tweaks depending on what I have on hand and what sounds good. All my kids love to snack on these!
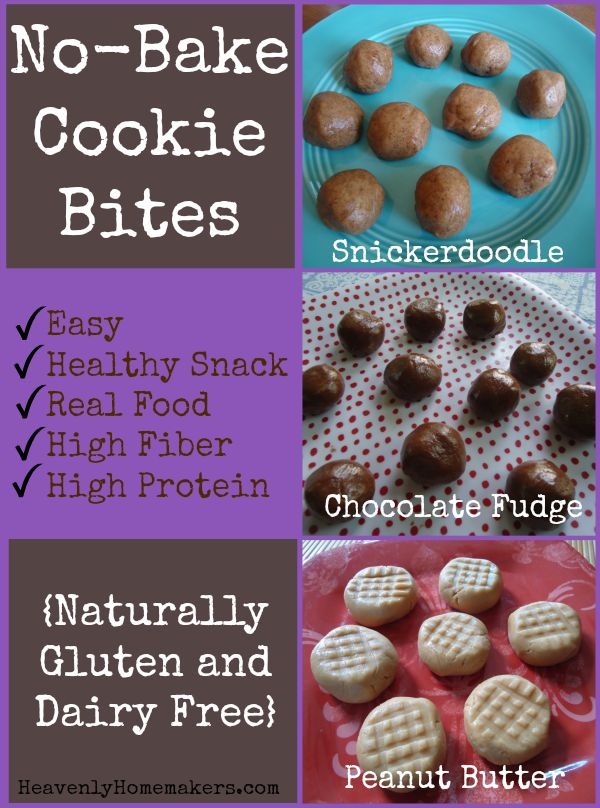
- No-Bake Chocolate Fudge Cookie Bites
- No-Bake Snickerdoodle Bites
- No-Bake Peanut Butter Cookie Bites
- Chocolate Chip Cookie Dough Bites
Fat Bombs
I can quickly melt all the ingredients together on the stove for these, then pour them into silicone cups for the fridge. These stick with us for a while and taste like a peanut butter cup!
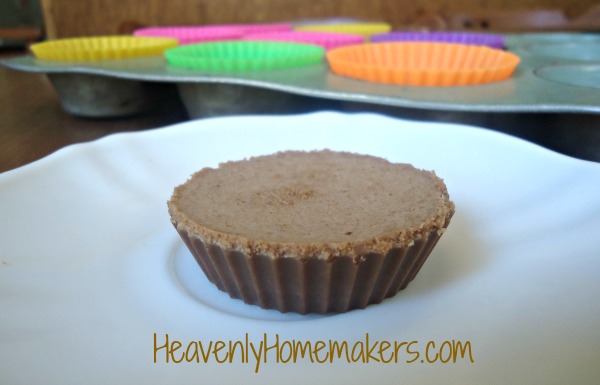
Healthy Chocolate Peanut Butter Cups
What are your favorite quick snack recipes?