During one of my last grocery shopping trips, I realized that I rely on 3 big fat Costco essentials. I can’t ever run out of these!

Indeed, I’m talking about actual fat. Healthy fats that cost less at Costco and are essentials at my house.
My 3 Big Fat Costco Essentials
Here they are, in no particular order. Ah, phooey. Who am I kidding? Of course they are in order. Butter is my favorite, hands down.
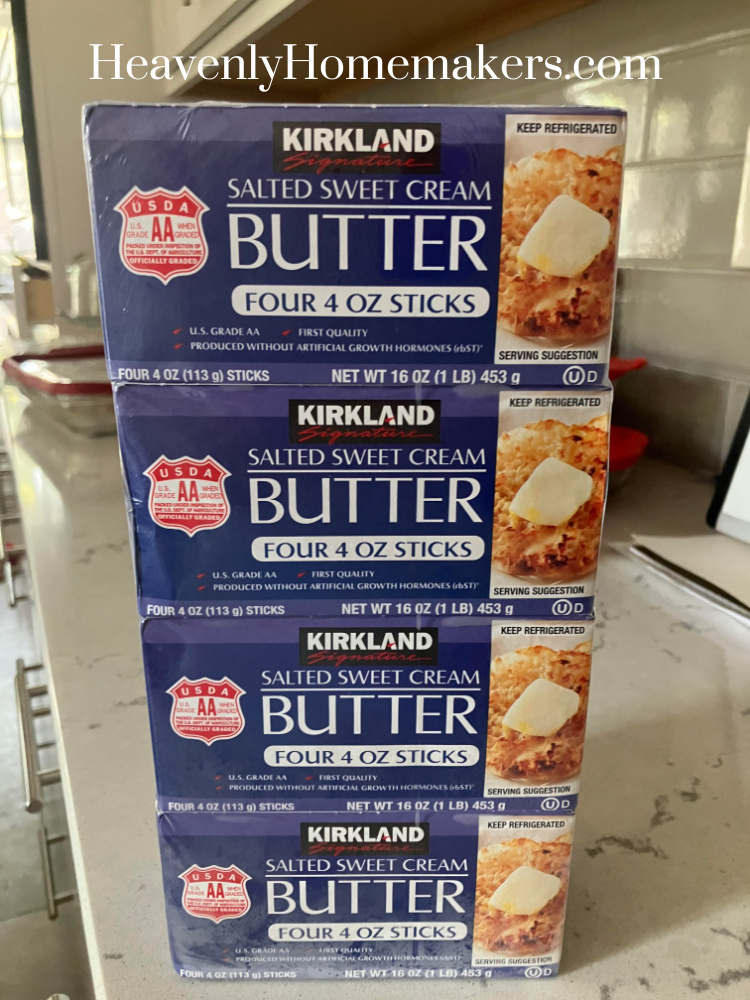
1. Butter
Now that we have such a large household, I find that we go through butter very quickly. We bake with it often and spread it on all of our muffins and breads.
Costco butter comes in a 4-pound-pack and currently costs just $2.87/pound. I haven’t found it for this low anywhere else I’ve shopped. I usually buy two 4-packs each time I shop (once or twice each month) so that I always have a couple pounds in my fridge and extras to grab from my freezer.
What do I make with butter?
Well, how long do you have?! These are some of our very favorites:
- Homemade Graham Crackers
- Sweet and Simple Butter Cookies
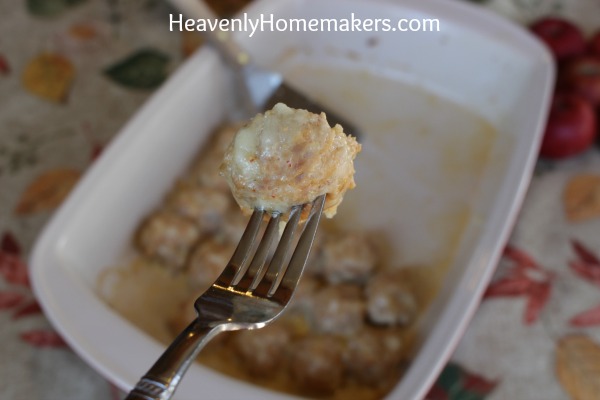
- Garlic Butter Shrimp
- Stick-of-Butter Rice is incredible and worth a huge mention (though I have recently admitted that I sometimes skip the butter in this recipe in an effort to save money, ha)
- Easy {Low} Sugar Cookies
- Low Sugar Lemon Melt-Away Cookies
- Low Sugar Almond Melt-Away Cookies
- Low Sugar Orange Melt-Away Cookies
- Low Sugar Lime Melt-Away Cookies
- Easy Butterscotch Bars
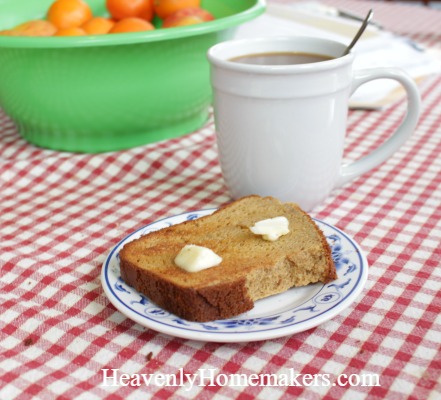
- And then slather butter over any of these muffins and bread recipes
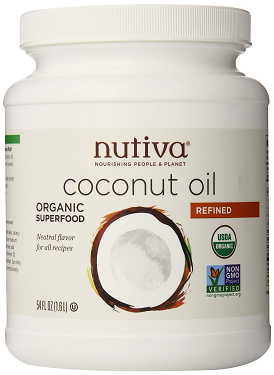
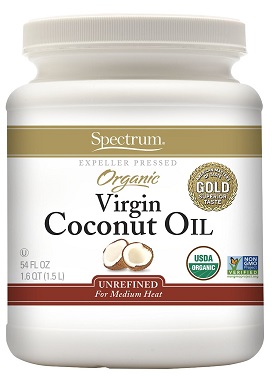
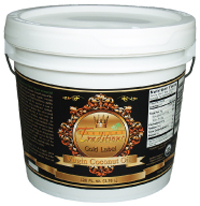
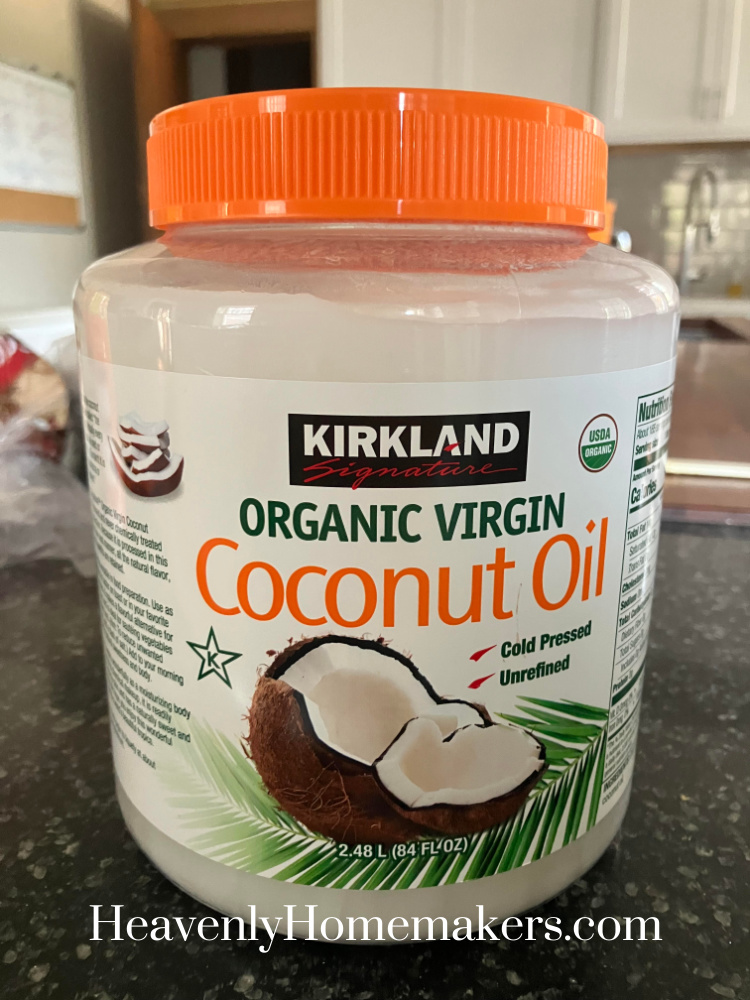
2. Coconut Oil
Coconut oil has been a staple at our house since I discovered its wonderful health benefits in 2005. We use it on our skin and in our recipes.
I love this 2.48 L tub from Costco for just $14.89. What an inexpensive way to get a lot of healthy fat into our diet!
What do I make with Coconut Oil?
These recipes are such good treats and made with this wonderful, healthy fat.
- Pumpkin Breakfast Cake
- Carrot Cake
- Easy Applesauce Cake
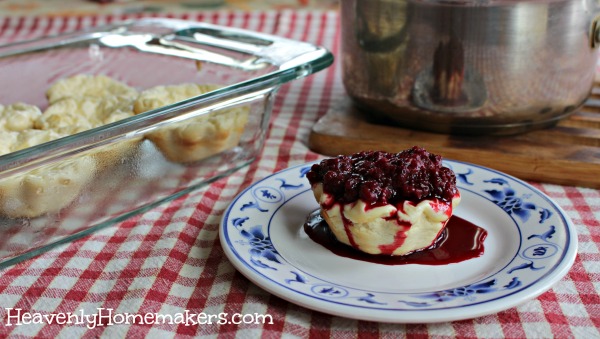
- Blueberry Shortcake with Cream Topping
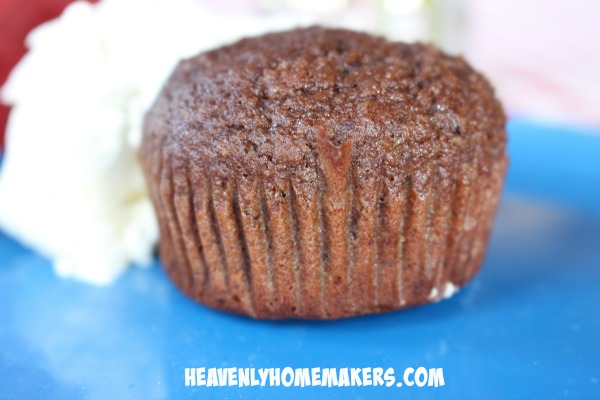
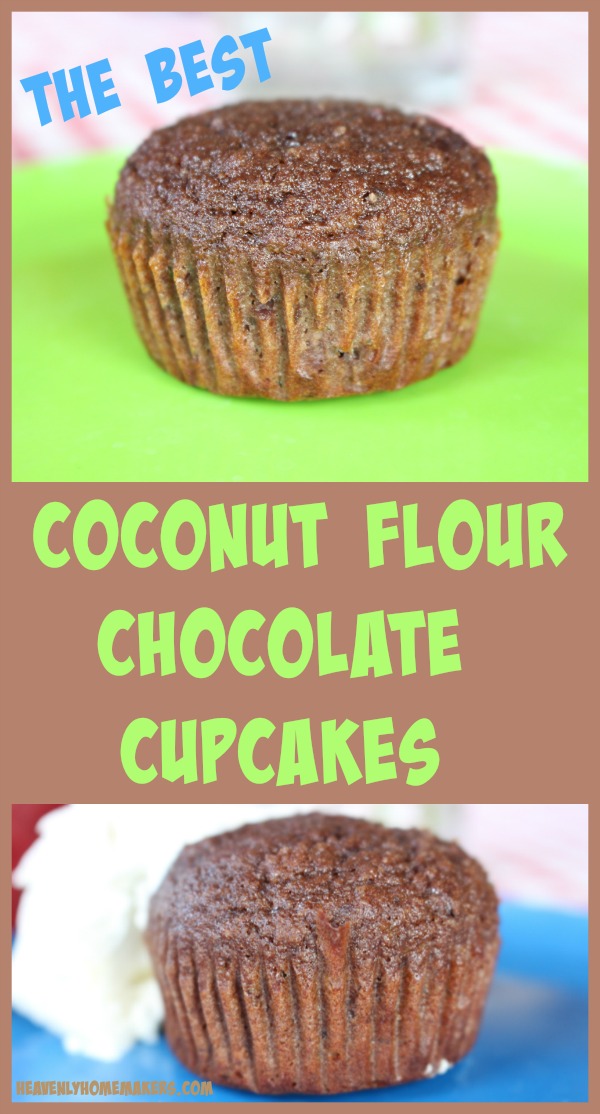
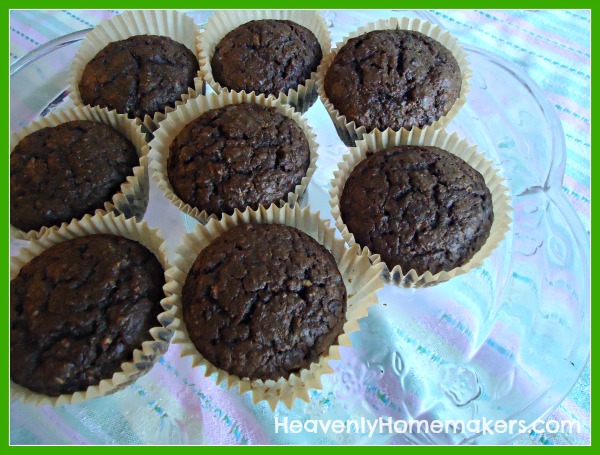
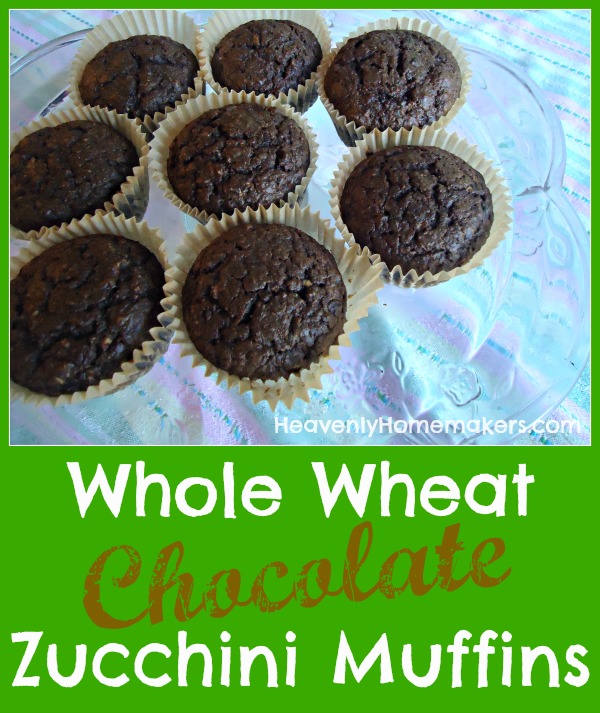
- Chocolate Chocolate Chip Muffins
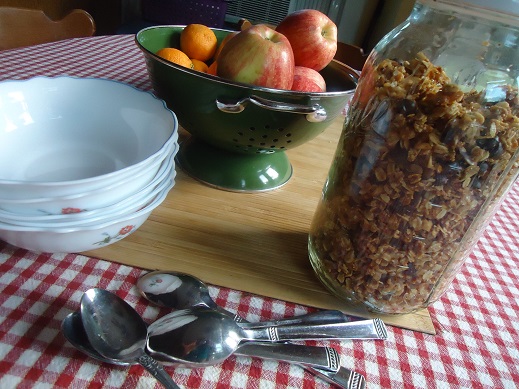
- Dark Chocolate Almond Granola
- Granola ~ 5-Minute Stop-Top Version
- Lemon Bread
- Whole Wheat Waffles
- Dark Chocolate Almond Granola
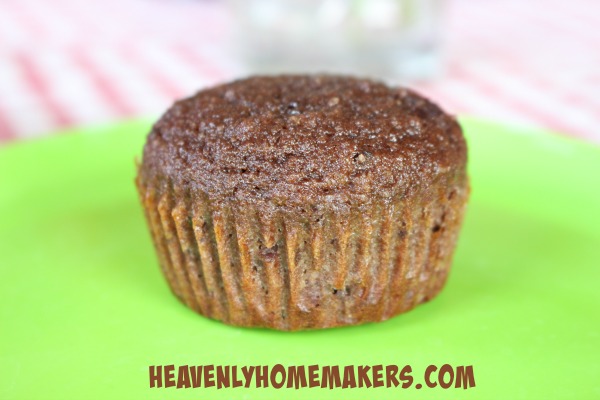
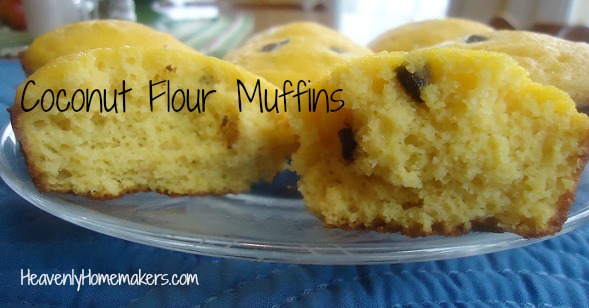
- Coconut Flour Muffins
- Coconut Fudge Bars
- Chewy Granola Bars
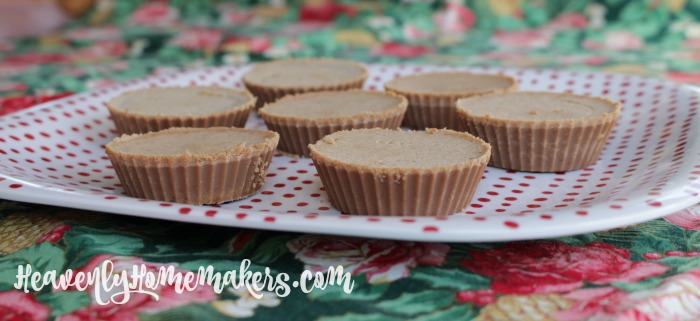
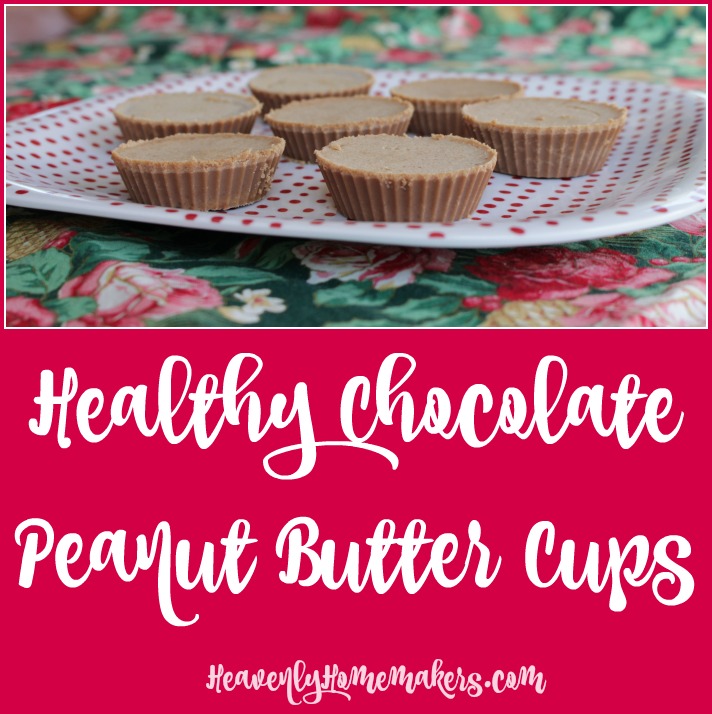
- Low Sugar Chocolate Peanut Butter Cake
- Low Sugar Carrot Cake
- Low Sugar Super Moist Chocolate Cake
- No Bake Cookie Cups
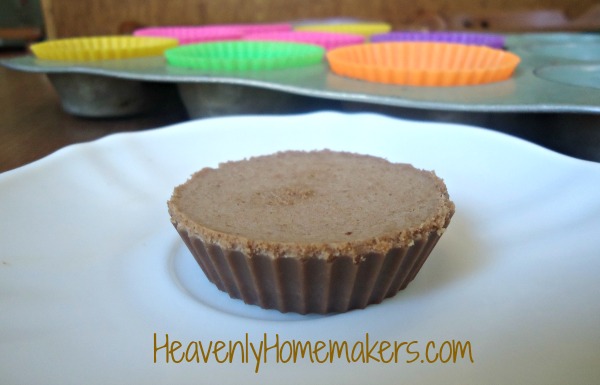
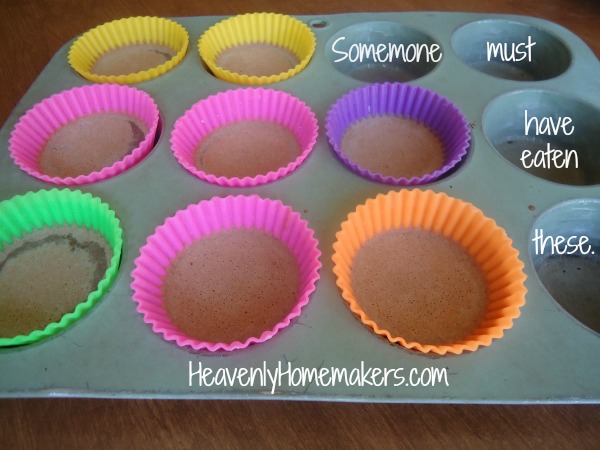
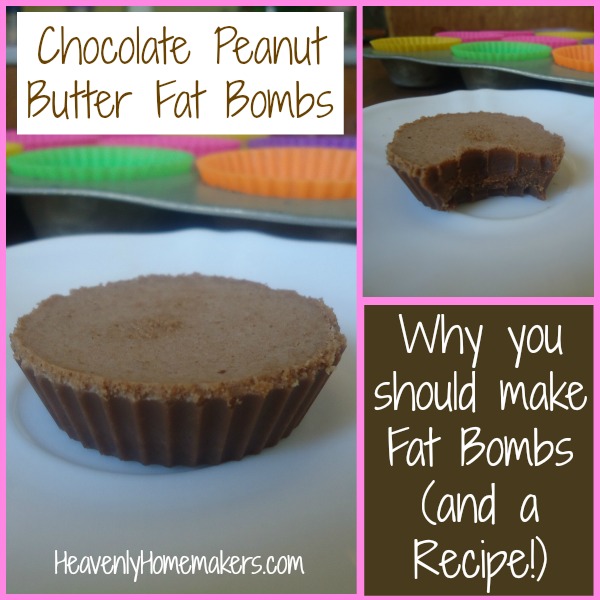
- Fat Bombs
- Honey Sweetened No-Bake Cookies
- Just about all 40 of these awesome Muffin Recipes
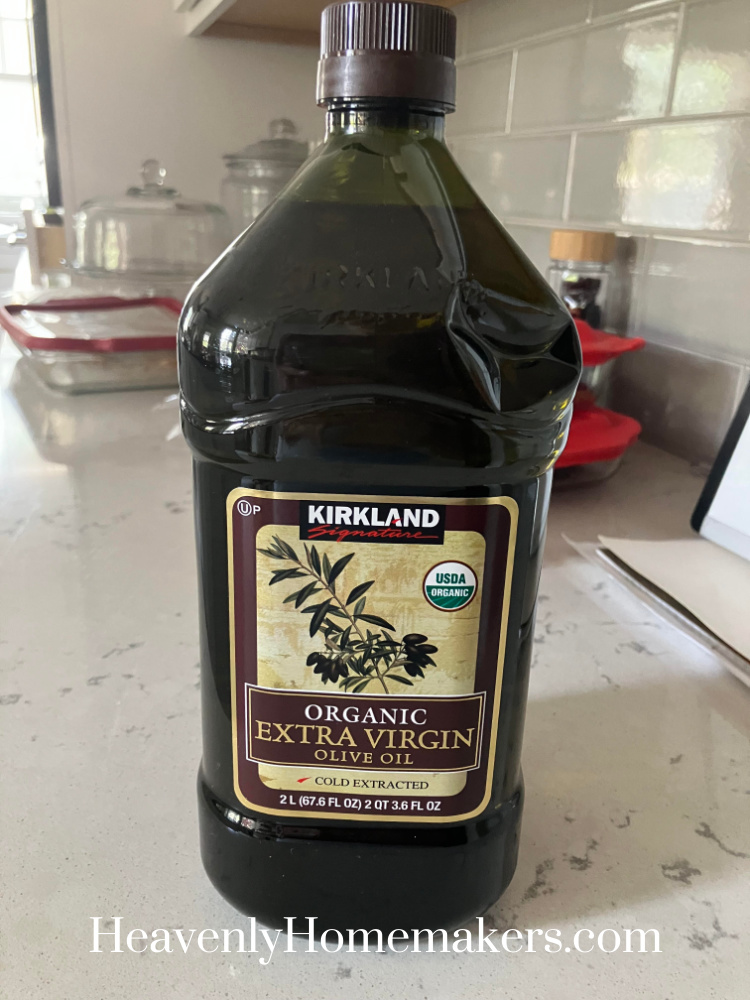
3. Olive Oil
I use olive oil for cooking more than I do for baking, and this Organic Kirkland Olive Oil from Costco is my favorite. It is only $14.79 for a 2 Liter bottle and it lasts a long time, even at my house!
What do I make with Olive Oil?
Here are some of our olive oil favorites:
- Cake in a Crock Pot (you can hide spinach in this!)
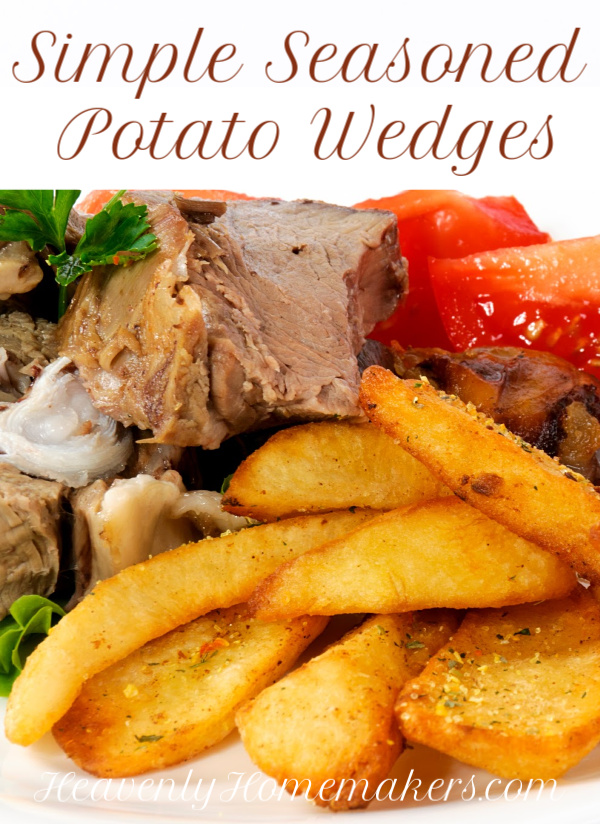
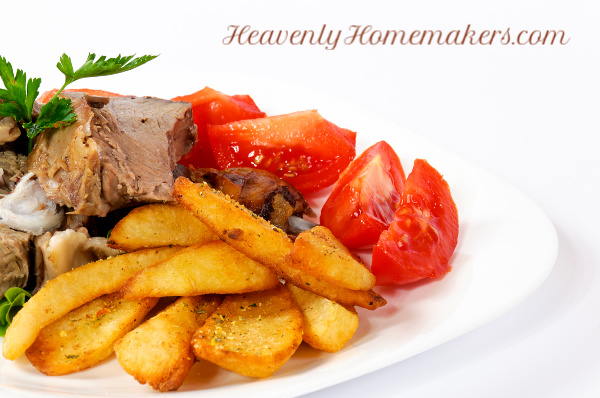
- Seasoned Potato Wedges
- Bacon Chicken Pasta
- Easy Veggie Stir-Fry
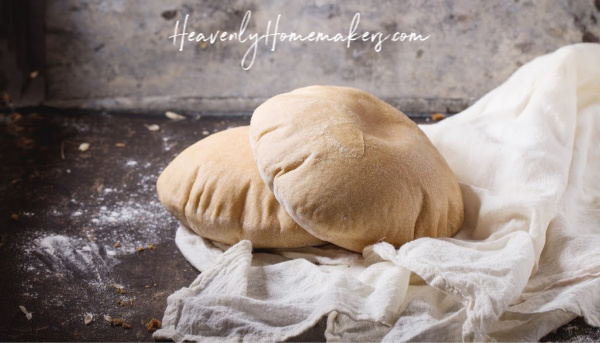
- Homemade Pita Bread
- Roasted Asparagus
- BLT Chopped Salad
- Simple Three Cheese Spaghetti
- Crock Pot Shredded Ranch Chicken
- Simple Cheesy Baked Chicken
- Homemade Italian Salad Dressing
Extra Fats
Beyond these healthy cooking and baking fats, we love full fat sour cream, cottage cheese, whole milk, 4% milk fat yogurt, meat, avocados, nuts, nut butters, and cheese.
What are your favorite healthy fats?