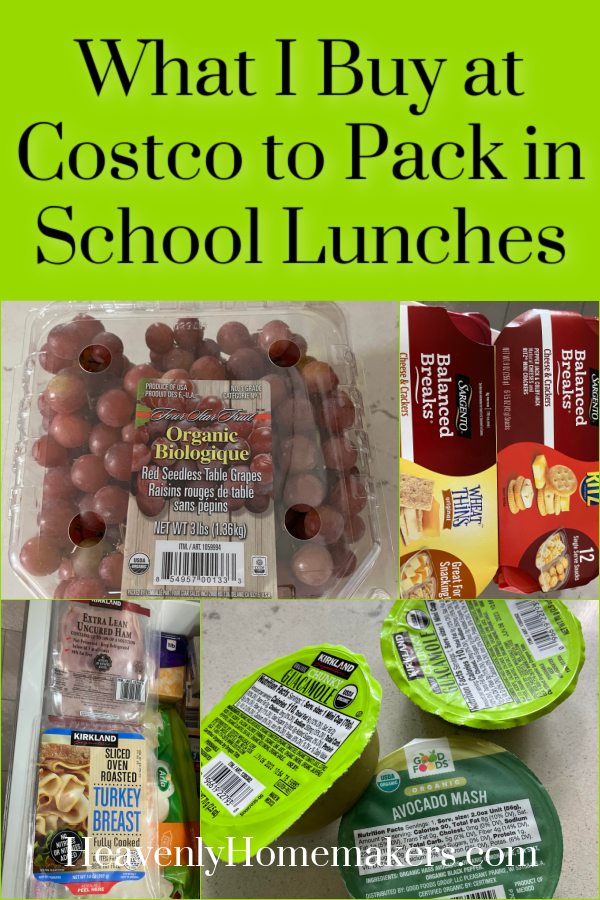
Here are the school lunches I packed Oct 2-6.
Lunches I Packed October 2-6, 2023
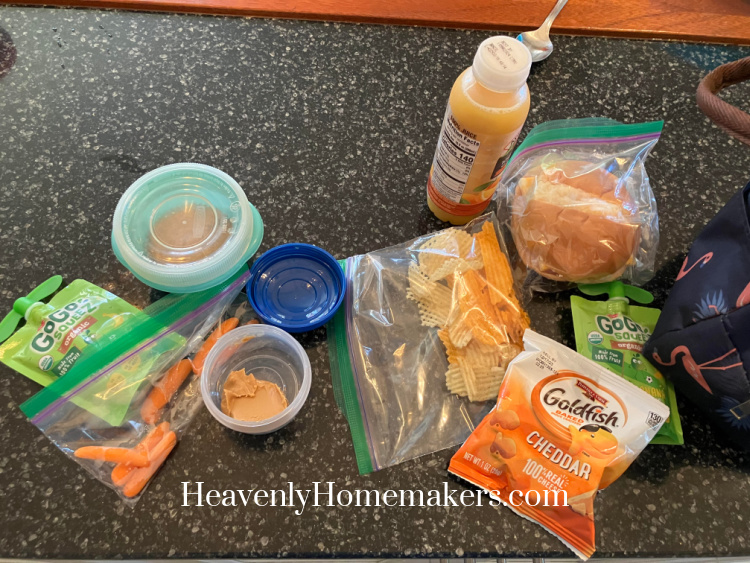
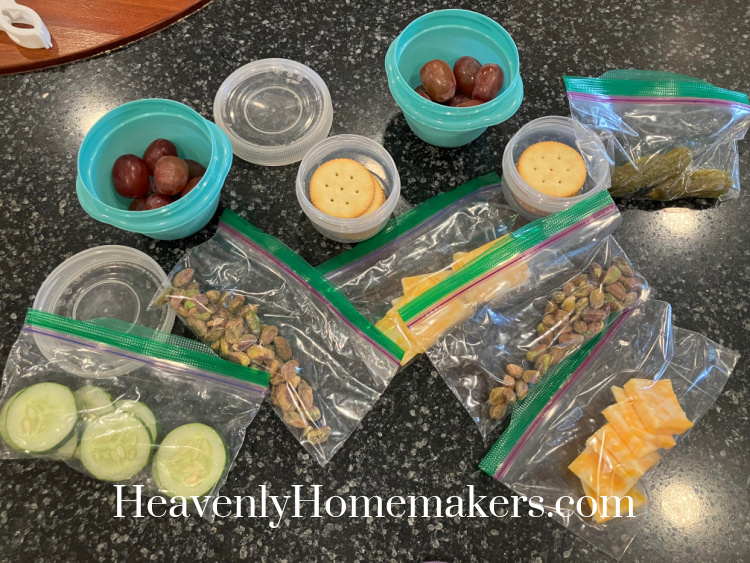
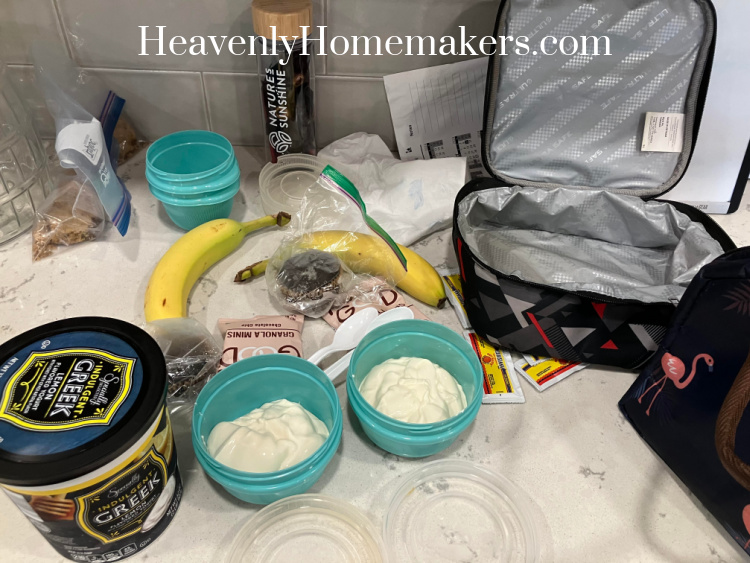
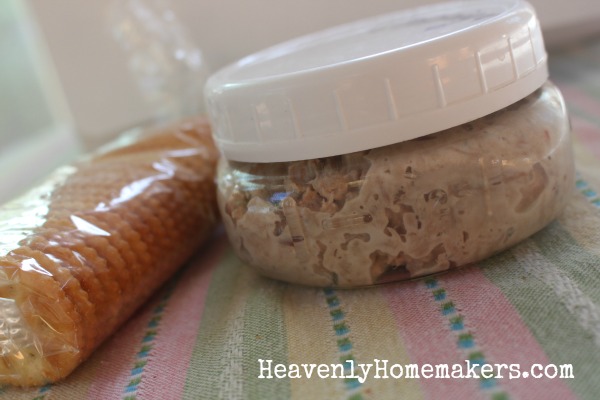
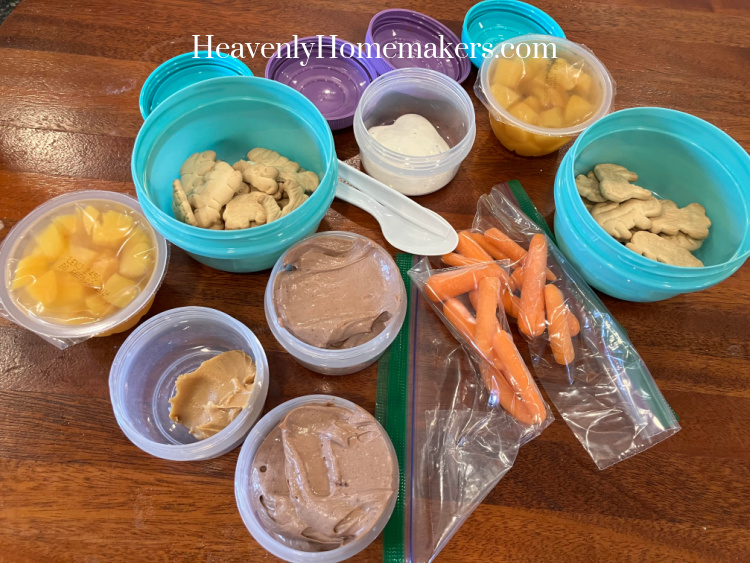
As I was trying to figure out what to pack the kids to eat on Monday, I realized I didn’t have anything easy on hand that was high in protein for their lunches. So I got the idea to make this Peanut Butter Cup Whipped Cream, which I sent with a container of animal crackers for dipping. This “main dish” idea was a bit odd, and it did have a little bit of sugar in it. But it also had protein, and it made the kids so excited! So, I’m glad I did it!
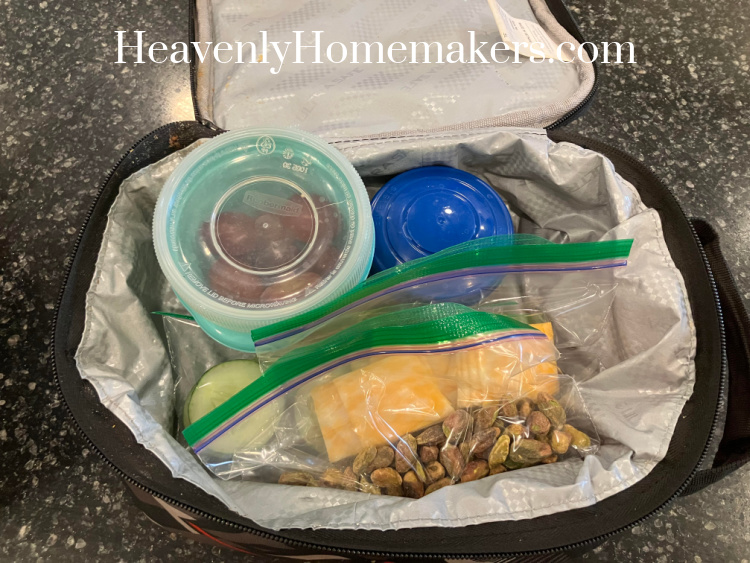
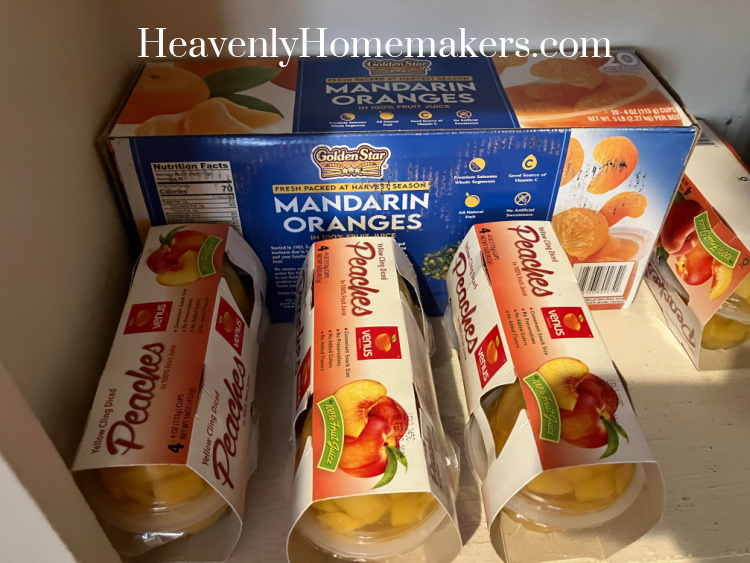
Monday: Peanut Butter Cup Whipped Cream, Animal Crackers, Carrots with Dip, Peach Cup
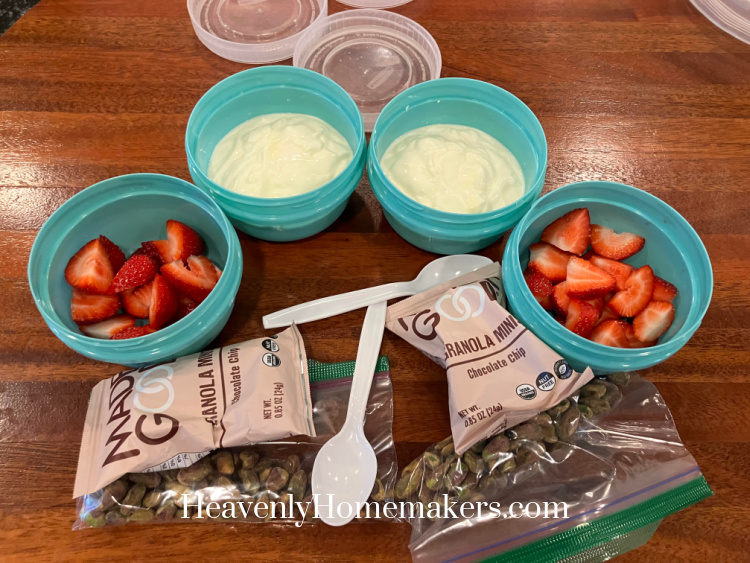
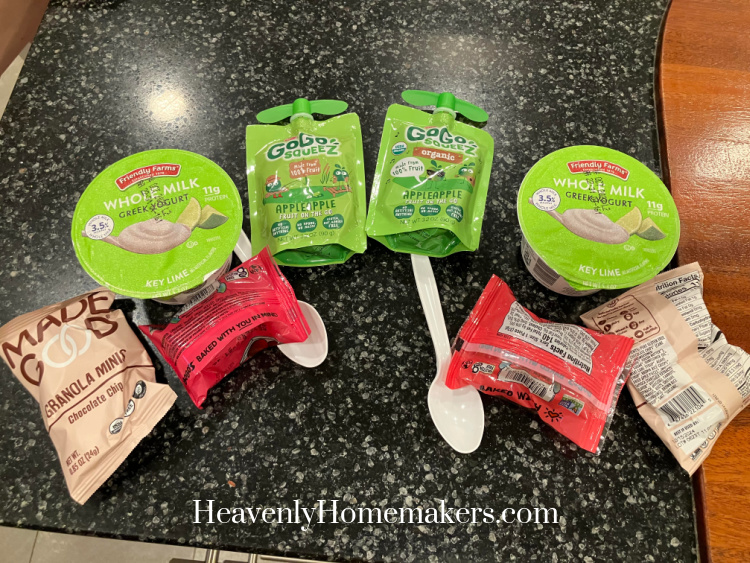
Tuesday’s lunch was also weird because I had to leave by 6:15 that morning to take BabyBoy#11 to the hospital for an MRI. So I packed Brayden and Kiya’s lunches on Monday night to make it easier for Matt and the boys. BUT, Monday night I was also getting everything else ready to take to the hospital and to situate everything so that I could be gone all morning (or longer). So I quickly grabbed a few items and threw them into lunchboxes.
Was it enough? Barely. But they don’t have much time to eat at school (or my theory is that they do have enough time but they aren’t as focused as they need to be during lunchtime so they don’t always use their time well and get all their food eaten quickly!). ;)
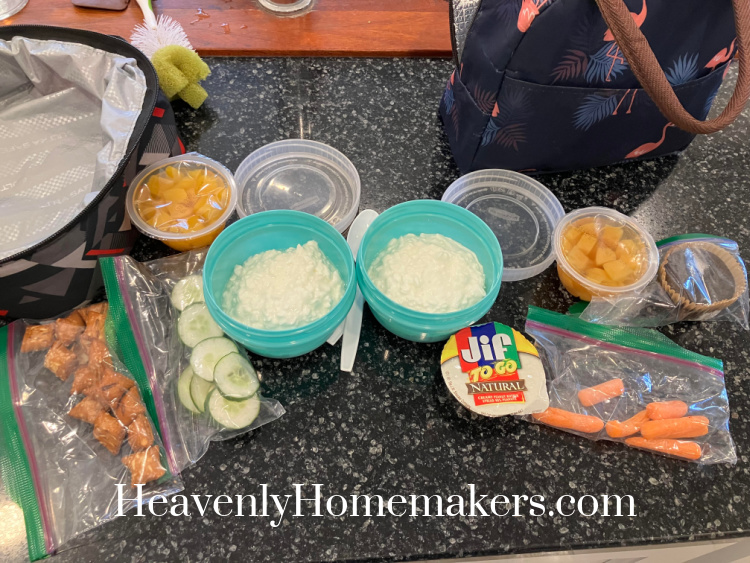
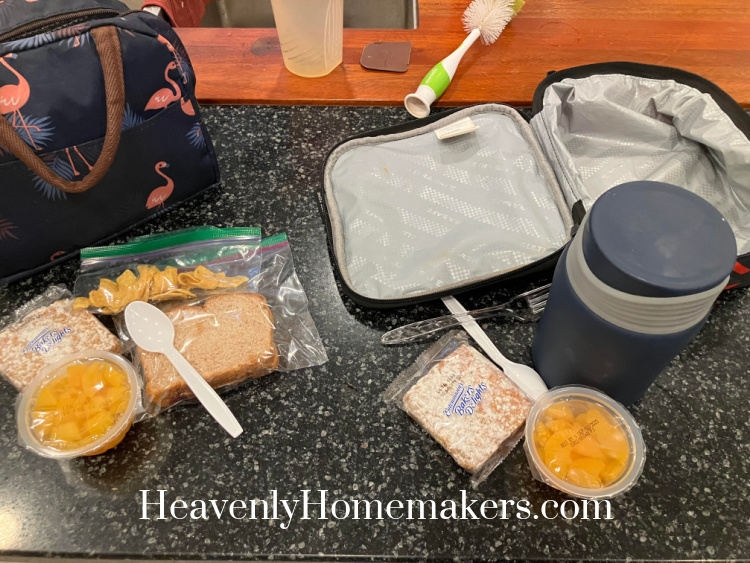
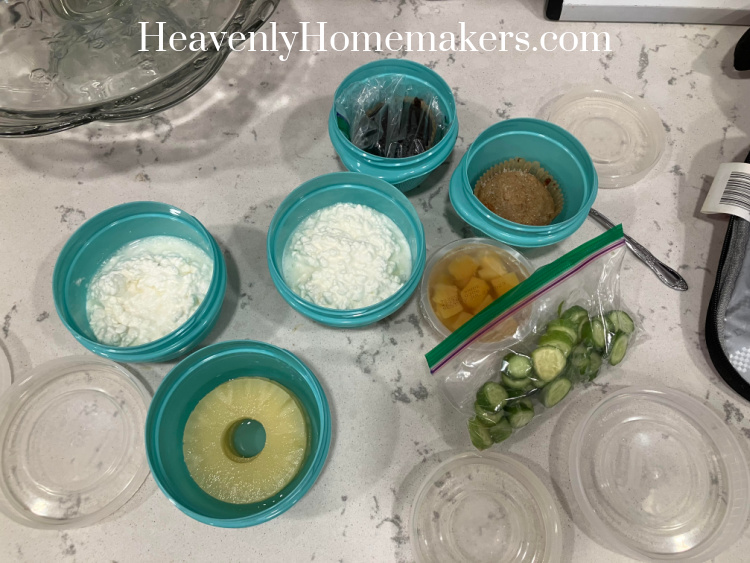
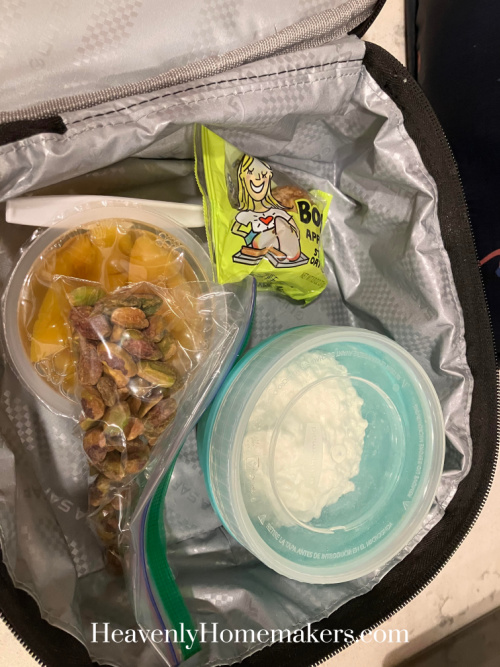
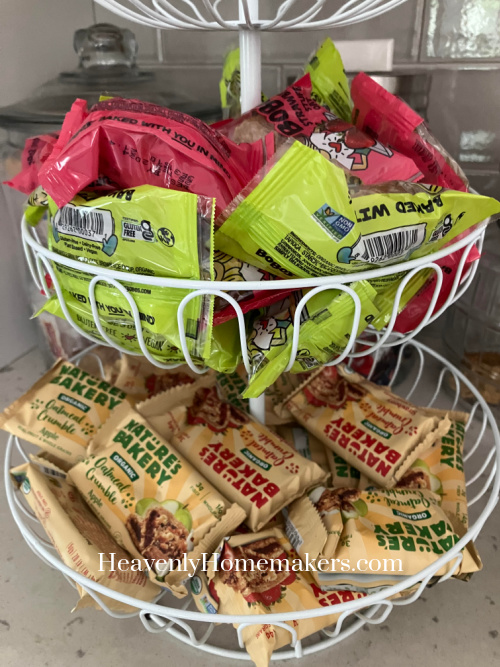
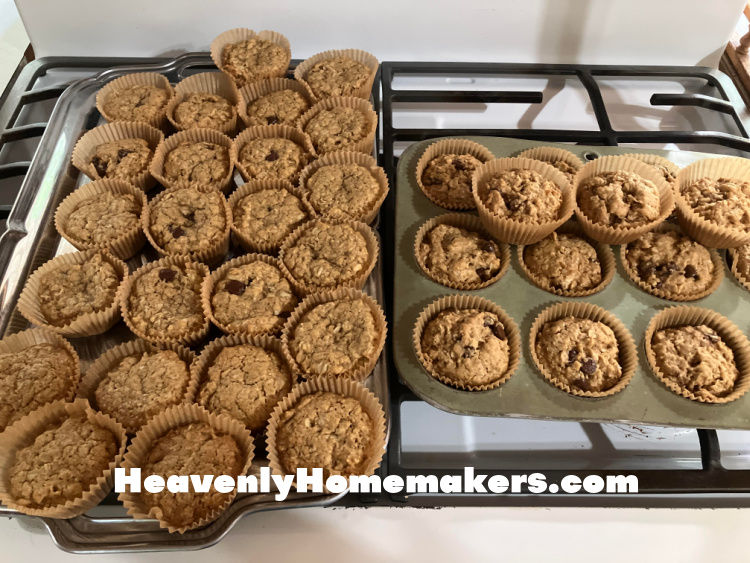
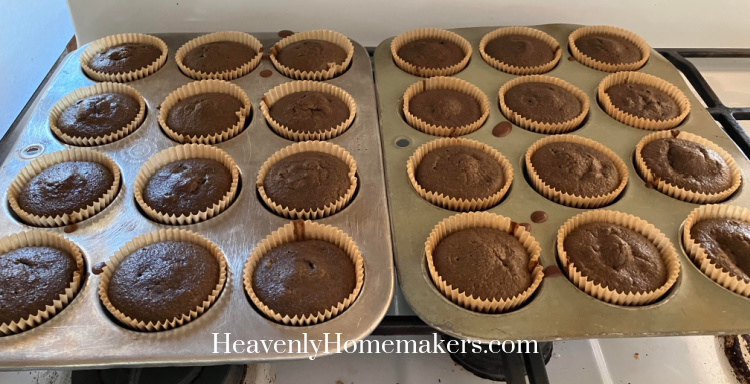
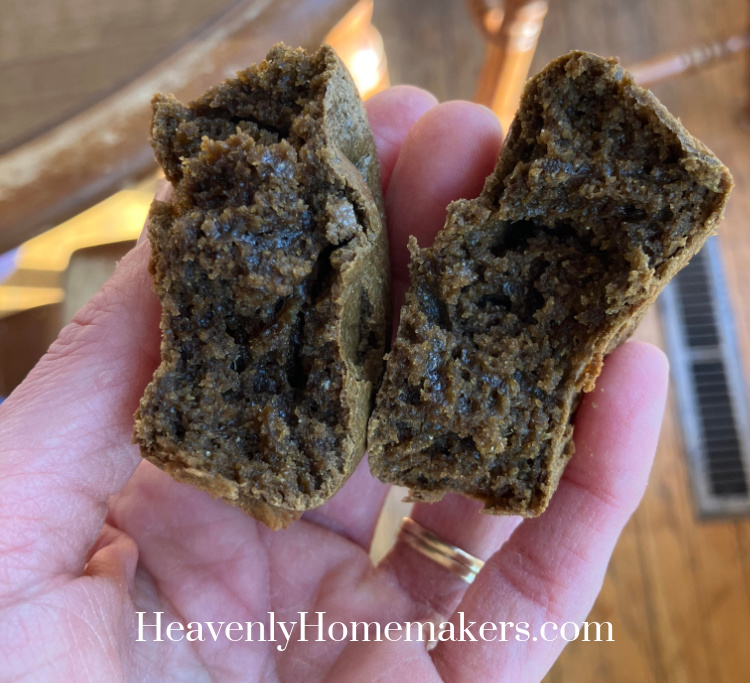
Tuesday: Whole Milk Yogurt, Granola Bites, Packaged Muffin, Applesauce
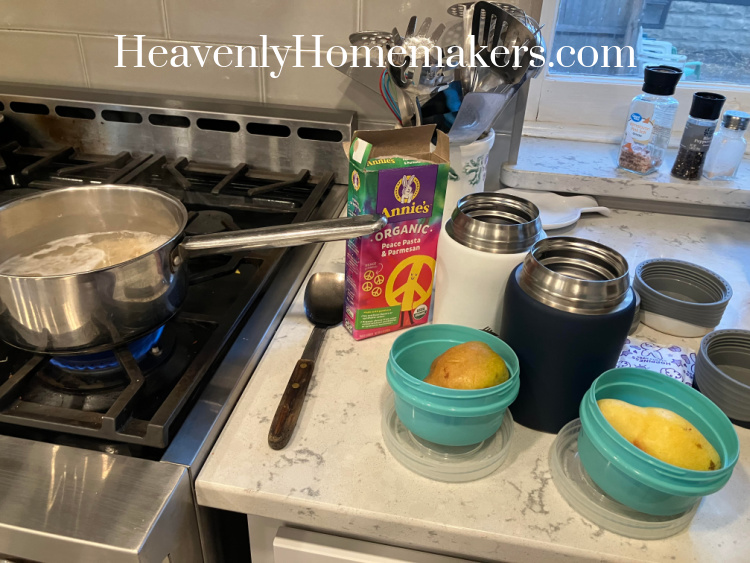
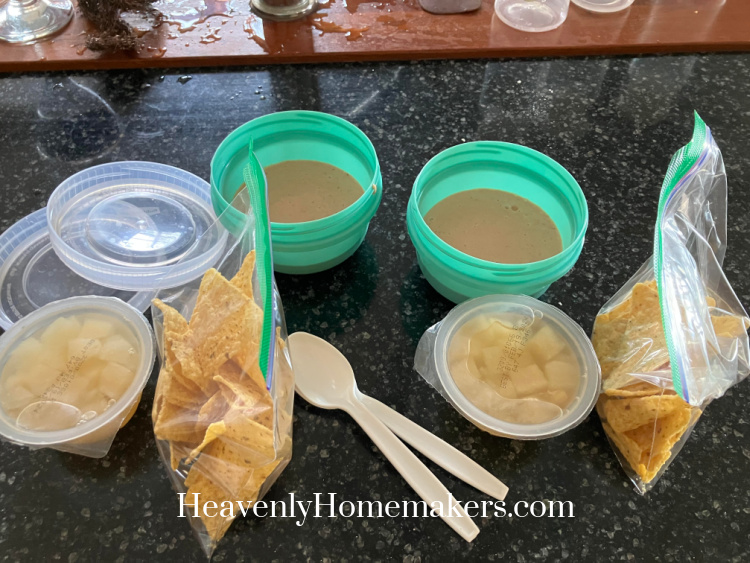
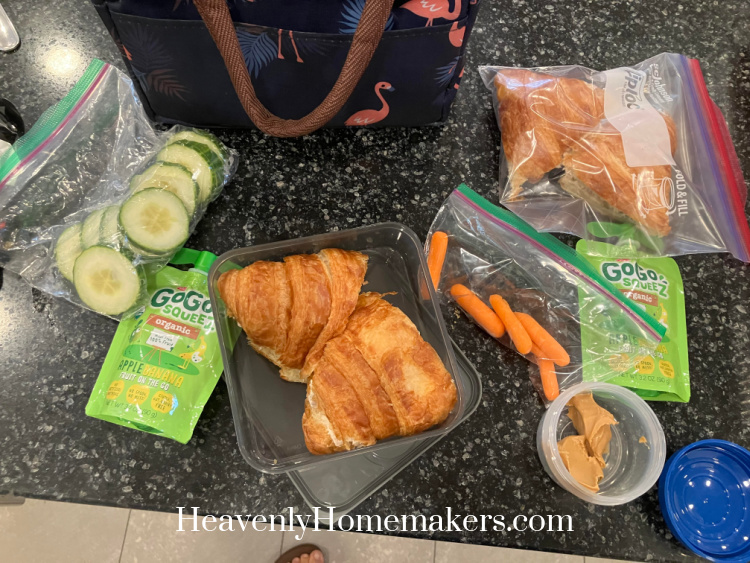
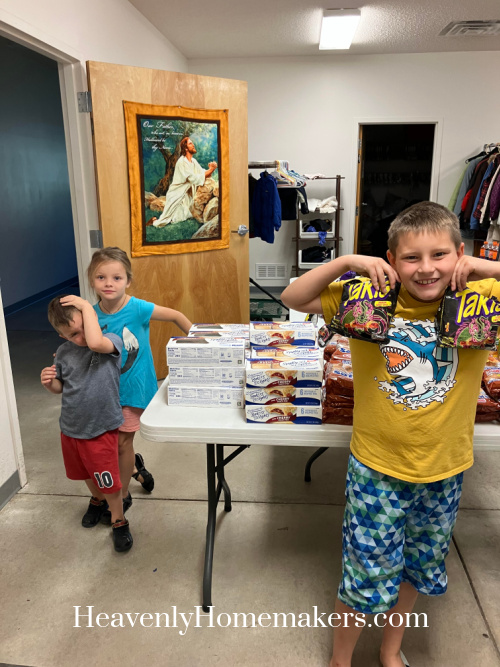
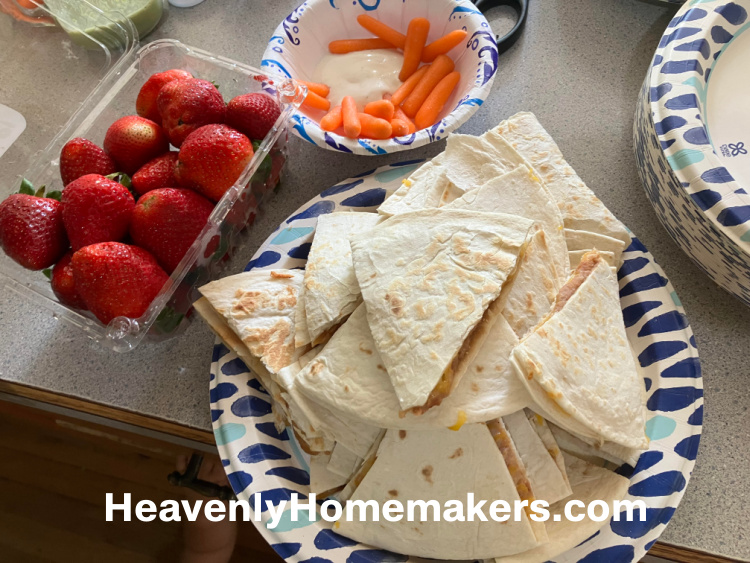
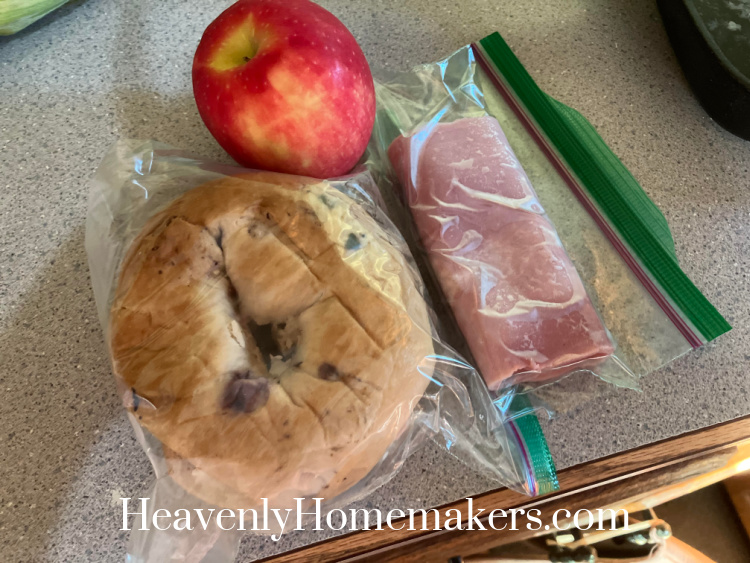
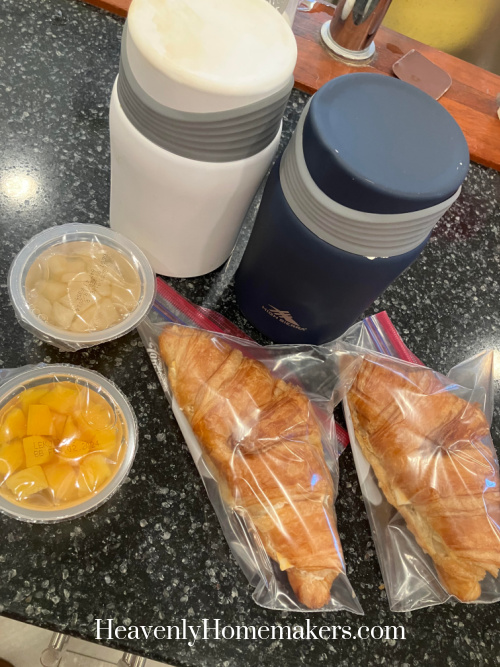
Wednesday I had a little bit more time to focus on food. So I warmed a can of tomato soup and packed it into the kids’ thermoses along with a straw so they could guzzle it down without making a mess. I used some of the Croissants we’d brought home from Tuesday’s Food Distribution and made them Cheese Sandwiches to enjoy with their soup. They LOVED this lunch!

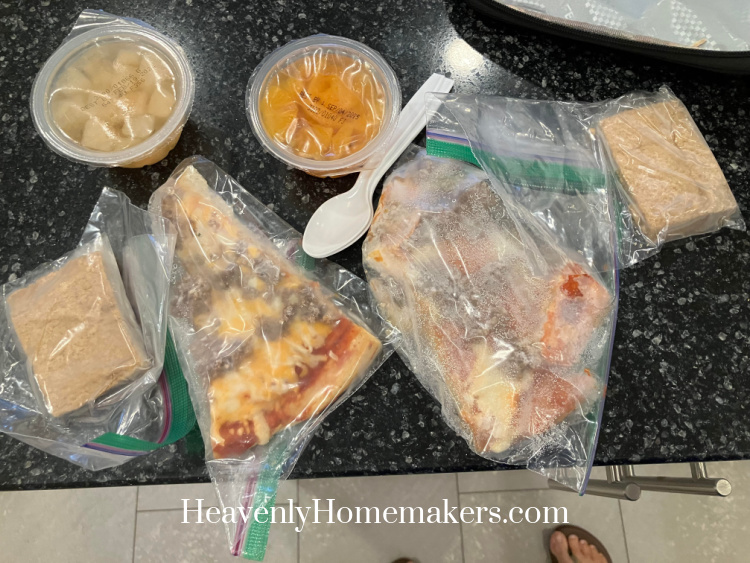
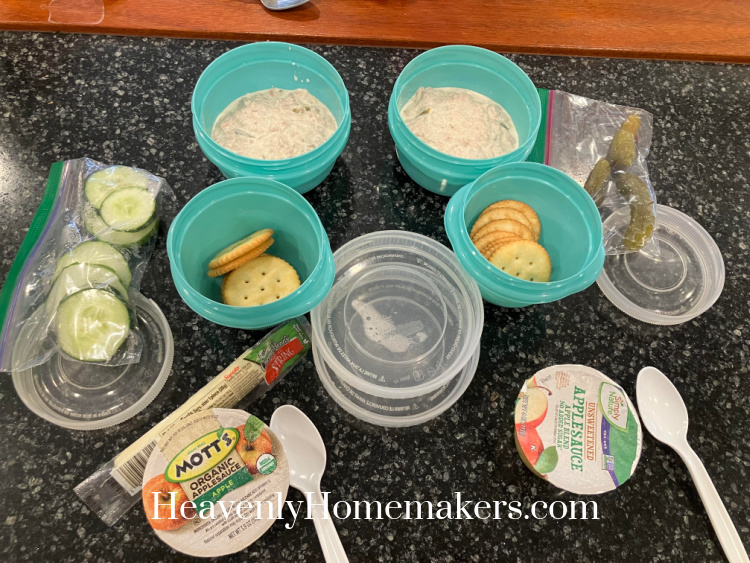
Wednesday: Tomato Soup, Cheese Sandwich on a Croissant, Fruit Cup
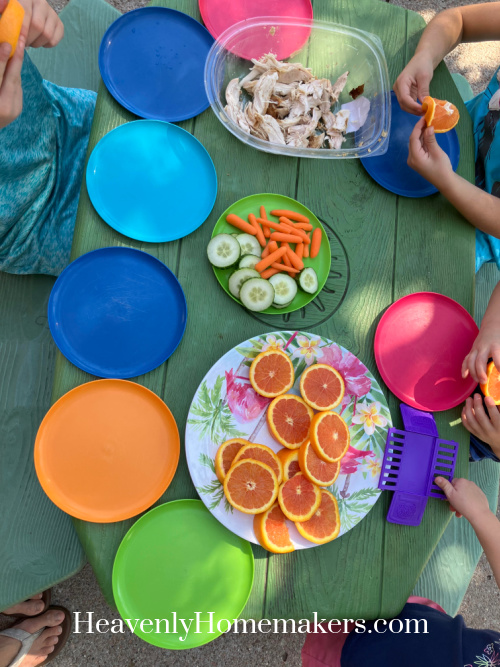
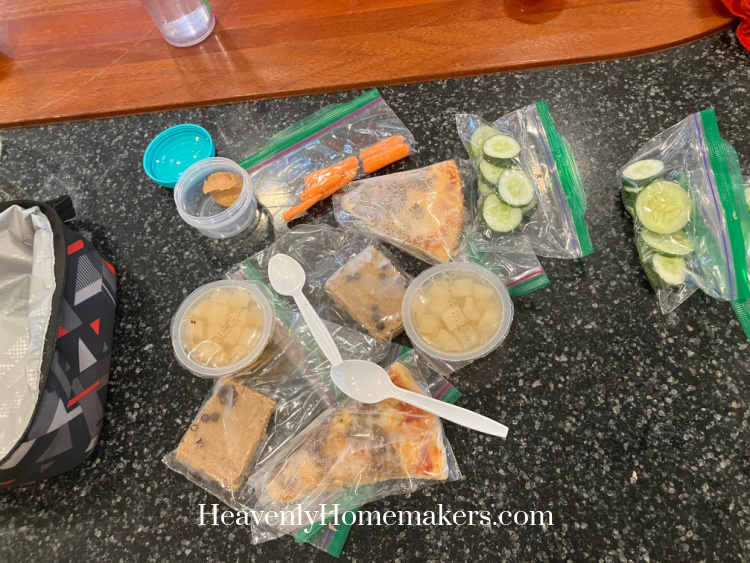
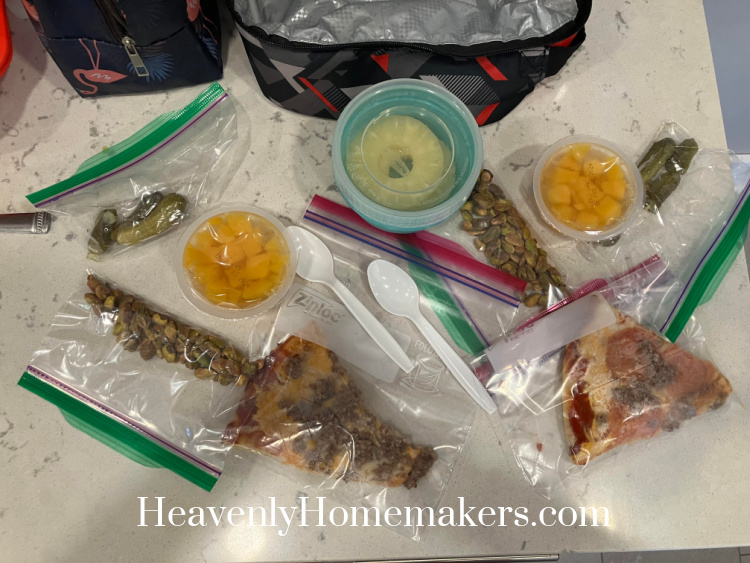
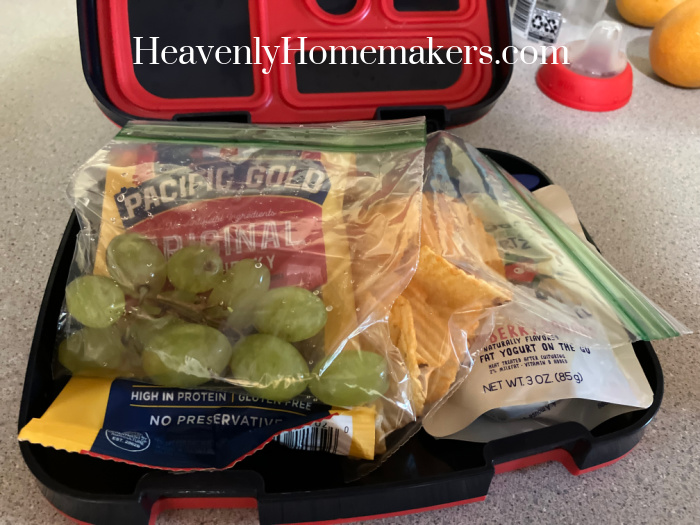
Thursday’s lunch was easy! (Note: If the kids would have eaten lunch at home, Brayden would have downed four pieces of pizza and Kiya, two. Again, eating at school makes them rush a bit more.)
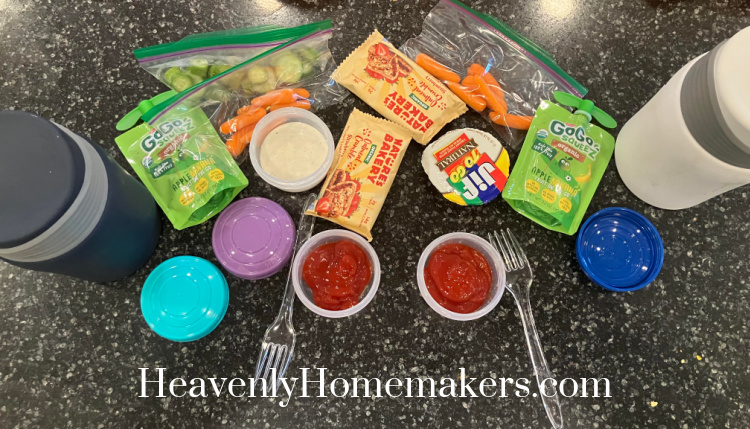
Thursday: Pizza, Applesauce, Cucumbers for Brayden and Carrots with Peanut Butter for Kiya
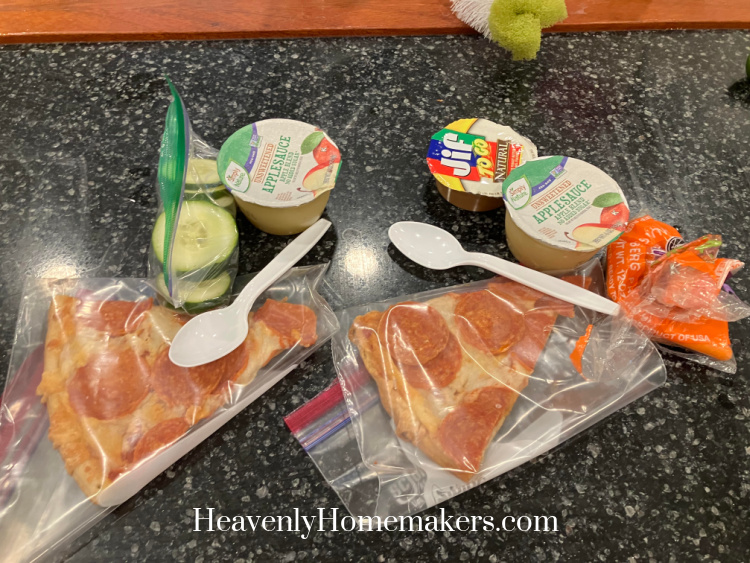
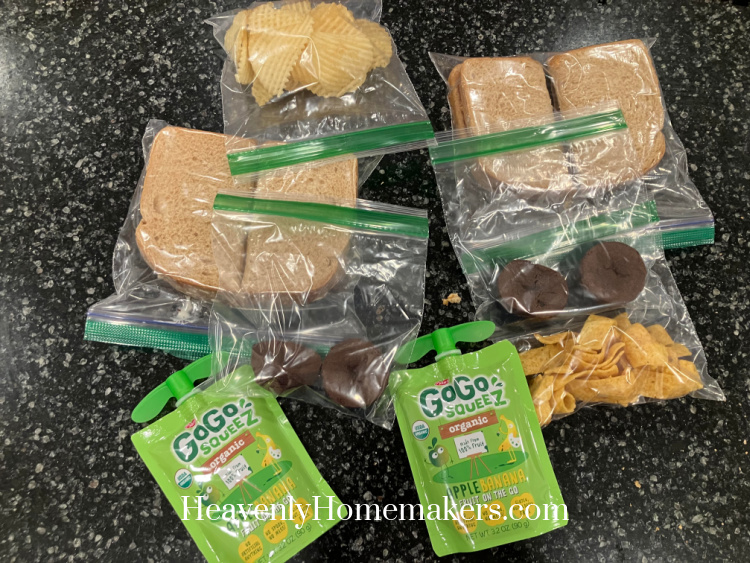
Friday. Ugh. Well, this is the day I usually pack a Fun Friday lunch which includes a sandwich of their choice, chips of their choice, and a treat of their choice. But we had some behavior struggles that morning and some privileges were lost.
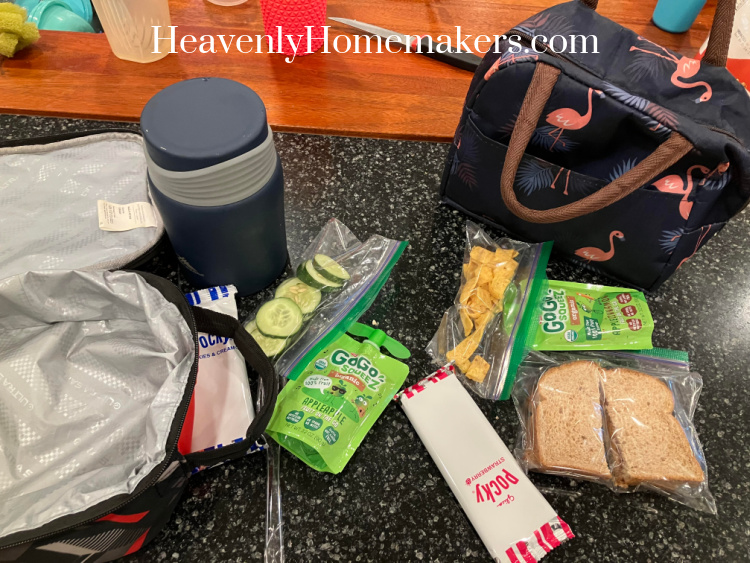
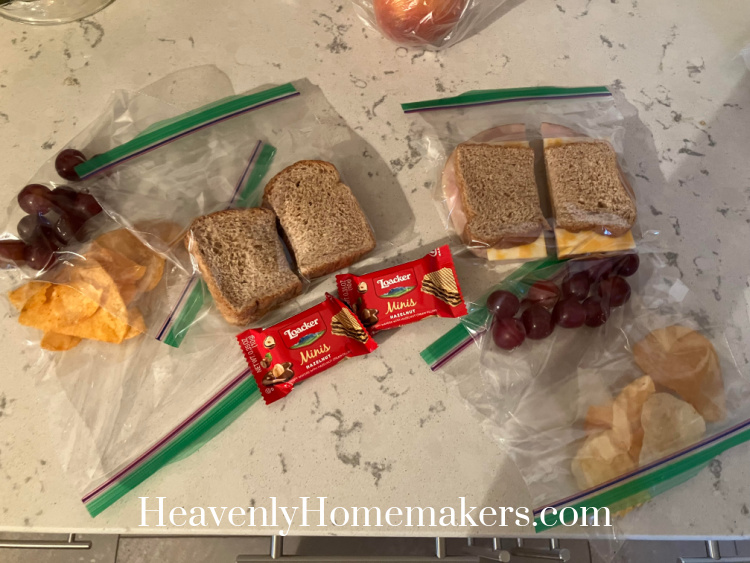
I hurried to snap this picture before sending Brayden off to Ukulele class (which starts an hour before school) so Kiya’s lunch wasn’t complete yet. They both got a sandwich and applesauce. I threw in cucumbers for Brayden and later added an oatmeal crumb bar for Kiya.
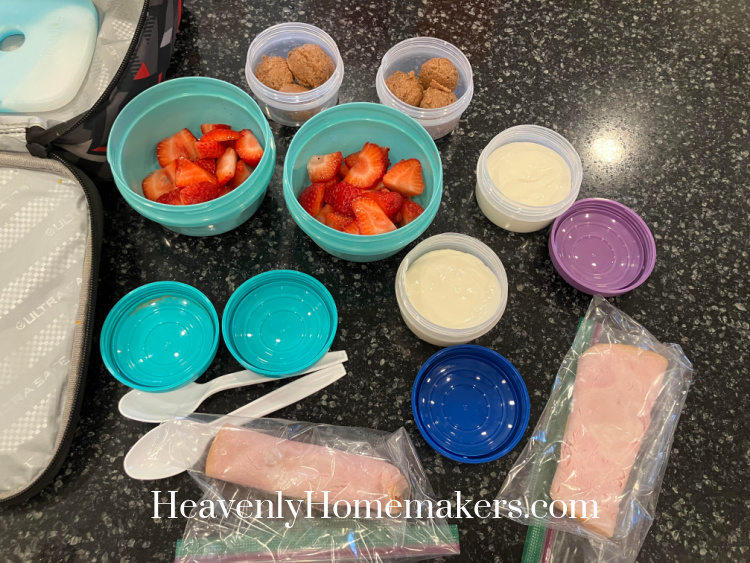
Friday: Turkey and Cheese Sandwich for Brayden/ PBJ for Kiya, their favorite Banana Applesauce, cucumbers for Brayden and Oatmeal Crumb Bar for Kiya

Now that it’s getting chilly outside, I’m going to try and get more creative with hot food in thermoses!