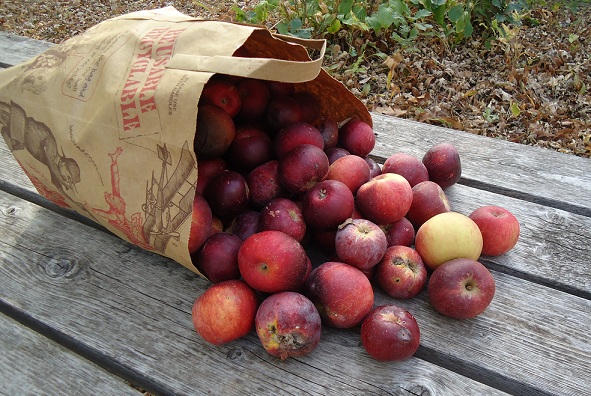
We go through a lot of fruit at our house! But I don’t have time or enough hands to cut up fruit for my kids. Here are the easy fruit choices I try to keep on hand to give my kids every day.

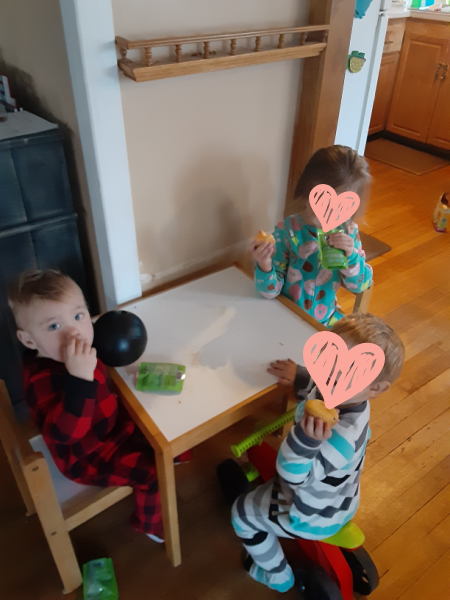
Currently, we have six little ones and four of them are in diapers. Therefore, I had to stop buying cantaloupe and fresh pineapple, simply because they would sit neglected on the counter and I would never, ever get around to cutting them.
Six minutes. Ten maybe. That’s how long it takes to prep a cantaloupe. And yet, there are not ten minutes to be found these days. Awww, these babies!

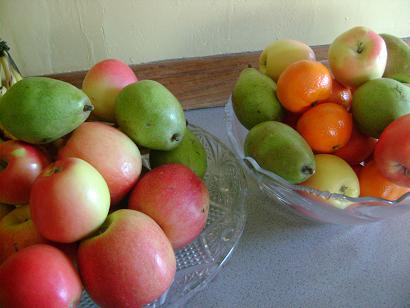
I have started to rely on other fruits that take no prep, or maybe just thirty-seconds of prep. Wash-and-serve fruit like berries. 100% fruit cups like peaches, pears, and mandarin oranges. Applesauce squeezies by the case! Bonus points if there are vegetables in them! (Like these.)
East Fruit Choices I Give My Kids Every Day
Here’s a quick list for us so that you and I can easily reference when we need ideas and inspiration for fruit we can grab and hand to our kids. Better yet, if they’re old enough, they can reach in and grab it themselves!
- Bananas
- Prepared Unsweetened Applesauce Cups (or applesauce scooped out of a jar into small bowls)
- Applesauce Squeezies – with other fruits and sometimes vegetables included
- Blueberries
- Raspberries
- Strawberries
- 100% Peach Cup
- 100% Pear Cup
- 100% Mandarin Orange Cup
- Canned Pineapple – tidbits or slices
- Apples
- Clementines
- Pears
Some Fruity Tips
~ Usually my kids eat apples and pears better if they are sliced or cut into small bites. So if I have two hands-free, I’ll quickly prep those fruits to hand my kids for snacks or a side dish to our meals.
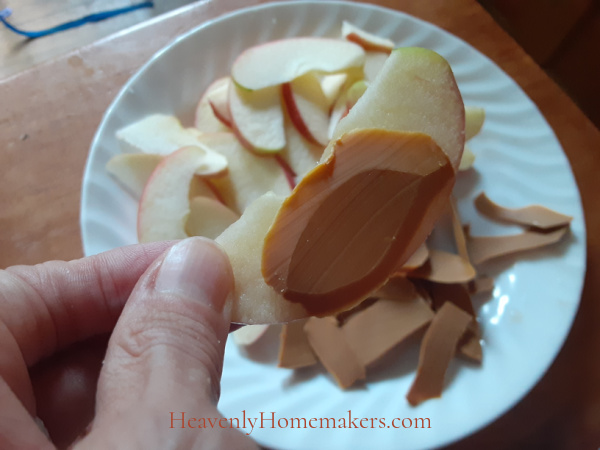
~ They really love apple slices dipped in peanut butter, so sometimes that turns into our lunch!
~ I usually drain the juice out of our fruit cups before serving them, simply because our toddlers will spill the juice everywhere while trying to eat the fruit.
~ I teach my little ones to peel their own clementines as soon as they are able. So even at their very little ages, if I get the clementine started, they can take over and peel it on their own.
~ I like to cut strawberries into small pieces to make them easier to eat, but when there’s no time, I try to make a big deal of how fun it is to eat a great big strawberry while holding onto the green part.
~ I keep a bowl of prepared 100% fruit cups in our kitchen for our kids to grab as needed.
~ Watch out for the prepared fruit cups labeled “no sugar added.” That’s code for “fake sweetener added” so I always avoid those. Go for the cups prepared in 100% fruit juice.

Some day, I’ll slice cantaloupe, pineapple, and watermelon again! As for now, these easy fruit choices work best for us!