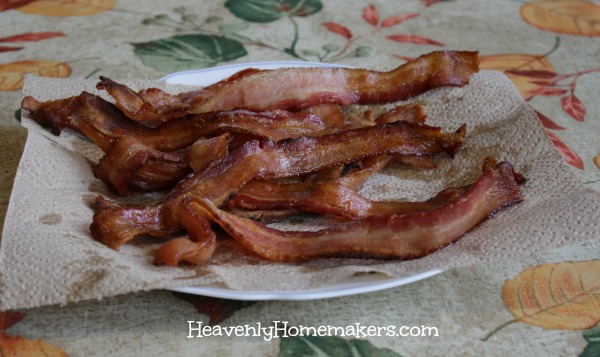
Recently I have discovered the amazingness of baking several pounds of bacon, freezing it for later use, then pulling it out to reheat and serve in about 2 minutes.
Where has this tip been all my life?
I already knew how to make Bacon Bits ahead of time for ease in making salads and bacon-cheesy eggs. But strips of bacon? Well, I’d never tried making it ahead before. I will make bacon this way from now on because it is an incredible time saver!
Also, it keeps my hair from frequently smelling like bacon, so I think we can all be grateful for this delightful bonus.
How to Cook Bacon Ahead, Freeze, and Warm Up Fast
- Lay bacon on a a broiling rack in a single layer.
- Place the rack of bacon on a baking sheet to catch the grease as it bakes.
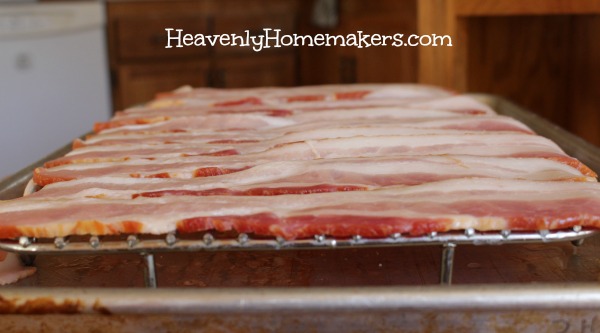
- Bake in a 375 degree oven for 15-30 minutes (time varies based on thickness of bacon).
- Pull bacon out of oven just before it has reached the crispiness level you prefer.
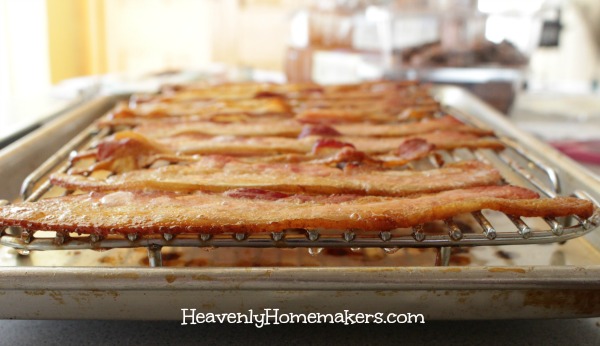
- Allow bacon to cool on paper towels.
- Transfer cooked and cooled bacon to a gallon-sized freezer bag. (I leave the cooked bacon on the paper towels when putting it in the freezer bags. That way I can do two-pounds at once with a paper towel in between layers of bacon.)
- Freeze up to three months.
- Rewarm bacon by taking desired amount of cooked bacon slices directly from freezer and heating them in a skillet for about 1 minute on each side.
Can you believe how easy this is?
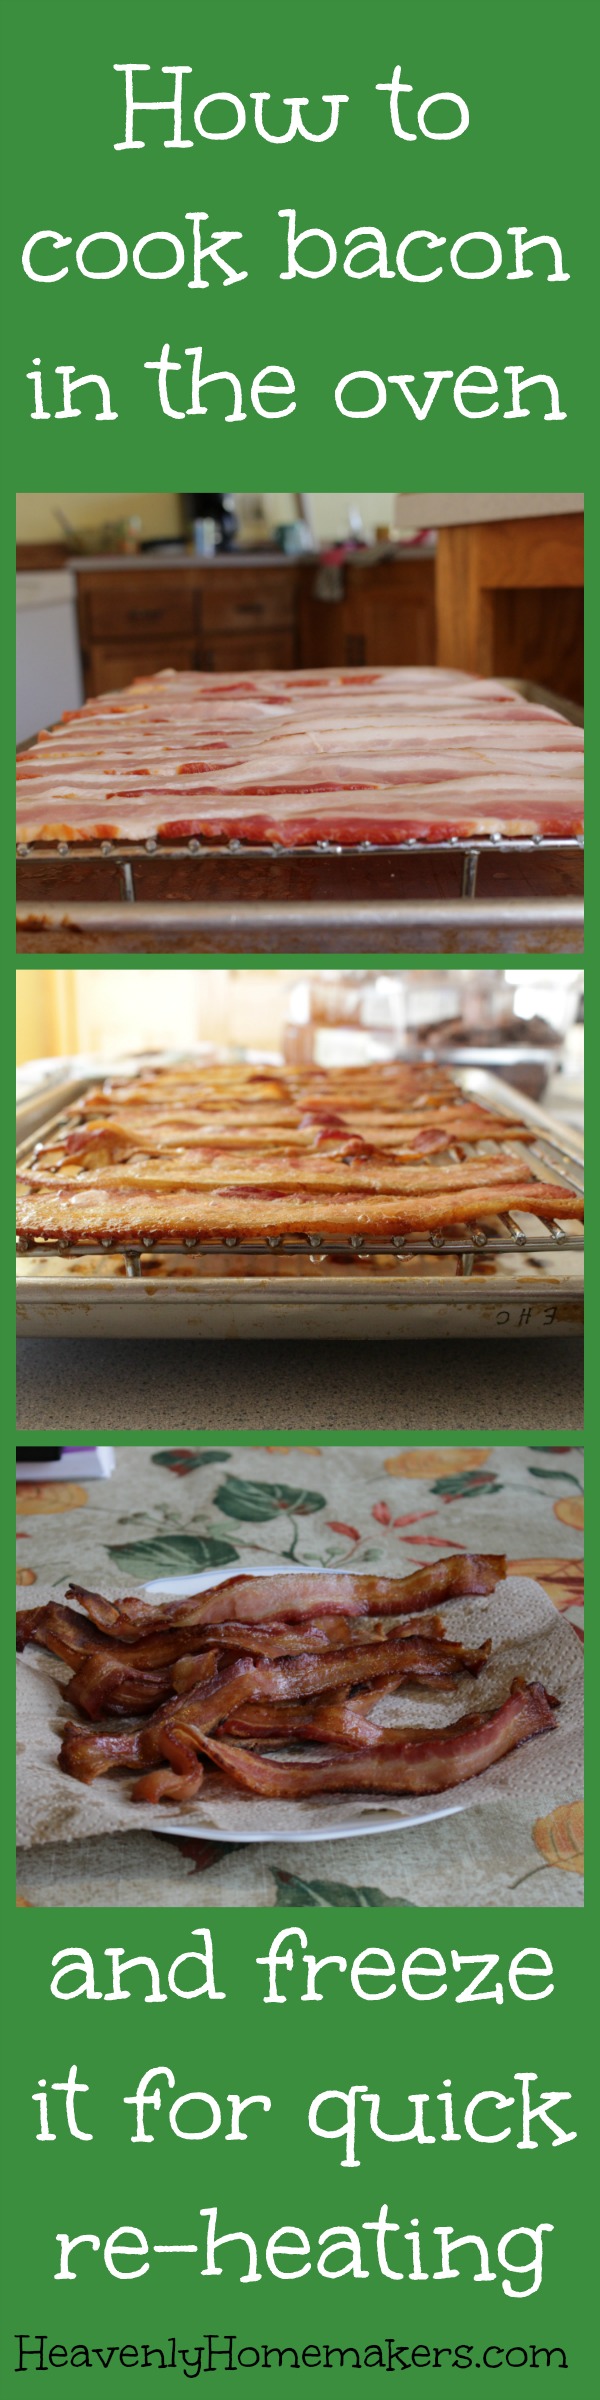
I recommend that you lay the bacon on a broiling rack like this and place it on a baking sheet like this. This will allow the bacon grease to drip into the pan and prevent a mess.
Once the grease has cooled and thickened, I recommend transferring it to a jar in your fridge. Bacon grease stirred into green beans or other veggies makes for a super flavorful side dish!
Being able to offer my family bacon with zero effort on a busy morning has been a life saver. After all, as my men will tell you, bacon is a necessity of life.
Do you usually cook bacon on the stove or in the oven? Ever tried making it ahead of time and freezing it as described above?
More Bacon Posts You’ll Want to Check Out
- How to make Bacon Bits ahead of time
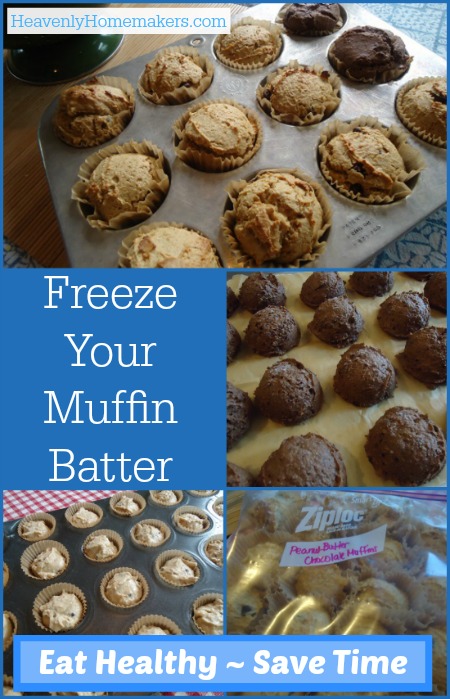
- Bacon Cheese Muffins
- Bacon, Egg, and Avocado Salad
- BLT Chopped Salad
- BLT Wraps
This post contains affiliate links.
Hey, what’s for dinner?
It’s the question of the day, right? The frustrating part is when I’m asked this question while in the middle of five other tasks…and I haven’t yet figured out the dinner plan. Ugh, sorry kids. Dinner is…something. I’ll have to get back to you on the specifics.
Enter: Simple Meals. It’s saving my brain (and many of yours too!). If you haven’t joined yet, now’s the time. Get all the details here!