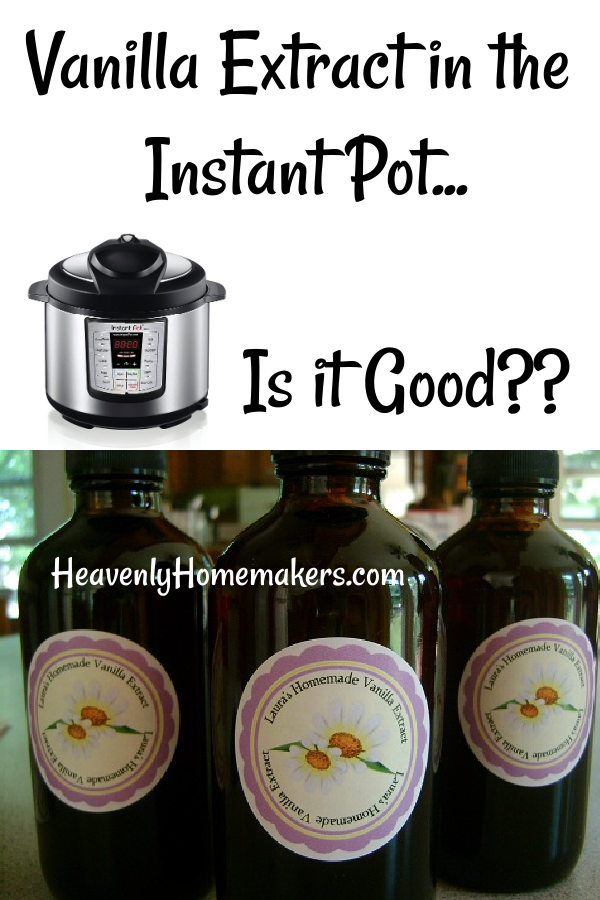
I’ve heard about making Vanilla Extract in the Instant Pot. But I had to wonder: Is it good? As good as the Homemade Vanilla Extract I usually brew for 6 months? I decided to give it a try!
I’ve been making my own vanilla extract since 2009. It’s super easy to make, but it does take 4-6 months to finish extracting so that we end up with good strong vanilla.
Recently I saw on the internet that you can make vanilla extract in the Instant Pot – in 40 minutes!!! Fun fact: 40 minutes is a lot less time to wait on homemade vanilla compared to waiting for 6 months. I figured it wouldn’t cost much to try it out and compare it to my super special 6-month homemade vanilla. So I gave it a try!
First, let’s look at how this works:
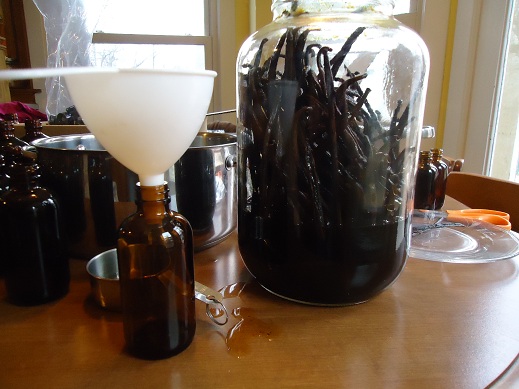
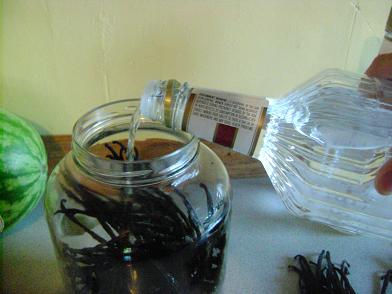
When I long-brew my vanilla extract, I cut my beans and put them into a big jar filled with vodka for 4-6 months. It’s as simple as can be and turns out THE MOST AMAZING vanilla extract!
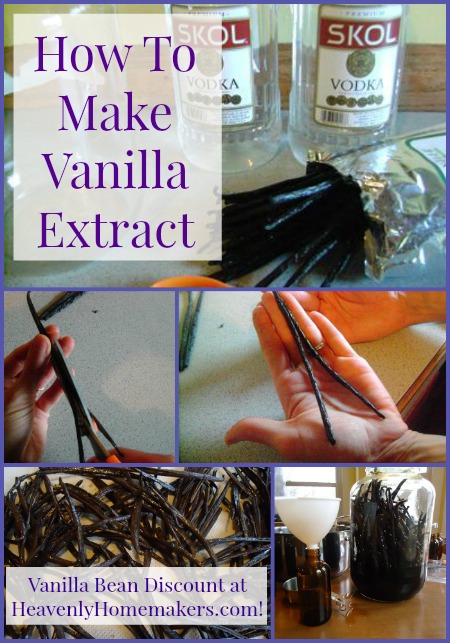
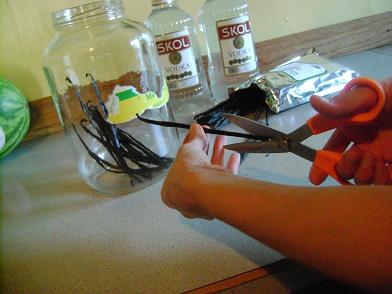
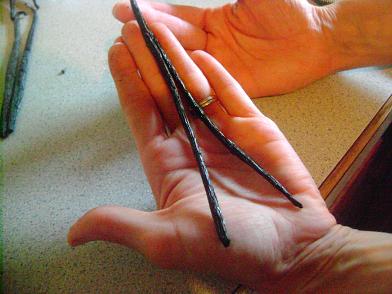
The Instant Pot method for making vanilla extract takes fewer beans and way less time. I cut a total of 6 beans – first the long way, then in half so they fit into pint-sized jars.
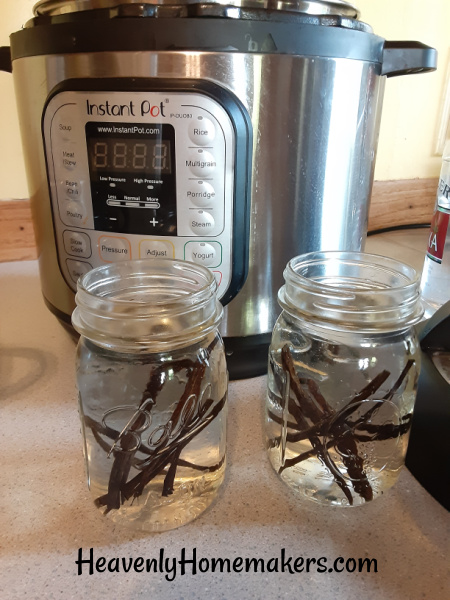
I then fill the jars with vodka and put them on the trivet in my Instant Pot. Carefully set lids on the jars, but do not screw on tightly. Add water to the Instant Pot, seal, and set the timer to 40 minutes at high pressure.
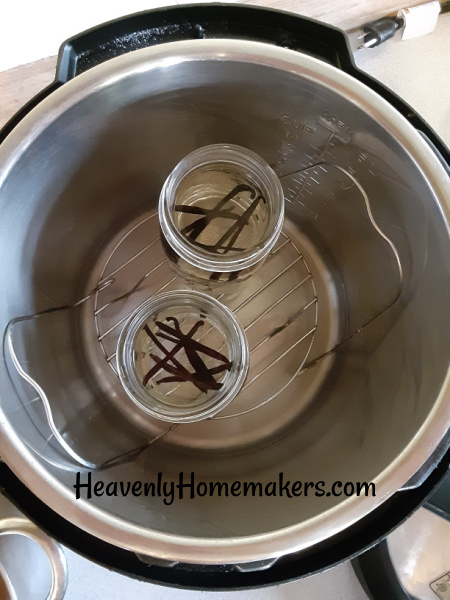
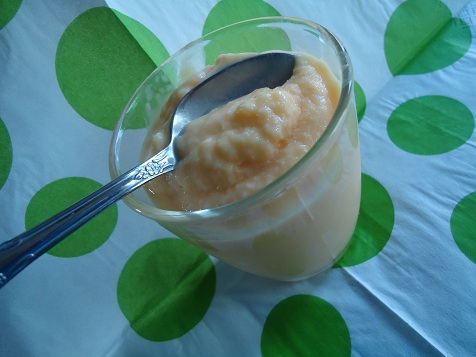
Allow the vanilla extract to pressure cook for 40 minutes, then carefully quick release the pressure so that you can open your Instant Pot lid. The result?

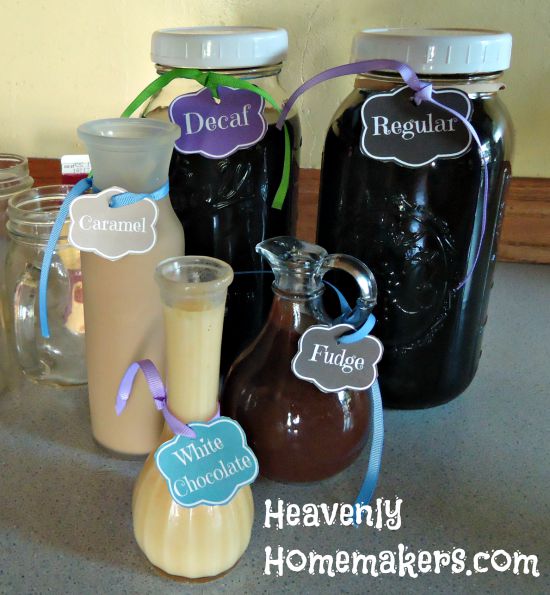
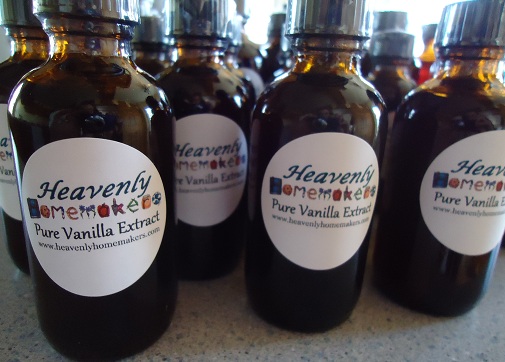
Beautiful vanilla extract in just 40 minutes!!!
How to make Vanilla Extract in the Instant Pot
- 6 vanilla beans (use the code HOME for a 20% discount!)
- 1 quart of vodka
- 2 pint jars with lids
- Cut vanilla beans along down the middle of the bean, then cut them in half and place them into 2 pint-sized jar. (3 beans per jar)
- Pour vodka over the beans.
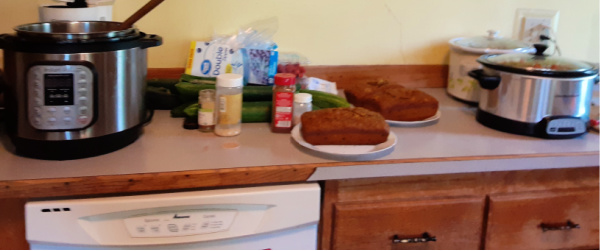
- Place a trivet into your Instant Pot.
- Add 1 cup of water to the bottom of the pot.
- Set the prepared jars of vodka/vanilla beans onto the trivet.
- Loosely place the lids on the jars, not sealing tightly.
- Lock on the Instant Pot lid and seal the pressure valve.
- Cook on manual setting for 40 minutes at high pressure.
- Quick release the pressure valve (watch out for the steam!)
- Carefully remove the jar and allow the vanilla to cool.
How does it compare?
The old fashioned me wants to say, “Oh, the long brew method of making vanilla extract is so much better!!” But the truth is that I actually can’t tell much difference.
Therefore, the simple-cook me gets to say, “Hey, want to save A LOT of time and effort making vanilla extract? Try making it in your Instant Pot!!”
So in summary, we’ve got a win-win here! If you decide to stick with the regular, long brew method you’ll turn out wonderful vanilla extract! And if you have an Instant Pot and decide to make a fast batch, you will still turn out wonderful (tho not quite as strong) vanilla extract!
Make this for Christmas gifts!
If you do have an Instant Pot, you can order your beans and make a bunch of vanilla for gifts – it’s not too late!! People love receiving homemade vanilla as a gift – teachers, family members, neighbors, co-workers!
Where to buy vanilla beans:
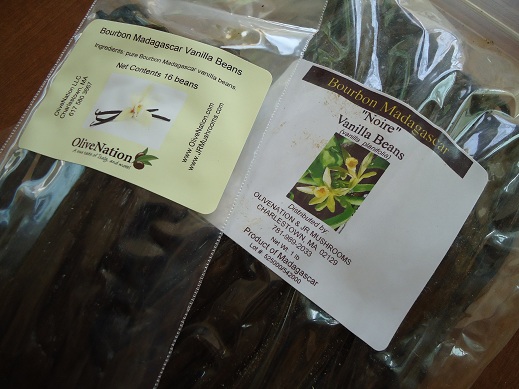
I always buy my vanilla beans from Olive Nation. I’ve tried other sources to “save money” but instead ended up wasting money because the quality of the beans from cheap sources was terrible!
Olive Nation beans are so, so good. I’ve used their beans for years. They love working with us here at Heavenly Homemakers so they offer us 20% off when we use the coupon code: home. Plus we get free shipping on orders over $50!
Cost Breakdown to Make Vanilla in the Instant Pot:
I ordered the 25-bean package on this page and used the lovely discount code, home. This landed me 15% off plus free shipping, so total cost for 25 beans was $50.14. With these beans, I can make 4 quarts of vanilla!! (I’ve just made 1 quart so far.)
Cost for one quart of vanilla in my Instant Pot:
- 6 beans = 12.00
- 1 quart of vodka = $5.50
- TOTAL = $17.50
With this, I can put together four 8-ounce bottles of vanilla for gifts!! This makes each 8-ounce bottle cost just $4.38! That is an incredible price!!
(Cost at the store for high-quality vanilla? Most of what I find has water added, and it’s still $8.97 for just TWO OUNCES. Homemade cost for two ounces is just $1.10!!!)
Extra resources:
- Read this post to learn how to finish and strain your vanilla after 4-6 months if you choose to do the long-brew method.
- You can purchase dark amber bottles here.
- Order personalized vanilla stickers for bottles and gifts here.
- Get your beans here, and use the code HOME to get 20% off!
I’m super excited about this option for making vanilla extract! Have you tried it before?!