Want to know what my husband said when eating Instant Pot Bacon Chicken Pasta for the first time?
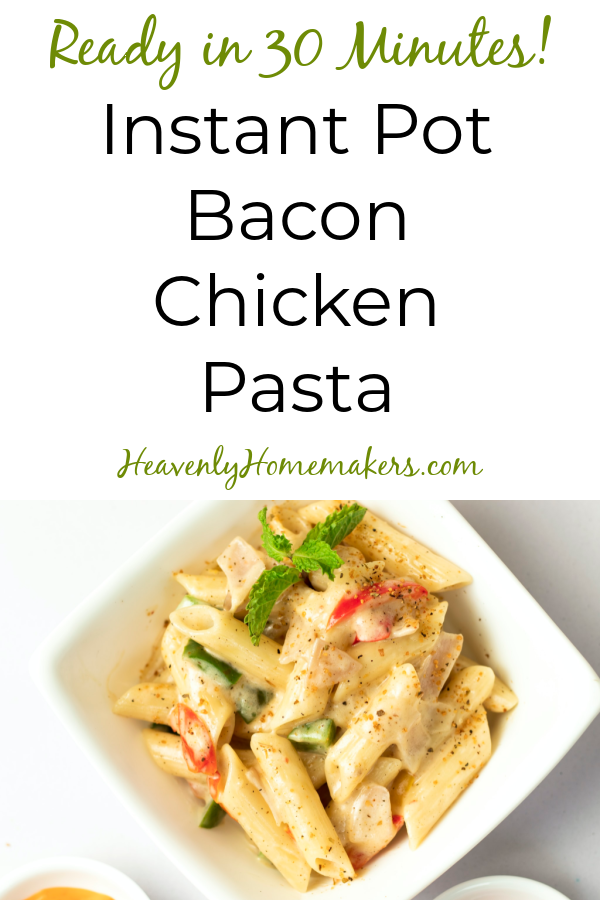
“People pay big bucks for food like this at a restaurant!”
What went through my mind all at the same time when he said that is:
- Aww, shucks.
- But this didn’t cost big bucks to make.
- Why eat out when we can make this at home in 30 minutes, start to finish?
- Instead of paying $15/plate, this cost less than $15 for all of us!
- I pretty much threw this together last minute.
- My husband likes me more than Olive Garden.
But out loud, I simply said…
Ok, I totally said almost all of that out loud in one sentence without taking a breath and with additional thoughts and twenty to forty more words.
What can I say? I’m home with a bunch of small children all day, which means that for around 10 hours every day my conversations consist of saying things like, “Come over here so I can change your diaper” and “Please don’t let Sissy put that in her mouth.” By the end of the day, I HAVE A LOT OF WORDS LEFT and I love it when they have more to do with grown-up subjects instead of choo-choo trains and wet wipes.
Ultimately though, when Matt said, “People pay big bucks for food like this at a restaurant!” I knew I’d found a winner. It’s so, so true. This meal is restaurant quality for a sweet at-home price. It’s perfect for company and completely easy to make.
If you have an Instant Pot.
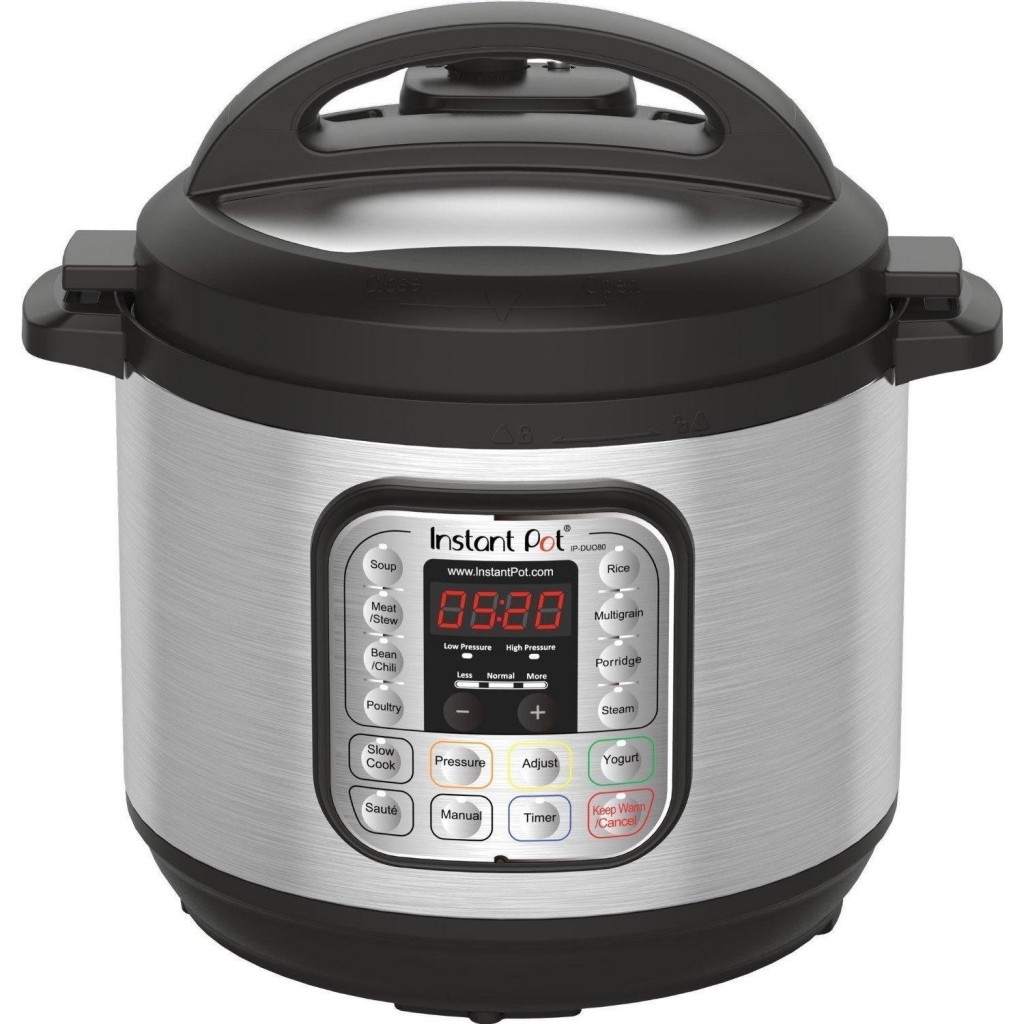
Don’t have one yet? Here’s what I have and love and use all the time!
And now, it’s time to get out the simple ingredients that you likely already have on hand and make this awesome “restaurant food.”
Instant Pot Bacon Chicken Pasta
- 2 Tablespoons olive oil
- 1 pound boneless skinless chicken thighs or breasts
- 3 Tablespoons homemade dry Ranch Dressing mix
- 16-ounces pasta, any shape, uncooked
- 4 cups (32-ounces) chicken broth
- 1 cup shredded cheese (Colby jack is our favorite)
- 8 ounces softened cream cheese
- 3-4 handfuls of baby fresh spinach
- 8 slices cooked bacon, made into bacon bits
- Use kitchen shears to cut chicken directly into your Instant Pot.
- Saute chicken in olive oil for a few minutes until chicken is no longer pink.
- Add ranch dressing, pasta, and chicken broth. Do not stir.
- Put lid on Instant pot and seal.
- Cook on Manual, High Pressure for four minutes.
- Quick release the pressure (I usually hold a towel a few inches above the valve to keep steam from spraying all over my kitchen.)
- Open the lid and add cream cheese, shredded cheese, spinach leaves, and bacon bits.
- Stir until creamy.
- Serve!
You are going to love how flavorful and easy this is!