Heavenly Homemakers

Encouraging women in homemaking, healthy eating and parenting

  • Home
    • About
    • FAQs
  • Recipes
    • Bread and Breakfast
    • Condiments
    • Dairy
    • Main Dishes
    • Side Dishes and Snacks
    • Desserts
    • Gluten Free
    • Instant Pot
    • Crock Pot
    • Heavenly Homemaker’s Weekly Menus
  • Homemaking
    • Real Food Sources
  • Store
  • Contact
    • Advertise
    • Disclosure
    • Privacy Policy
  • Simple Meals
  • Club Members!

Easy 4-Ingredient Chocolate Crunch Bars

December 15, 2019 by Laura 1 Comment

This post may contain affiliate links which won’t change your price but will share some commission.

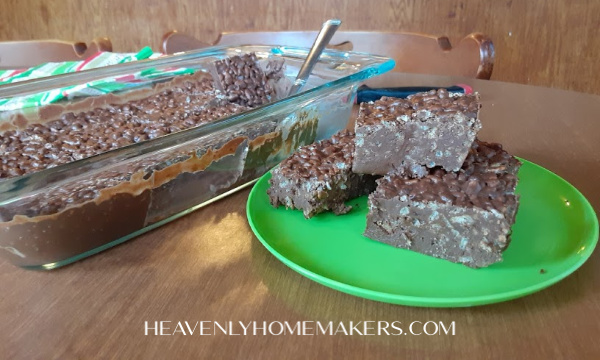
I’m guessing you already have all or most of the needed ingredients on hand to make these Chocolate Crunch Bars. So what are you waiting for? You NEED to make these pronto!
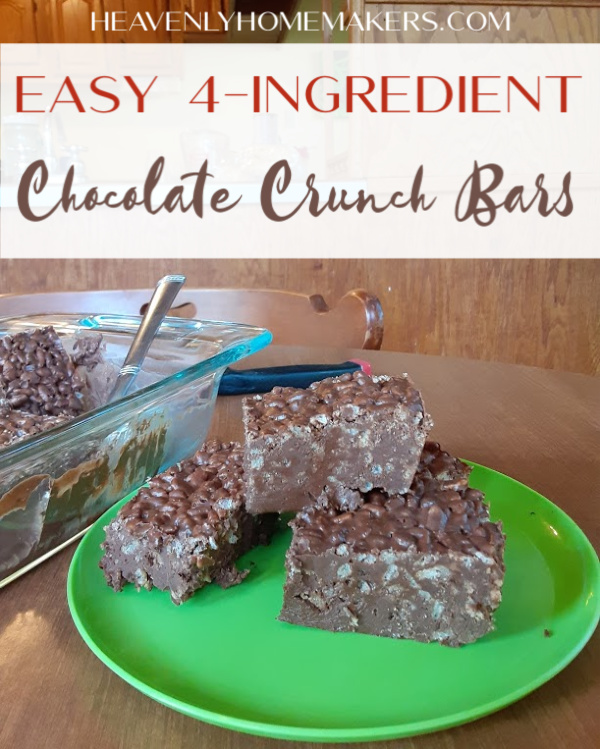
I could go on and on about how delicious these are. They taste like fudge with a wonderful crunch! I make a double batch for college kids and the plate is empty in no time. :)

The fact that they are super easy to make is a great bonus. And the wonderful crunch in these makes you feel like you’re eating a candy bar!

Watch Brayden (age 5) help me make these super easy Chocolate Crunch Bars —>

I personally like to use Bittersweet Chocolate in this recipe so the sugar content is much lower. But you can use any of your favorite chocolate chips.

So let’s see, you’ll need:

  • chocolate chips
  • coconut oil
  • nut butter
  • rice krispie cereal

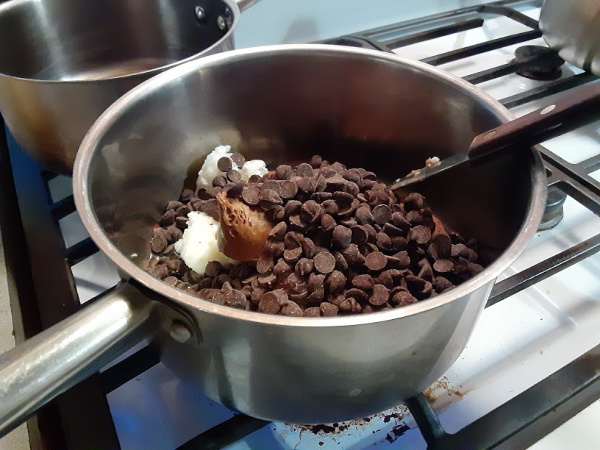
You’ll put the first three ingredients into a pan to melt and stir together.
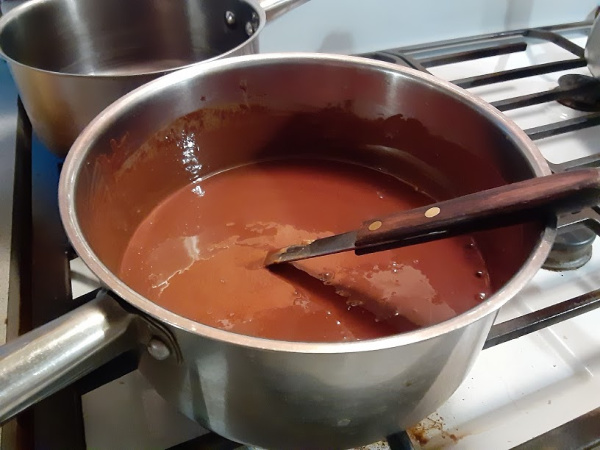
Once the mixture is melted and smooth, you’ll stir in the cereal.
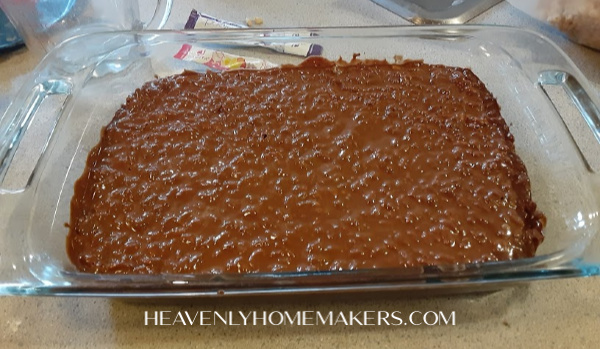
Then you’ll spread it into a dish and put it into the fridge to chill.
See how easy? And yep, they taste as good as they look!
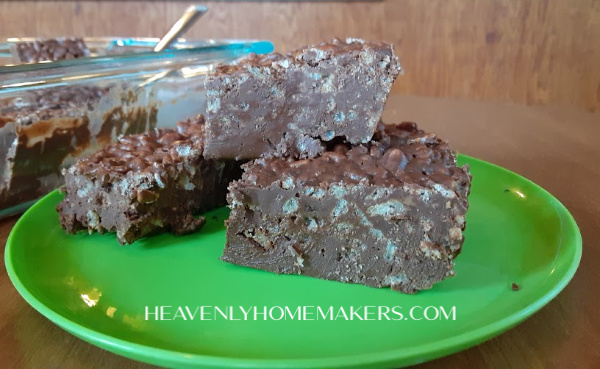
Easy 4-Ingredient Chocolate Crunch BarsYum

Easy 4-Ingredient Chocolate Crunch Bars
 
Save Print
Author: Laura
Serves: 16
Ingredients
  • 12-ounces bittersweet or dark chocolate chips (any chocolate chips will work!)
  • 1 cup nut butter (I like almond butter for these)
  • ¼ cup coconut oil (I prefer refined coconut oil in these because it's flavorless)
  • 2 cups crispy rice cereal
Instructions
  1. In a medium-sized saucepan, melt and stir the chocolate chips, nut butter, and coconut oil.
  2. Remove from heat and stir in the rice cereal.
  3. Pour mixture into an 8x8 inch pan.
  4. Chill for at least one hour before cutting and serving the bars.
3.5.3229

During this busy time of year, you’ll find that these Easy Chocolate Crunch Bars are perfect for a snack or even to make and take to a holiday party!

Chocolate Hint:

Do yourself a favor and order any of the Cocoa Powders, Chocolate Chips, or Chocolate Chunks from Olive Nation. (And use the code home to get 20% off!) I can’t tell you what a wonderful difference these cocoa powders and chocolate chips have made in my chocolate recipes. The quality is MUCH better, and they do not cost more than I was spending on the lesser varieties.

Heavenly Homemaker's Club Members: Access your homepage and all your fantastic resources here! Not a member yet? Please join us!

Easiest Chocolate Fudge Pie Recipe

December 11, 2019 by Laura 2 Comments

This post may contain affiliate links which won’t change your price but will share some commission.

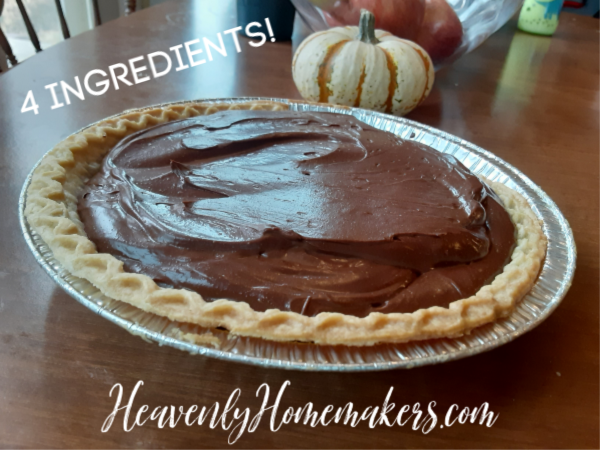
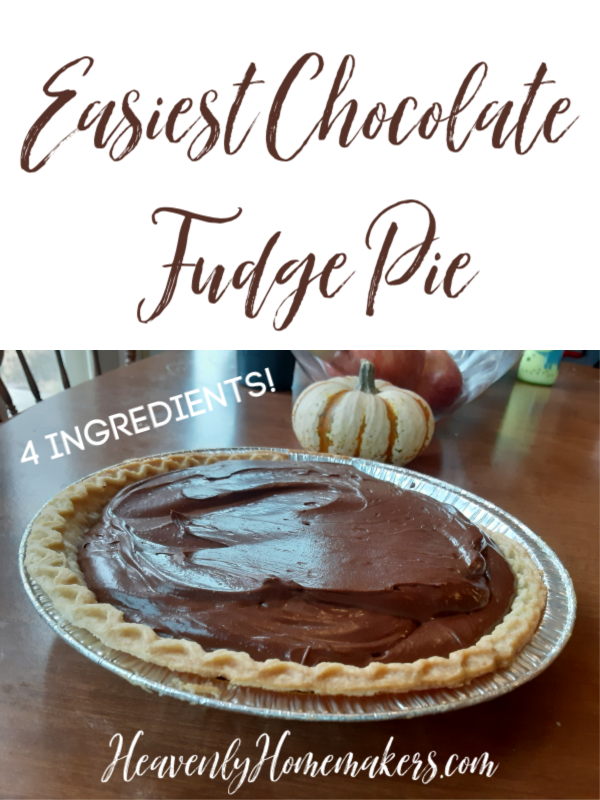
Your holiday season is about to get so much better! Introducing: Easiest Chocolate Fudge Pie!

The idea for this Chocolate Fudge Pie just came to me. The ingredients involved can’t help but be amazing together.

See, I had a baked pie crust sitting empty on my countertop begging to be filled. There seemed no other option but to fill it with something chocolate. College students would be joining us for lunch that day, and I already had Pumpkin Pies prepared.

Basically, I threw these ingredients together and hoped for the best. Hesitantly (but kind of selfishly, because I wanted some, ha!) I didn’t add extra sugar after I melted the chocolate chips. Would it be sweet enough for college kids to enjoy? We were heading to church soon so there wasn’t much time for me to contemplate.

Melt the chocolate and butter, whip in the cream (with the ease of my beautiful Blendtec), pour it into the shell, slide it into the fridge to chill for lunch.

OH MY CHOCOLATELY GOODNESS.

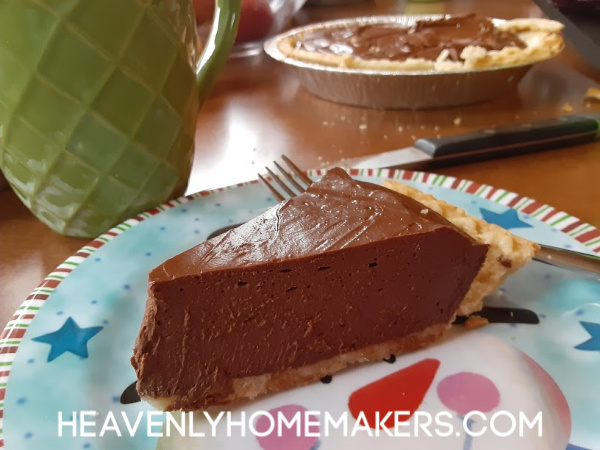
The college students raved about it! Apparently it was plenty sweet enough for them (even though not only did I not add extra sugar, I also used dark chocolate – who knew?!).

Truly, I don’t think there’s a pie recipe that’s as easy as this one. Certainly not one that turns out something so fudgy and rich. You will LOVE this Chocolate Fudge Pie. I highly recommend adding it to your holiday dessert table!

Easiest Chocolate Fudge Pie RecipeYum

Easiest Chocolate Fudge Pie Recipe
 
Save Print
Author: Laura
Serves: 1 pie
Ingredients
  • 10-ounces chocolate chips
  • 4 Tablespoons butter
  • 2 cups heavy whipping cream
  • 9-inch pie crust
Instructions
  1. In a small saucepan, melt the chocolate chips and butter together.
  2. Once melted, whip the chocolate mixture and the cream with beaters or in a high power blender (like a Blendtec) until smooth and thick.
  3. Pour mixture into a prepared pie crust.
  4. Chill for at least two hours before serving.
3.5.3229

Need some pie crust recipes?

  • Easy Whole Grain Pie Crust
  • Chocolate Pie Crust

Chocolate Hint:

Do yourself a favor and order any of the Cocoa Powders, Chocolate Chips, or Chocolate Chunks from Olive Nation. (And use the code home to get 20% off!) I can’t tell you what a wonderful difference these cocoa powders and chocolate chips have made in my chocolate recipes. The quality is MUCH better, and they do not cost more than I was spending on the lesser varieties.
Heavenly Homemaker's Club Members: Access your homepage and all your fantastic resources here! Not a member yet? Please join us!

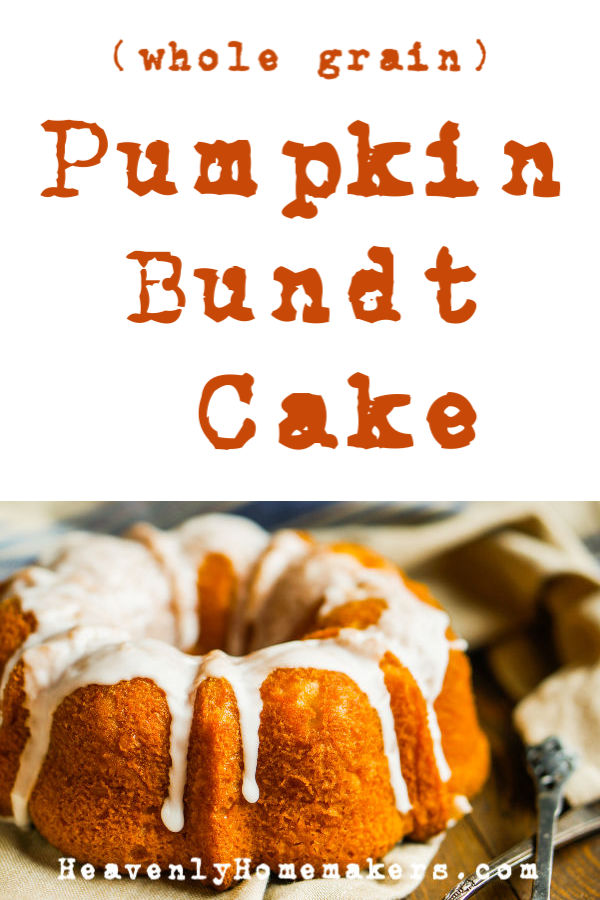
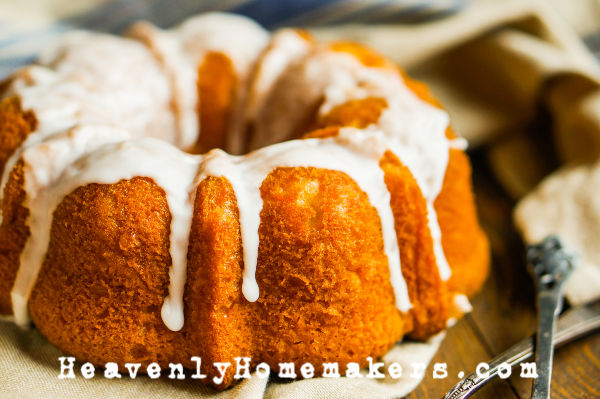
Whole Grain Pumpkin Bundt Cake

November 13, 2019 by Laura Leave a Comment

This post may contain affiliate links which won’t change your price but will share some commission.

Don’t let the “whole grain” part of this Pumpkin Bundt Cake scare you. If you use the right kind of whole grain, no one is the wiser.

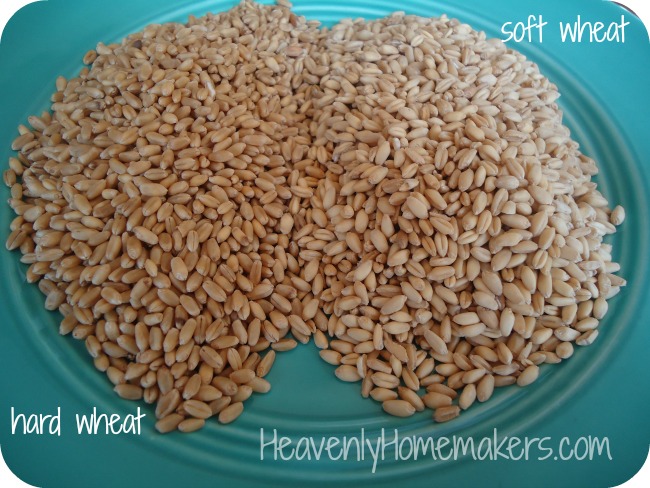
I prefer to use freshly ground soft white wheat when I make cakes like this. The flour is light and fluffy, acting much like all-purpose white flour. I love it! (Here are more posts sharing about grinding flour and choosing the right grain.)

You might notice that this recipe is quite similar to my Pumpkin Breakfast Cake recipe. See, the fun thing about recipes is that you can simply tweak them just a little, pour them into a different type of baking pan, and create a whole new treat!

Need a bundt pan? I have this one, and it sure makes holiday baking more fun!

Whole Grain Pumpkin Bundt CakeYum

Whole Grain Pumpkin Bundt Cake
 
Save Print
Author: Laura
Serves: 16
Ingredients
  • 3 cups whole wheat flour (I used freshly ground soft white wheat)
  • 1 cup sucanat or brown sugar
  • 1 teaspoon baking soda
  • 2 teaspoons baking powder
  • 1 teaspoon sea salt
  • 1 teaspoon cinnamon
  • 4 eggs
  • 2 cups pureed pumpkin (or one 16 ounce can)
  • 1 cup melted coconut oil (or butter)
Instructions
  1. Whisk all ingredients together until smooth.
  2. Pour into a well-buttered bundt cake pan.
  3. Bake in a 350 degree oven for 45-55 minutes or until a toothpick inserted in the middle of the cake comes out clean.
  4. Allow cake to cool for 15 minutes before removing it from the pan.
  5. Glaze with any of the tasty frosting recipe options below.
3.5.3229

Glaze or Frosting Recipes

Maple Cream Cheese Frosting

8 ounces softened cream cheese
¼ cup softened butter
3-4 Tablespoons real maple syrup
1 teaspoon vanilla extract

With a hand mixer (or in your blender), whip together all ingredients until smooth. Spread over cooled cake.

Stevia Sweetened Cream Cheese Frosting

8 ounces softened cream cheese
1 cup heavy whipping cream
1/2 teaspoon vanilla extract
Liquid stevia to taste (I use 2 droppers full)

Whip ingredients together until smooth. Spread over cooled Cake.

Orange Glaze

¼ cup orange juice
¼ cup honey
½ teaspoon vanilla extract
1 teaspoon almond extract

Whisk ingredients together until smooth. Drizzle over cooled cake.

Heavenly Homemaker's Club Members: Access your homepage and all your fantastic resources here! Not a member yet? Please join us!

Chocolate Pumpkin Cake Recipe

October 13, 2019 by Laura Leave a Comment

This post may contain affiliate links which won’t change your price but will share some commission.

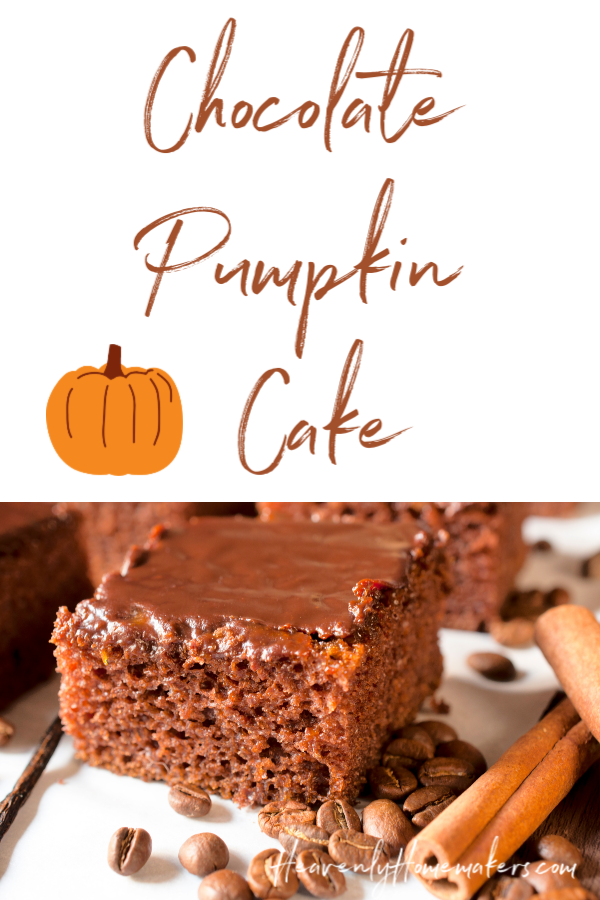
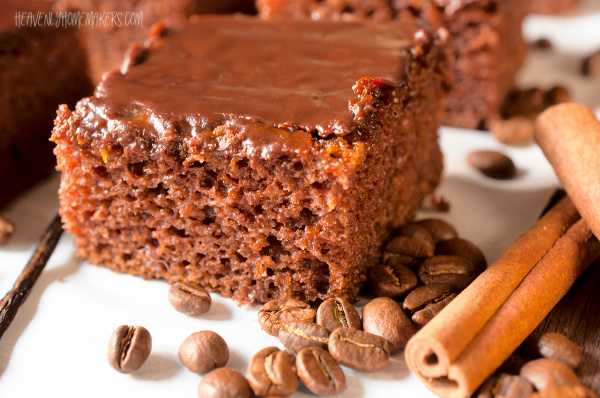
If you love chocolate, and you love pumpkin spice, then you are going to love, love this Chocolate Pumpkin Cake!

I love any treat that includes ingredients healthy enough for us to serve for breakfast.

What? Cake for breakfast? Oh yes. All year long. And since this one includes pumpkin, it’s a step above. #veggiecake

Of course, the pumpkin in this recipe makes it super moist. And the chocolate in this recipe? Well, that makes it chocolate. Need I say more?

You’ll love that this cake is topped with a thin layer of Honey-Sweetened Chocolate Frosting. Sigh…while I sure do love summer best, NOTHING can beat fall baking!!

Enjoy this fun video we put together, sharing how to make this cake!

Chocolate Pumpkin Cake RecipeYum

Chocolate Pumpkin Cake Recipe
 
Save Print
Author: Laura
Serves: 15-18
Ingredients
  • 1 cup melted coconut oil
  • 1 cup water
  • 4 Tablespoons unsweetened cocoa powder
  • 2 cups whole wheat pastry flour
  • ½ cup sucanat
  • dash of sea salt
  • 1 teaspoon ground cinnamon
  • 1 teaspoon baking soda
  • 1 cup pumpkin puree
  • 2 eggs
Instructions
  1. In a large mixing bowl, stir together flour, sucanat, cinnamon, salt, and baking soda.
  2. Set aside. In a saucepan, bring oil, water, and cocoa to a boil.
  3. Pour liquid mixture into the bowl with the dry ingredient mixture.
  4. Stir well.
  5. Add pumpkin puree and eggs, mixing well.
  6. Pour batter into a 9x13 inch baking pan.
  7. Bake in a 350° oven for 20-25 minutes or until a toothpick inserted in the middle comes out clean. Allow cake to cool completely before frosting.
3.5.3229

Low Sugar Chocolate Frosting

1/2 cup butter
4 Tablespoons cocoa powder
2 Tablespoons milk
2-4 Tablespoons honey (sweeten this to your taste)
1 teaspoon vanilla extract

In a small saucepan combine butter, cocoa, milk, and honey. Cook and stir over low heat until ingredients are well combined and mixture begins to thicken slightly. Removed from heat. Stir in vanilla. Spread over cooled cake.

Do you love fall baking like I do? Will you be eating this cake for breakfast? :)

Heavenly Homemaker's Club Members: Access your homepage and all your fantastic resources here! Not a member yet? Please join us!

How to Make Easy Fruit Cobbler

September 24, 2019 by Laura Leave a Comment

This post may contain affiliate links which won’t change your price but will share some commission.

Hopefully, we’ve all been taking advantage of summer and fall to pick and preserve all the fresh fruit we can get our hands on. Now let’s learn about how to make Easy Fruit Cobbler!

Almost 12 years into sharing recipes here with you, I am shocked that I have yet to post our favorite fruit cobbler recipe! This is, hands down, Matt’s favorite dessert. And who am I kidding? Sometimes we make it and eat it for breakfast. It’s fruit and bread, am I right?

What fruits work best for Easy Fruit CobblerYum

In our experience, with the exception of melons and citrus, just about any fruits will work. Our favorites are:

  • Peach (our favorite, favorite!)
  • Strawberry
  • Raspberry
  • Blueberry
  • Boysenberry (Matt’s favorite since he grew up in California – but we don’t have access to these berries in Nebraska!)
  • Blackberry
  • Apple
  • Pear
  • Cherry

You can buy fresh or frozen fruit at the store or farmer’s market to use in these cobblers. Our favorite and most economical option is to use whatever fruit we’ve been blessed to pick and preserve. We grab peaches or berries that we’ve frozen during the summer and quickly make an Easy Fruit Cobbler to enjoy!

Use as much or as little sugar as you prefer. Through the years, I’ve cut the sugar content down in this recipe (so we can eat it for breakfast, you know?). And of course, I use freshly ground wheat flour. So our cobblers are made with whole grains, healthy fats, and amazing fruit!

~~~~~~~~~~~~~~~~~~~~~~~~~~~~~~~~~~~~~~~~~~~~~~~~~~~~~~

 —- > Want to know more about grinding fresh flour and using whole grains? Read these posts! <—–

~~~~~~~~~~~~~~~~~~~~~~~~~~~~~~~~~~~~~~~~~~~~~~~~~~~~~~

I love that using whole grains in dessert and treat recipes takes them up a notch on the healthy scale! Yes, these are still sweet treats to be eaten in moderation. But when we cut down the sugar content, use whole grains, and use all wholesome, real food ingredients – we’ve got ourselves a dessert that is actually nourishing!

Easy Fruit Cobbler

How to Make Easy Fruit Cobbler
 
Save Print
Author: Laura
Serves: 4-6
Ingredients
  • TOPPING:
  • 1 cup whole grain flour (I use freshly ground soft white wheat)
  • 2 Tablespoons brown sugar or sucanat
  • ½ teaspoon baking powder
  • ¼ cup melted butter
  • 1 egg
  • 3 Tablespoons milk
  • FRUIT:
  • 6 cups fresh or frozen fruit, washed and sliced if needed
  • ¼-1/2 cup brown sugar or sucanat, depending on your taste
Instructions
  1. In a medium saucepan, cook fruit and sugar until soft and syrupy.
  2. Pour fruit mixture into a 9x9 inch baking dish.
  3. Mix together topping ingredients, beginning with dry ingredients first.
  4. Add melted butter, egg, and milk until well combined.
  5. Spoon mounds of topping over the fruit filling in the baking dish.
  6. Bake in a 400 degree oven for 20-25 minutes or until cobbler is bubbly and topping is golden brown.
  7. Serve as-is, or topped with ice cream or milk
3.5.3229

If you prefer a crunchy topping instead of a cake topping, try this awesome Fruit Crisp Recipe instead!

Heavenly Homemaker's Club Members: Access your homepage and all your fantastic resources here! Not a member yet? Please join us!

Whole Grain Chocolate Chip Cheesecake Bars

September 15, 2019 by Laura 5 Comments

This post may contain affiliate links which won’t change your price but will share some commission.

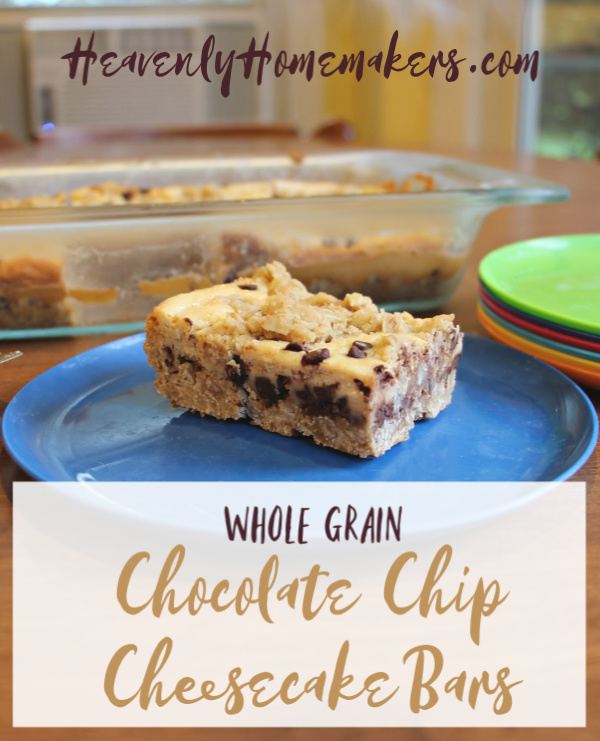
Perhaps you have become great friends with the infamous Whole Grain Raspberry Cheesecake Bars? If not, you must. And now, you must also get to know our new friend, the Whole Grain Chocolate Chip Cheesecake Bars. Where has this friend been your whole life?

But speaking of whole, it is fantastic to know that these bars are made with whole grains. But no one, not even the boxed poptart lovers out there, will realize that these are packed with delightful nutrition. I know this because I fed a batch to a bunch of teenage boys who were visiting our home and who had just polished off a box of poptarts they had brought over. The next morning, I presented them with these bars.

Perhaps it was the added chocolate chips that made these so inviting. Well yeah, of course it was the chocolate chips. Still, they gobbled these down with a pitcher of iced coffee and some fruit, thanking me for the great breakfast like the sweet boys that they are.

It’s so fun to make treats like this that provide nourishment while still being “not weird.” You cannot go wrong with the words “chocolate chips” and “cheesecake bars” in the same title, am I right?

So get yourself some oats (which you probably already have), some chocolate chips (which you probably already have), some whole wheat flour (which you probably already have), and some cream cheese and some butter (please tell me you keep a lifetime supply of these golden ingredients on hand at all times). You will love these delightful Whole Grain Chocolate Chip Cheesecake Bars!

Whole Grain Chocolate Chip Cheesecake BarsYum

5.0 from 2 reviews
Whole Grain Chocolate Chip Cheesecake Bars
 
Save Print
Author: Laura
Serves: 12
Ingredients
  • 1½ cups whole wheat flour (I use freshly ground soft white wheat)
  • 1½ cups rolled oats
  • ½ cup sucanat or brown sugar
  • ½ teaspoon baking powder
  • ¼ teaspoon sea salt
  • 1 cup melted butter
  • ½ cup chocolate chips
  • CHEESECAKE LAYER:
  • 8-ounces softened cream cheese
  • 1 egg
  • 2 Tablespoons real maple syrup
  • ½ teaspoon vanilla extract
Instructions
  1. Mix together flour, oats, sucanat, baking powder, and salt.
  2. Stir in melted butter until the mixture resembles crumbs.
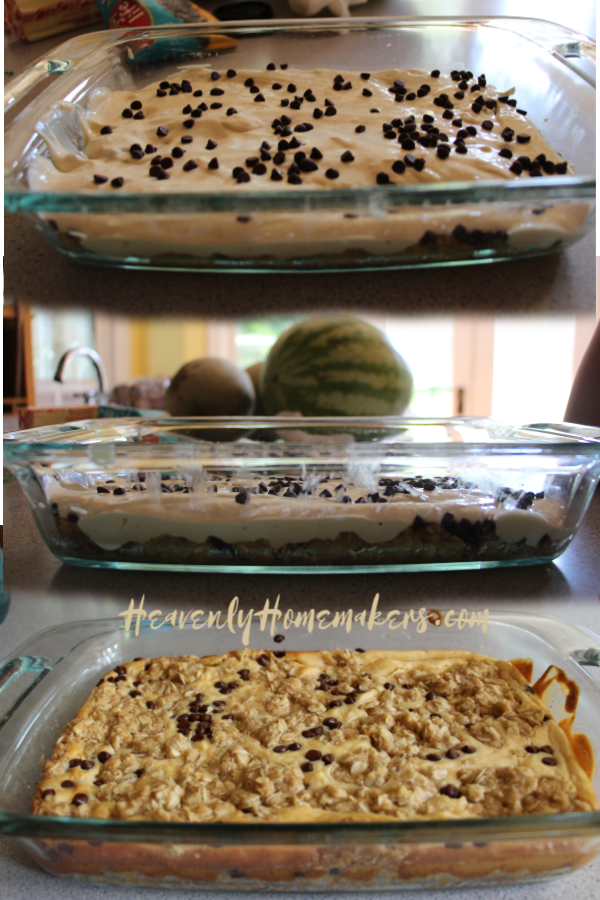
  3. Press half of the mixture into an 8x8 inch baking pan.
  4. In a blender or with beaters, whip together cream cheese, egg, maple syrup, and vanilla.
  5. Spread this cheesecake layer over the top of the oat layer.
  6. Sprinkle ½ of the chocolate chips over the cheesecake layer.
  7. Drop spoonfuls of remaining oat mixture on top of the cheesecake layer, then sprinkle the remaining chocolate chips on top.
  8. Bake in a 350° oven for 45 minutes or until lightly browned.
3.5.3229


Heavenly Homemaker's Club Members: Access your homepage and all your fantastic resources here! Not a member yet? Please join us!

Homemade Chocolate Pudding Recipe

July 28, 2019 by Laura 4 Comments

This post may contain affiliate links which won’t change your price but will share some commission.

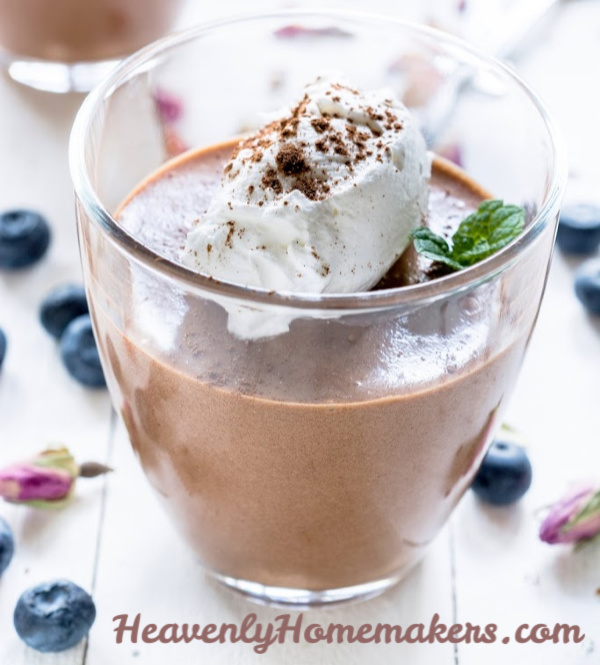
Apparently, it is the week for pudding! We’ve shared our Homemade Vanilla Pudding recipe, a great idea for a Pudding Parfait in a Jar, and today our Homemade Chocolate Pudding Recipe!

Just like our Homemade Vanilla Pudding recipe, this one is tried and true and worth another share. We wanted to highlight it again as another school year is approaching (I know, I don’t want to talk about it either!). This is a great recipe for an after school snack or to pack in a lunch.

How should you pack it in a lunch, you ask? Well now, check out this fun idea for How to Make Your Own Pudding Cups!

And get our other homemade pudding recipes here so that you can mix and match!

  • Vanilla Pudding
  • Butterscotch Pudding
  • Tapioca Pudding
  • Peanut Butter Pudding

Homemade Chocolate Pudding RecipeYum

Homemade Chocolate Pudding Recipe
 
Save Print
Author: Laura
Serves: 4-6
Ingredients
  • 2½ cups milk
  • 3 egg yolks
  • ¼-1/2 cup real maple syrup
  • ¼ cup unsweetened cocoa powder
  • 4 Tablespoons arrowroot powder or cornstarch
  • ¼ teaspoon sea salt
  • 1 teaspoon vanilla
Instructions
  1. In a medium saucepan, whisk together milk, egg yolks, maple syrup, cocoa powder, arrowroot powder, and salt.
  2. Cook over medium heat, whisking/stirring CONSTANTLY until pudding begins to thicken.
  3. Stir over the heat for about 15 more seconds.
  4. Remove immediately from the heat, and continue to stir until pudding is creamy.
  5. Add vanilla and continue to stir until mixed.
  6. Pour into serving dishes and serve warm, or chill for two hours and serve cold.
3.5.3229

Need some Homemade Whipped Cream to eat on top of your Homemade Chocolate Pudding? YES, you really do! It’s super easy to make and well worth the small amount of effort so that you can enjoy the additional treat of whipped cream on top of your homemade pudding! Get our Homemade Whipped Cream recipe here.


Heavenly Homemaker's Club Members: Access your homepage and all your fantastic resources here! Not a member yet? Please join us!

Simple Layered Pudding in a Jar

July 23, 2019 by Laura Leave a Comment

This post may contain affiliate links which won’t change your price but will share some commission.

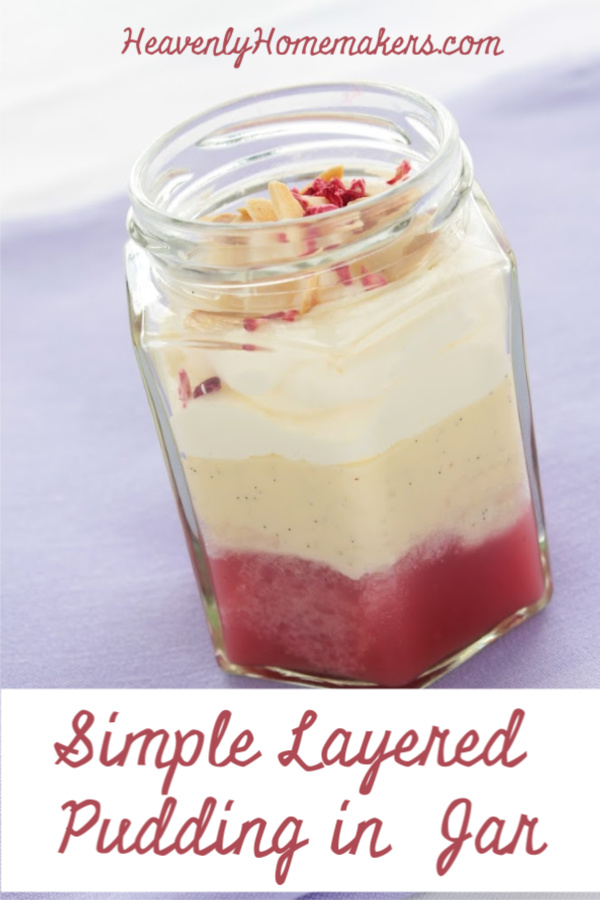
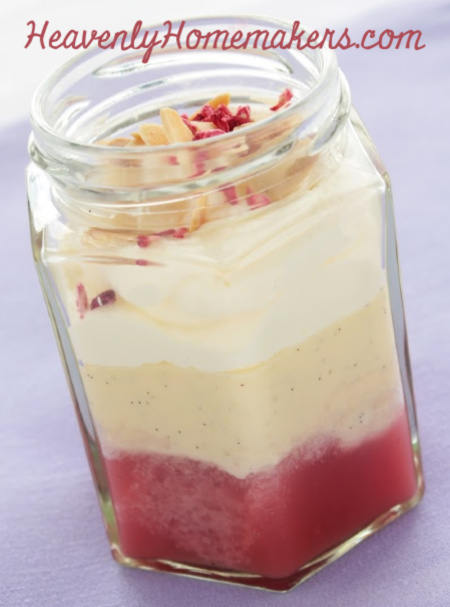
Did you see our Homemade Vanilla Pudding Recipe? Now you’re going to need this Simple Layered Pudding in a Jar idea to go with it!

This idea is so fantastic because you can mix and match and make a treat exactly to your liking.

Take it to go!

This idea is beautiful enough to make for special gatherings, parties, and showers. But it’s also practical enough that you can make several jars ahead and take them on the go with you. Pack them for lunches. Carry them for snacks. Make everyone around you jealous that while you are eating a gorgeous and delicious Layered Pudding in a Jar treat, they are stuck with…well, anything but a Layered Pudding in a Jar treat.

Hmm, perhaps you should carry around extras to share with those around you. :)

Simple Layered Pudding in a JarYum

Simple Layered Pudding in a Jar
 
Save Print
Author: Laura
Serves: 6
Ingredients
  • 1 batch of homemade vanilla pudding*
  • 1 batch of homemade fruit syrup**
  • Whipped cream***
  • Slivered almonds or other nuts that you prefer (optional)
Instructions
  1. Make pudding, fruit syrup, and whipped cream as directed in each of the links below.
  2. Layer each in a jar according to your preference.
  3. Top with whipped cream and nuts if you like!
  4. Cover and store in the fridge to eat as needed.
3.5.3229

Ready for the recipe links?

*Homemade Vanilla Pudding

**Homemade Fruit Syrups:

  • Apple Butter
  • Peach Syrup
  • Easy Raspberry Syrup
  • Blueberry Syrup (sub strawberries if you want!)

***Homemade Whipped Cream

Don’t want to mess with making homemade fruit syrup?

Simply toss in sliced fresh fruit.

The sky is the limit to how you can create your Layered Pudding Parfaits. It should come as no surprise that strawberry is my favorite syrup to make and add to my pudding. But since I don’t want/need the added sugar needed to create a fruit syrup, I usually just add the strawberries as-is!

Enjoy and have fun!

Want more Food-in-a-Jar Ideas?

You’ll love these!

Need to know where to get great jars?

This post shares all!

Heavenly Homemaker's Club Members: Access your homepage and all your fantastic resources here! Not a member yet? Please join us!

Homemade Vanilla Pudding Recipe

July 21, 2019 by Laura 7 Comments

This post may contain affiliate links which won’t change your price but will share some commission.

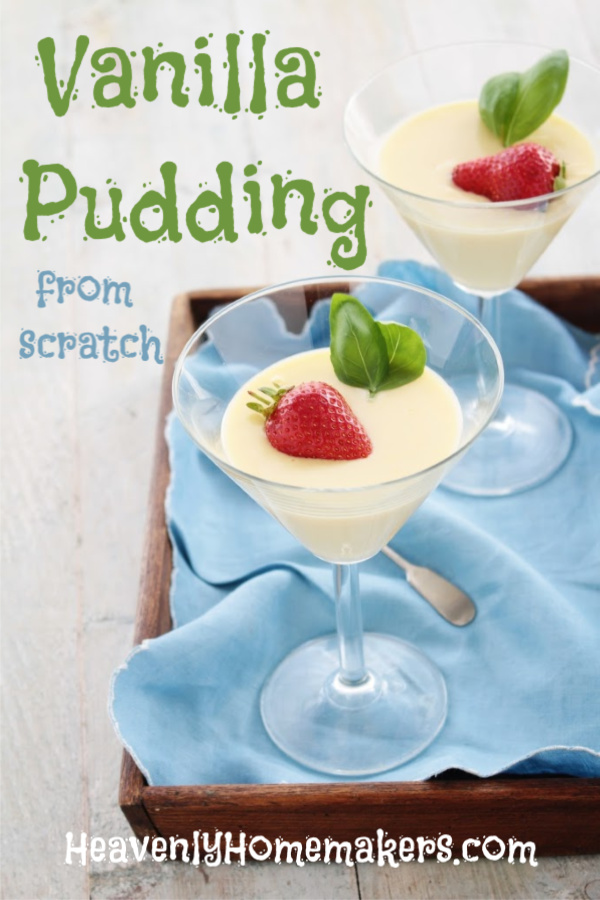
Want a Vanilla Pudding Recipe that you can make from scratch? But you’re afraid it will be too difficult? Check this out!

We shared this recipe years ago here at Heavenly Homemakers. But as delicious and simple as it is, I felt it was worth another share. A tried and true recipe like this one that we’ve made at our house for years and years is worth a repeat!

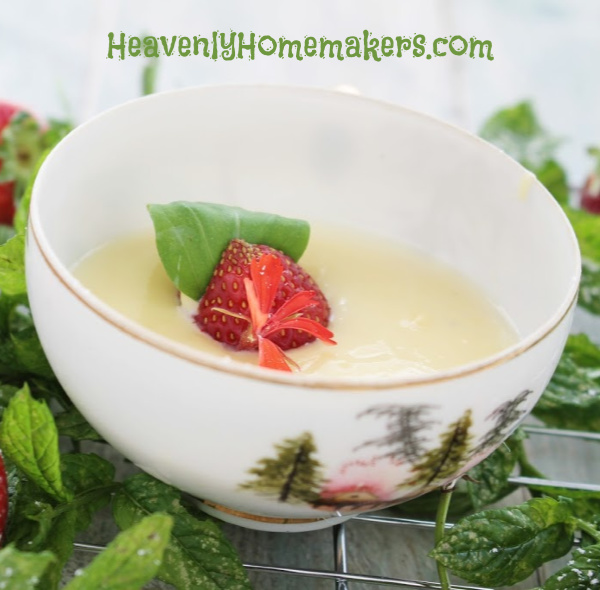
Homemade Vanilla Pudding is fantastic comfort food, and with its eggs and milk, it also offers nourishment. Eat it warm right off the stove, or let it chill so you can eat it cold.

Want to take it to go?

Check out our fun post that describes How to Make Your Own Pudding Cups!

Homemade Vanilla Pudding RecipeYum

4.0 from 2 reviews
Homemade Vanilla Pudding Recipe
 
Save Print
Author: Laura
Serves: 4-6
Ingredients
  • 2½ cups milk
  • 3 egg yolks
  • ¼-1/2 cup real maple syrup
  • 4 Tablespoons arrowroot powder or cornstarch
  • ¼ teaspoon sea salt
  • 1 teaspoon vanilla
Instructions
  1. In a medium saucepan, whisk together milk, egg yolks, maple syrup, arrowroot powder, and salt.
  2. Cook over medium heat, whisking/stirring CONSTANTLY until pudding begins to thicken.
  3. Stir over the heat for about 15 more seconds.
  4. Remove immediately from the heat, and continue to stir until pudding is creamy.
  5. Add vanilla and continue to stir until mixed.
  6. Pour into serving dishes and serve warm, or chill for two hours and serve cold.
3.5.3229

Want your pudding more or less sweet? Adjust the amount of maple syrup in the recipe to your family’s preference!

It goes without saying that topping your Homemade Vanilla Pudding with fresh fruit it an additional wonderful and nourishing idea.

Want more homemade pudding recipes?

  • Butterscotch Pudding
  • Chocolate Pudding
  • Tapioca Pudding
  • Peanut Butter Pudding

I’ll be updating our Chocolate Pudding Recipe next. And stay tuned for an awesome Pudding Parfait in a Jar idea coming soon too!

Heavenly Homemaker's Club Members: Access your homepage and all your fantastic resources here! Not a member yet? Please join us!

No-Bake Chocolate Chip Cookie Dough Bites – (Gluten and Dairy Free)

July 7, 2019 by Laura 2 Comments

This post may contain affiliate links which won’t change your price but will share some commission.

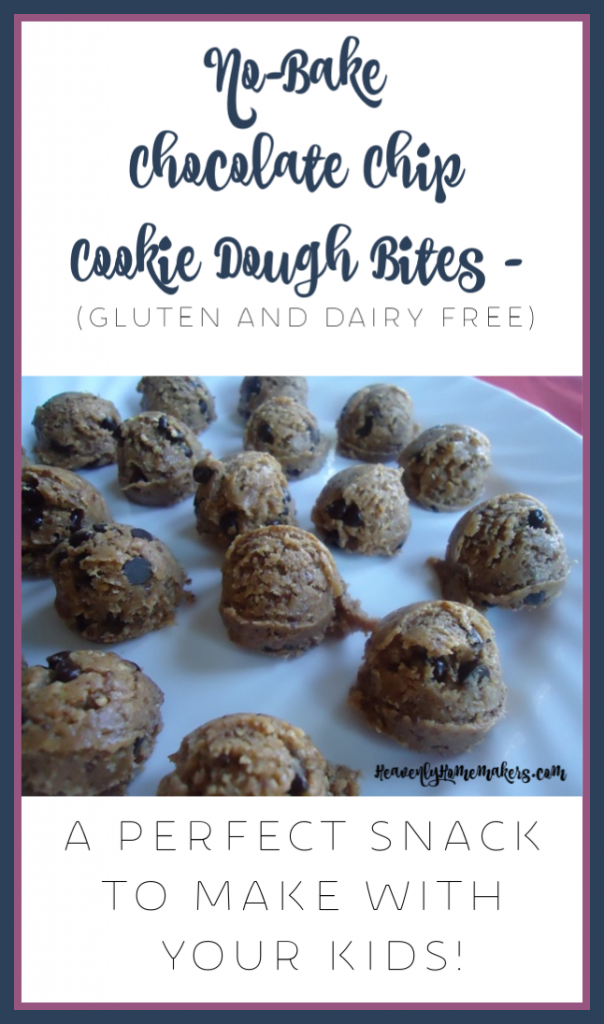
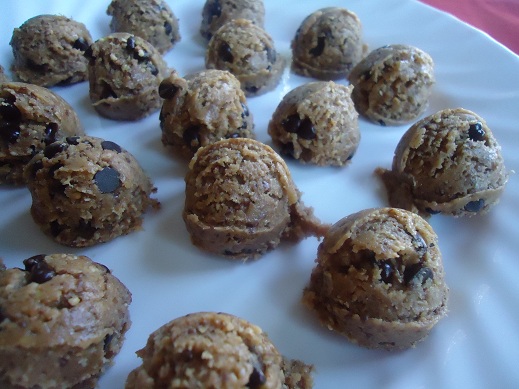
You might notice that this No-Bake Chocolate Chip Cookie Dough Bites recipe looks identical to our No-Bake Chocolate Chip Cookie Dough Bars recipe. This one is a fun one to make with your kids!

Yep. You figured it out. Same recipe. One shaped into bars. One shaped into balls. We are so creative, are we not?

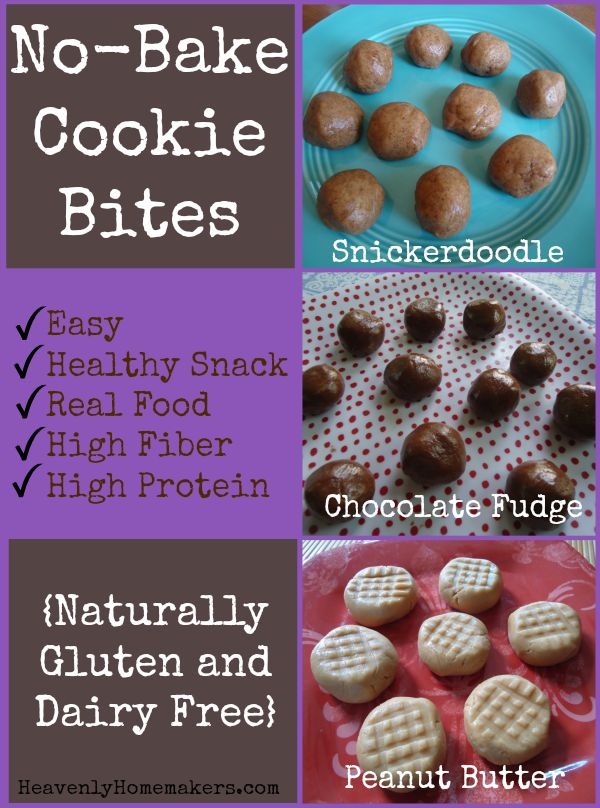
Speaking of creative, we’ve got three other simple varieties of this recipe here. Just a few ingredient variations will give you one of these!


Grab the No-Bake Cookie Dough Bite recipes here:

  • No-Bake Chocolate Fudge Cookie Bites
  • No-Bake Snickerdoodle Bites
  • No-Bake Peanut Butter Cookie Bites

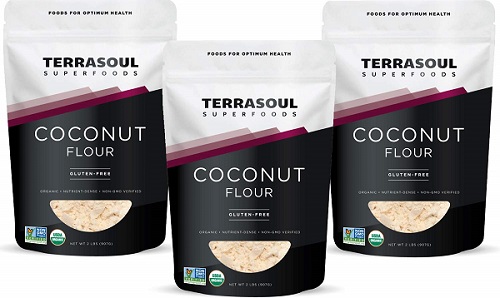
Need Coconut Flour?

I found a great price here!

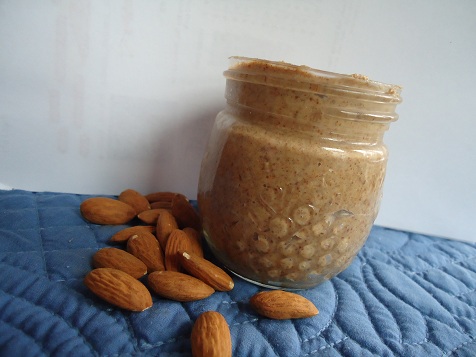
Need Almond Butter?

It’s hard to find a good price on this! Aldi has been my best option, if and when I can make it there to shop. (I live an hour away from the closest Aldi, boo!) Try to find one without added sugar. Or better yet, if you can find a good price on almonds, make Homemade Almond Butter!

Need Honey?

I much prefer and recommend buying local honey! Otherwise, I recommend buying a big jug from Azure Standard if that is an option for you.

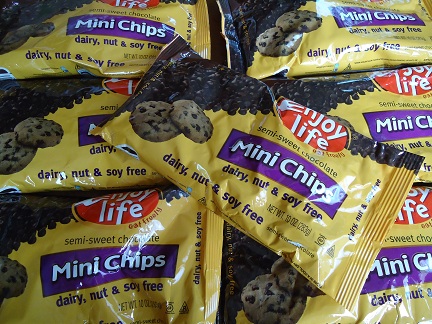
Need Chocolate Chips?

My very favorite chips are these Enjoy Life Mini Chocolate Chips! They are usually more expensive in the summer as they don’t ship well in the heat. So watch for them to go down in price in the fall and winter months, then stock up!

Need Vanilla Extract?

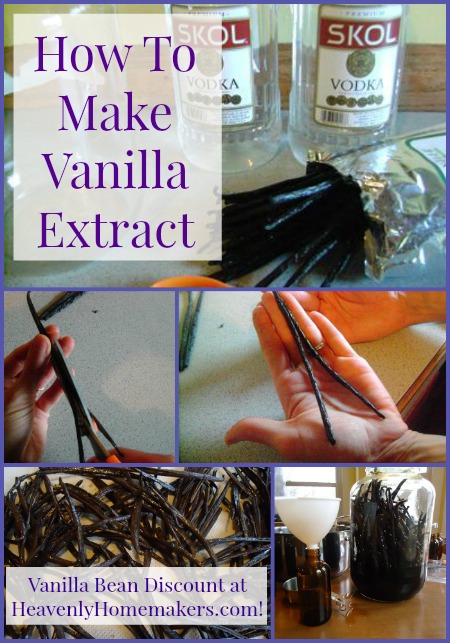
Oh how I love making it myself! Unfortunately, the price of vanilla beans has gone up over the years. Boo. Still, I think it’s best to make it ourselves if we can! Learn how here!

And now, grab your kids and let them help you make these awesome little treats!

No-Bake Chocolate Chip Cookie Dough BitesYum

No-Bake Chocolate Chip Cookie Dough Bites - 5 Ingredients
 
Save Print
Author: Laura
Serves: 12-15
Ingredients
  • 1 cup natural creamy almond butter
  • ¼ cup honey
  • 1 teaspoon vanilla extract
  • ½ cup coconut flour
  • ¼ cup mini chocolate chips
Instructions
  1. Mix the ingredients together in a bowl until well combined.
  2. Roll the mixture into teaspoon-sized (or whatever sized) balls.
  3. Refrigerate for about 30 minutes before serving.
3.5.3229

We like using a cookie scoop like this one to make these Cookie Dough Bites.

Looking for more help as you pull your kids into the kitchen with you?

  • Grab our new and improved Teaching Your Kids to Cook eBook!
  • Here’s our Kids in the Kitchen discounted eBook collection.
  • This Kids Cook Real Food eCourse is fantastic! It is well worth the investment for all that it offers to your family!
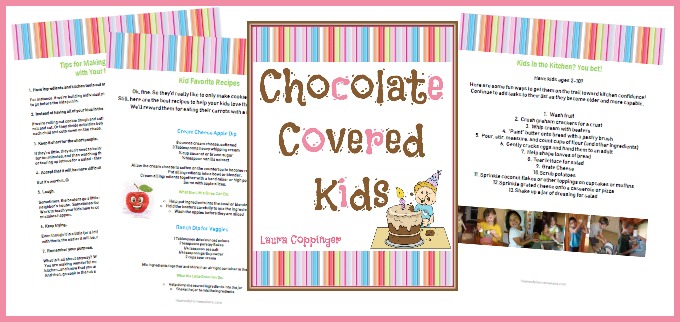
  • Our Chocolate Covered Kids Cookbook and Resource Pack is filled with helpful tips, instructions, and of course, recipes!

If you really want to go all in and teach your kids to cook this summer, I encourage you to invest in Katie Kimball’s Kids Cook Real Food eCourse. I used this course with Malachi and plan to use it with Bonus Boy too. It is FANTASTIC!!! Get the details here. And pick up her awesome FREEBIE —>


Heavenly Homemaker's Club Members: Access your homepage and all your fantastic resources here! Not a member yet? Please join us!
« Previous Page
Next Page »

Join Our Community!

 Facebook Twitter RSS E-mail Instagram Pinterest

Popular Posts

~ Will All of the Real Moms Please Stand Up?
~ Easy! Stir-and-Pour Whole Wheat Bread
~ How to Make Gatorade
~ 31 Real Food Breakfast Ideas
~ Dear Teenage Girls...
~ When Mom Takes a Step Back
~ The Inexpensive Health Insurance We Love!
~ Let's Talk Real Food Grocery Budgets

Check out our latest posts!

  • What to Make When It’s Too Hot to Make Dinner
  • How God Used My Cheesecake
  • Big Family Food and Fun: Meals and Photos from Last Week (May 17-27, 2023)
  • The Coppinger Castle
  • How Our Youngest Became Oldest of 9
Home  ~  Simple Meals  ~  Club Membership  ~  Shop  ~  Privacy Policy  ~  Disclosure  ~ Contact

Copyright © 2023 · Beautiful Pro Theme on Genesis Framework · WordPress · Log in