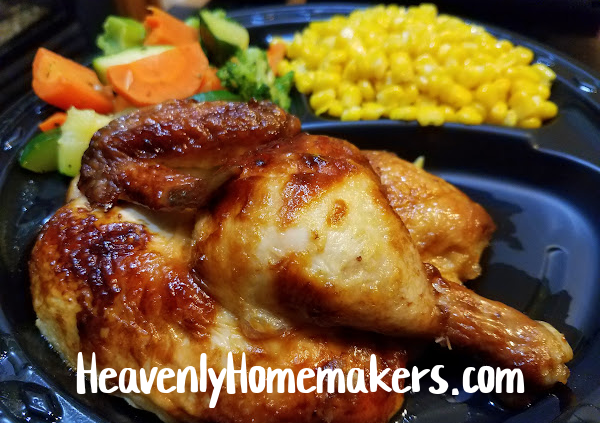
Use a Rotisserie Chicken as fast food? Oh yes! Here are 12 full meal ideas to work with as you get your creative meal idea juices flowing…

Seeing as Costco and Sam’s offer their delicious Rotisserie Chicken for just $4.98 every single day – we should keep this in mind as a Fast Food option as a way that saves money and provides a healthy meal! Here are some tasty ideas to create a meal with a Rotisserie Chicken:
Ways to Use a Rotisserie Chicken as Fast Food
There are so many different food combinations we can put together to enjoy a rotisserie chicken as a meal! Anything you choose will offer a fast food meal at a fraction of the price compared to ordering take-out at a restaurant. And you can put together some very healthy meal options too!
Look through all the different Rotisserie Chicken meal combinations below. Put these items into your cart, take them home, and put them on your table. Or, how about taking any of these to the park for a simple picnic?? So delicious and fun!

Rotisserie Chicken Meal Ideas:
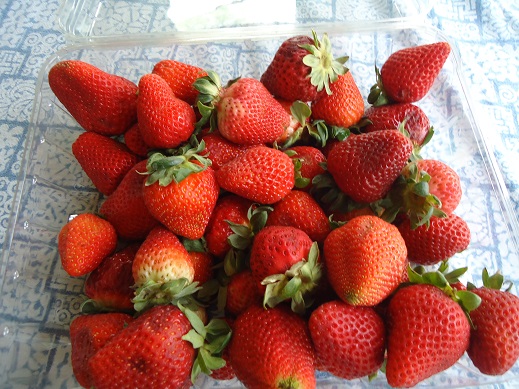
- Rotisserie Chicken, Caesar Salad Mix, Fresh Strawberries
- Rotisserie Chicken, Croissants, Romaine Lettuce, Grapes (at home, grab out mayo, mustard, and ranch to complete your sandwiches)
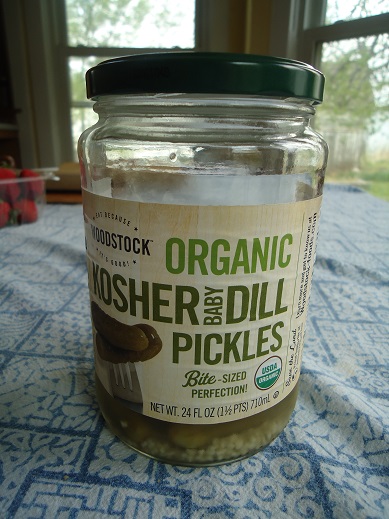
- Rotisserie Chicken, Potato Salad, Pickles, Blackberries
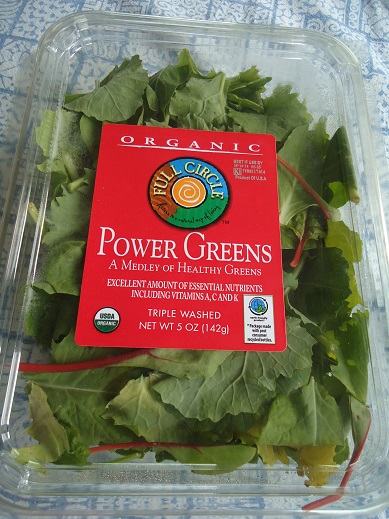
- Rotisserie Chicken, Mixed Greens, Sliced Cheese, Crackers, Watermelon (enjoy salad dressing that you already have in your fridge with your mixed greens)
- Rotisserie Chicken, Hawaiian Rolls with butter, Coleslaw, Grapes
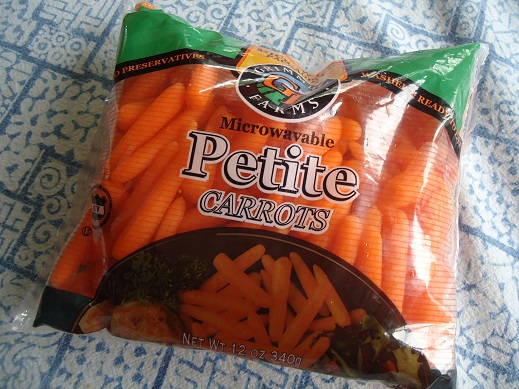
- Rotisserie Chicken, Baby Carrots with Hummus, Veggie Straws, Cherries
- Rotisserie Chicken, Tortilla Chips with Guacamole, Grape Tomatoes, Sliced Melon
- Rotisserie Chicken, Baked Beans, Fruit and Veggie Tray
- Rotisserie Chicken, Pasta Salad, Cherry Tomatoes, Fruit Cups
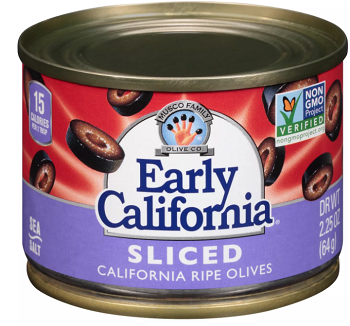
- Rotisserie Chicken, Tortilla Chips with Salsa, Olives, Pickles, Peaches
- Rotisserie Chicken, Tomato Soup, Cheese and Crackers, Pears
- Rotisserie Chicken, Steamed Veggies, Rolls with Butter, Cuties

Mix and Match any combination of these, or add anything else you find that looks good! Simply grab a Rotisserie Chicken (or two if you have a large family, pick up some simple sides, and you have a quick, easy, and healthy meal!


 How I Save Time Chopping Onions