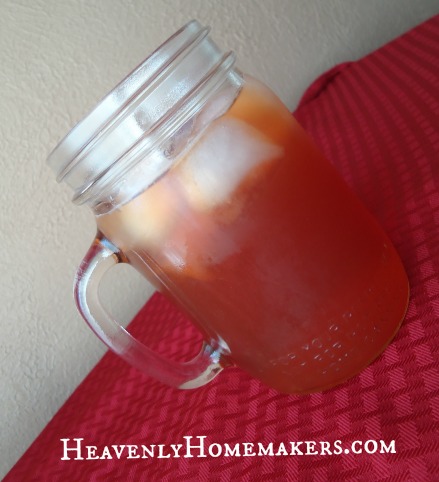
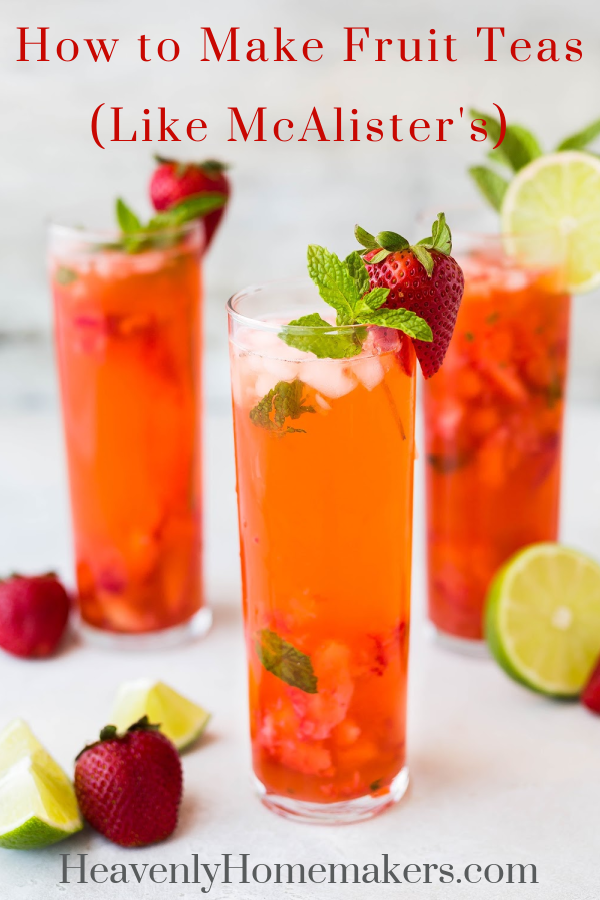
Do you like McAlister’s fruit teas? Sweet or unsweet? Yum! So delicious and fun! Want to save a lot of money and make them at home?
It’s hard for me to spend money on a special drink from a restaurant or coffee shop. If I’m going to justify it, I have to be traveling or working (borrowing the internet at a coffee shop).
Yeah, I should probably loosen up a little. Maybe stop overthinking how much tea or coffee I could make at home for the cost of one purchased restaurant drink. Maybe.
Conversation in my head: This cup of coffee just cost me $4.50?? I could make many, many, many pots of coffee for that price at home. POTS. Not just cups. I can’t believe I just paid that much for one cup. Mmmm, that’s good. Well, it better be good for $4.50…
Don’t ask me about buying ice cream for the family while on vacation. For the cost of one Blizzard, we can buy a nice-sized container of ice cream at the store to feed our entire family a treat. Oy. I am such a barrel of fun, am I not?
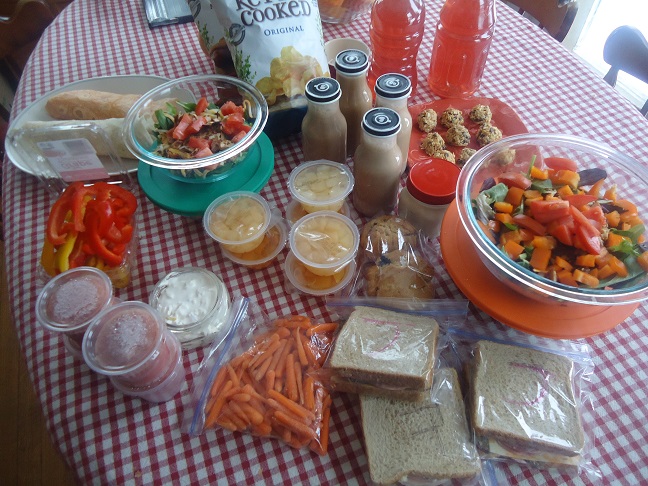
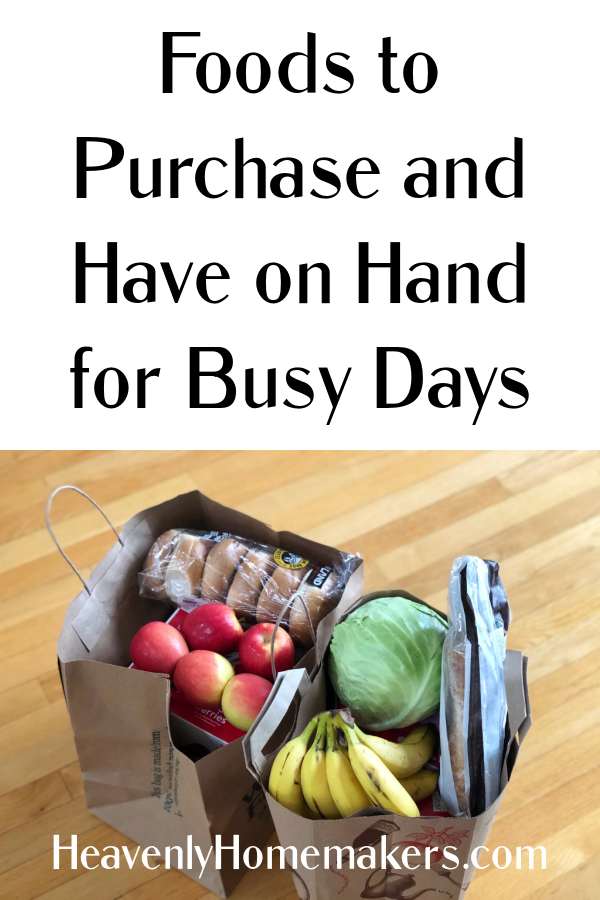
Well anyway. Hooray for splurging on fun treats while out and about. But when you’re at home, what if you could make your own fun and fruity teas?
A few years ago, someone introduced us to McAlister’s tea and we all fell in love. Also: we all got about 20 free refills while we sat there eating because we wanted to be sure we got our money’s worth. Like parents, like kids, I guess. Therefore we all had to stop and pee 20 times during the remainder of our trip. Worth. It. Good memories.
Now you can have fun at home with these teas. Make them sweet. Make them unsweet. Either way, they are a great treat and perfectly refreshing in the summertime!