It’s pretty easy to make heart-shaped food for Valentine’s Day! I’m pretty sure this is the least expensive way to treat your family and show them extra love!

Our family hardly ever spends extra money on Valentine’s Day, but we do like to make our food fun!
I recommend getting an inexpensive set of Heart-Shaped cookie cutters in a variety of sizes like this one. Then you and your family can be creative with all the ways you can make heart-shaped food!
Easy Heart-Shaped Food for Valentine’s Day
Food you can easily shape into hearts (with or without cookie cutters) before serving it to your family on Valentine’s Day:
- Simple Whole Wheat Pancakes
- Whole Wheat Waffles
- Grilled Cheese Sandwiches
- Quesadillas
- Pizza
- Whole Wheat Donuts
- Poptarts
- Quick Mix Biscuits
- Soft Pretzels
- Cream Cheese Cookie Cutouts
- The Easiest Chocolate Fudge
- Peanut Butter Honey Fudge
- Chocolate Chip Brownies
- Chocolate Chip Cookies
- Cheesecake Brownies
- Butterscotch Bars

To go with your Heart-Shaped Foods, here are some bonus Valentine’s Day food ideas, you’ll enjoy looking through these lists…
Red and Pink Treats (No Food Dye!)
Sprinkles are fun, but not entirely necessary if you have naturally red and pink goodies like these:
- Cranberry White Chocolate Chip Breakfast Cookies
- Strawberry Cream Muffins
- Raspberry Oatmeal Bars
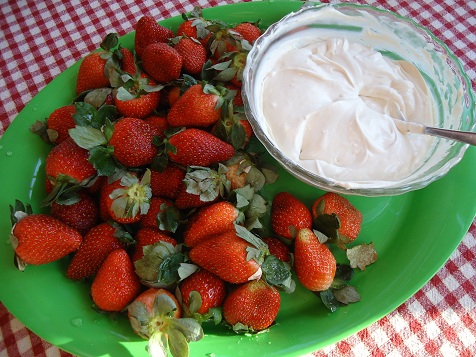
- Chocolate Whipped Cream on Strawberries
- Strawberry-Peach Slushies
- Strawberry-Kefir Smoothies
- Strawberry Yogurt
- Strawberry-Yogurt Fruit Dip
- Strawberry Christmas Salad (which obviously becomes Strawberry Valentine Salad on Feb. 14)
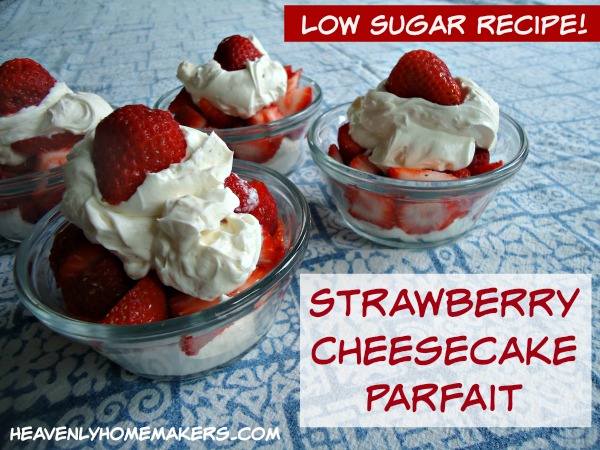
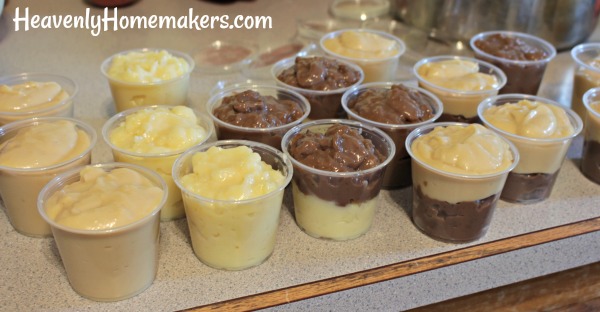
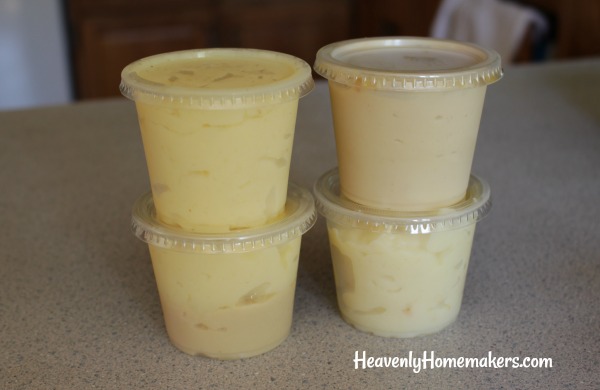
- Low Sugar Strawberry Cheesecake Parfait
- 7-Minute Strawberry Ice Cream
- Strawberry Creamsicles
- Strawberry Shortcake
- Strawberry Milkshakes
- Easy Raspberry Syrup (for your heart-shaped pancakes)
- Raspberry Lemon Cream Cups
Don’t forget obvious foods that are red – like tomatoes, sweet peppers, strawberries, grapes, cherries, or raspberries!
Chocolate Valentine’s Day Treats
Chocolate is always a hit on Valentine’s Day! (And if you’re me, it’s also a hit tomorrow and the day after that.) Here are some great chocolate treats you might consider making to share with your family:
- Warm Chocolate Soother
- Chocolate Whipped Cream on Strawberries (which I realize I mentioned above, but it is both red and chocolate, so it deserves to be in both categories)
- No-Bake Chocolate Fudge Bites
- Chocolate Chocolate Chip Muffins
- Peanut Butter or Caramel Chocolate Truffles
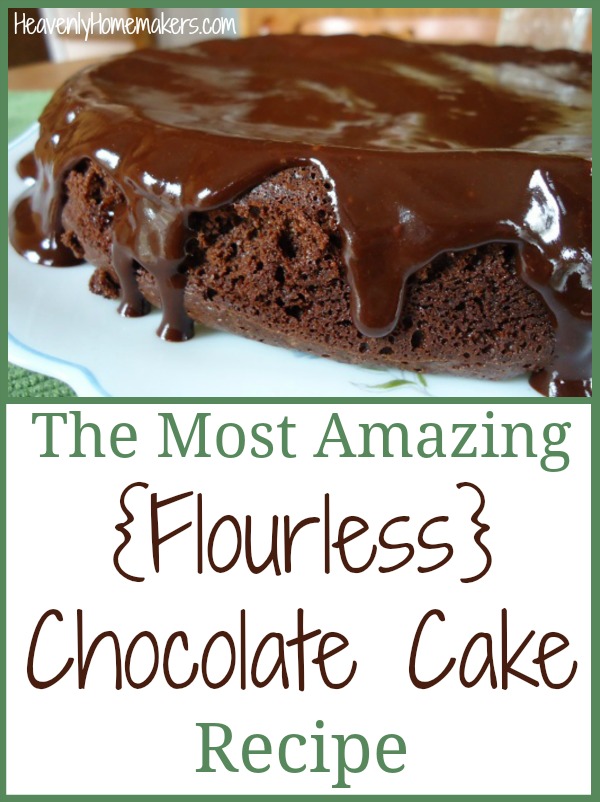
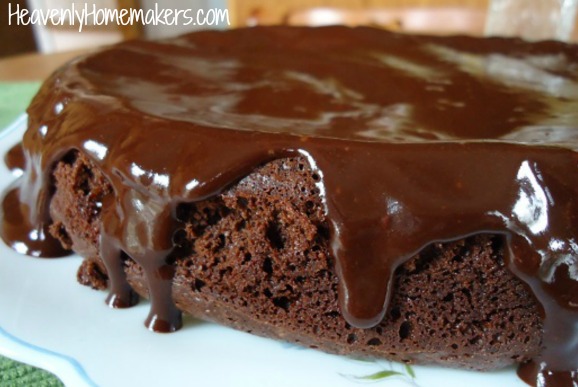
- Low Sugar Chocolate Cake
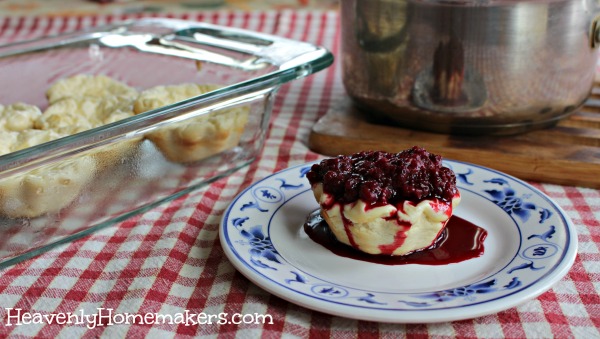
- Low Sugar Chocolate Cheesecake
- Dark Chocolate Peppermint Mousse
- No-Bake Chocolate Peanut Butter Cheesecake
- Homemade Chocolate Frappe
- Chocolate Cheesecake Pie
- Homemade Chocolate Peanut Butter Cups

What are some of your family’s Valentine’s Day traditions?


